How to Make a Offline Raspberry Pi Bitcoin Wallet
Hello friends and future Snowdens. If you want to protect your bitcoin wealth you probably know that hardware wallets can cost a lot of money, and an entire separate computer for offline storage can be equally, if not more, expensive. That is why I want to teach you to create an offline bitcoin wallet to store all of your money. The things you will need for this are as follows:
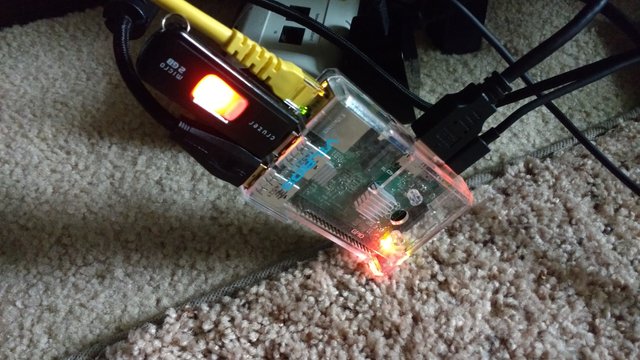
40$ | A Raspberry Pi(I recommend the 2 Model B+ but any one will work)
8$ | At least an 8GB MicroSD Card
0$ | An Internet connection(its just for the initial installation, If you want you can find a way around this though)
?$ | Extra peripherals(Mouse, Keyboard, Monitor/TV) You should have these in your house
10$|USB flash drive(Recommended)
Total: $58
Price of a Ledger Nano S: $64
Preparing SD Card and USB Drive(if applicable)
So the first step for you is to go to the official Raspberry Pi website and download raspbian from here. Why raspbian? because it's simple and easy to set up. You can either get it as a torrent or a ZIP, but either way you want to end up with a disc image which you will flash to your MicroSD card with Win32DiskImager or similar software. So now all you need to do is write your image to the MicroSD card. While that is going since that could take a while, lets download your bitcoin wallet client. You can either do this now, and transfer it to a USB drive to put on your pi later, or you can wait until your pi is set up and download your client. For this tutorial I will be using Electrum since it is very lightweight and simple to use. So download the linux version of the client and transfer it to your USB stick. Now on to the actual Raspberry Pi.
Configuring the Pi and Installing Dependencies
Now you should have your pi booted up and you should be connected to the internet. Your next step is to either download your wallet client if you haven't already, or to drag it to whatever directory you want it in. Next, open up the terminal and type in the following commands and press "Yes" to any requests
sudo apt-get update
sudo apt-get install python-qt4
Now you have installed all of the necessary files for your pi. Now all you need to do is untar your electrum client(If you don't know how to do this from the terminal you can just open the tar.gz folder and drag the electrum folder out). Now on to setting up your wallet
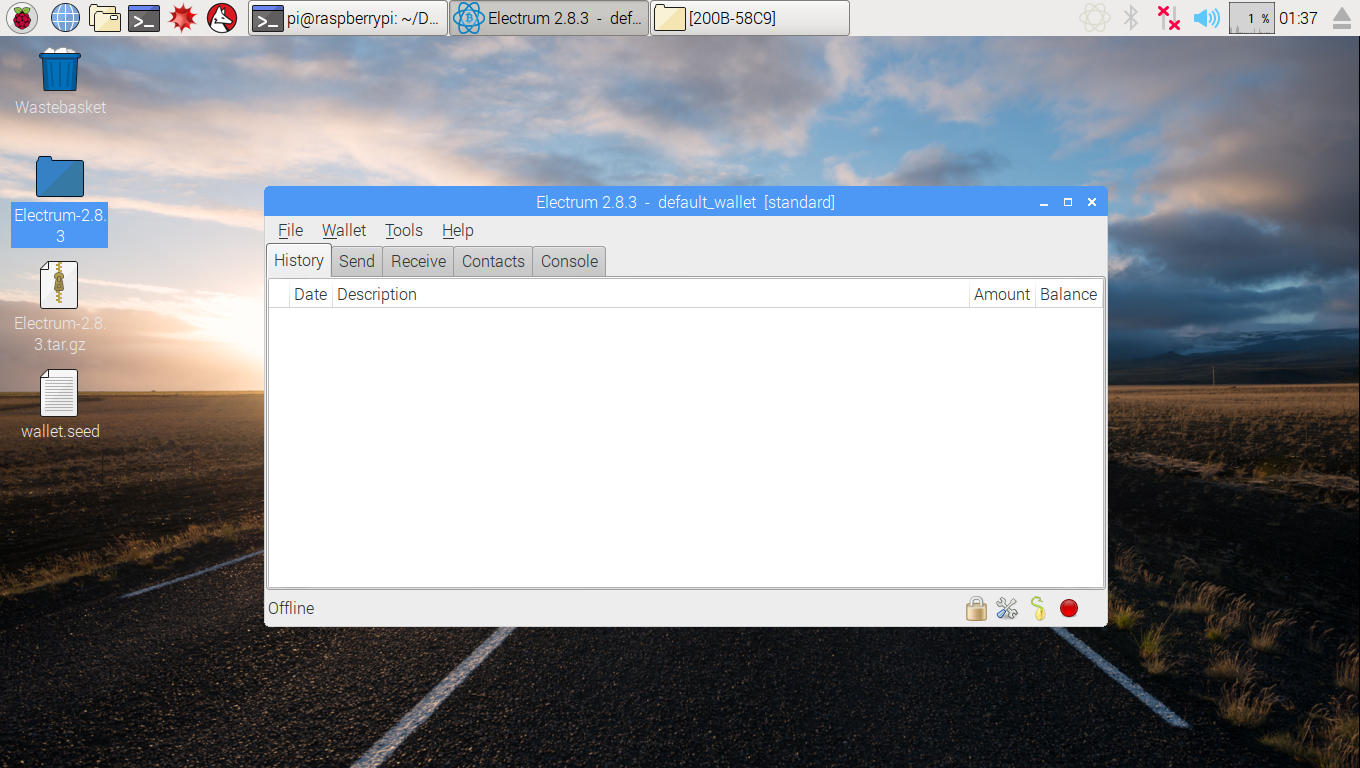
Setting up electrum
Now that you have installed the necessary dependencies for electrum to start, simple use the terminal to navigate to your electrum folder, wherever you put it, and type in the following
./electrum --offline
This will bring you a screen which will ask you what you want to name your wallet, it doesn't really matter. What does matter however is the next screen, which will have you make a seed for your wallet. You want to take this seed and put it in a document called "wallet.seed", or something like that. Now put that seed in again on the next screen and create a secure password for your wallets. You will now be at your wallet and at this point, its time to go off the grid. Disconnect your internet cable and make sure you never connect to the internet again. Make sure you encrypt your "wallet.seed" file by putting in the following command
gpg2 --symmetric wallet.seed
store that somewhere safe and preferably in more that one place and then shredding the old one with this
shred -u wallet.seed
Setting up a Watch only address from online PC
Now its time to move on to set up a watch-only wallet to monitor your new wallet. For this you will need to go to your new wallet and go to the "Wallet" tab, and then to "Master Public Key" Copy that key and transfer it to your Online pc by whatever means you want. Go to an electrum client on your online computer and make a new address. When asked, press "Restore wallet from master public key" and put in your Master Public Key. You are now good to go and ready to start sending funds to your address. So congratulations young Snowdens, you are now ready to conquer the internet. Thank you for reading, don't forget to follow, and hopefully you enjoyed.
genius !!!!
Thanks. I got the idea from @furion and his post https://steemit.com/trezor/@furion/build-yourself-a-trezor except his was with a full PC. I thought I would make something cheaper.
Congratulations @userperson321! You have completed some achievement on Steemit and have been rewarded with new badge(s) :
Click on any badge to view your own Board of Honnor on SteemitBoard.
For more information about SteemitBoard, click here
If you no longer want to receive notifications, reply to this comment with the word
STOPBy upvoting this notification, you can help all Steemit users. Learn how here!
@coindash #ICO going to start https://steemit.com/coindash/@sayyedraza/coindash-is-an-operating-system-for-crypto-assets