How to get a Testnet wallet and coins
For this tutorial, we will use Copay to create a testnet wallet as we found it the easiest to use.
Step 1:
Download Copay(https://copay.io/#download). We recommend downloading it on your computer especially if you want to try out our demo.
Step 2:
Start Copay.

The first time you open it, it will create a ‘Personal Wallet’ by default. This is a real bitcoin wallet but for our demo, you need a testnet wallet.
Step 3:
Click on the menu button (top left) and select ‘Add Wallet’.
Step 4:
Select ‘Create New Wallet’.
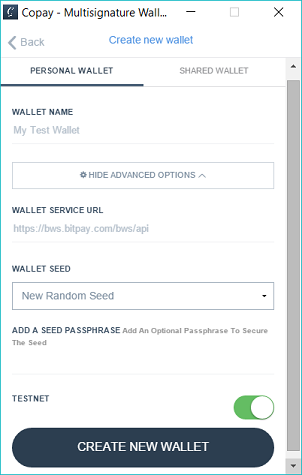
Step 5:
Give your wallet a name like ‘My Test Wallet’.
Expand the Advanced Options and make sure you select ‘Testnet’.
Leave the rest of the settings as the defaults.
And click ‘Create New Wallet’.
Step 6:
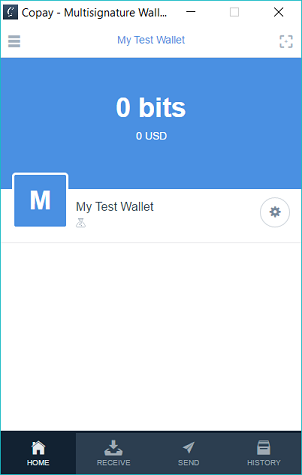
Now your wallet is ready but you need some testnet coins to use it.
Don’t worry testnet coins are free.
Step 7:
To get some testnet coins, you need to go to a faucet like this one.(https://testnet.manu.backend.hamburg/faucet)
Simply enter your ‘Receive’ address (found on the ‘Receive’ tab) and get some coins!
Note: In the image above, the ‘Receive’ address would be — myobETdkYBKtJ6Lj3sSNaqAn1koZhpPTiT
That’s it! Now you have some testnet coins to try out our demo.