Homemade Moisturizing Face Cream
A Recipe Born Out Of A Reluctant-To-Go Into A Blizzard Laziness
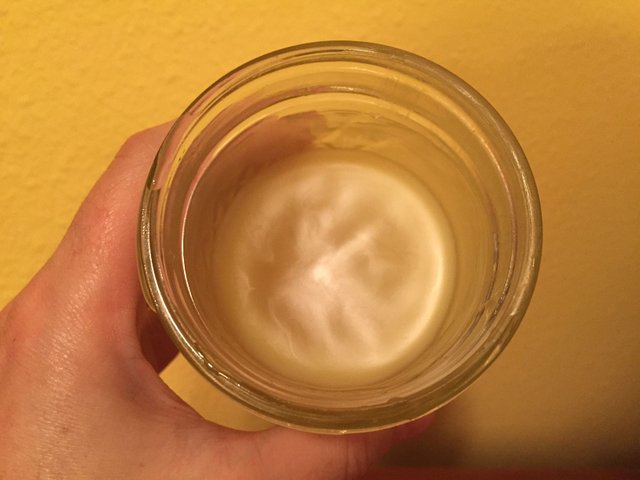
I am one of those girls that do not require much in the way of fripperies. I feel at my most fabulous when I am covered in soil and horse hair. However, I do not want my face to resemble the back side of an arthritic crocodile, so face moisturizer is a must.
I take pretty good care of my skin, as we only get one husk this go round. I've tried many moisturizers over the years, and while I have found a few that I like; I haven't actually loved one enough to re-purchase it again. A couple of months ago I taught a how to make your own infused oils in the crock pot and how to make homemade salve class at the library. It went over well. This got me to thinking, why can't I make my own face moisturizer. I mean, I make my own soap, salves, and various other body accoutrements, so why not face stuff. It appealed to me because I was almost out of face moisturizer and I hate shopping. Like a lot. There is also an added external motivator for me to try my hand at making my own face cream: the never-ending snow puking out of the sky, for I don't really want to venture out into it for any reason, especially for something like seeking a face moisturizing product, as noble as that quest would be.
So, I decided to challenge myself and make something to slather on my mug using only the ingredients that I had on hand.
Here we go:
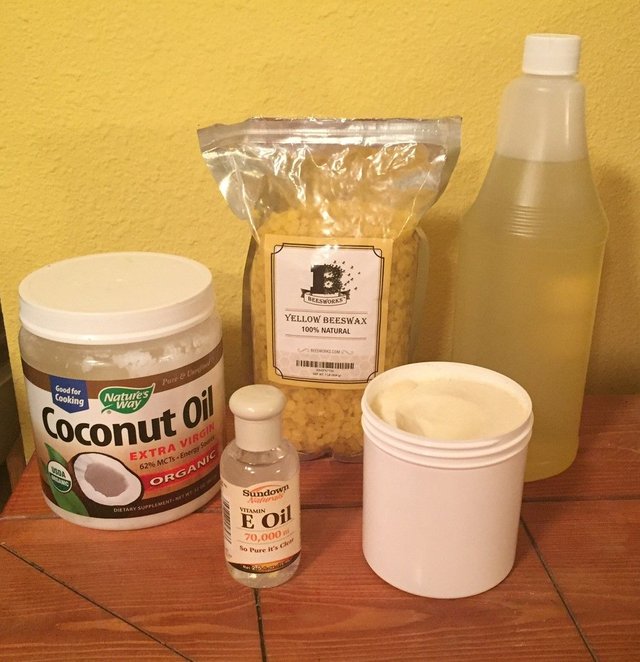
Ingredient # 1: Castor Oil
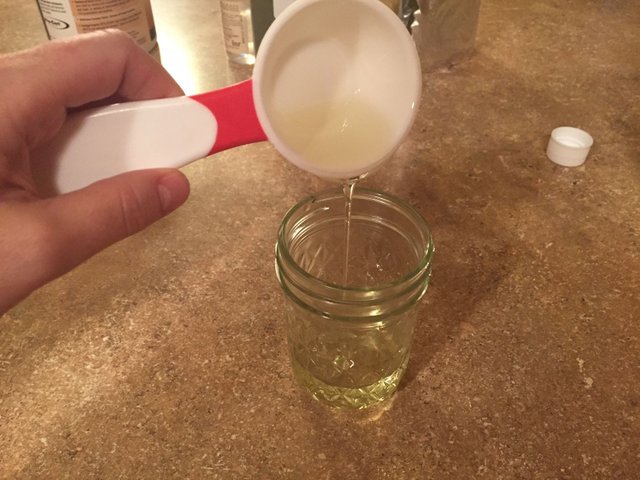
This stuff is lauded all over the internet for it's skin awesomeness. I just like to keep it around due to its scare factor, for my kids have read enough old literature that they know of its scary lore! In all seriousness, it appears castor oil is the cat's meow when it comes to overall skin conditioning.
Ingredient # 2: Coconut Oil
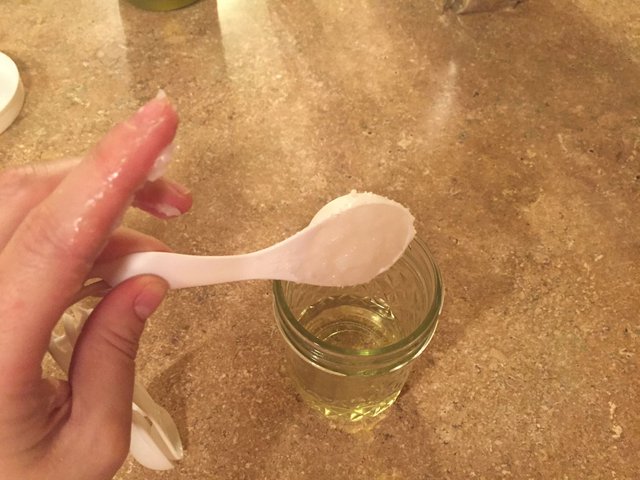
I used the extra virgin organic manifestation of this ingredient. Coconut oil is so hyped for its awesomeness that I am starting to wonder if I rub on a rock in my driveway that it will turn to gold. Or perhaps if I smear it on my temple, then I will be able to solve quantum equations! It is an awesome ingredient though, and I would have just put it in this ingredient for the smell value alone.
Ingredient # 3: Beeswax
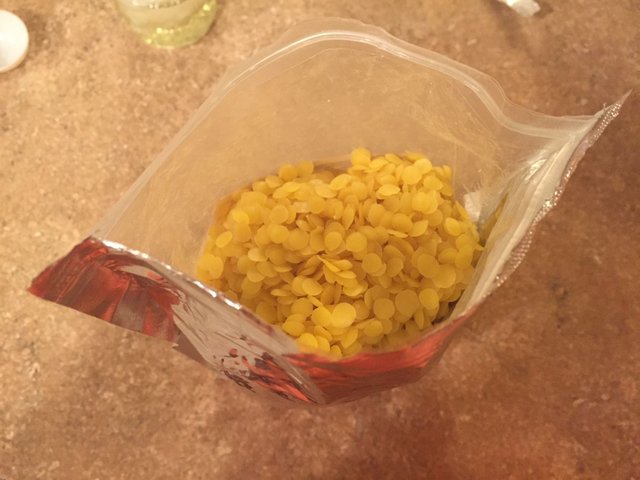
Definitely going to be minding my own beeswax! I love this stuff. I love bees, and have had a few hives here on the farm. One of my favorite things is to work the hives, and am so thankful that I took after my Papa, for I don't need a bee suit to work with my girls. We're cool with each other, but that is a story for another time. Beeswax is used in this recipe because:
Beeswax is an excellent addition to cosmetic products, for many
reasons.
- When used in lotions and creams, beeswax creates a barrier which helps to seal moisture into the skin. This is especially beneficial in lip chap during the dry winter months.-
- This barrier also helps to protect the skin from environmental toxins and irritants.
- Unlike petroleum jelly, which is used in a large variety of beauty products, beeswax will not “suffocate” the skin, but rather, allow it to breathe while still providing a protective barrier.
- Beeswax helps to thicken homemade cosmetics and lotions because it is solid at room temperature and has a relatively high melting point of 147 degrees Fahrenheit. This is especially helpful in recipes that include high amounts of coconut oil, which has a low melting point, or
other oils that are liquid at room temperature.-- Beeswax also has Vitamin A, which improves hydration to the skin and promotes cell regeneration.
Ingredient # 4: Vitamin E Oil
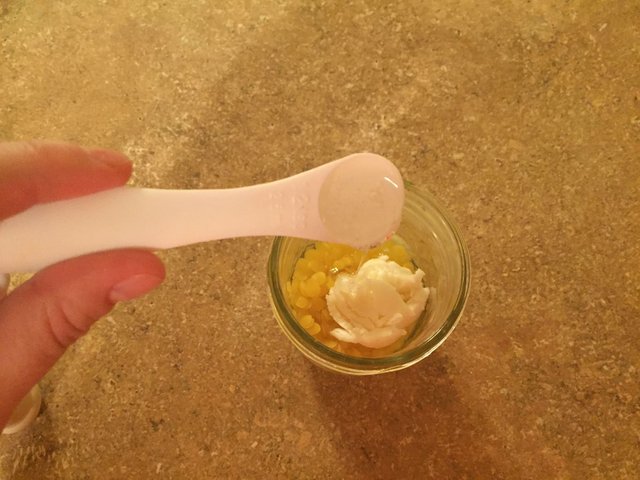
This ingredient is good for your skin, but it's most common use in homemade cosmetics is as a preservative additive. I've had a bottle laying around on my bathroom counter for a couple of months, so I decided to throw a bit into the face salve pool!
Ingredient #5: Shea Butter
I use Shea butter in my soap due to its magnificent list of skin benefits. It's another ingredient that I use with the hopes that my skin will look more neo-Victorian lady-like rather than desert worshiping Rhino backside in appearance.
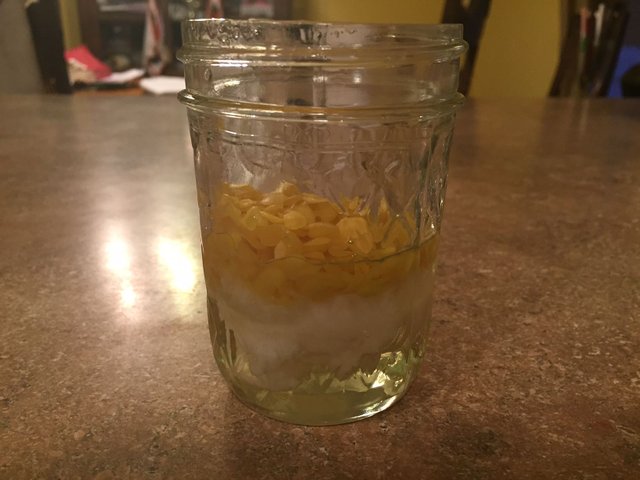
Ingredient # 6: Essential Oils of your choice (optional)
Essential oils are not a necessity in this recipe. In fact, I enjoy the scent of the ingredients by themselves. Coconut, beeswax, and Shea butter all combine for a soothing natural scent. If I were to use an added EO, I am partial to orange, lavender, and lemon grass.
Also, remember to drop in that EO sparingly, a good ratio to keep in mind is to keep your EO use less than 2% of your overall recipe. There are 300 drops in a tablespoon, so 10-20 drops of EO would be more than enough in a recipe of this size.
There are so many wonderful EO's to choose from, and they all have added benefits, so that is where you can take this recipe and make it yours. I'm all about customization!
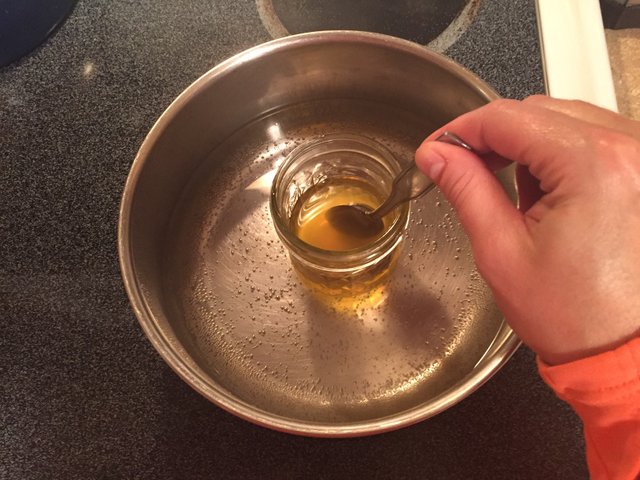
It's all melty-Mcmelted!
Disclaimer of absolute caring-caringness: This is some heavy duty, moisturizing stuff. I have dry skin that isn't prone to acne, so it doesn't clog my pores or cause any skin freak-out weirdness, but I always advise people to take it slow, test things out before you slather it on like it's from the fountain of youth. Other than that, I hope that if you try this recipe that it brings you skin-moisturizing joy!
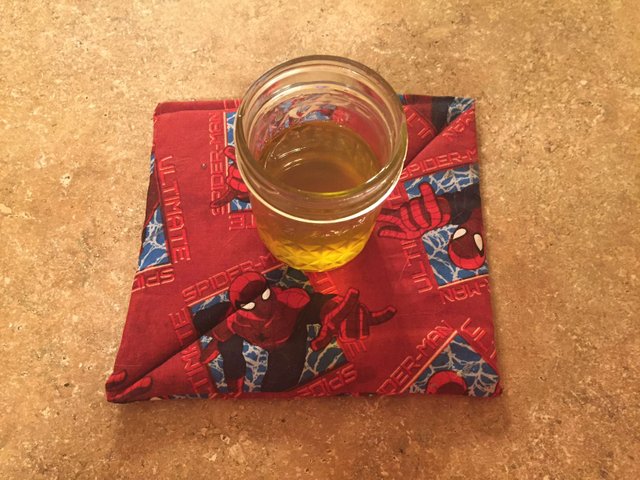
Spider man, Spider man, cooling hot face cream like no one can! I have super friends that make me superb gifts...
Generikat's Homemade Moisturizing Face Cream
1/4 cup Castor Oil
2 Tablespoons Extra Virgin Cold-Pressed Coconut Oil
2 Tablespoons Beeswax
1 Tablespoon Shea Butter
1/2 teaspoon Vitamin E oil
Essential oils of your choiceDirections:
Place all ingredients in a sterilized glass jar. Put 3 inches of water in a pot and bring it to a simmer. Place your ingredient filled jar into the simmering water (no lid needed), and let it hang out until they have all melted into a combined form of skin moisturizing bliss. Do not let it boil, and give you concoction an occasional stir. Once everything has melted together, remove from heat and pour it into whatever vessel you have chosen to store your cream in. Glass jars work nicely for this task. Let the cream sit at room temperature until it hardens. Store this cream in a cool, dark location, out of direct light.
And as always, all of the images in this post were taken on the author's super, extra-awesome moisturizing cream saturated iPhone.
@mama-pepper thinks that this looks great!
Nice work!
Awe! Tell @mama-pepper that I really appreciate the compliment! The cream turned out pretty nice and was super simple to construct, which as a busy mama myself, is always an important thing. 😊
Hope all of you peppers are having a fantastic night!!!
Thanks, I should mail your seeds tomorrow!