Queen of hearts tutorial
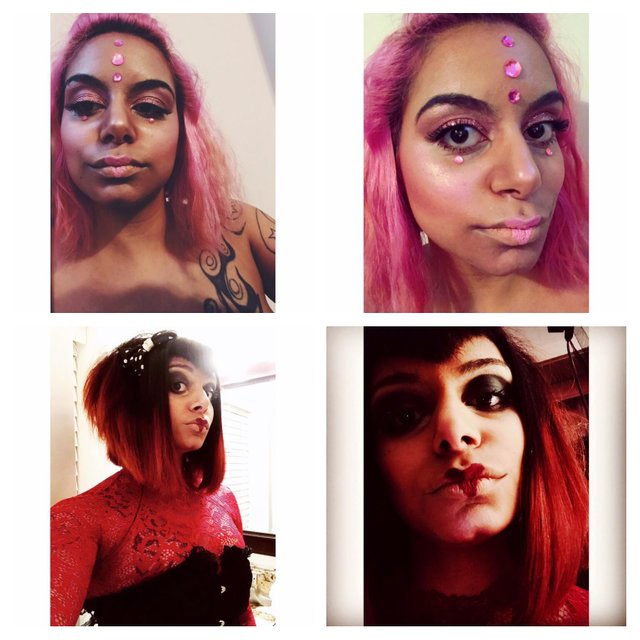
I did a new, more colorful, festival version of my queen of hearts look. Since burning man is coming up, maybe this will be useful to some of you. The colors can be mixed up anyway you like, making it a versatile look. Enjoy!
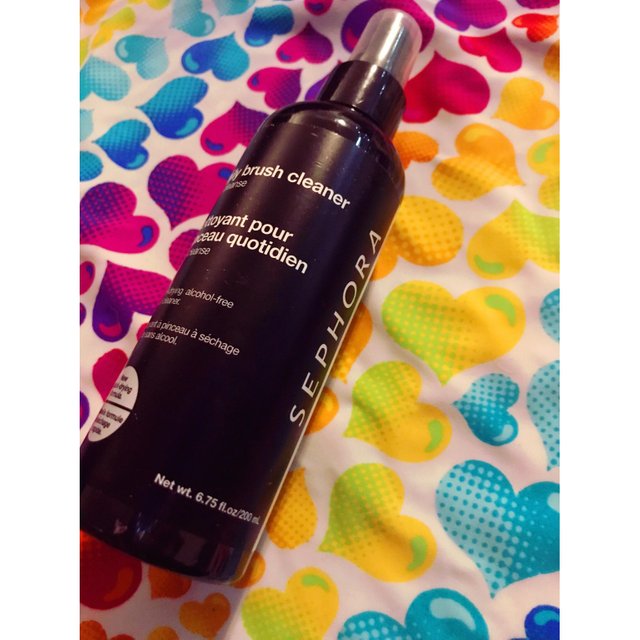
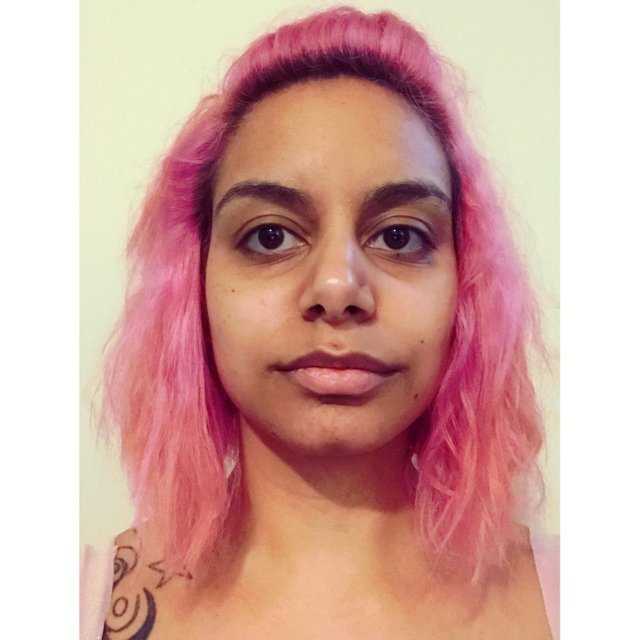
As usual, we start with a clean canvas. This way nothing interferes with the art we are about to create. This means clean brushes, and a clean face.
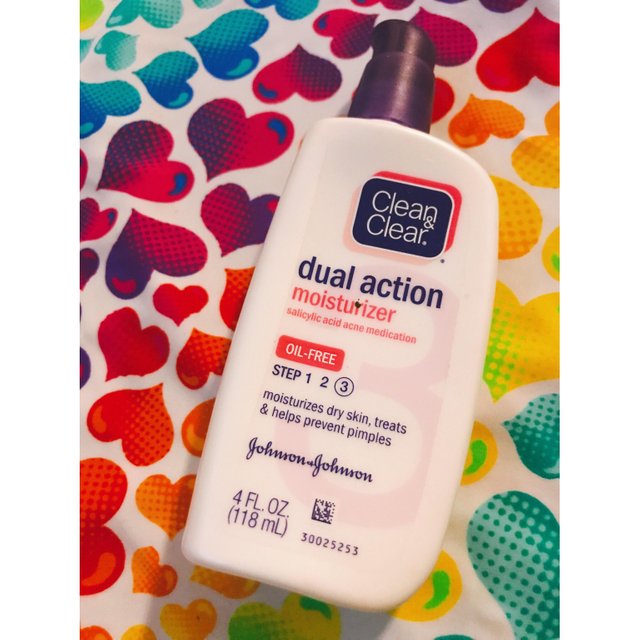
Now, we moisturizer our face, creating a protective layer between our makeup and our skin.
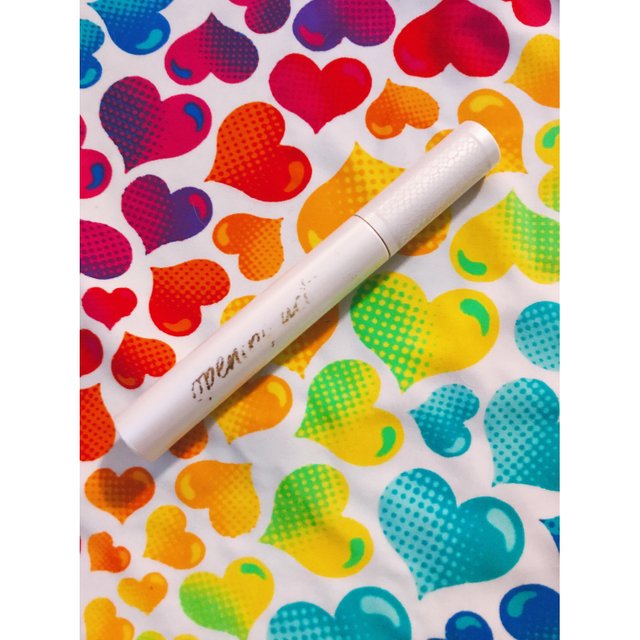
While we are in the process of priming, go ahead and prime your lashes. We like our lashes still attached to our lids, and this will help them stay that way.
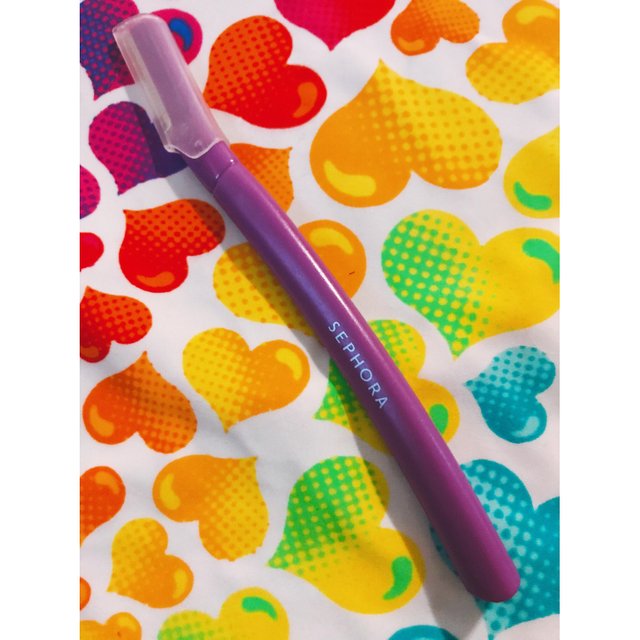
My brows are growing in a bit so I'm going to go ahead and fix them up. This is important in making the highlight you will put on be as pretty as possible. I keep these little eyebrow razors around so I can keep up with mine.
Ok, now the real work begins. Let's start by applying a full coverage concealer, which will act as a matte highlight, in the appropriate areas. Start with a small dot, and spread it around. Use a concealer brush. 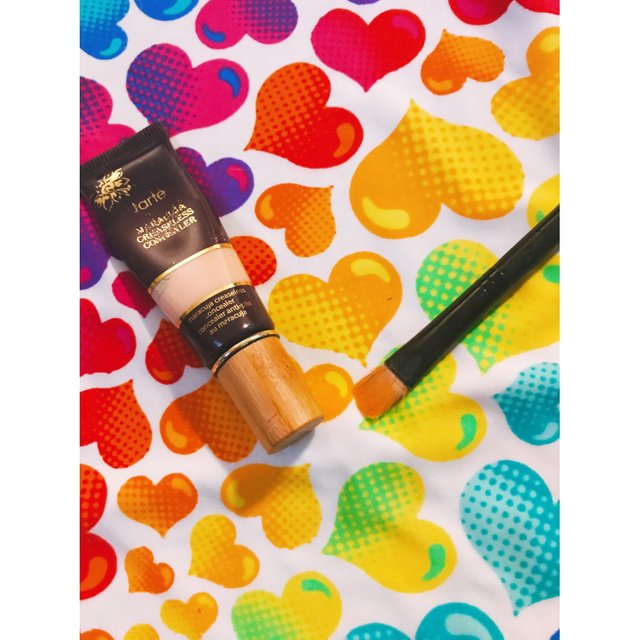
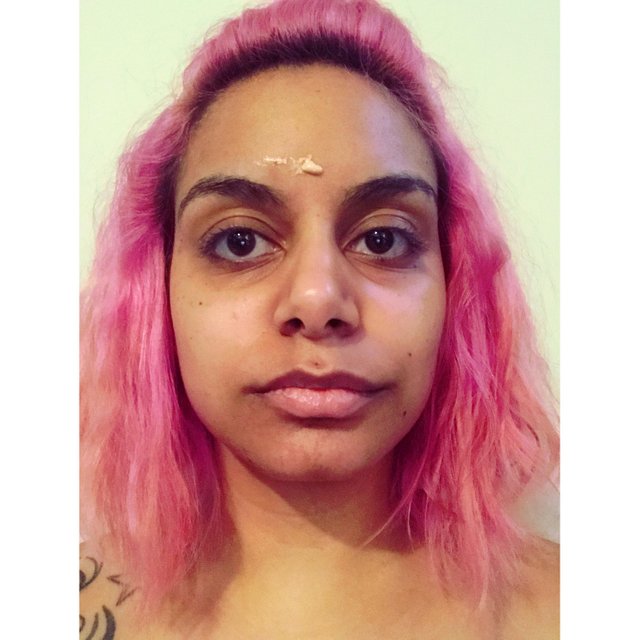
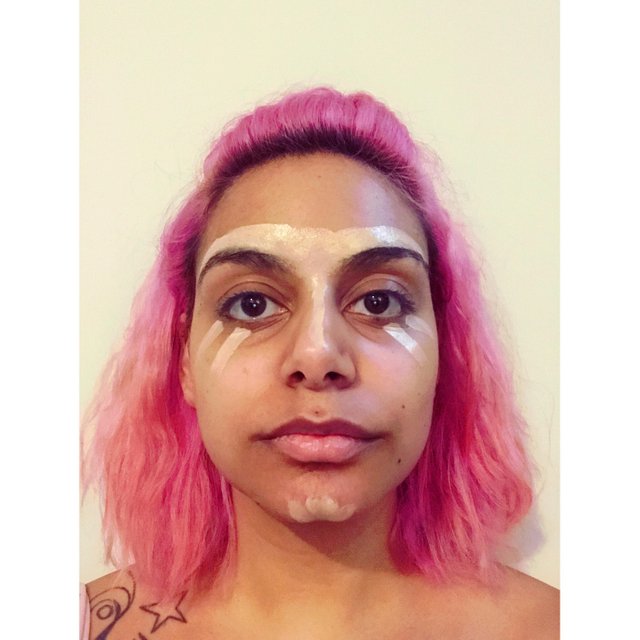
Now blend that with a silicone beauty blender.
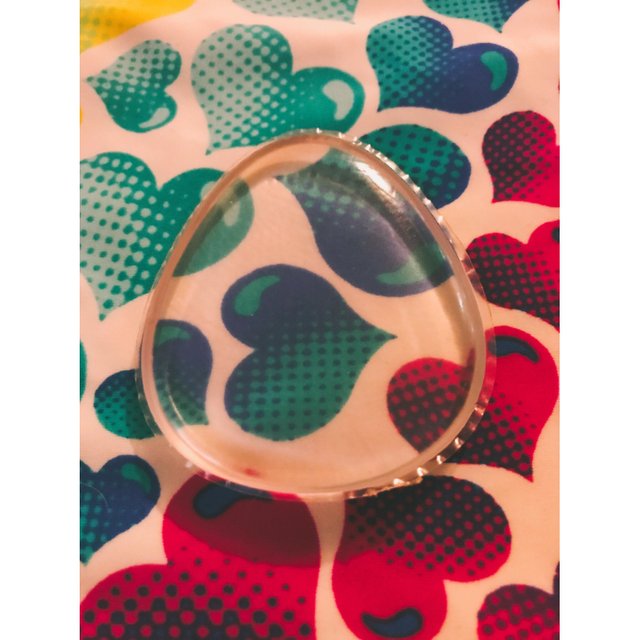
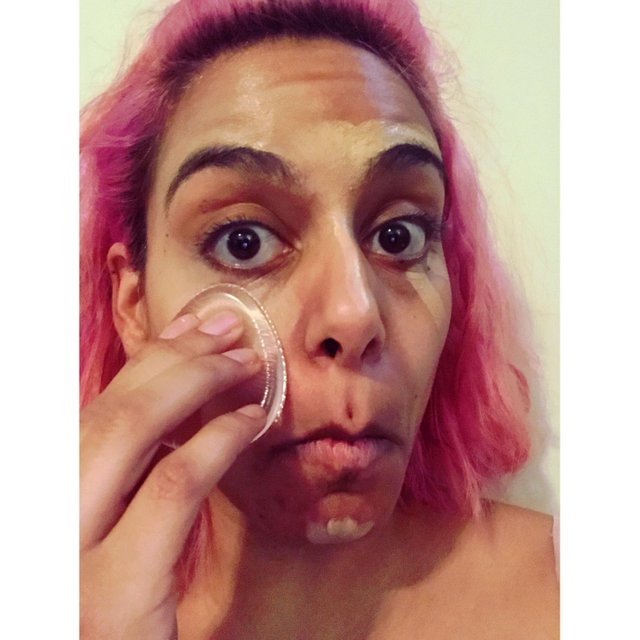
Perfect! Now for some contour. I'm choosing a lighter, less dramatic contour for this look. Apply with a contour brush. Put it near your hairline and on the sides of your nose.
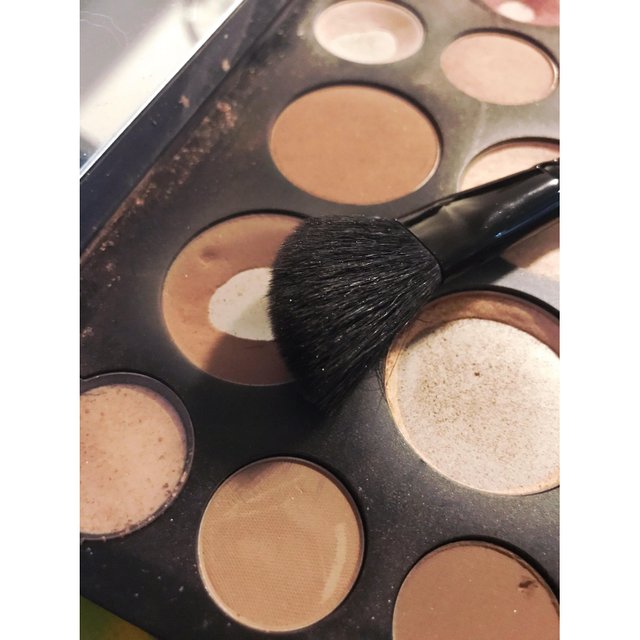
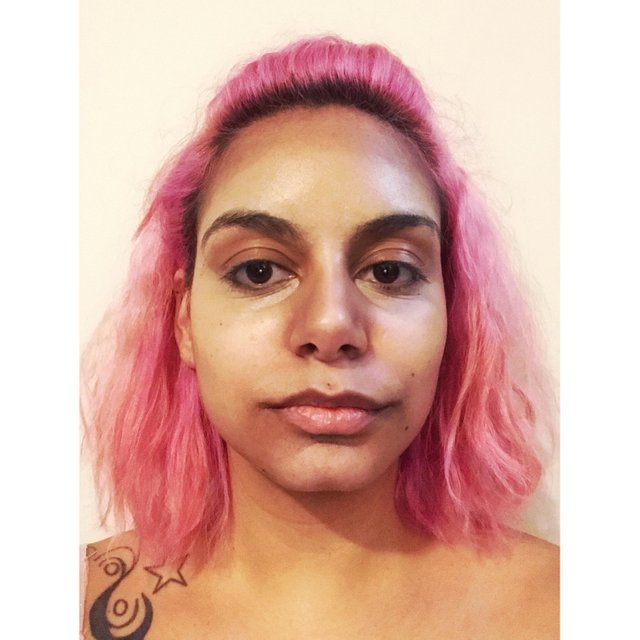
Now blend until it looks like your normal skin with a large blending brush. 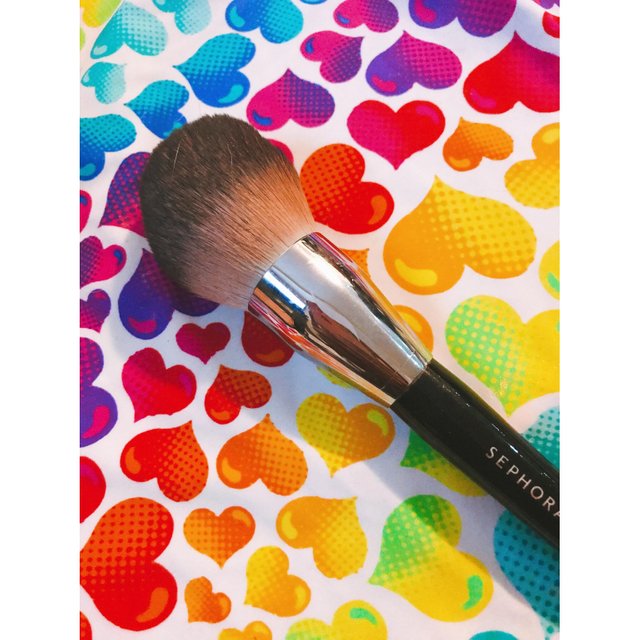
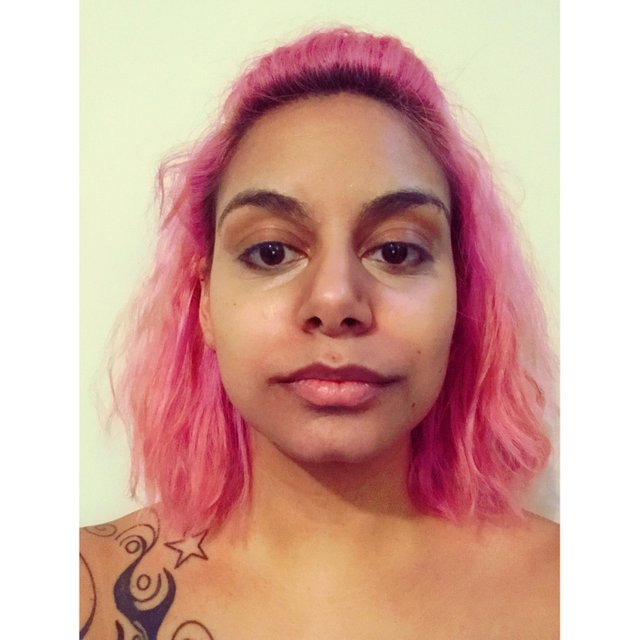
Excellent! Now I'm going to use two shades of blush. A darker one under your cheek bones where contour would usually go and then a lighter one on the cheeks where blush would normally go.
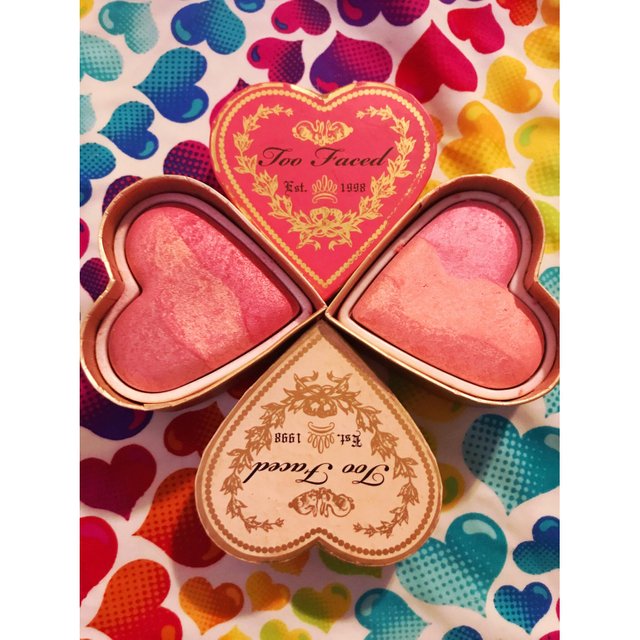
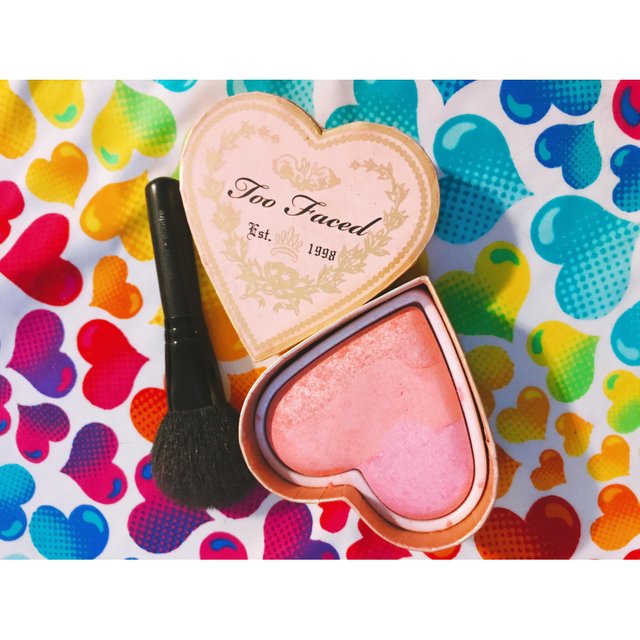
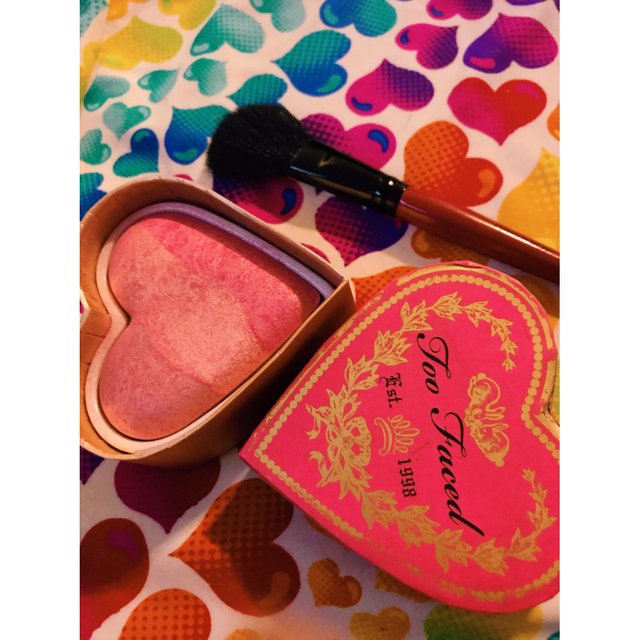
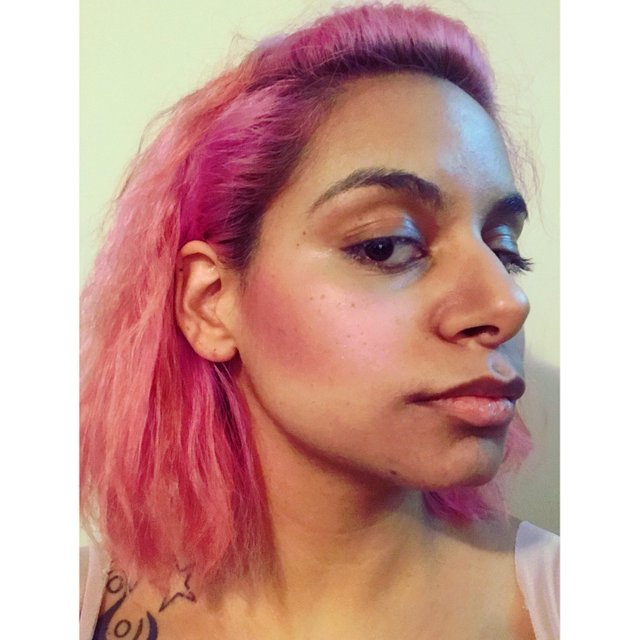
Good. Now we can move on to eyes. Start by applying a light concealer all over. Nothing too thick. While you're at it, put it on your lips too. 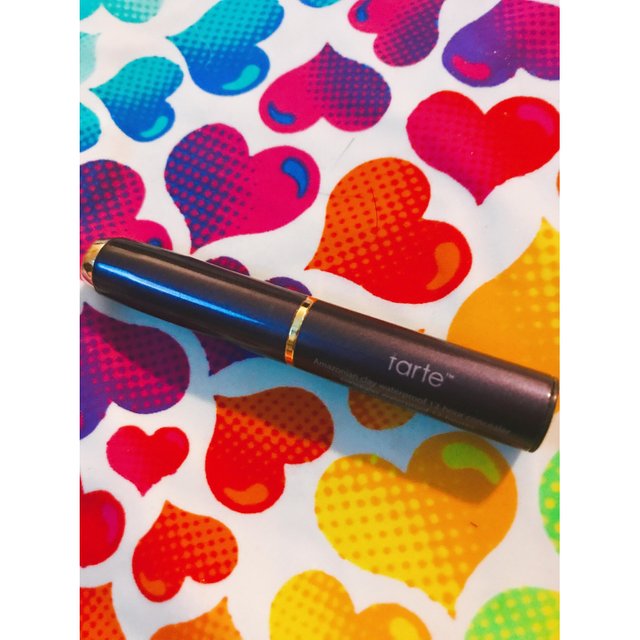
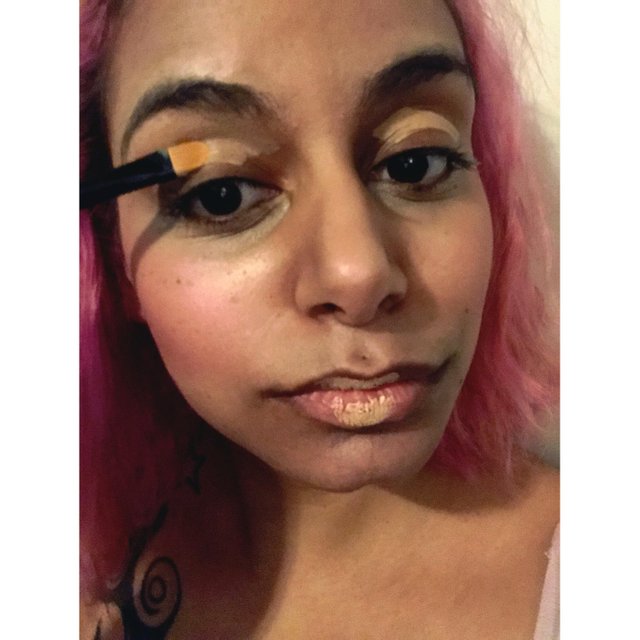
Now put some powder foundation on the lips to help blend them into your skin better. 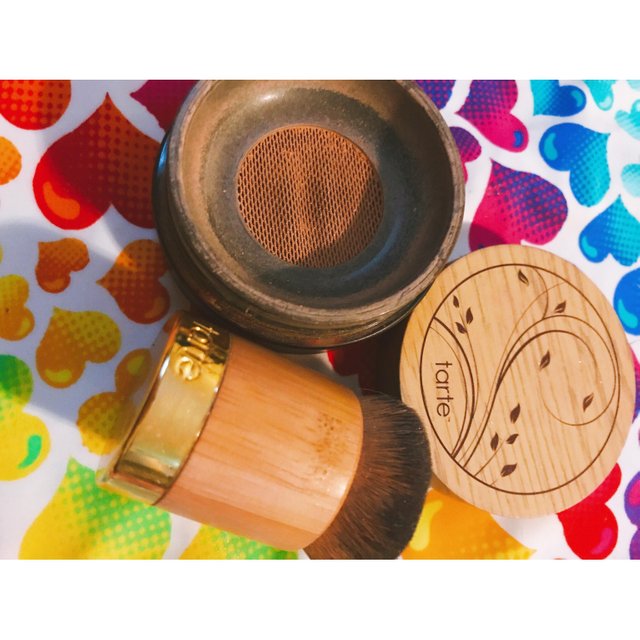
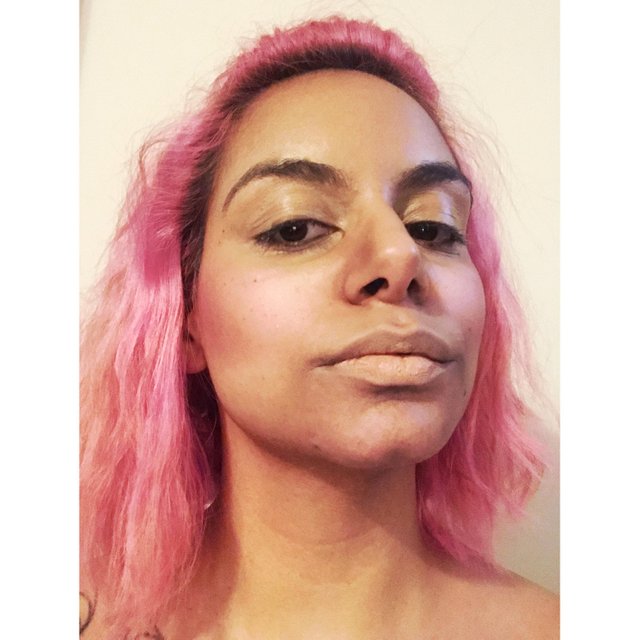
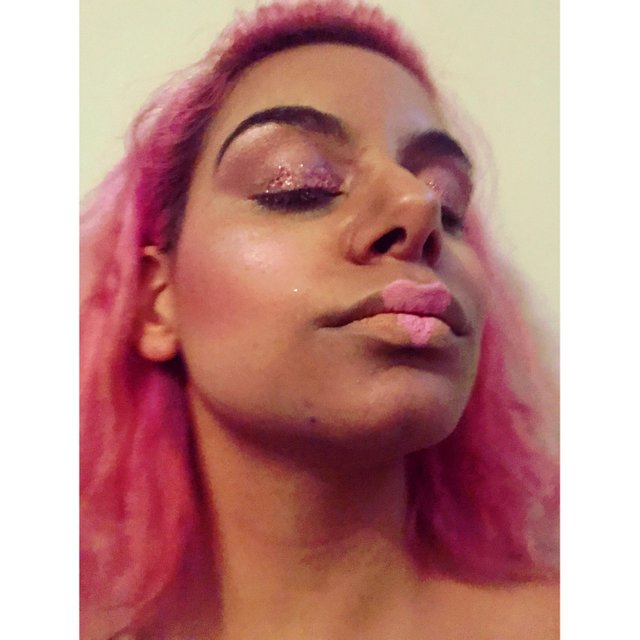
Now I'm going to use a shimmering, soft pink shadow all over my eyes.
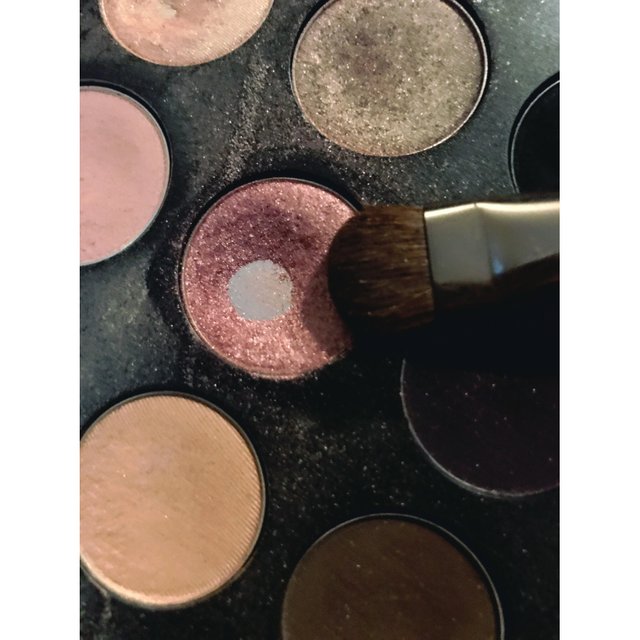
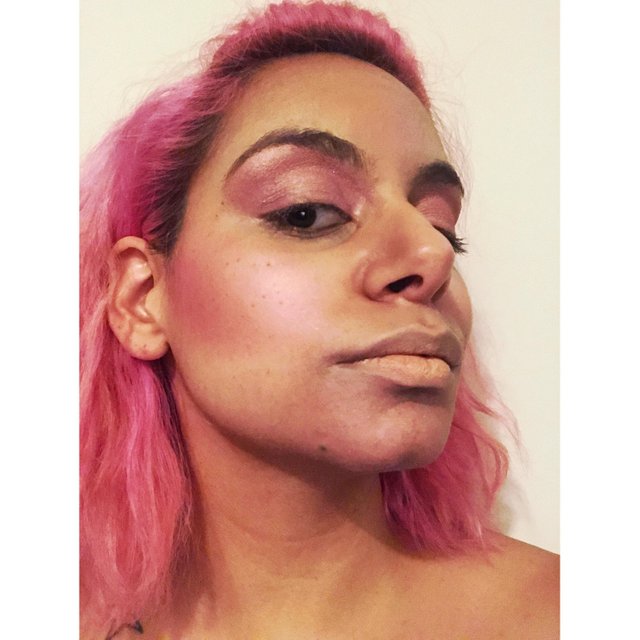
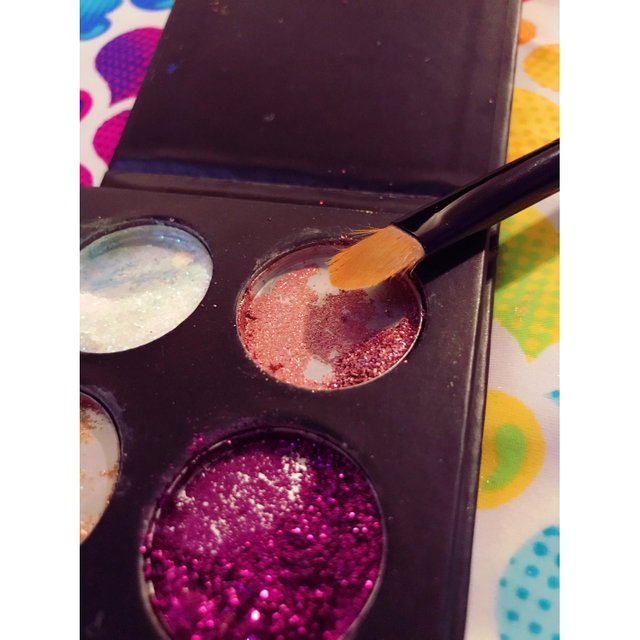
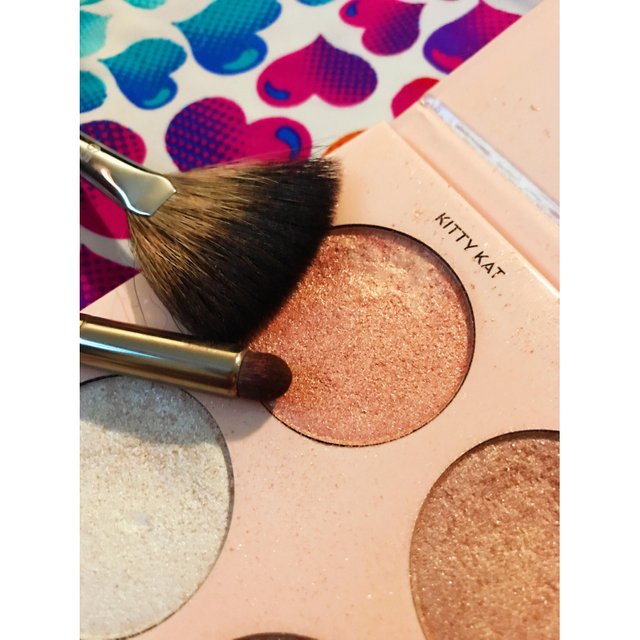
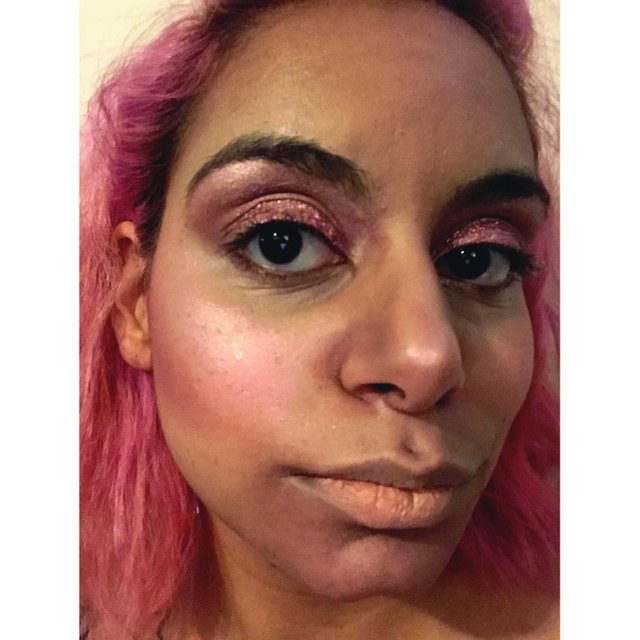
Now add pink glitter to the lids, and pink highlight under the eyebrow and on the upper cheek area. Smudge brush for under the brow, fan brush for the cheeks, concealer brush for the pressed glitter.
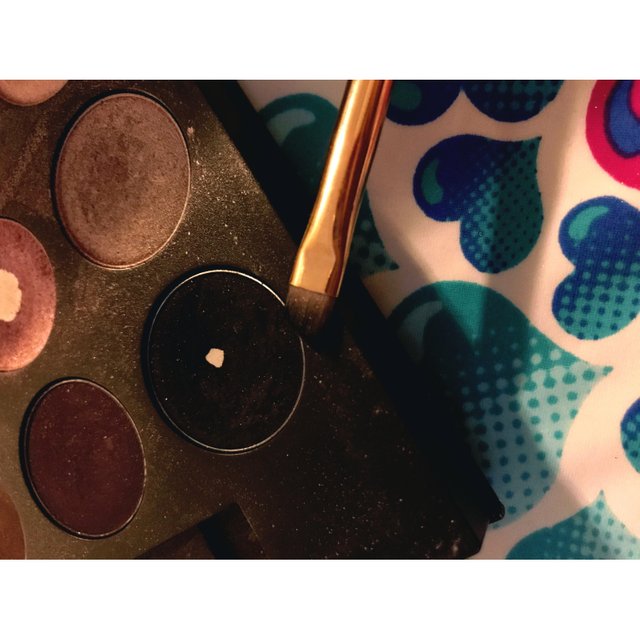
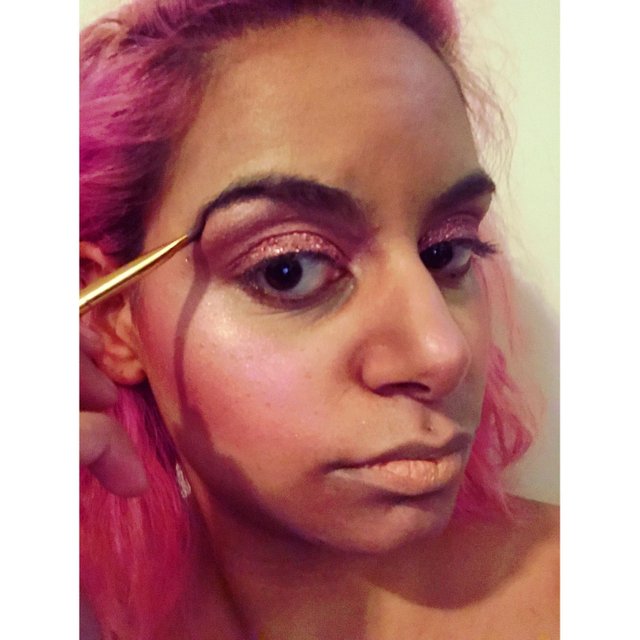
Eyebrows are a good thing to have, so let's do those. I do mine by dipping a brow brush in some black eye shadow and drawing a line from the middle, darkest part of my brow to the end closet to my temple. Then using the left over powder on the brush to fill in the rest of the brow.

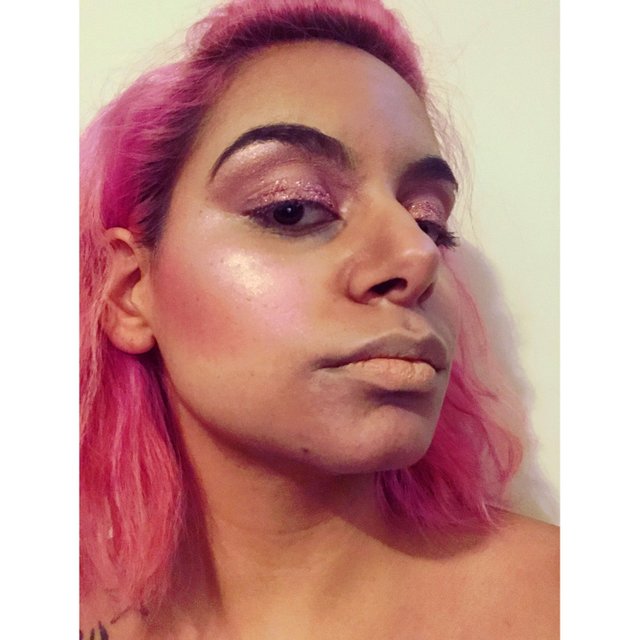
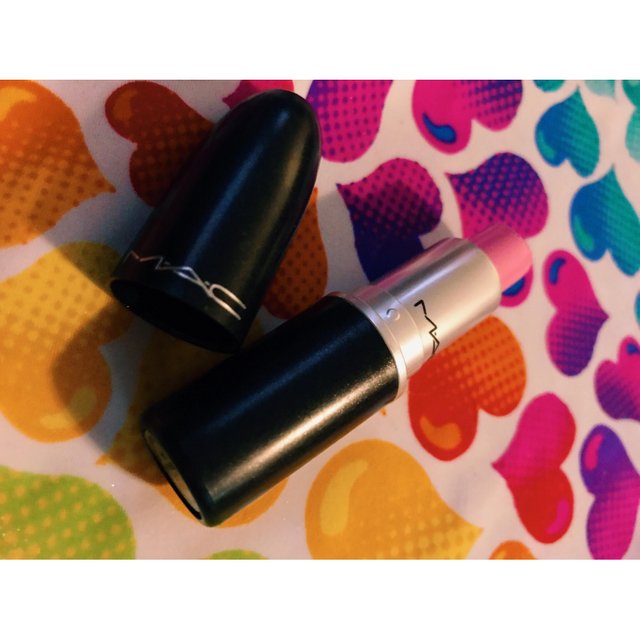
Very nice! So sharp! Now I draw a heart in the middle of my lips with a lipstick called st Germaine by MAC.
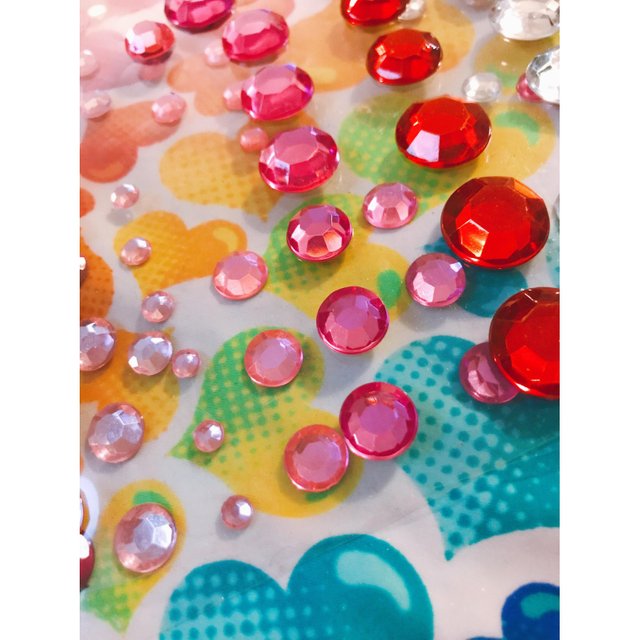
Gorgeous! Now let's add some shiny shit. It's not a rave look without shiny shit. I got these things at the arts and crafts store. Some rave shops sell patterns, but they're a bit more expensive and you can find the materials at the arts and craft stores and come up with your own unique designs.
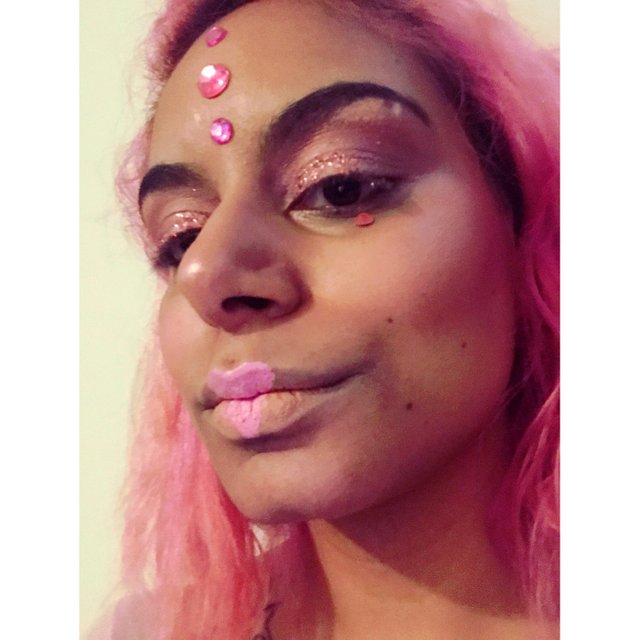
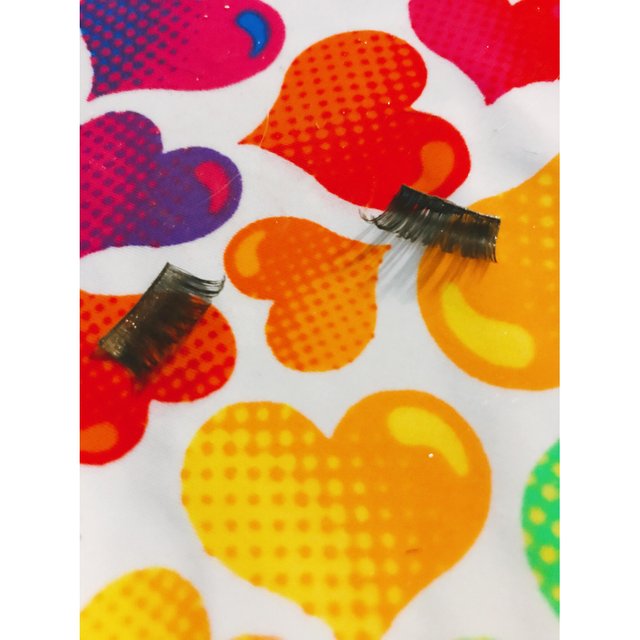
Very nice. Now glue on some fake lashes and blend your real lashes in with some mascara.
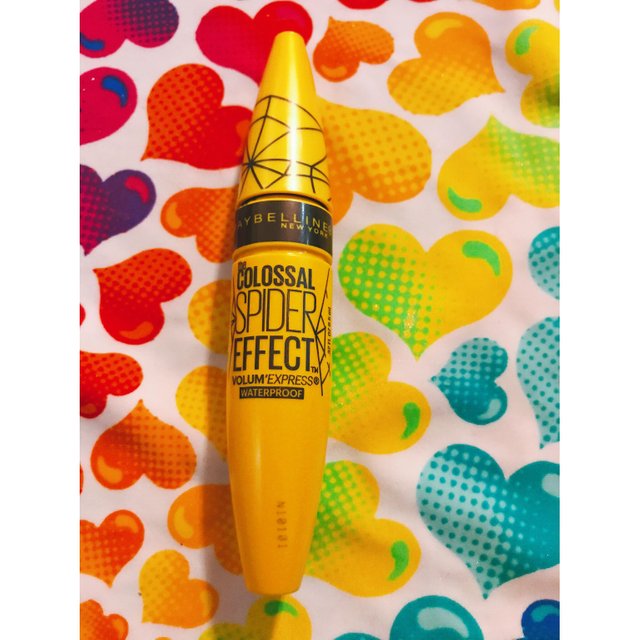
Now spray on some setting spray so you don't sweat your makeup off.
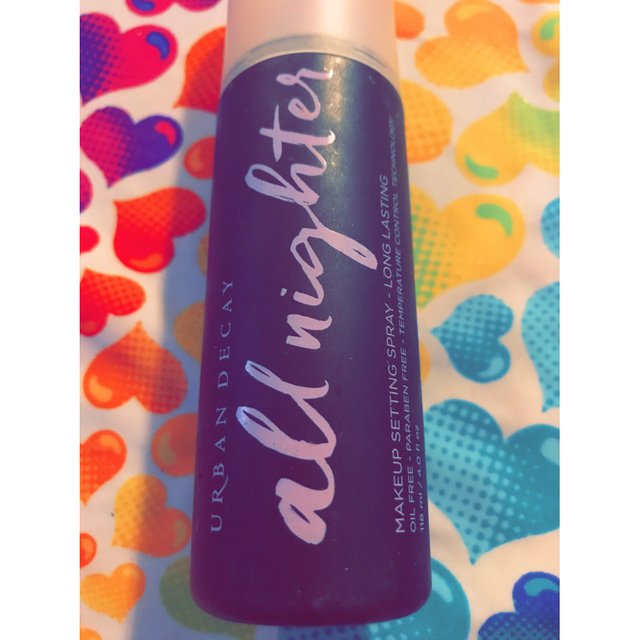
Now eat, sleep, rave, repeat.
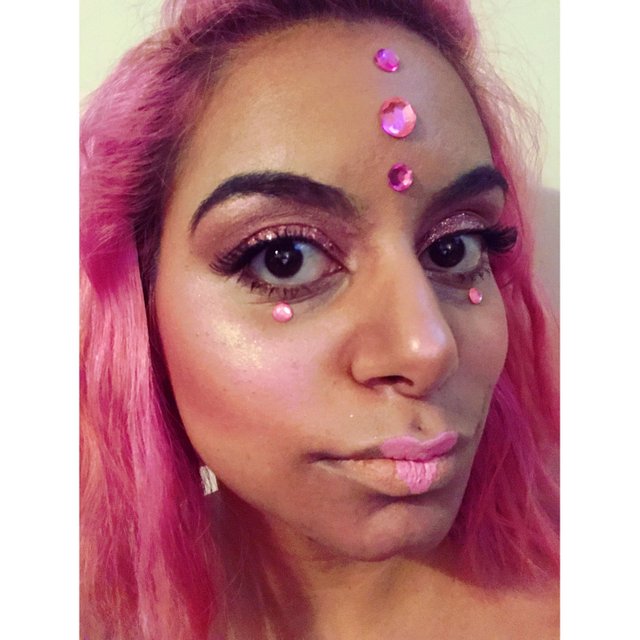
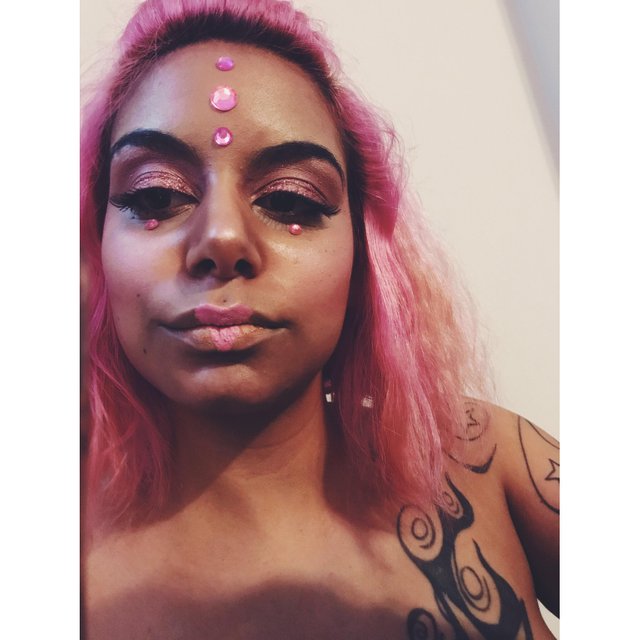
I love the jewels you got from the craft store. The only thing I would say is to NOT use craft store glitter anywhere near the eyes. Cosmetic glitter only!
No shit
great look.
Hey I love your makeup tips and pics! I've never been able to do cat eyes with my eyeliner😔 can u post some information on that?
Of course!