My Astrophotography Equipment
Right ... because the clouds have been rolling in night after night , I'll go ahead and post some images of the things I use to take my astro photos. Well first off , I did pop out last night a take a few pictures with just regular tripod to show you what the skies have been like.
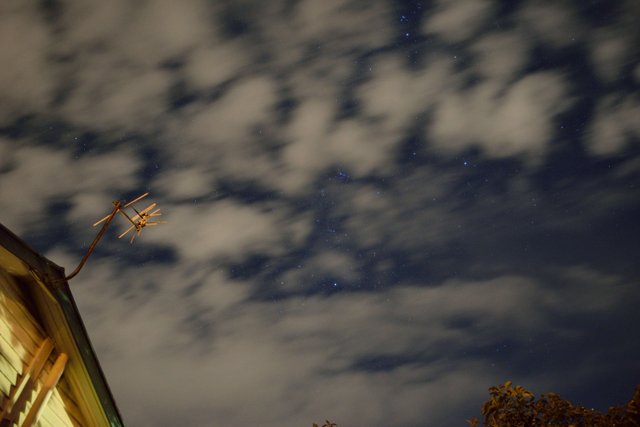
So that's pointing south to south-east from my backyard , as you can see (or not) , not much to be seen with all the clouds.
Don't mind the aerial. (I would say antenna , but , when in Rome right?)
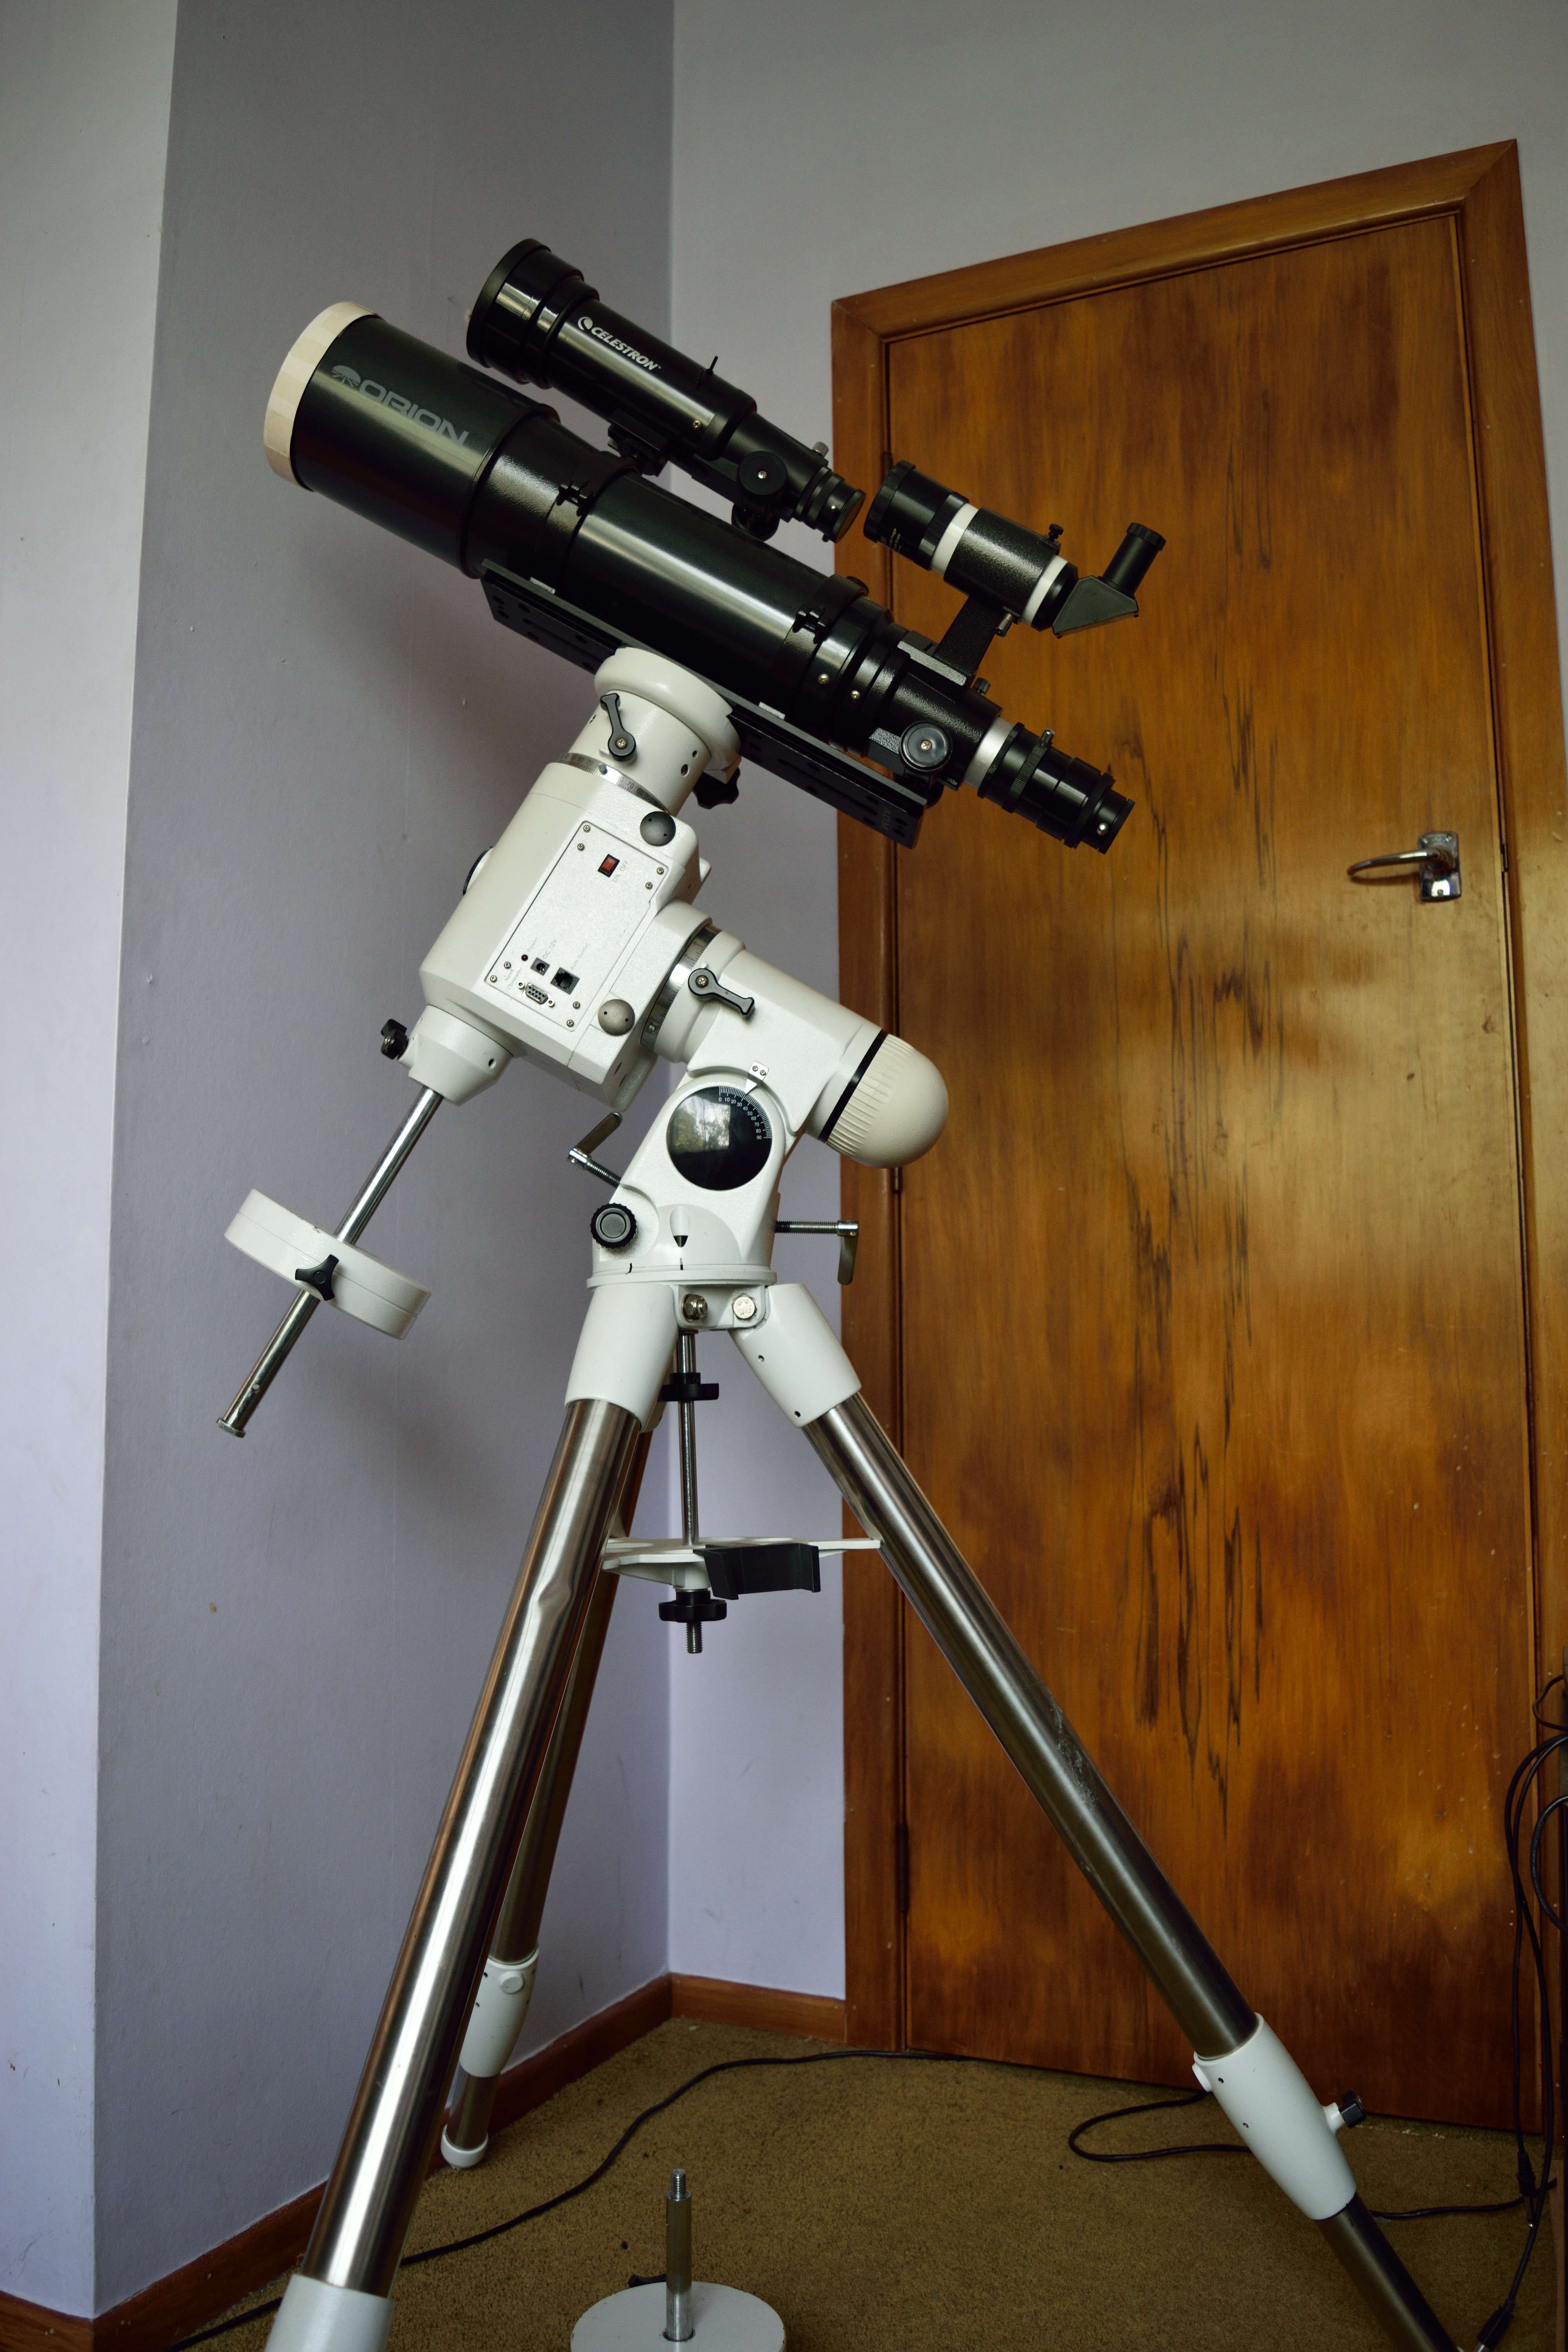
So this is the NEQ6 (with a tripod) , which is an Equatorial Mount used to track the sky. On it is an Orion 120mm refractor telescope. Also in this setup is a 70mm refractor on top of the 120mm one , to be used for auto-guiding when i finally get that all set up. And a finder scope toward the back.
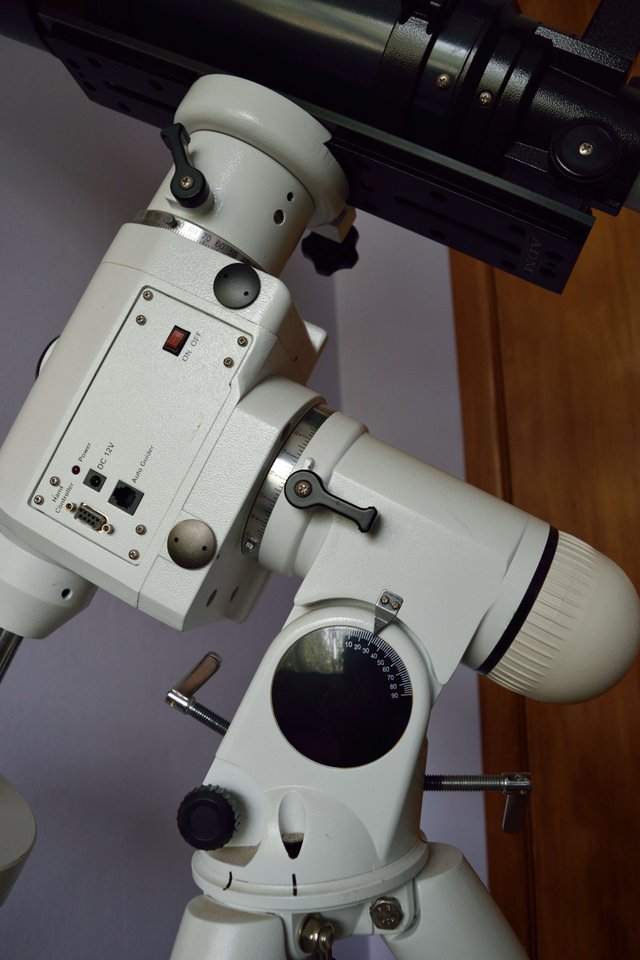
On the upper left , is the panel were everything connects to the mount itself. Power , controller and an auto-guider if you have one. The NEQ6 comes with it's own hand controller , which i will show in another image. Or you can also connect a computer to the controller port with a converter (Warning: Do NOT connect a computer directly to the hand controller port , as something will likely get fried!)
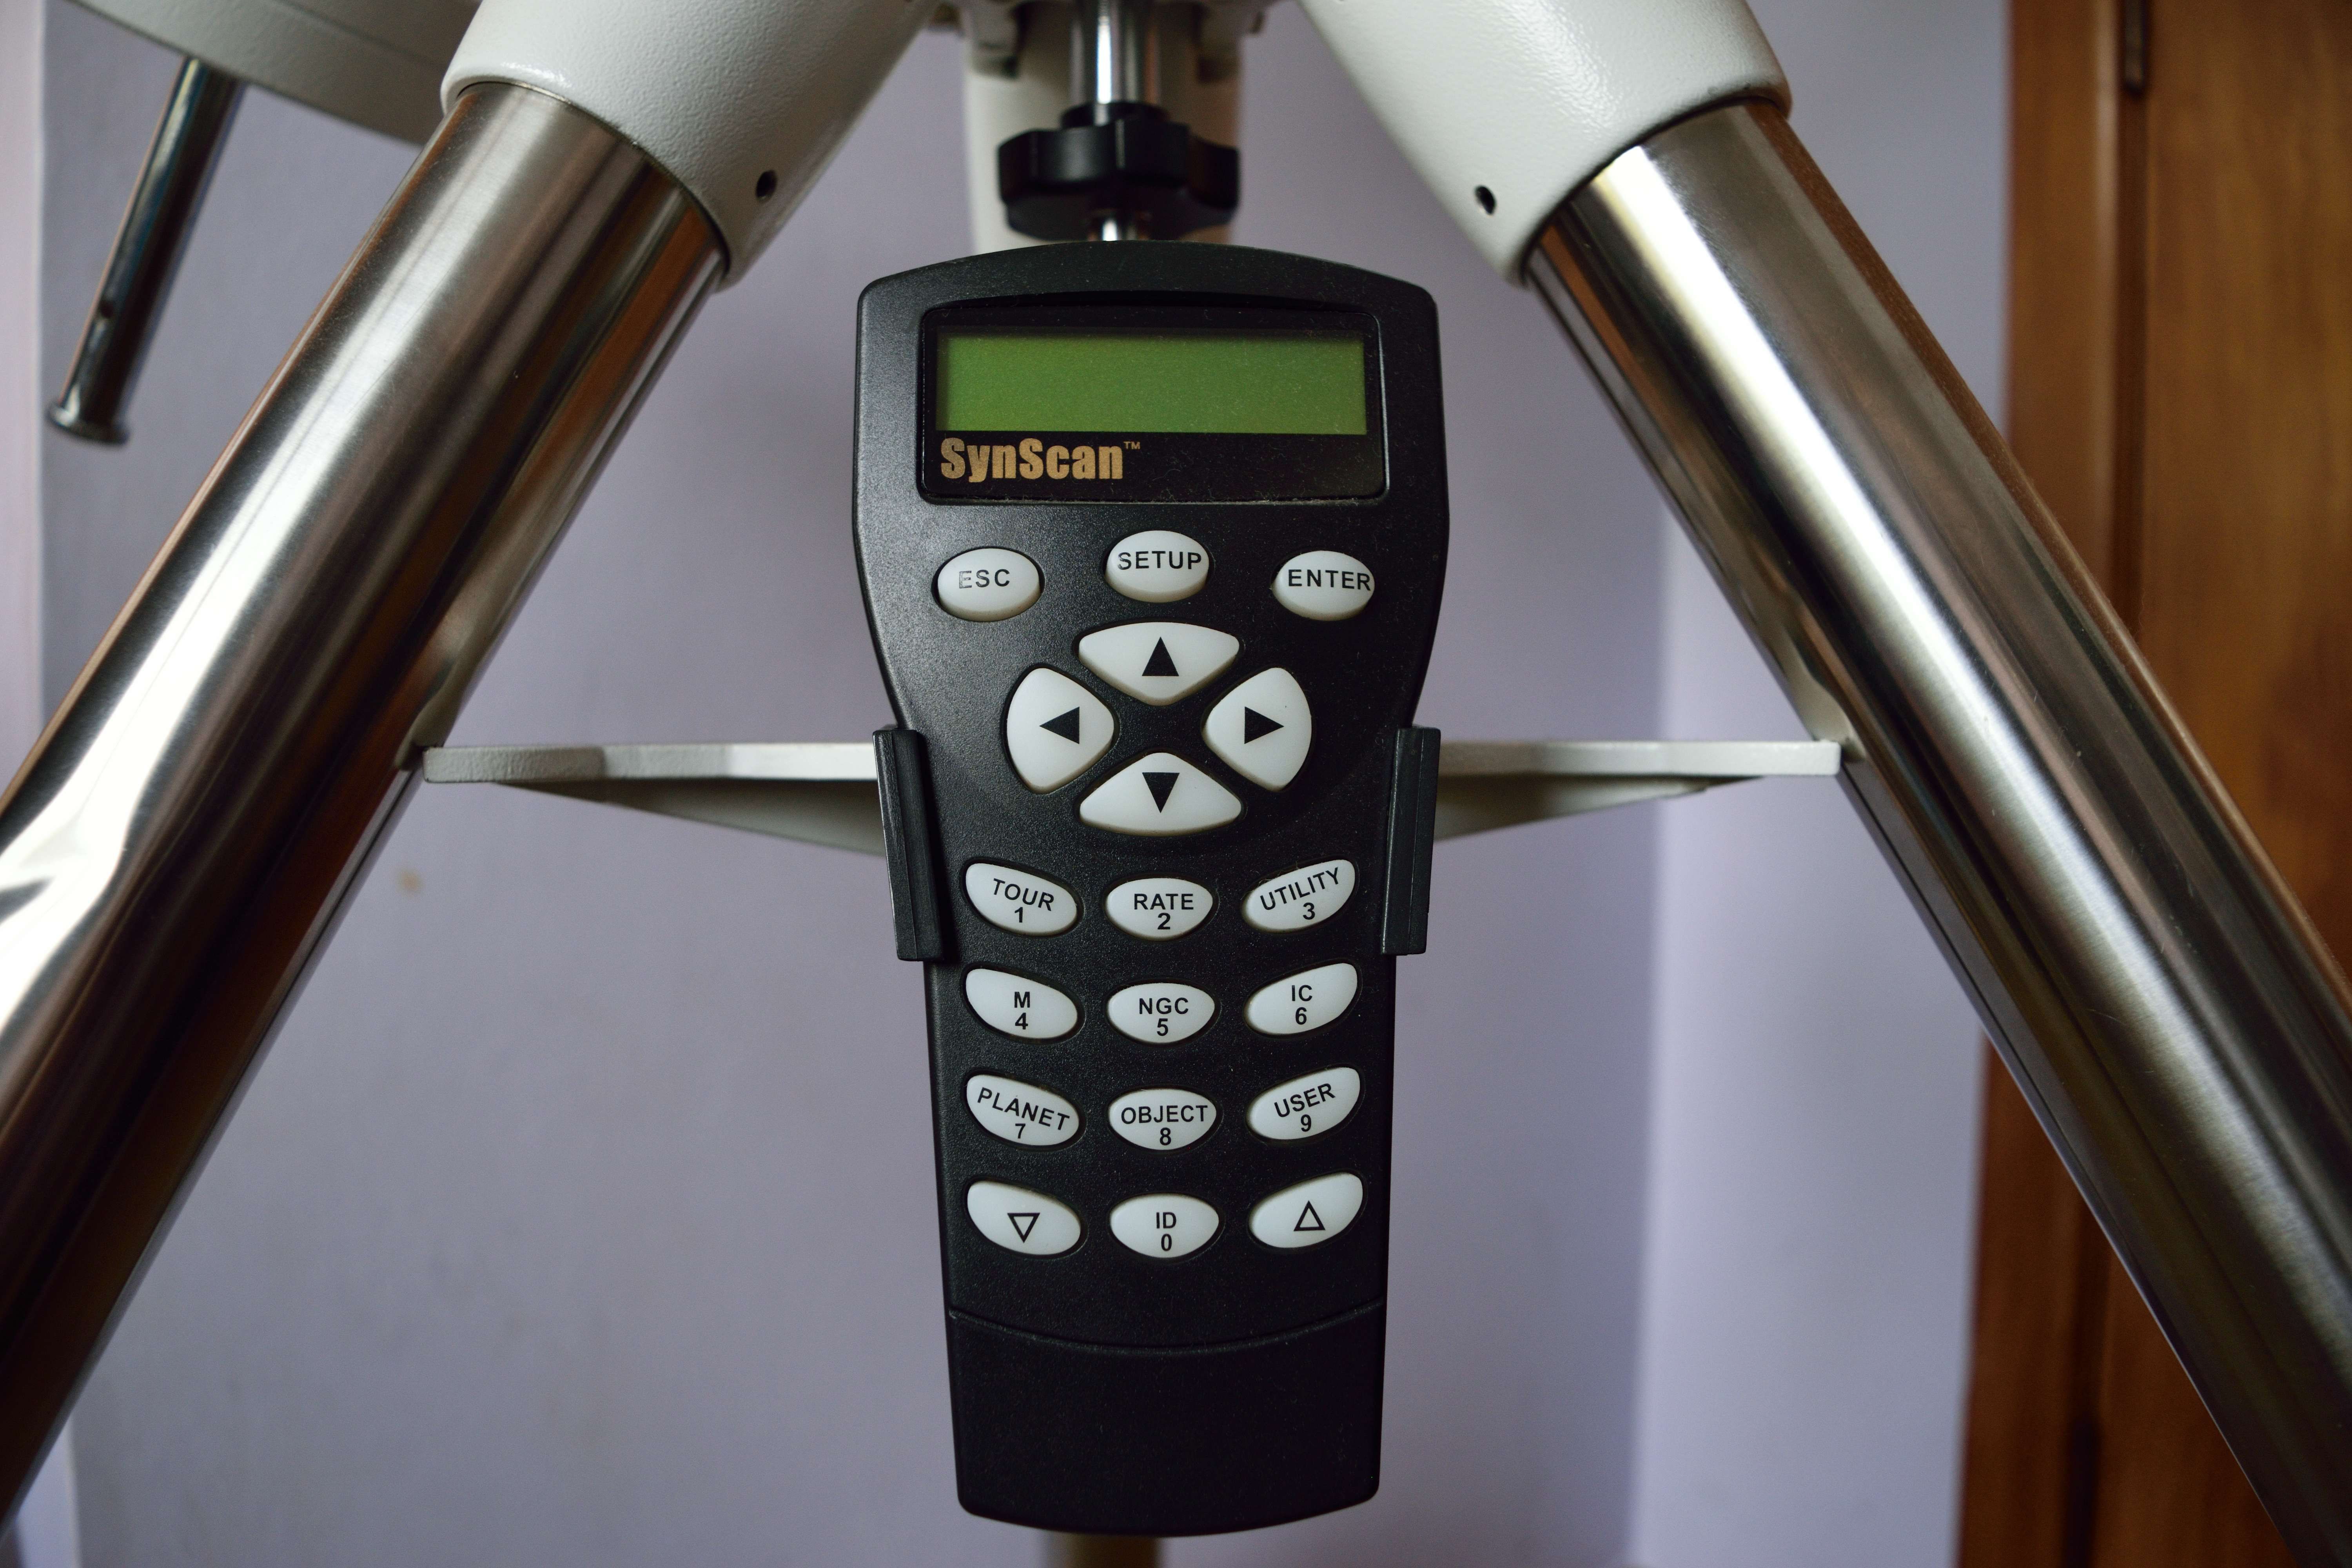
Next is the hand controller itself. The up and down 'arrow keys' move the declination(DEC) axis (north and south) and the left and right keys move the right ascension(RA) axis (east and west). Right Ascension and Declination or RA and DEC are similar to Longitude and Latitude , except RA and DEC are used to find objects in the sky. This is a GOTO controller meaning it has a list of objects (around 10,000) and their locations stored in it's memory and will point the telescope at that object when you tell it to. When the mount is hooked up to a computer with planetarium software like [ Stellarium ] (http://www.stellarium.org/) , it can serve the same function as the hand controller when set up to do so.

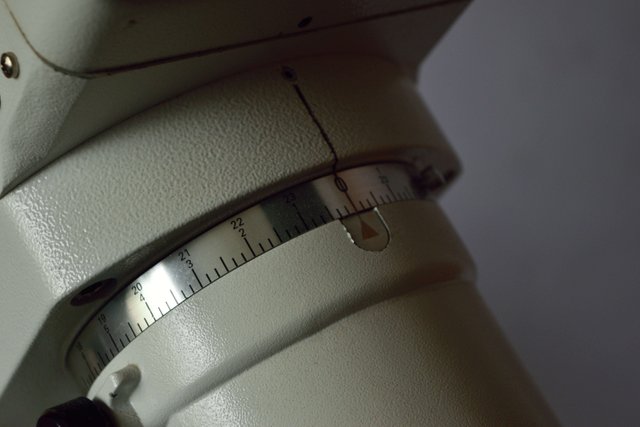
First thing to do when setting up the mount is to make sure that it is level. A small round level is built into the mount itself , but isn't always accurate. In the image, on the level I've made a mark to show where level actually is. This was done by leveling the tripod on all 3 axes with a spirit level first (a nice small bullet level is handy) , then attaching the mount and marking where the bubble is on the built in level. (And no , the mount isn't level in the image)
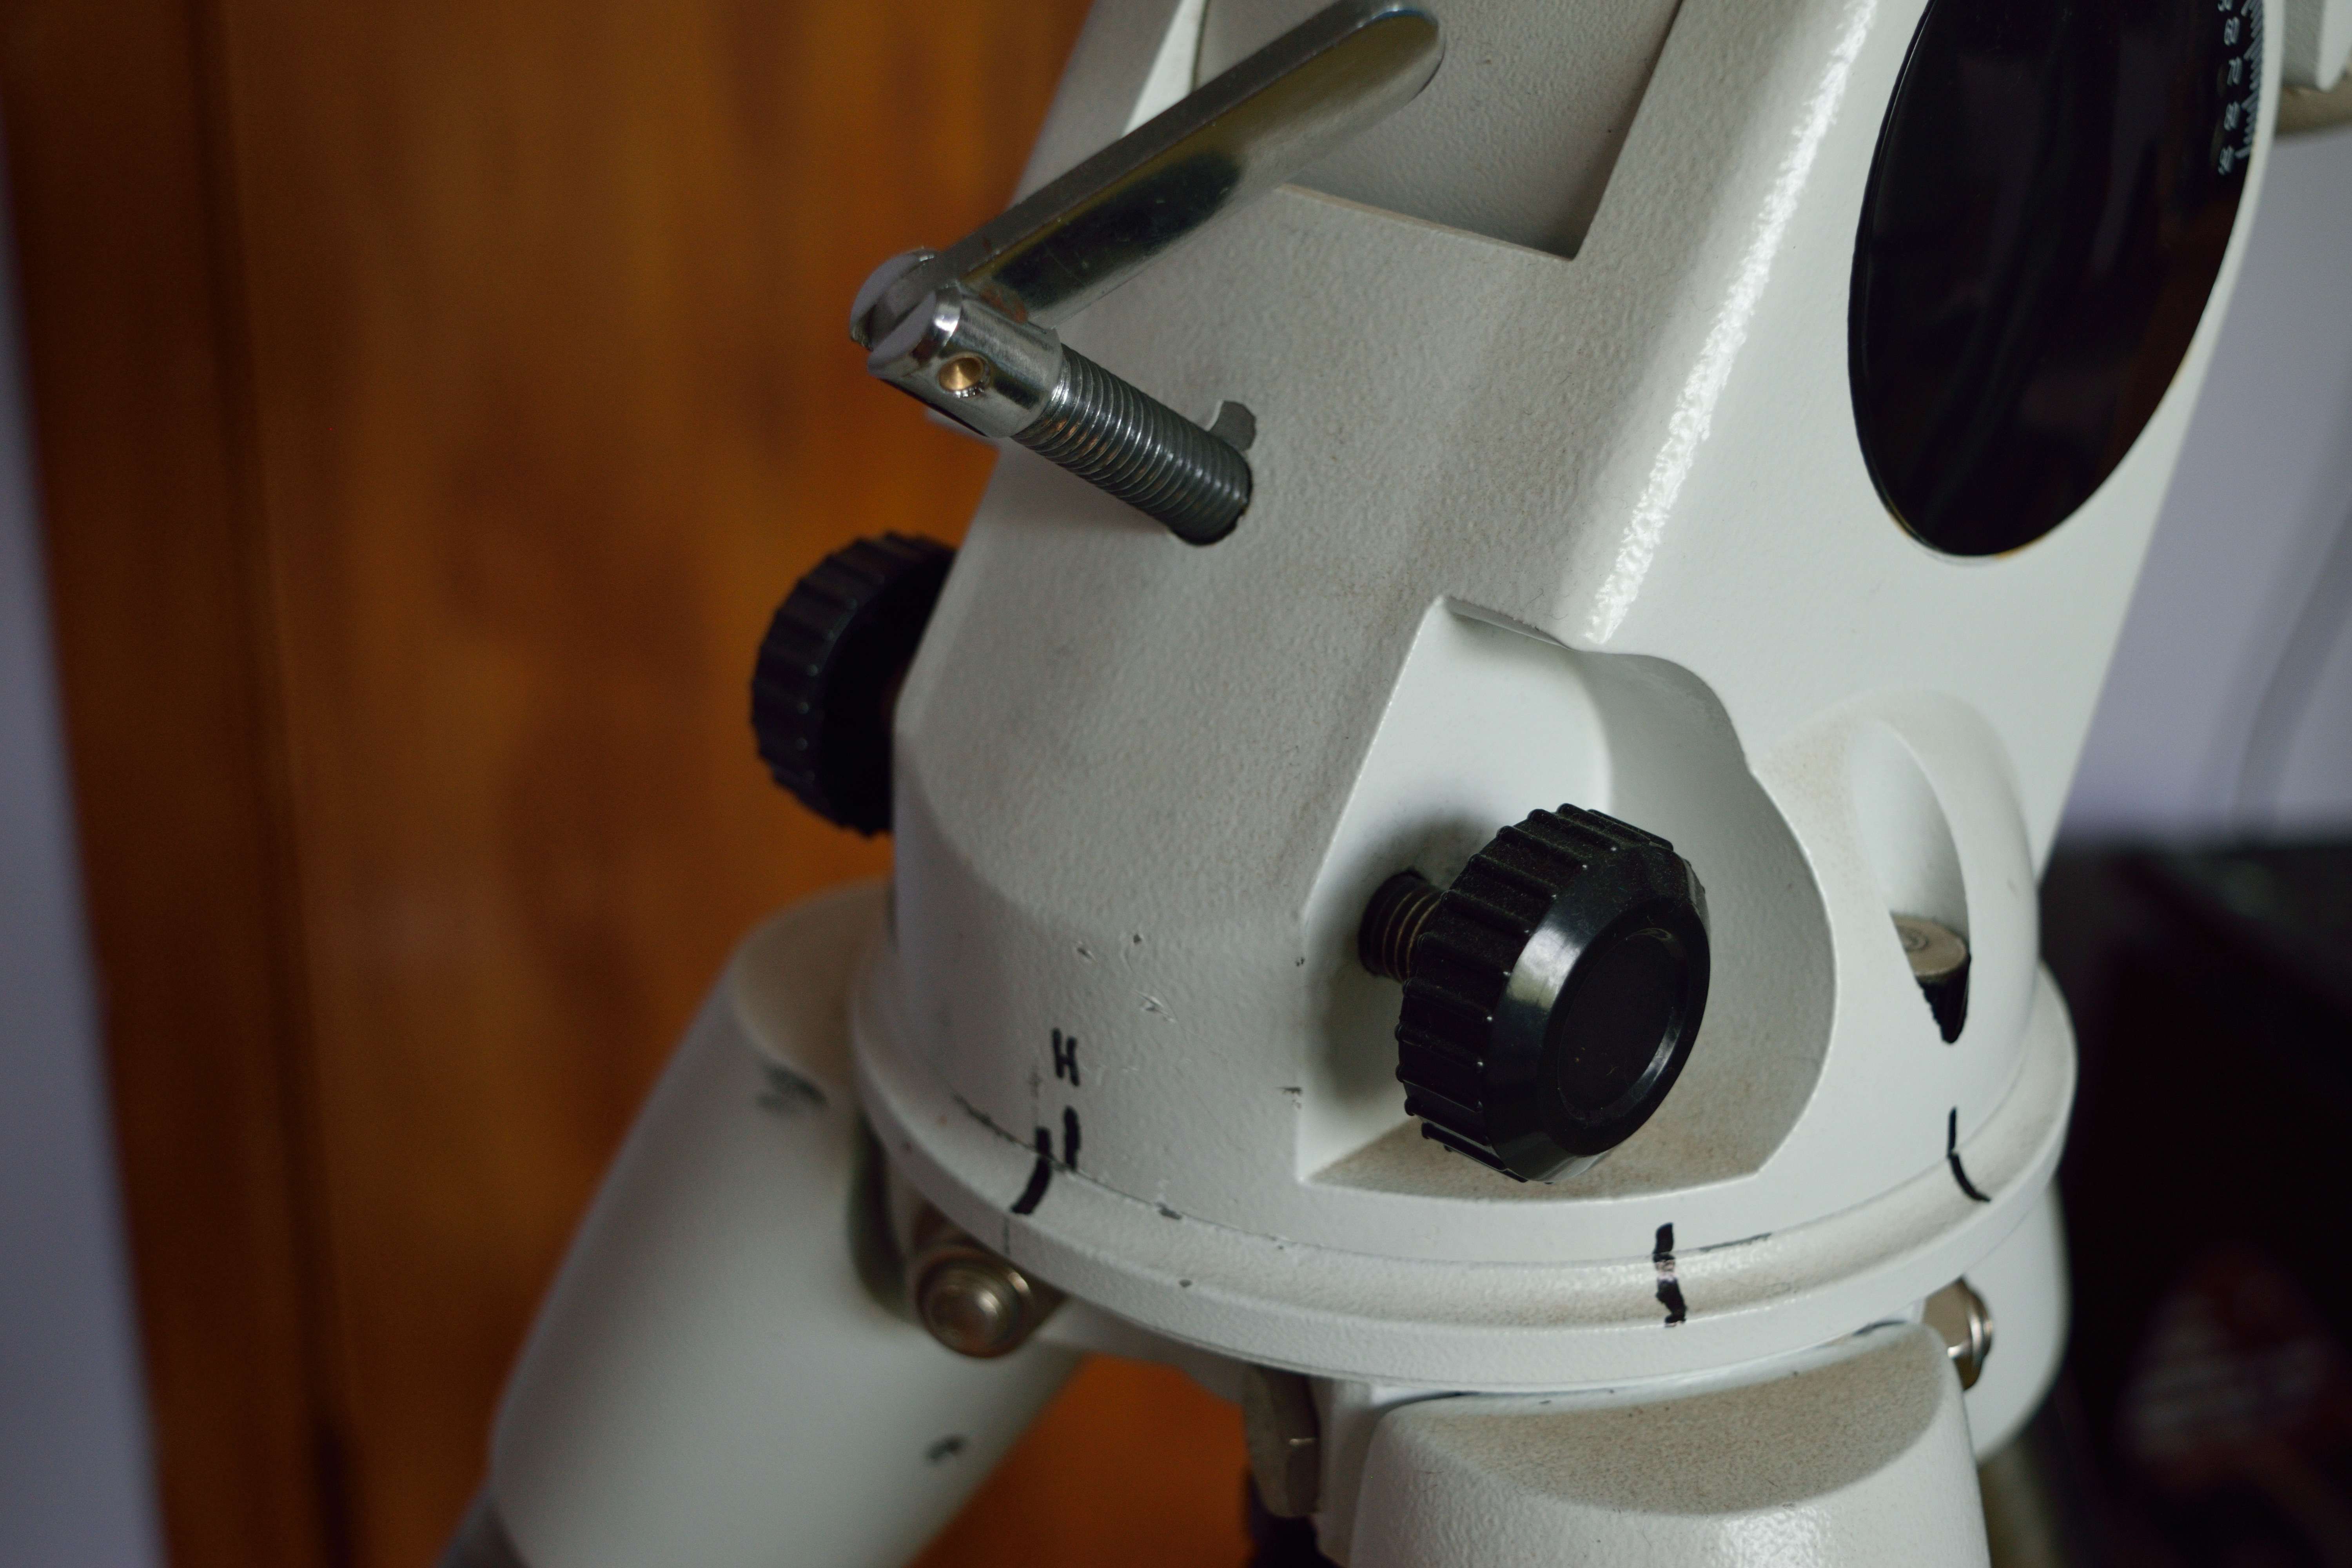
The two black knobs on either side are the bolts to adjust the Azimuth. (East and West) Used to align the telescope to the Celestial Pole , in my case the South Celestial Pole. In the Northern Hemisphere you would be aligning your telescope to the North Celestial Pole , which is the point at which the sky appears to rotate around. Azimuth is measured in degrees from a fixed point , usually North is 0° and so South would be 180°.
The two metal bolts on the front and back of the mount adjust the Altitude. (North and South) These, in combination with the Azimuth bolts are used to align the mount to the Celestial pole. This is measured in degrees up from the horizon , with the horizon being 0° and straight up being 90° . This will be exactly equal to your latitude when aligned.

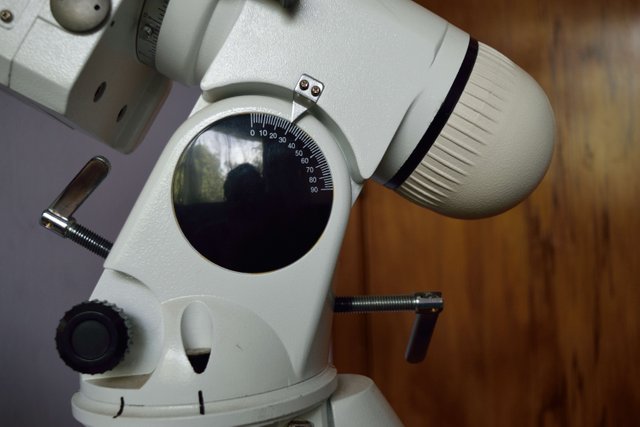
The rear of the mount. The white plastic cover comes off to reveal the Polar Scope, seen in the next image.
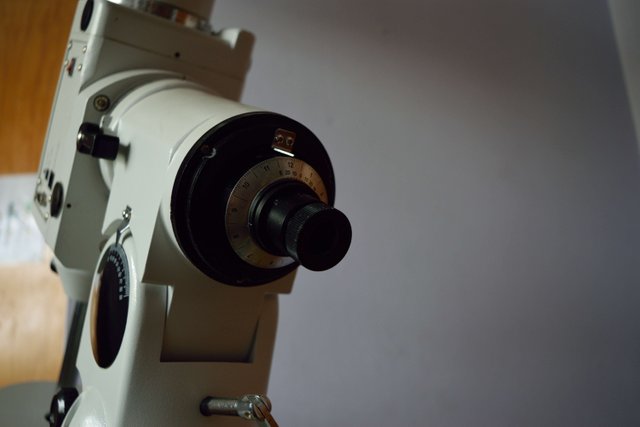
The Polar Scope. After you set up the mount to point due South (or due North if you are in the Northern Hemisphere) and adjust the elevation to whatever your latitude is , the polar scope is what you look through while adjusting the Azimuth and Altitude bolts to align the mount more accurately.
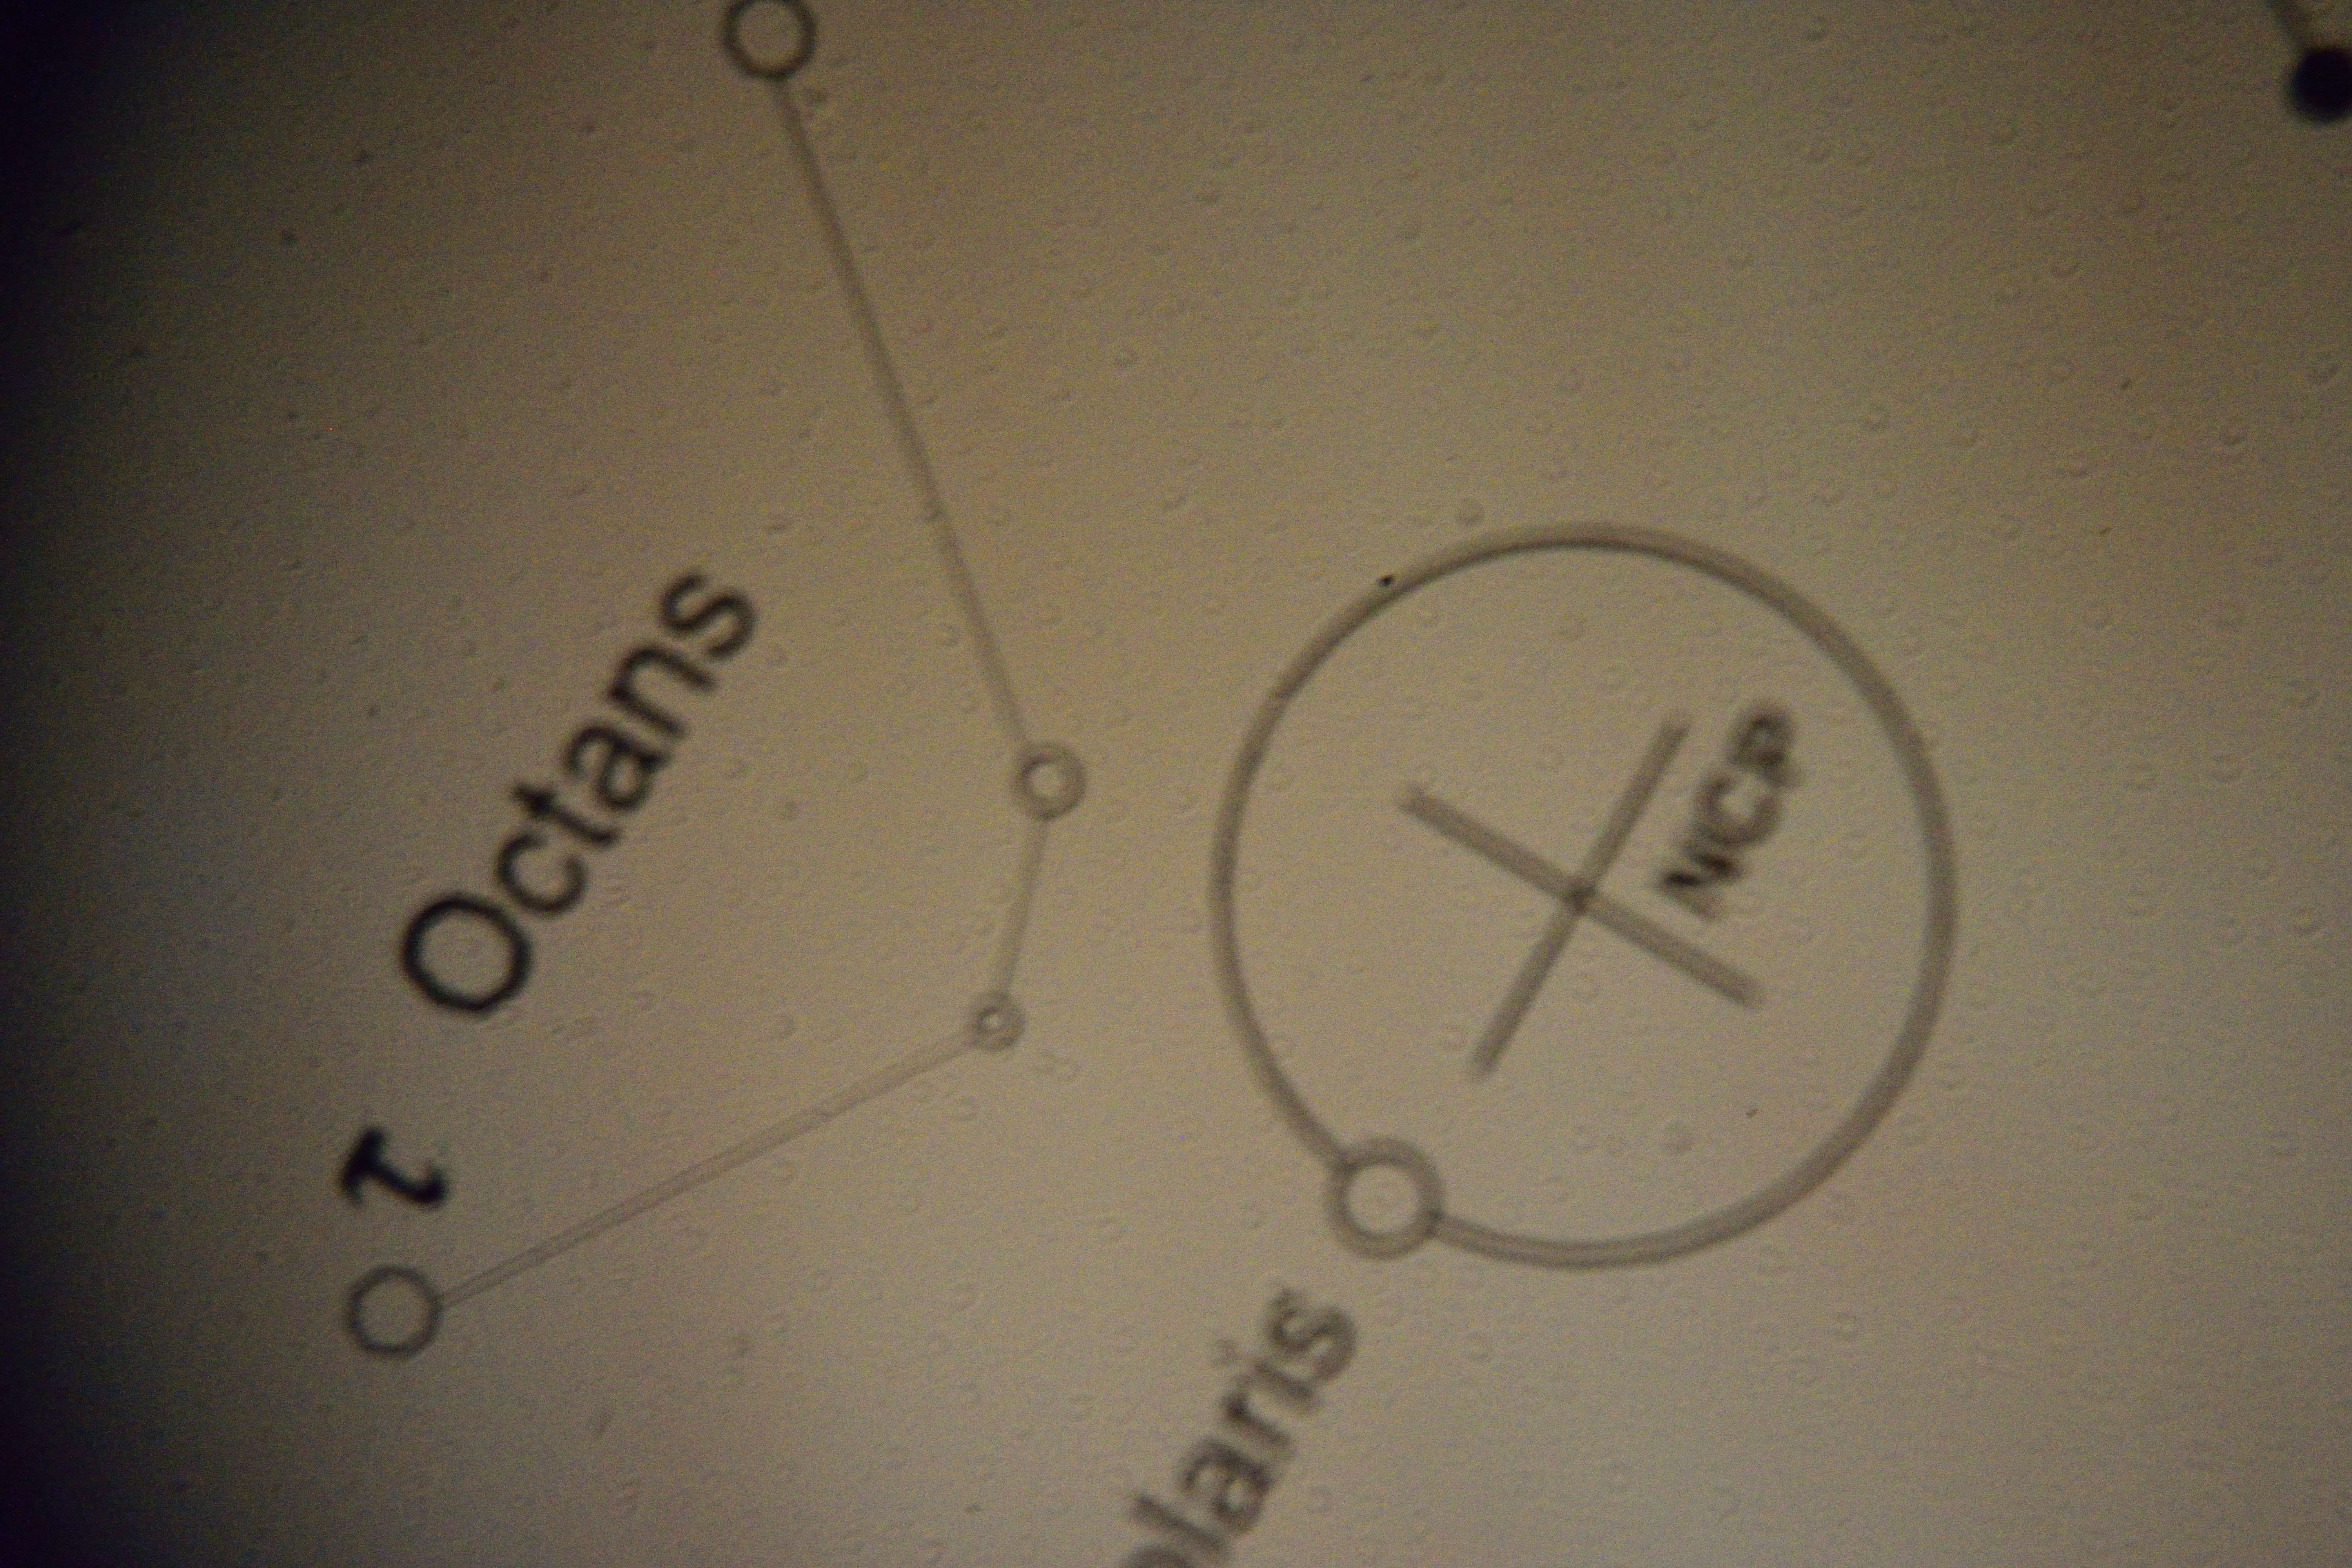
This is what you see when you look through the polar scope. The idea is to align the stars you see to the circles that are shown. For me (in the Southern Hemisphere that would be the four stars shown that are in the Octans constellation. For the Northern Hemisphere , you would use the center cross and circle. The center cross marks the North Celestial Pole (NCP). As you can see , Polaris , which is a fairly bright star , is quite close to the NCP. So you are trying to get Polaris in the circle marked as such. (Note: to be able to see through the polar scope , you first have to lower the counter-weight bar. And the Declination set to 0° (with the mount facing due South or North , the telescope should be facing due East or West).
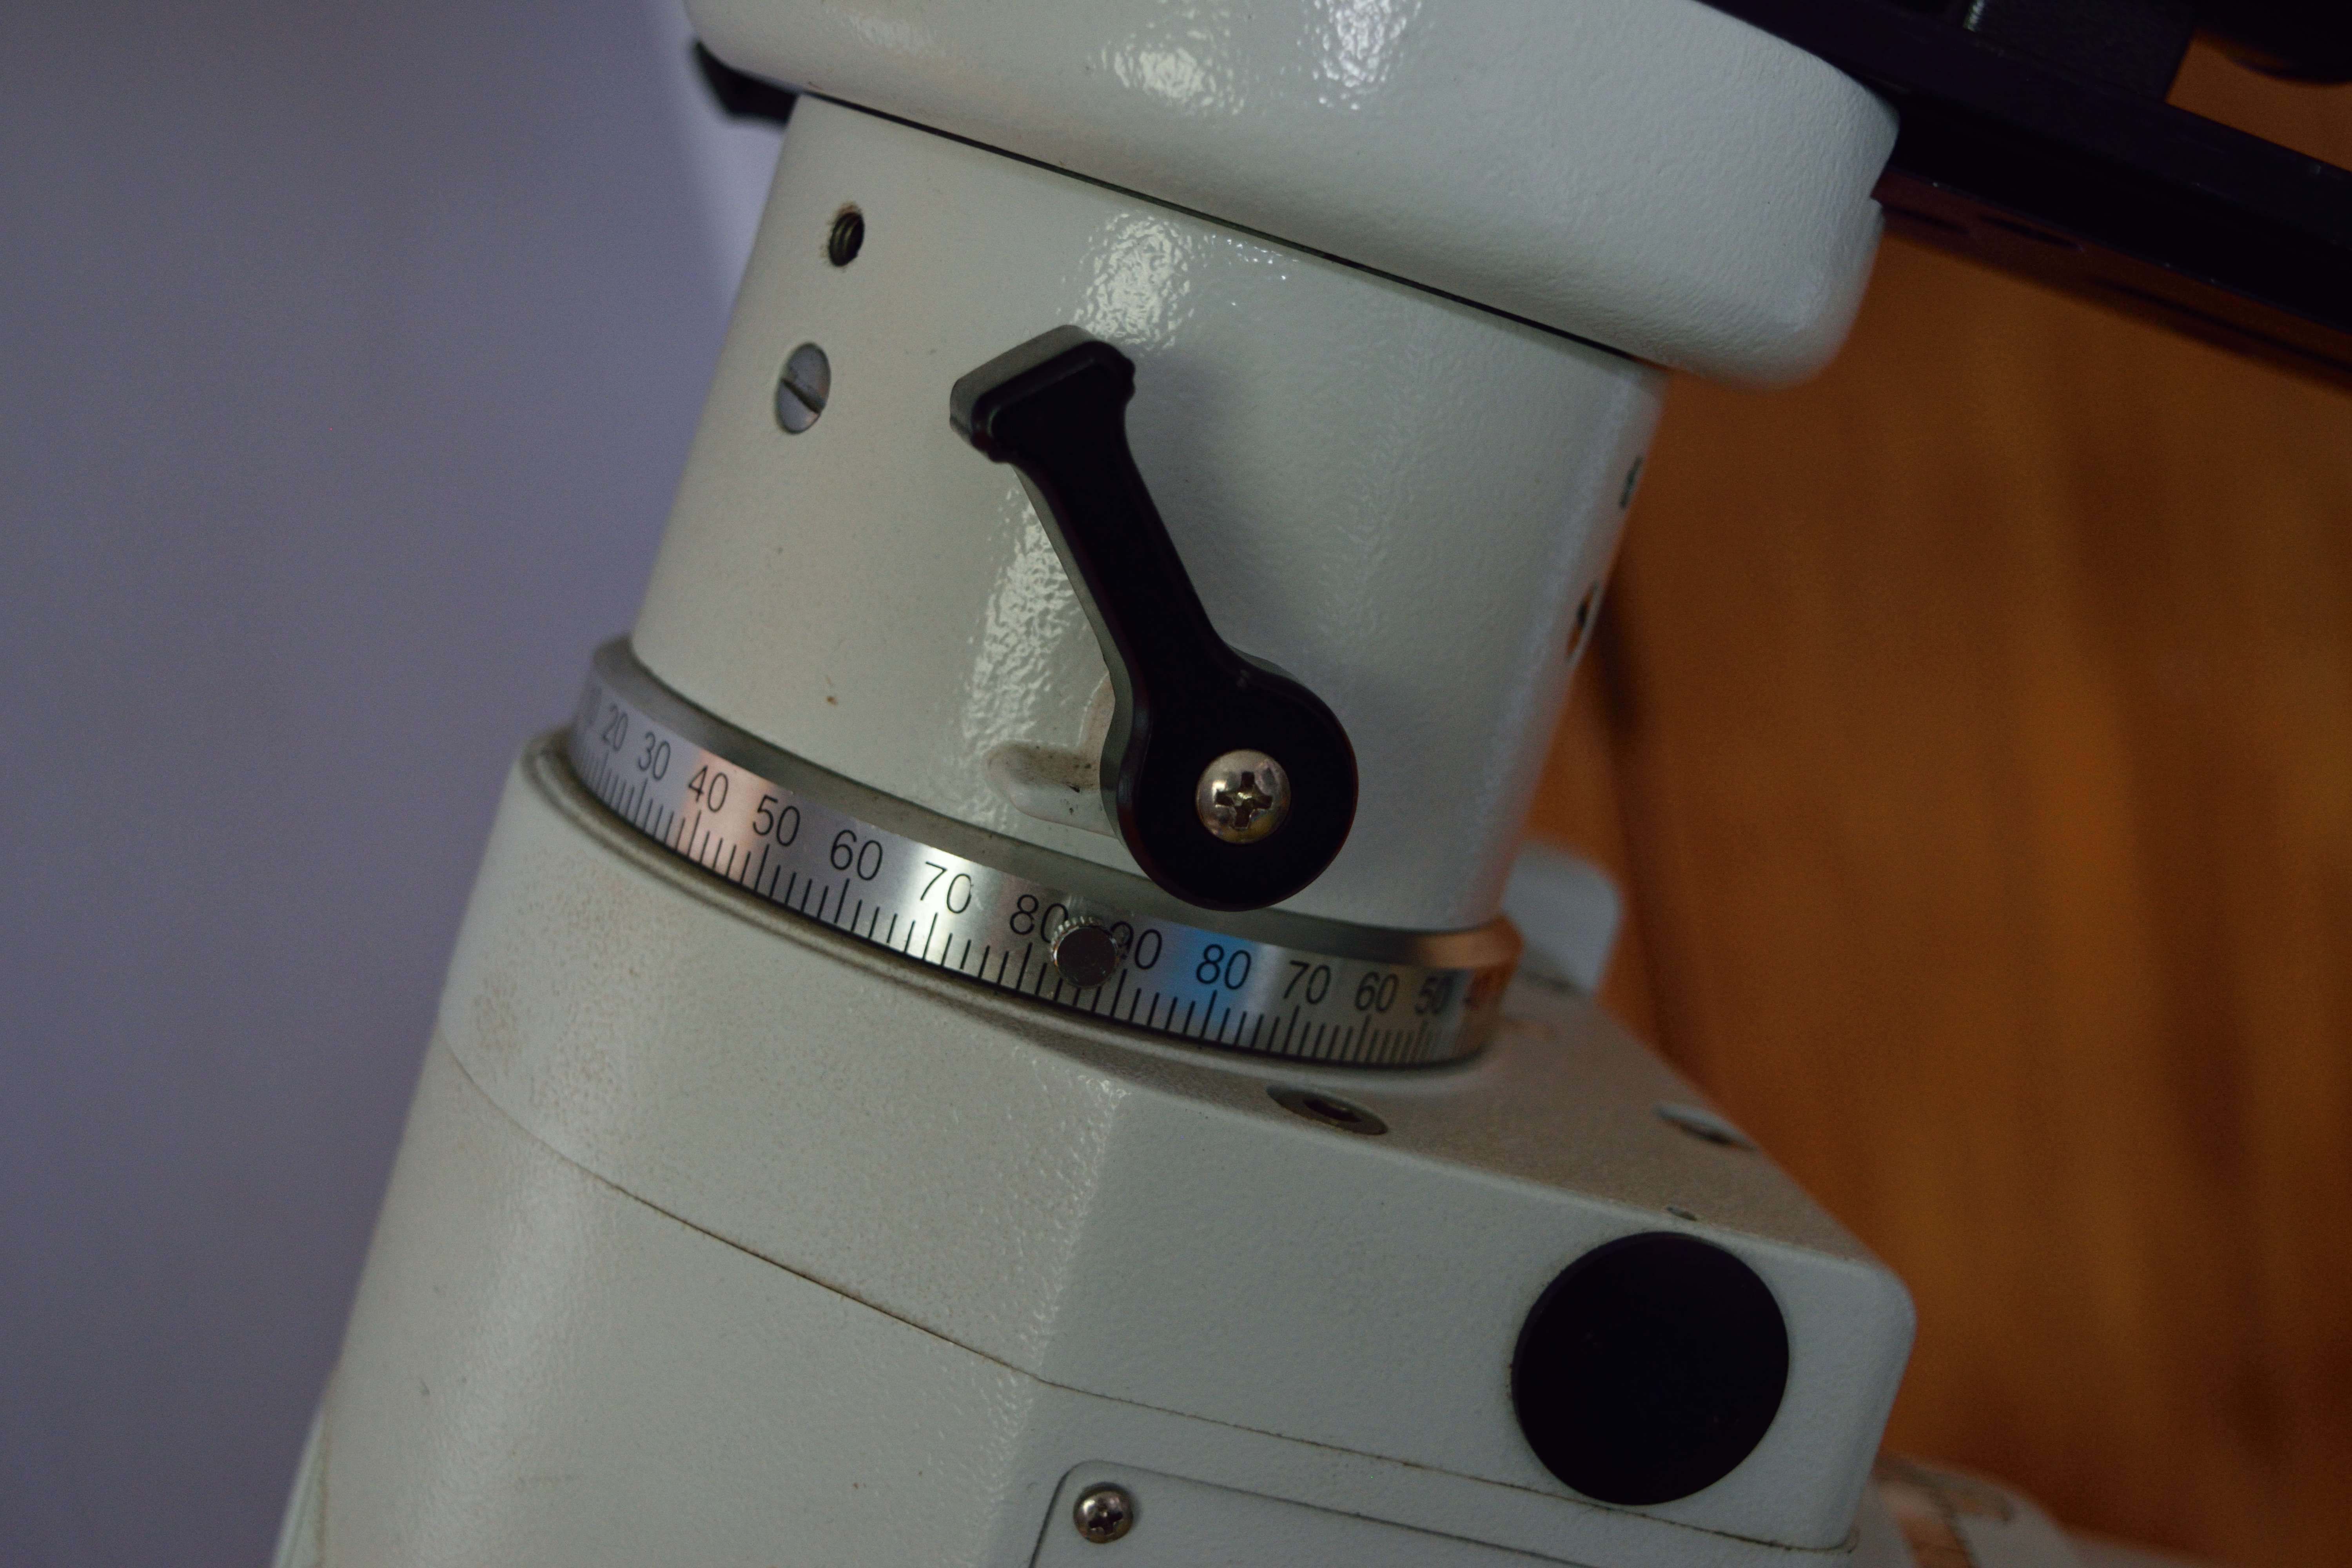
This is the Right Ascension setting circle. Which is mainly used with mounts that do not have a GOTO system , to manually find things in the sky. Measured in Hours , Minutes and Seconds. This is the axis on the mount that tracks the sky. An in depth definition of what RA is can be found here https://en.wikipedia.org/wiki/Right_ascension . However , and easier way to look at it is that RA is basically just a clock , and an object's Right Ascension is the time at which it will be at it's highest point in the sky. It is the point at which the object you are looking for will cross the Meridian , which is a line across the sky going from North to South or vice versa. Just to throw some math in here , every hour of RA is equal to 15° of apparent movement in the sky. And why is that? Because there are 24 hours in a day and 360° in a circle. So every 4 minutes the sky appears to move 1°.
This is the Declination setting circle. Again this is mainly used with telescopes that don't have a GOTO system. Declination is measured in degrees. This is how far an object in the sky is from the Celestial Equator , which is , if you imagine the Earth's equator extending out into space , this is where the Celestial equator is. So , if you live on the equator , the Celestial Equator would be straight up. On the Celestial Equator it is 0° Declination , at the Celestial Poles it is 90° Declination.
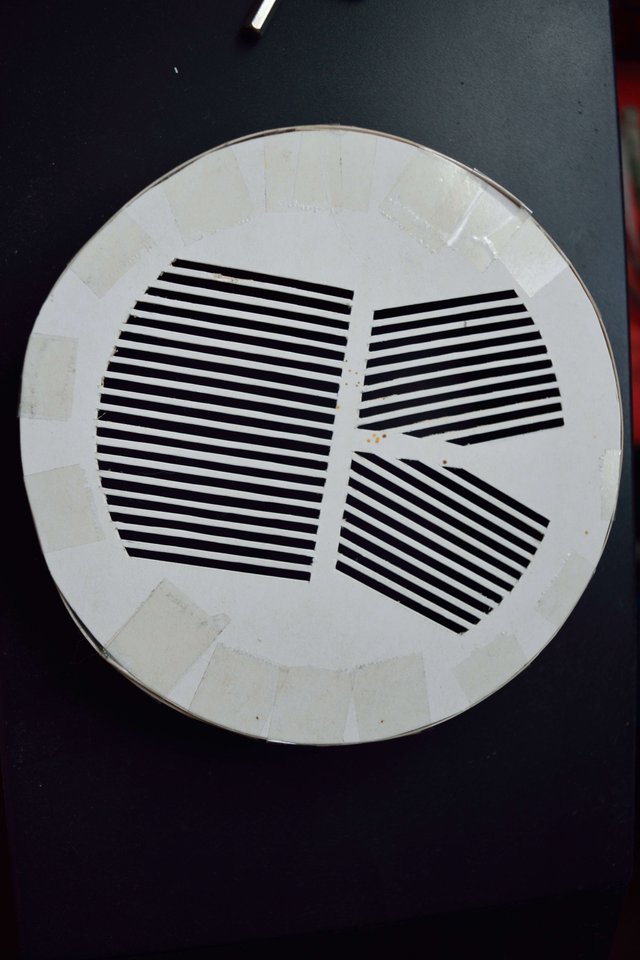
This is a Bahtinov Mask. It's purpose is to help you to focus your telescope properly , for astrophotography. If you would like to make one , a generator can be found here http://astrojargon.net/MaskGen.aspx . That is the generator i used to make the one pictured. I made this one out of construction paper / thin cardboard and cut out the lines with a craft knife (looks somewhat like a scalpel.) And yeah , that takes some steady hands and a whole lot of patience, even with a ruler.
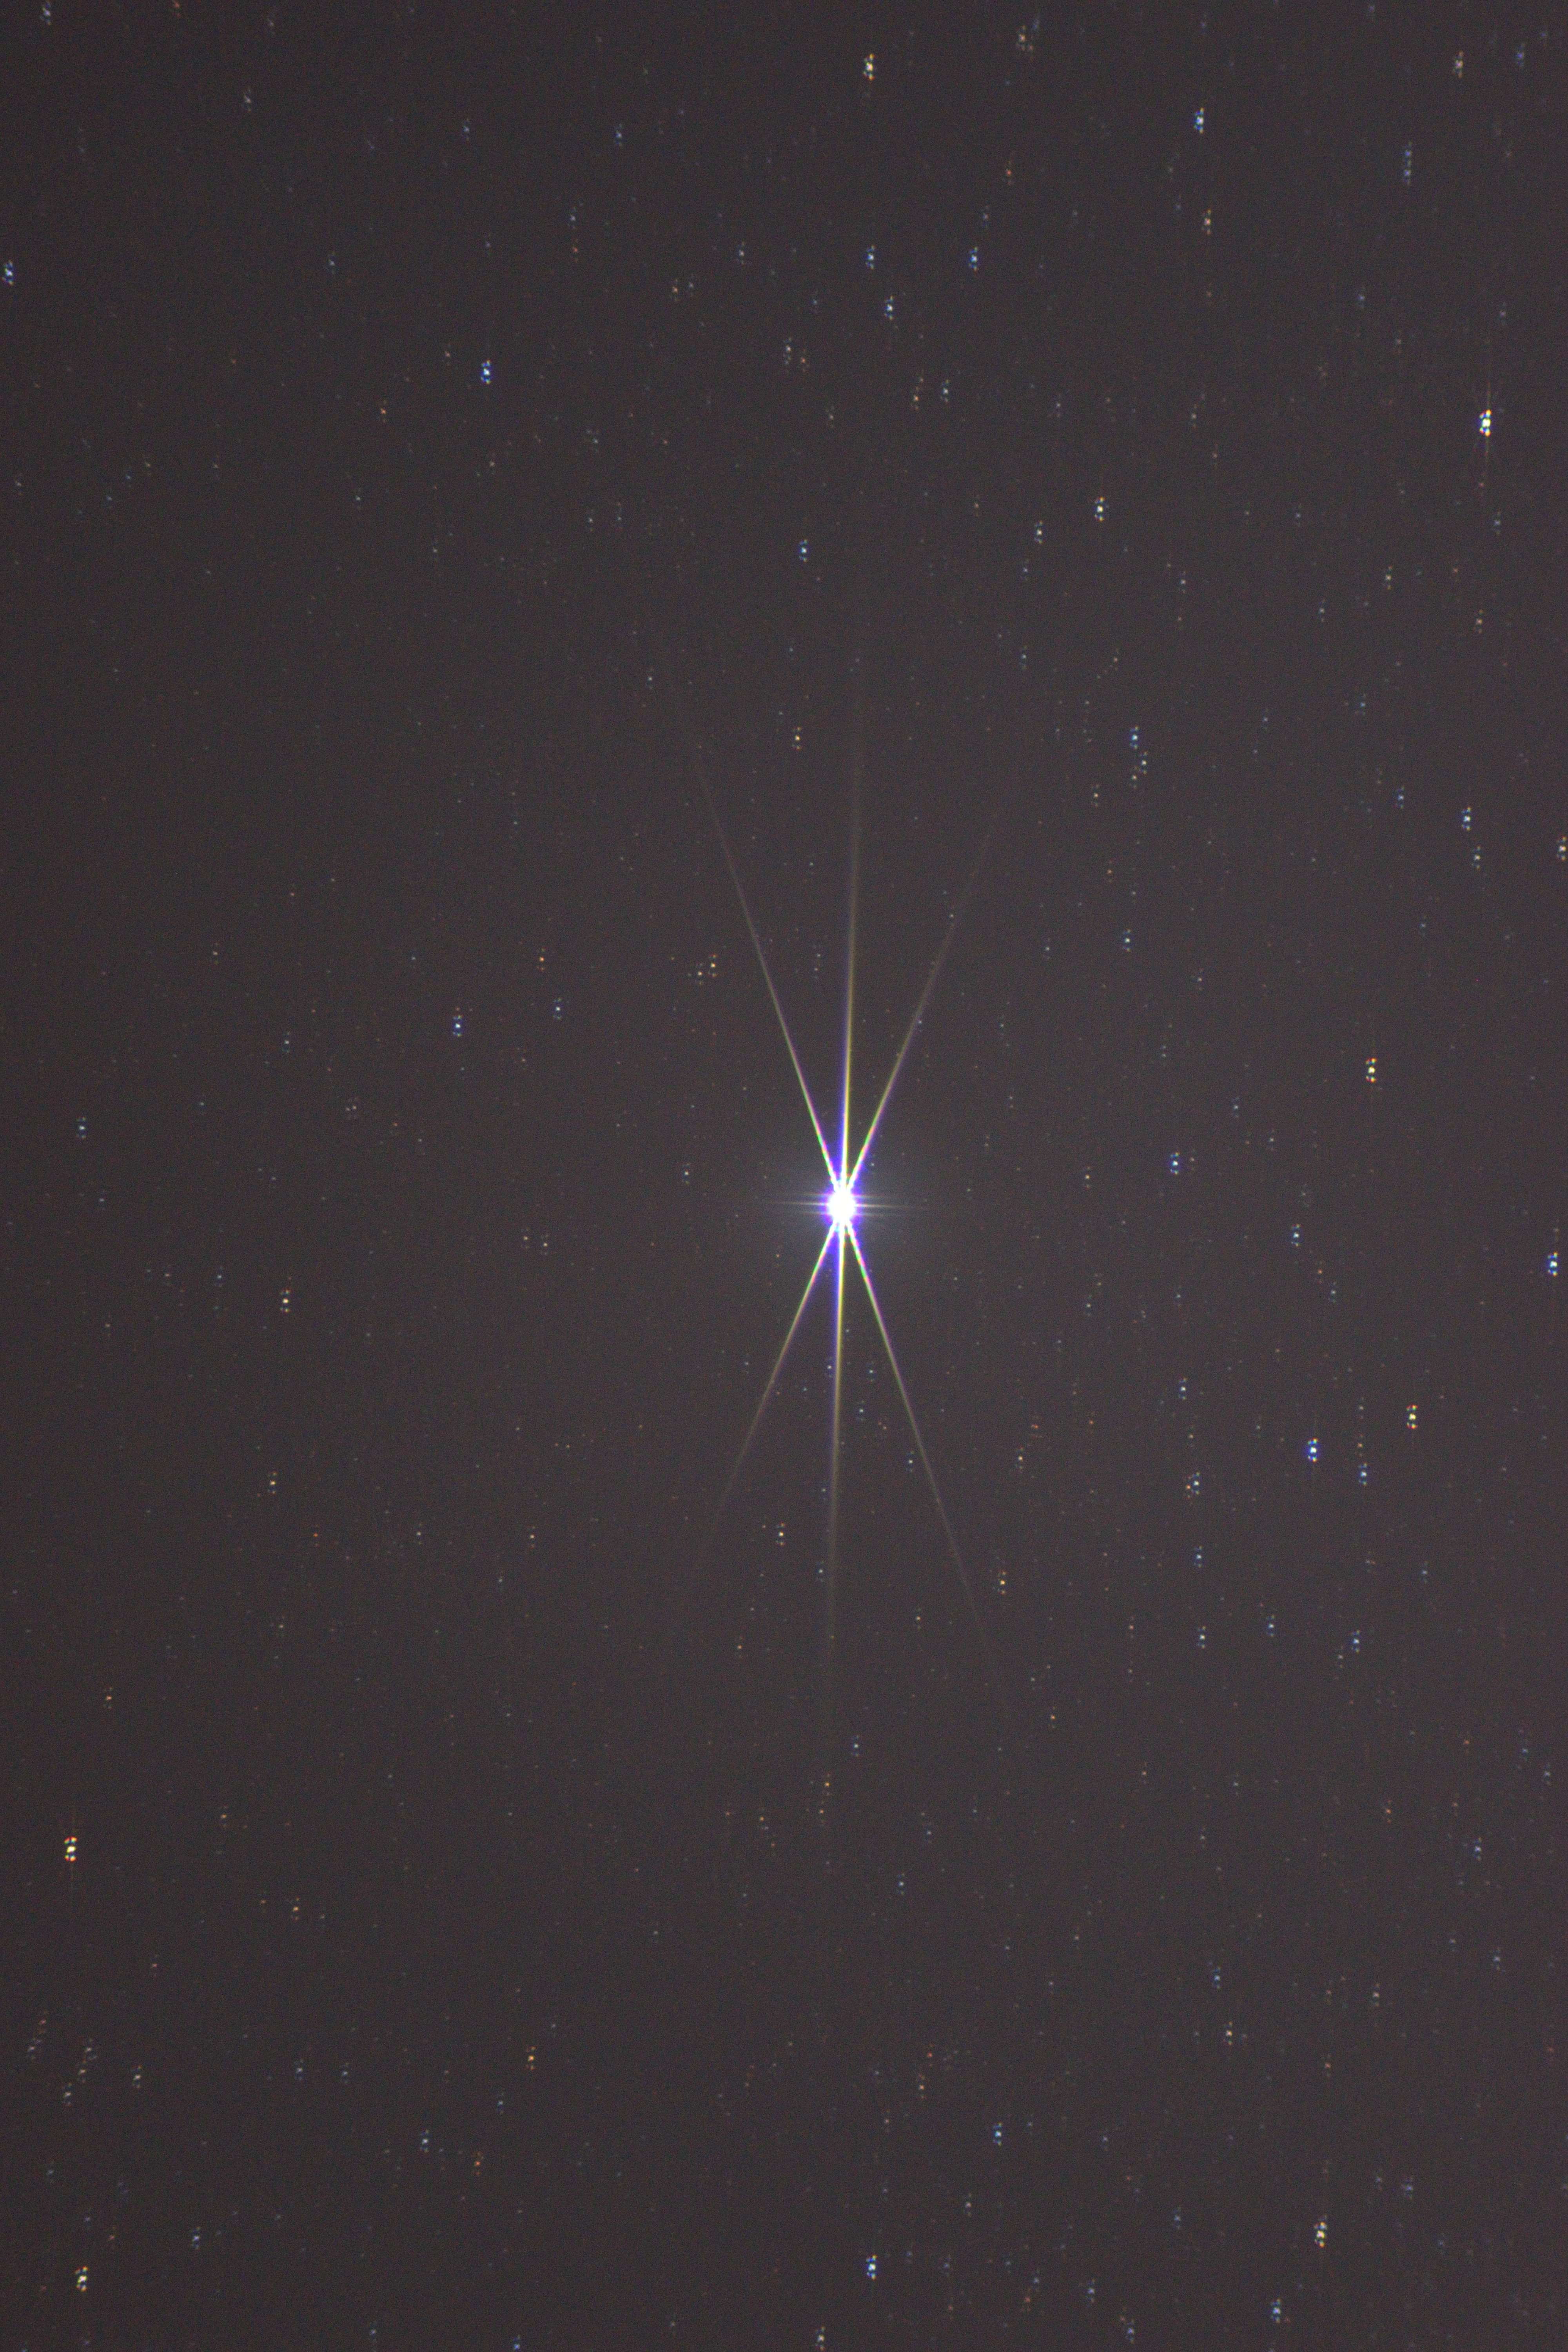
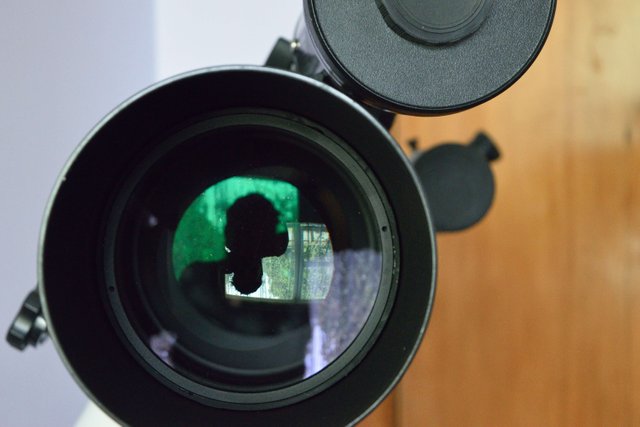
This is what you see when you use a Bahtinov Mask. The idea here is to first point your telescope at a bright star , then try to get the center line exactly in the center of the 'X' . When you move the focus in and out the center line will move out from the center , in this image it would move left or right.
This is a Refractor Telescope , meaning it uses a lens. In this case this is the Orion 120mm.
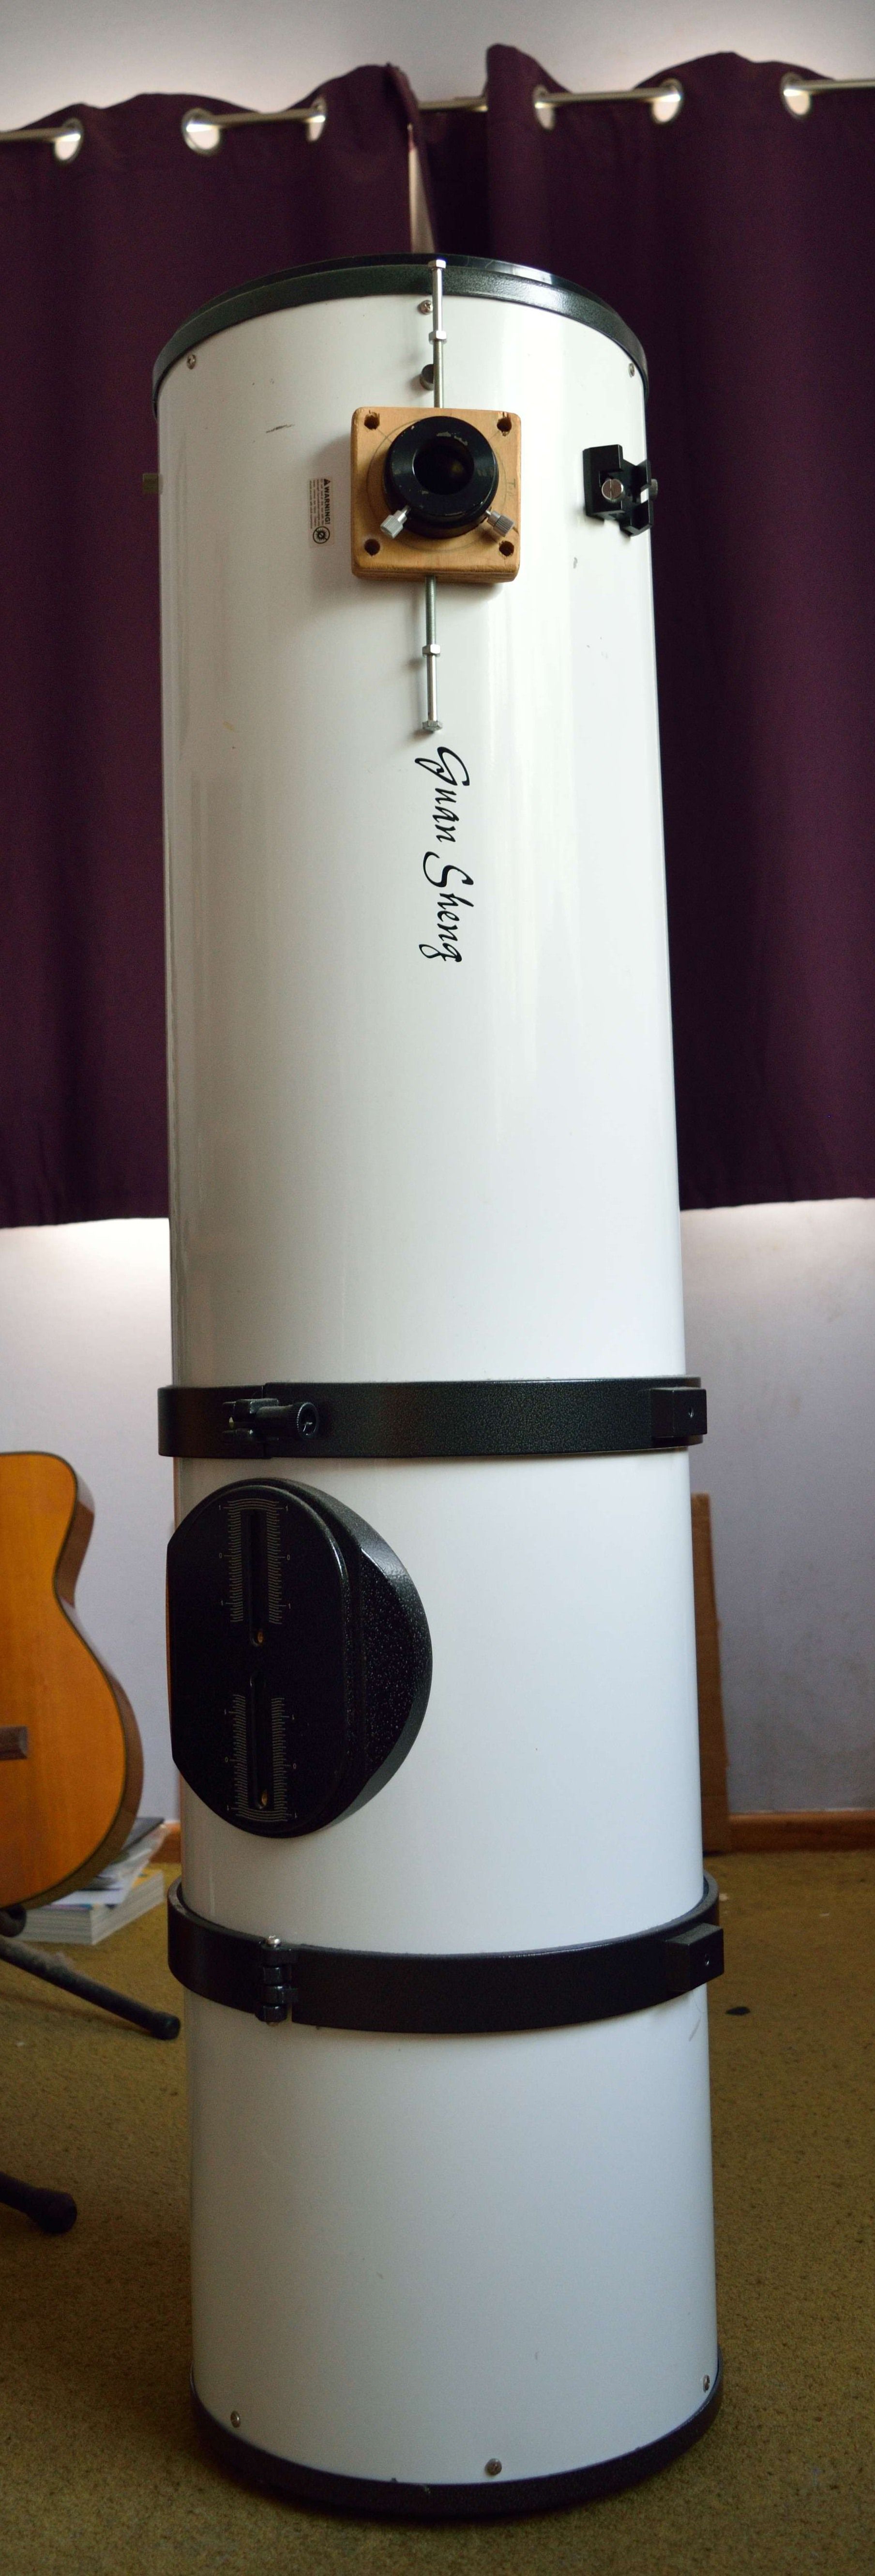
This is a Newtonian Telescope , which is a type of Reflector Telescope , meaning it uses a mirror. In this case this is the 250mm Newtonian with a 1250mm focal length. As you can see it has a DIY holder i guess (because it's not a focuser). I put it on there because this telescope was made for visual use not astrophotography , as such , with the stock focuser my camera could not get close enough to achieve focus.
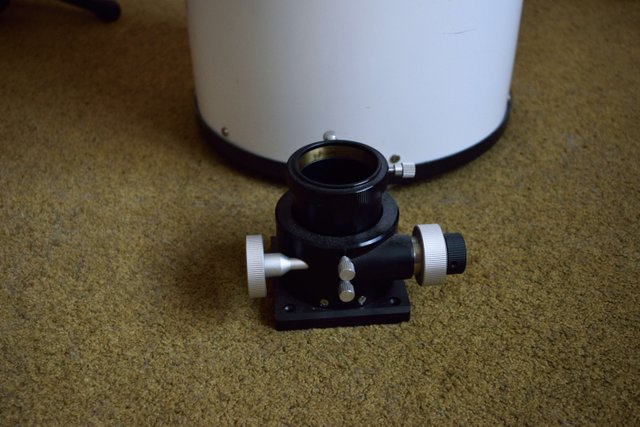
The stock focuser.
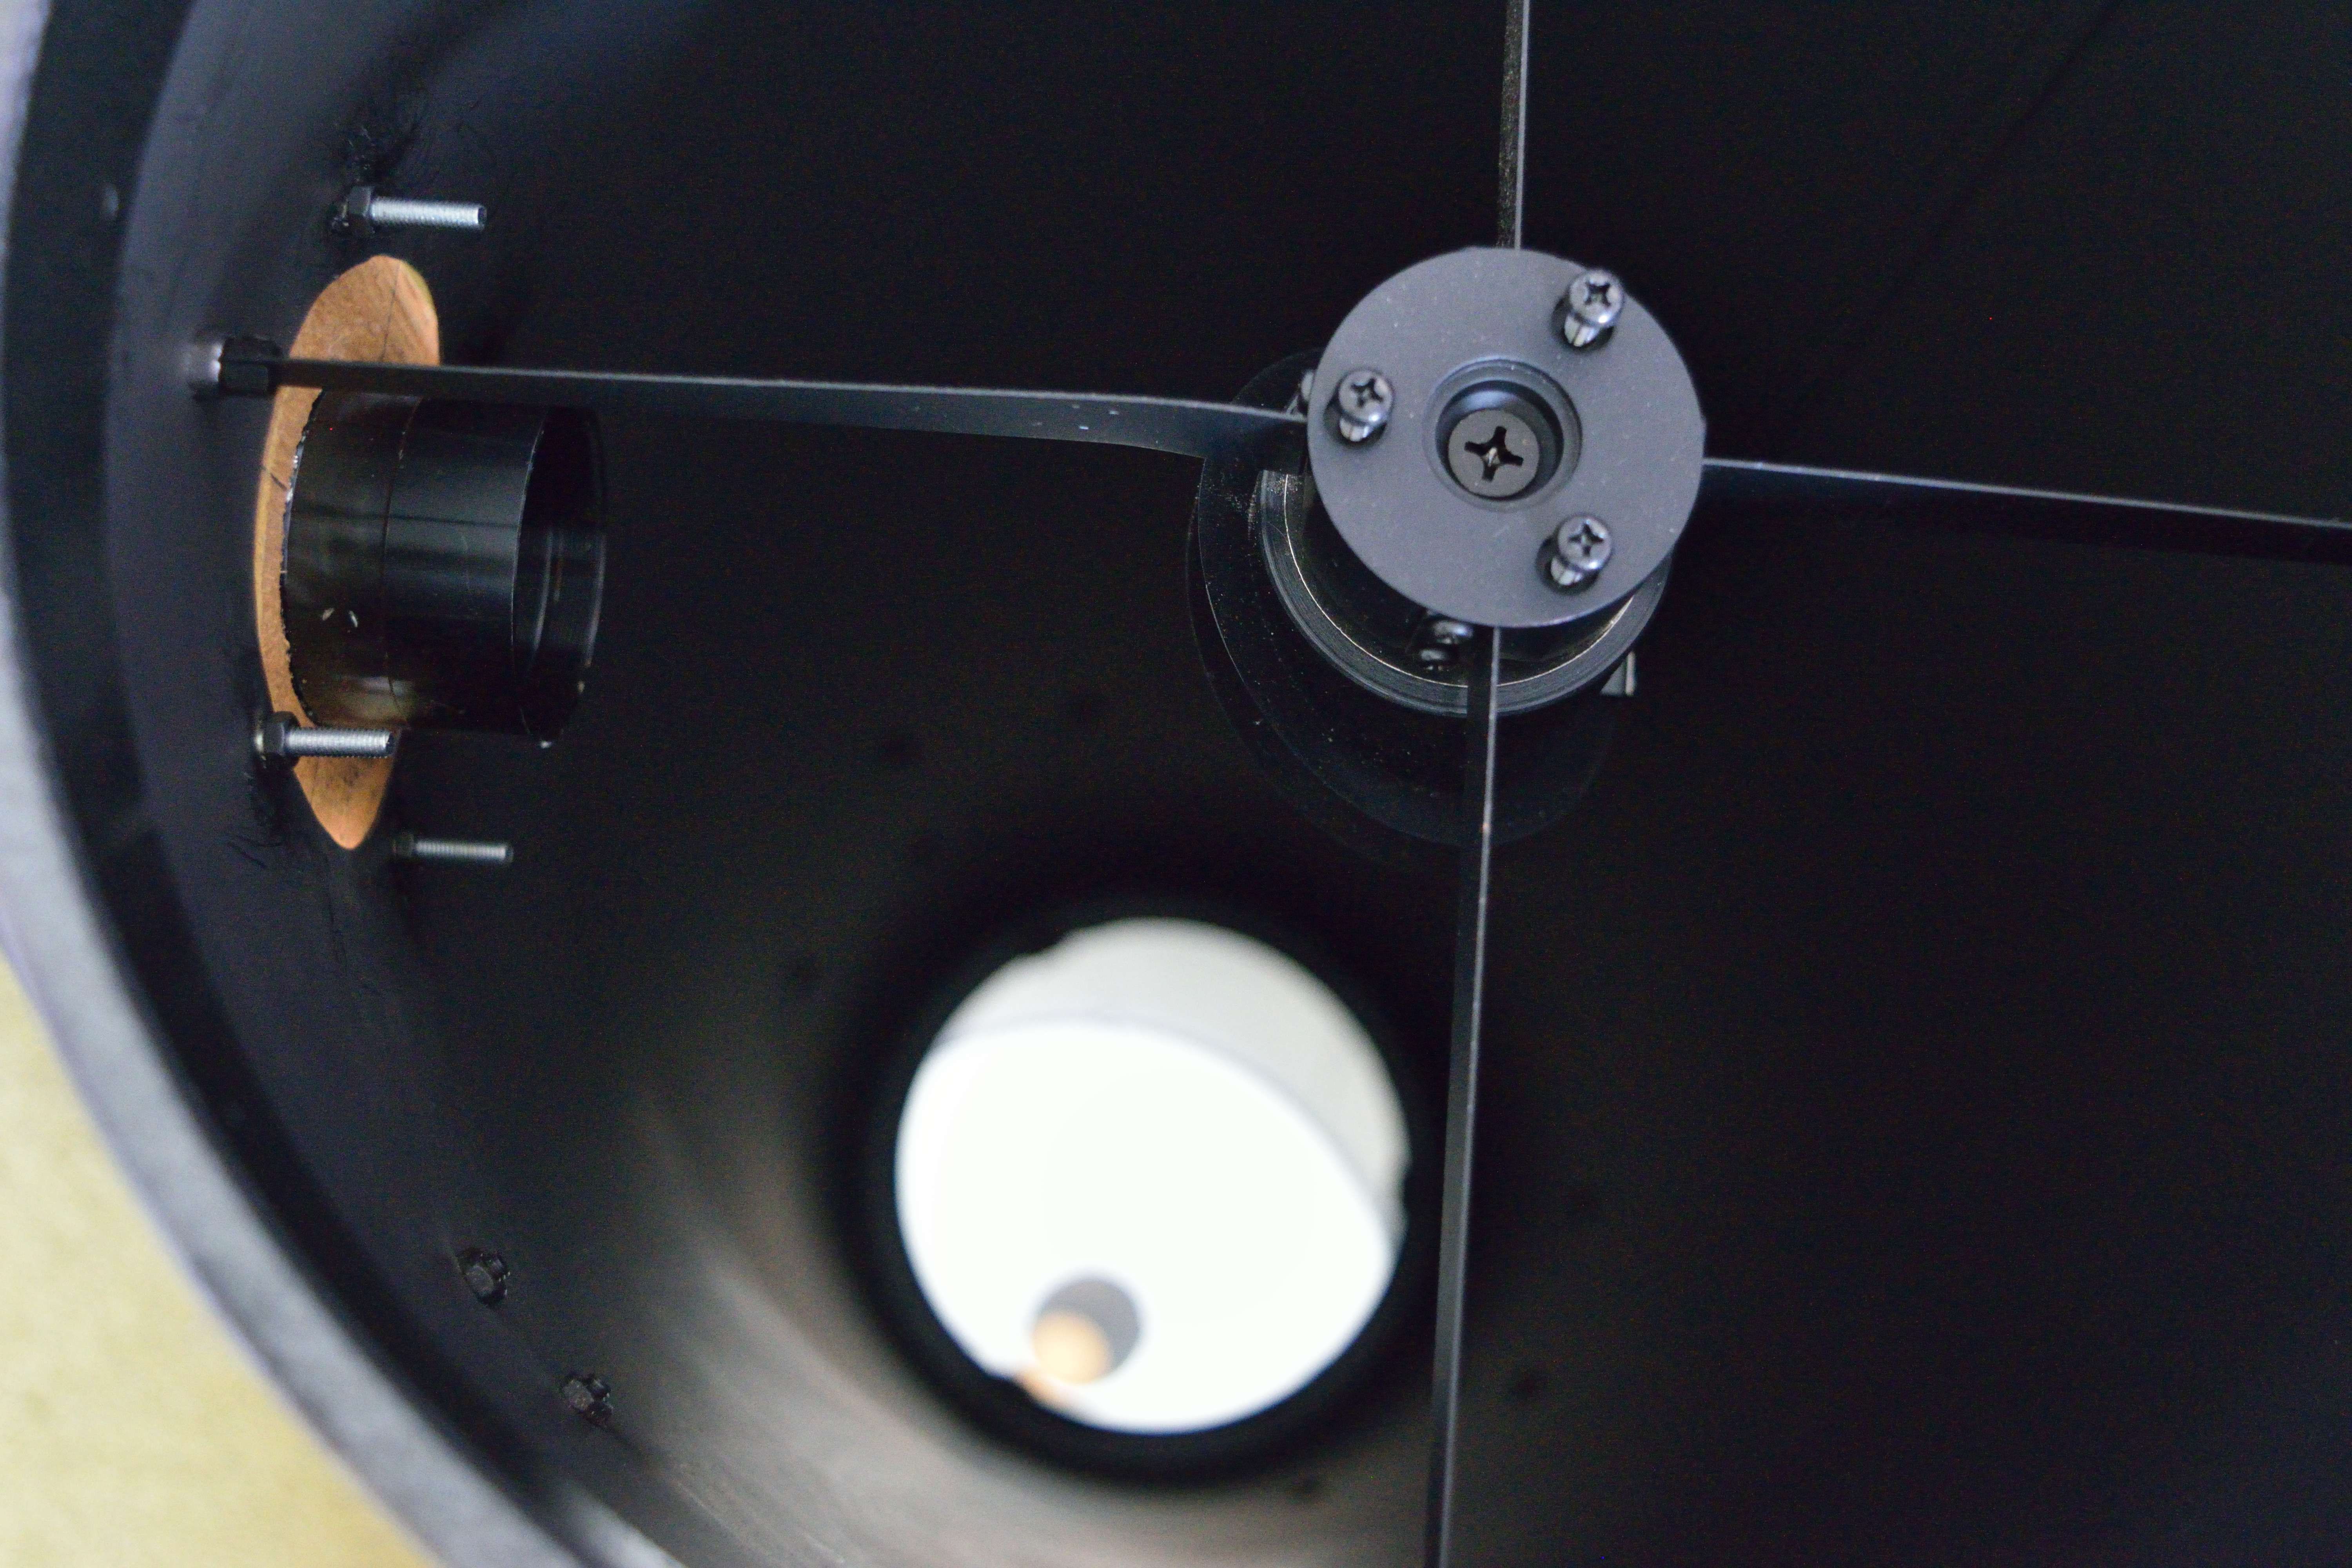
The inside of the Newtonian.
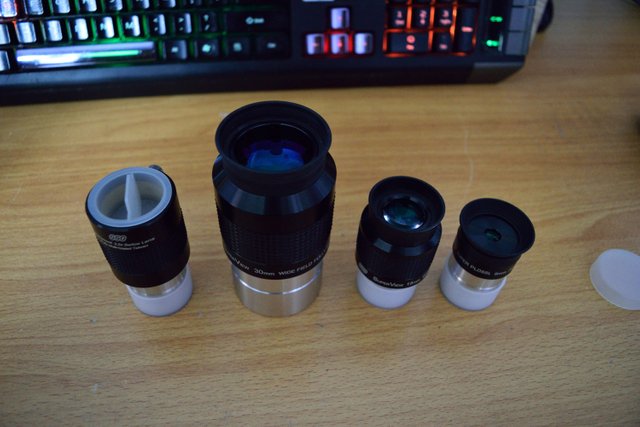
Eyepieces for Visual use. I don't really use these anymore. Mostly i just take pictures now.
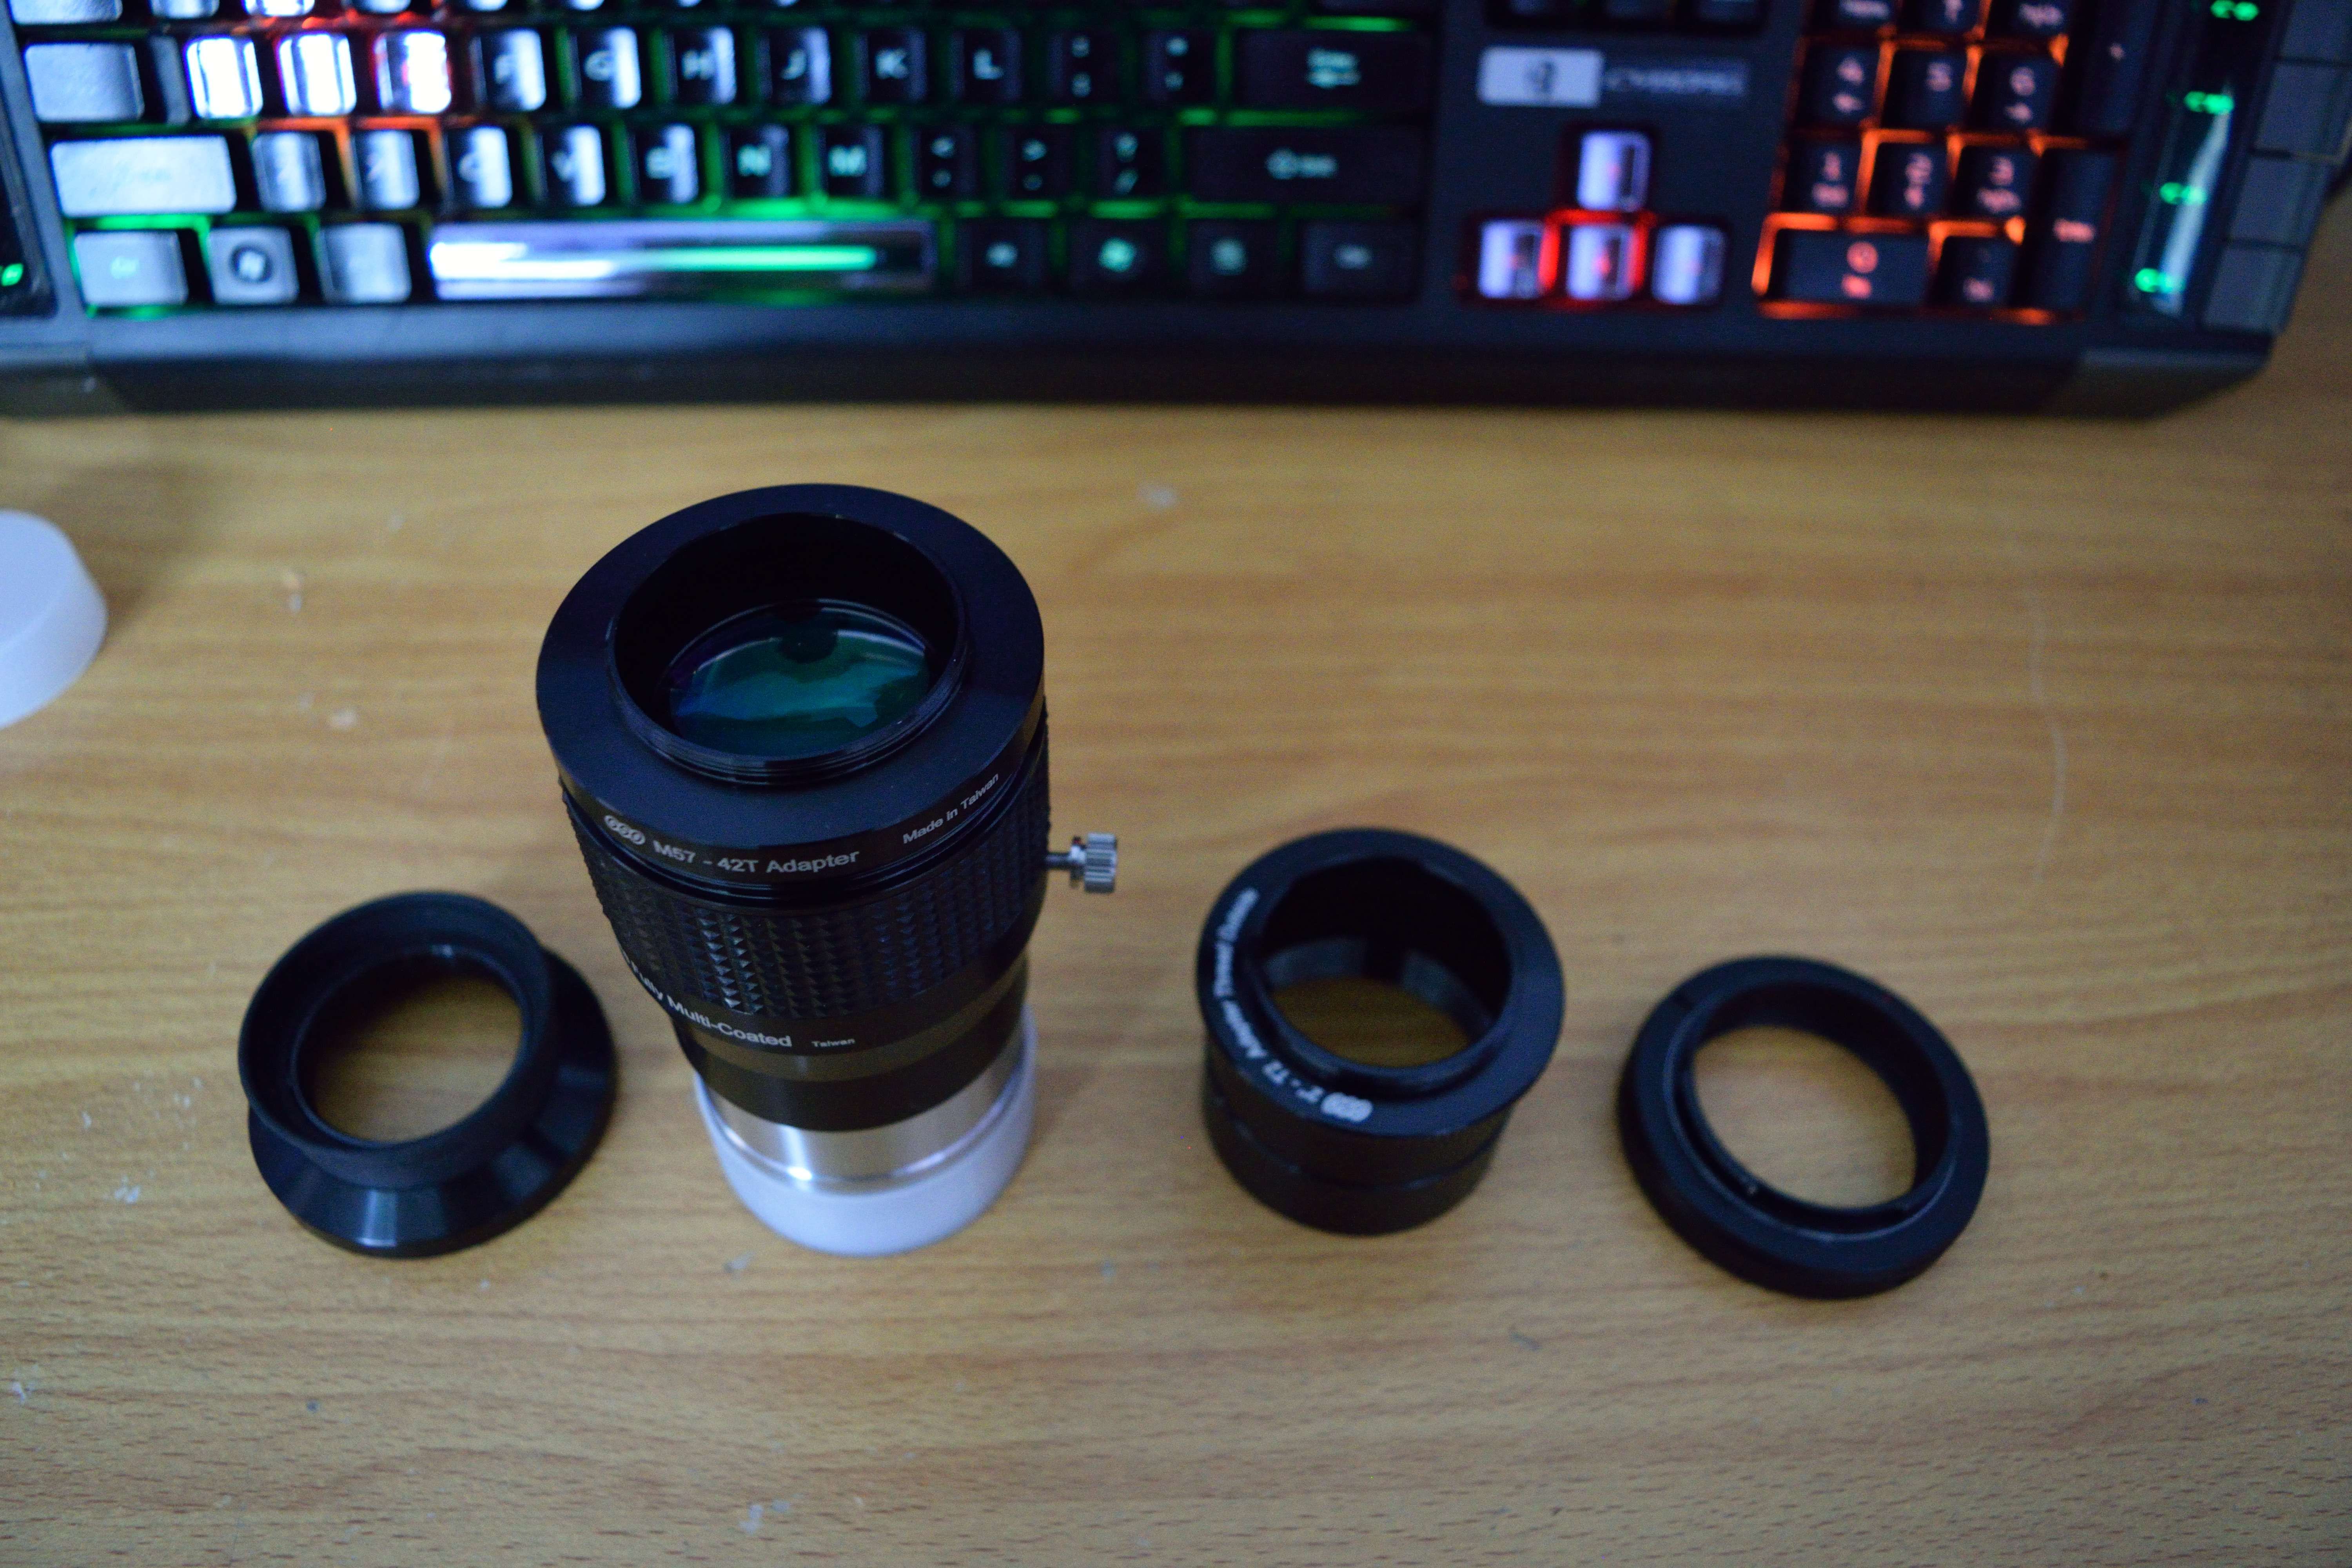
Things i use for photography. First from left to right is a visual attachment for the eyepiece to the right , next is a 42mm Camera Projection Eyepiece (this attaches to a camera with a T-ring) , Next is a 2" attachment for a camera with a T-ring (allowing you to insert the attachment(with the camera) into a 2" focuser) , and last is a T-ring for Nikon DSLRs (one end connects to your camera , the other connects to whatever attachment you want to use).
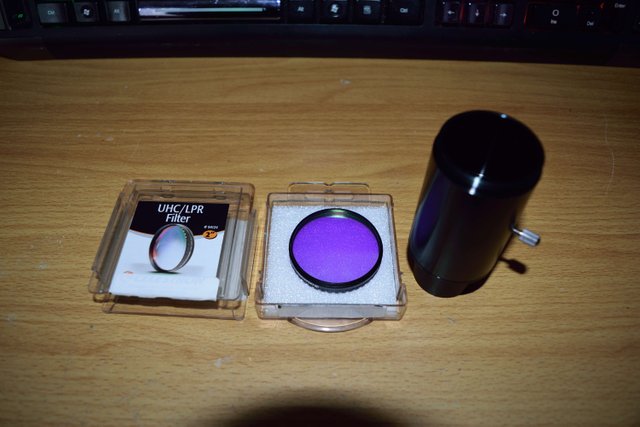
In the middle is a Ultra High Contrast / Light Pollution Reduction Filter (Helps filter out light from street lamps and such if you are in the city). On the right is a 1.25" Camera Projection Adapter for use with a separate eyepiece.
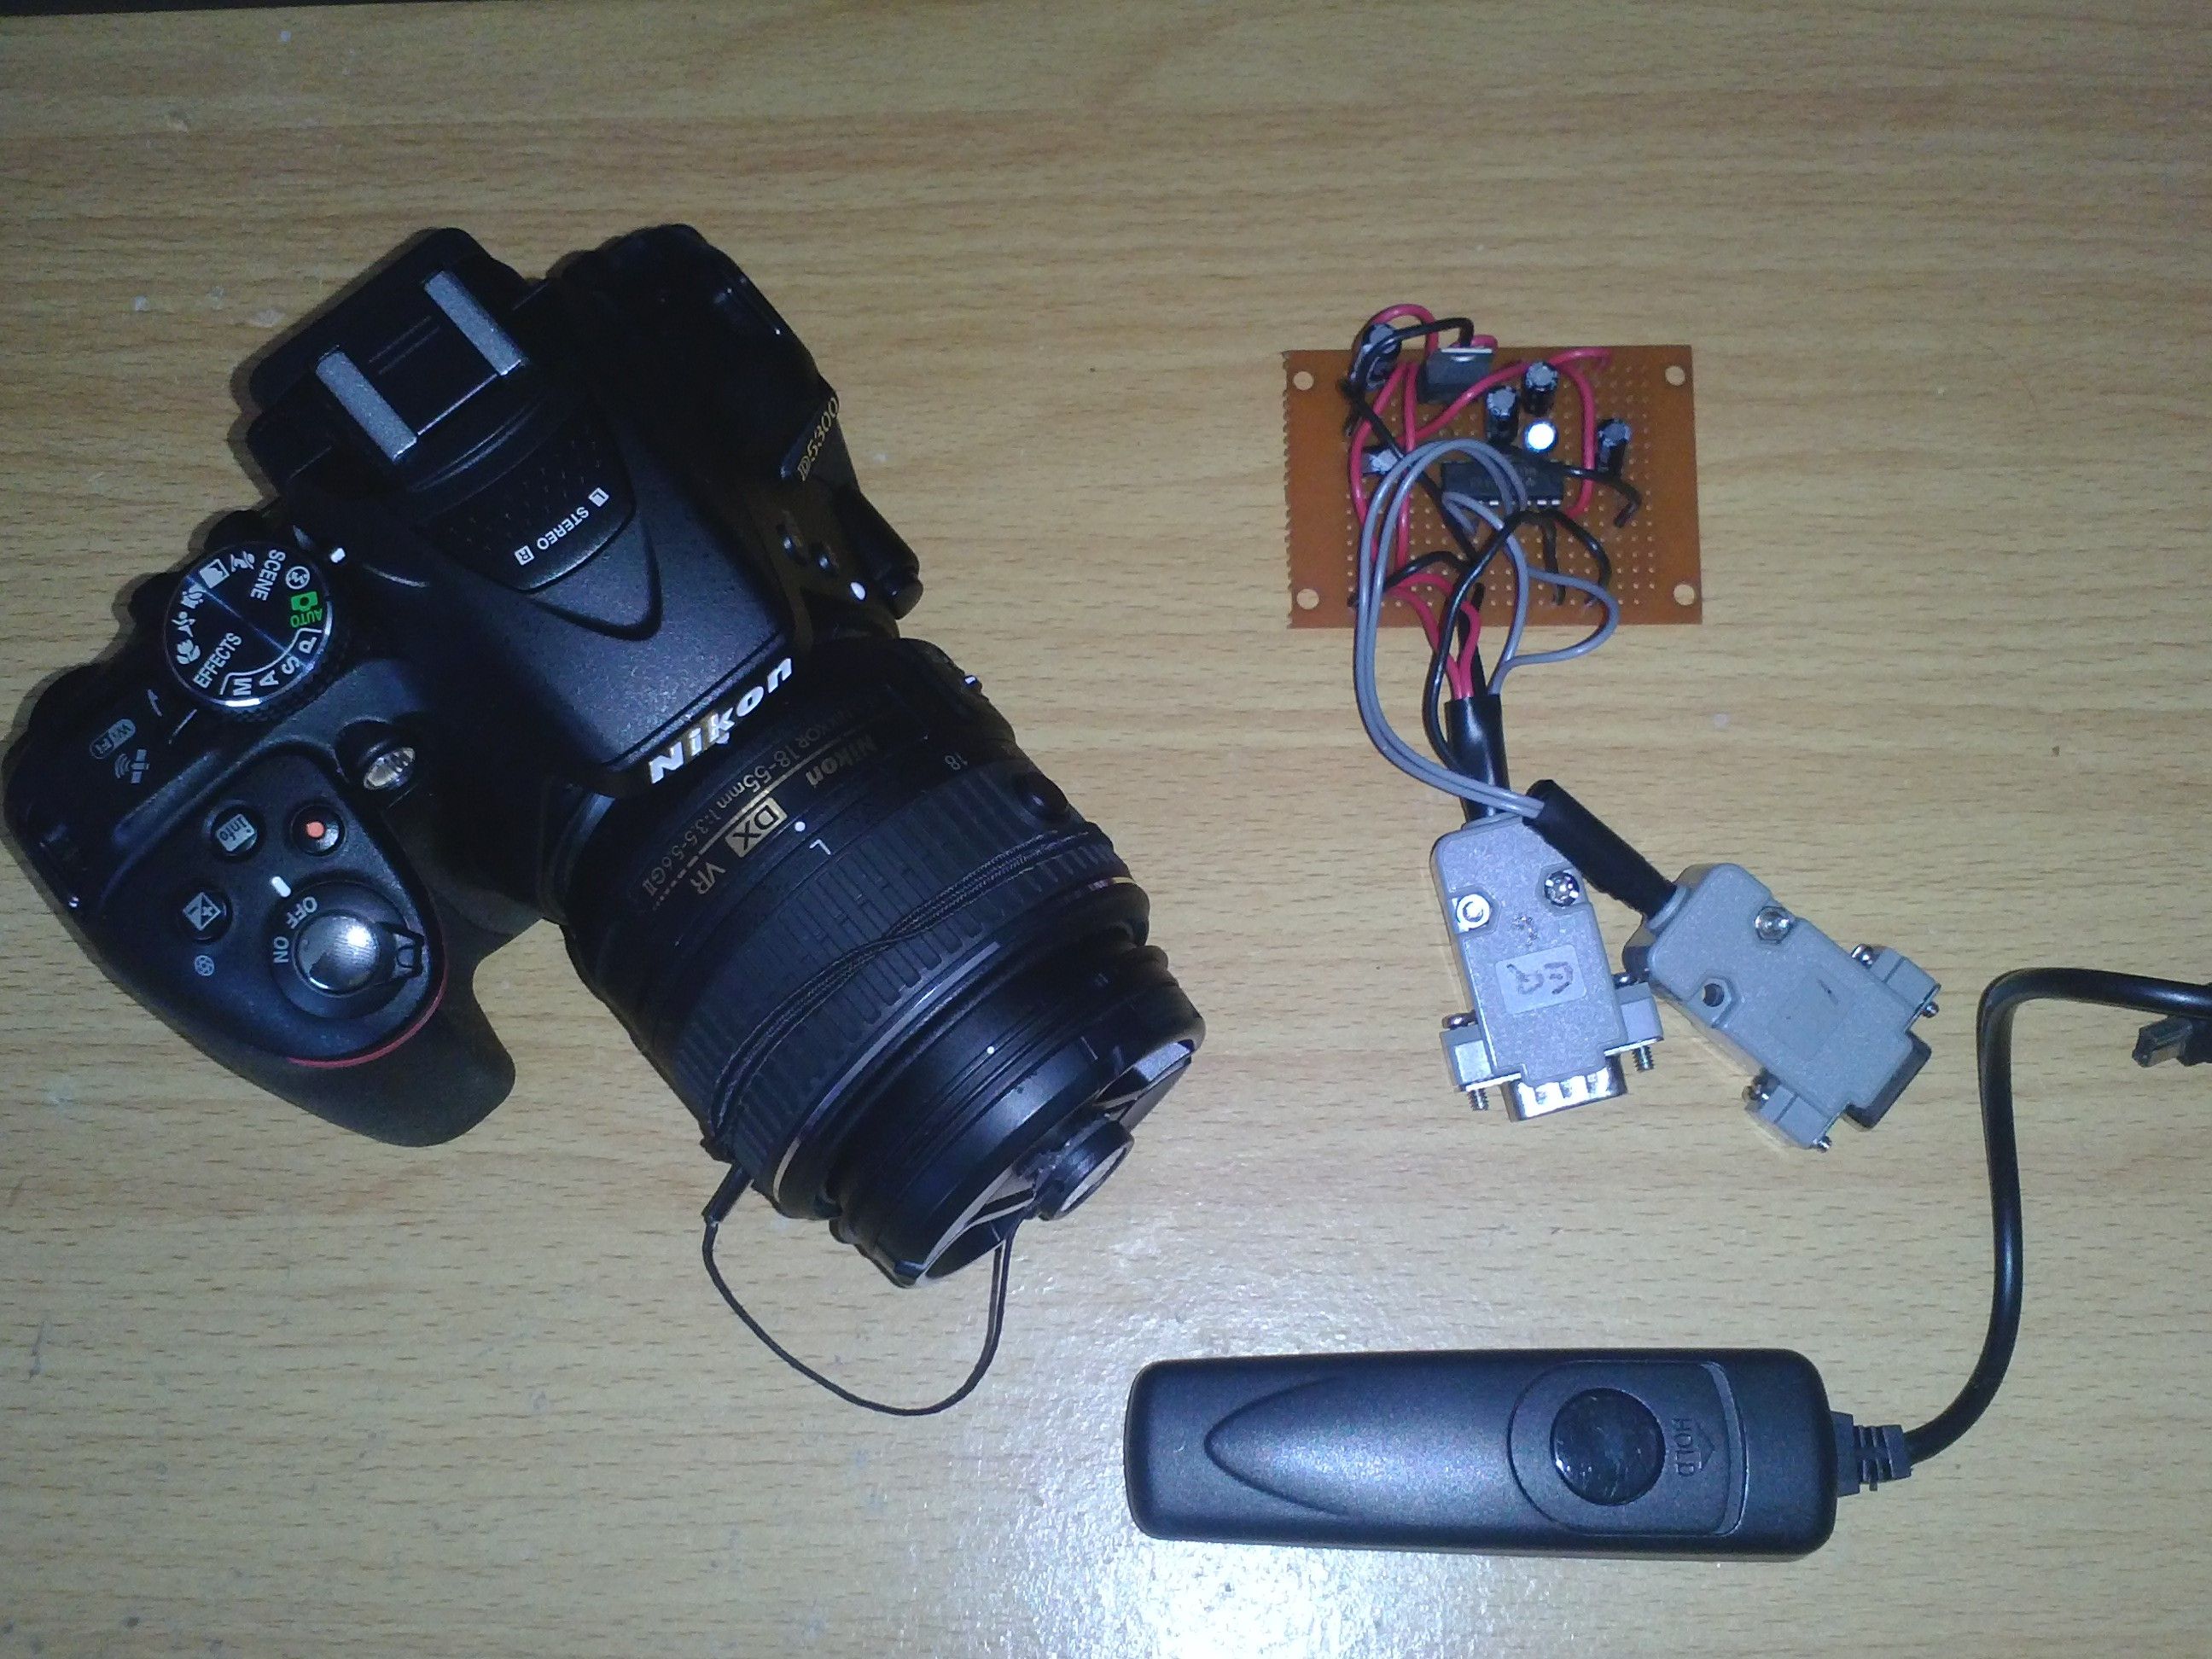
And last but not least , the Nikon D5300 on the left. On the right is a cable release (so you don't have to touch the camera while taking a photo , which is very important for astrophotography , or any long exposure for that matter) . And in the center is a small circuit that I built (not designed) to allow you to connect a computer to the NEQ6. EQMOD is the software needed to get your computer to talk to the mount.
EQMOD can be found here http://eq-mod.sourceforge.net/ ,
and the circuit diagram can be found here
http://eq-mod.sourceforge.net/eqdirect2.htm
Someone promoted your post. Promotions help every steemians.
Your reward is an upvote and 0.044 SBD extra promotion.
Good job, see you next time in
Promoted! ;)Wishing you clear skies brother
Hey , cool man , I appreciate that. I was thinking the other day of posting a shot of the sky during the day to show that the Maori name of this country is pretty appropriate , which is Aotearoa , meaning Land of the Long White Cloud.
Nice and detailed post, keep it up!
Excellent , thank you :)
Really cool stuff, seems we have similar interests ---following you
I would be interested in knowing what you think of my Milky Way photo in this post.
https://steemit.com/photography/@azfix/zion-national-park-dark-skies-friendly-squirrels-and-flowing-streams
Hey azfix , thanks for the follow , and thanks for the link I'll go check it out. Btw I'm a bit of a sucker for astro photos , sunsets and Milky Way shots.
I am the same way, something about astrophotography that gets in your blood.
Super cool!
Cool , thanks for checking the post out and commenting :)
Very nice, Thanks for this comprehensive share!
I had never before heard of a Bahtinov mask. I'll have to make one! ;)
😄😇😄

Hey @creatr , thanks man , good to know people are interested and yeah the Bahtinov mask is quite handy when you want to get precise focus with a telescope easily. There's even a program called Sharpcap out there that has as one of it's options to calculate how in or out of focus you are when using the mask. I haven't used it in that way just yet , but yeah I just thought that that was kinda cool that they added that in there too.
nikon d3200 very good one
Actually mine is the D5300 , but they are pretty much the same camera anyway with different model numbers and a few differences here and there , but yeah I like it :)
So far that has been the best idea since NASA
Cool ... Hubble has put some amazing images out over the years and even though Hubble and the rest of the infrared , x-ray , radio ect. scopes out there can take infinitely more detailed pictures , there's just something about doing it yourself that i find pretty engaging(for the lack of a better word). Thanks for checking out the post and the comment :)