HOW TO MAKE A PENCIL DRAWING ON NIDDLE POINT PAPER
 There is more to creativity in life. One of the ways is through representation of image sequences on paper with pencils or pen. In this post, i will be making a pencil tutorial for you all to gain from STEP by STEP.
Now lets go to the Step by Step stages of this portrait.
- This is the stage where the paper is prepared for sketch. in getting the paper ready, a pencil and a ruler is used to make grid on the paper so as to be able to capture the resemblance of the reference picture i intend working with. When this is done, i was able to sketch out the shape of the reference picture.
- After sketching the shape of the reference picture, i moved on to the stage of highlighting the figures and parts of the face which shows the format and sequencial representation of where the eyes, nose, mouth and the ear. In this stage, this is where the detailing starts and this shows whether your resemblance is perfect with what you have on the reference picture. If there is mistake in the sketch, there will be problem with the resemblance in the reference picture. This means that this stage is a crucial stage where enough time is needed to be spent on the sequencing.
the sketch is accurate and perfect and this means that we are ready for the next stage.
- At this stage, we go into the shading of the sketch that we have made. when shading, it should be done gradually following box by box. This stage entails the detailing of the skin just as it is seen in the picture. some of my students often complain that they have difficulty shading and controlling both the tone and the tint from the reference picture to the sketch, but i show them in practicals that it is the easiest thing to do. In controlling this challenge, it is best to pick the shading box by box. In this stage also, the blending is done just as the shading is done box by box. See the shading and blending sequences below:


In showing the 3D Effect, lets see this image below. The way its position is what explains the tone and the tint which made the drawing 3D Effect.
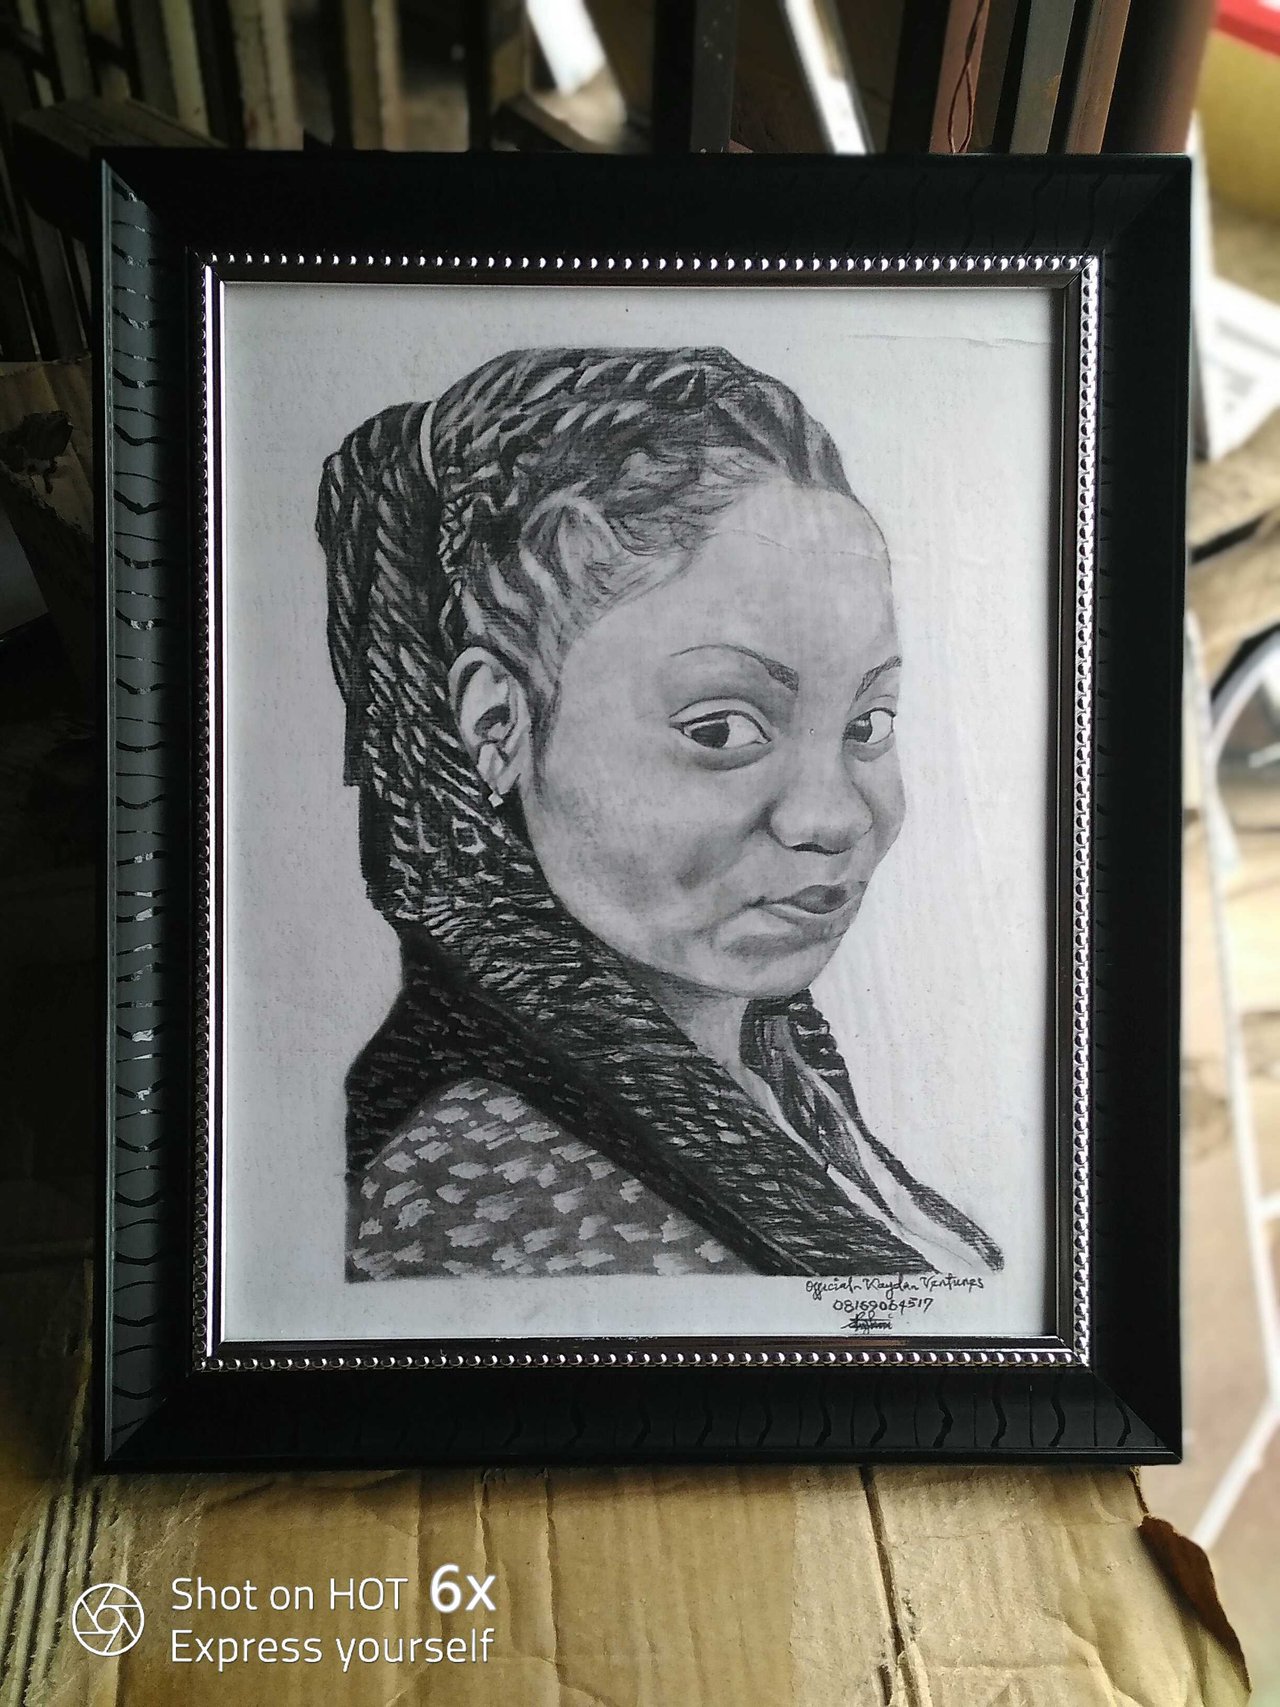
Just in the same process of shading, the whole boxes will be shaded accordingly. Other pictures till its final processing till framing are shown below:
To my viewers and readers, thanks for sparing your time to attend to this post and i believe this stages in producing this drawing is effective in guiding you through on how you can make a portrait.
materials
Niddle point paper
Graphite pencil
Charcoal powder
Blending stumps
Cotton bud
Kneaded eraser
duration
7 days
With love and an artistic view on life until next blog ,when I will be showing and giving more illustration though the making of a good 3D effect portraitures.
I will appreciate your love /vote /comment for my artistic view on Steemit life is highly appreciated.......and I really want to use my works to make impact.
Thanks for reading in my blog


Love from @kayda-ventures
Congratulations!
Curated by
@Rehan12Join us on Discord


A Youth Run Community Organization from Bangladesh
50SP100SP200SP500SP1000SP2000SP5000SP10000SP