@ArtGuildPH Banner Making Contest Entry: (A Proposed Design by @eceninzz)
Hola Steemians, Hows your day going?
I'm quiet sure that some are tired and some are still kicking :)
So today, I was encourage to make a banner because @artguildph is hosting a contest called the @ArtGuildPH Banner Making Contest! and I can see that I have a small amount of talent when it comes to banner making contest ☺ .. So i'll just give it a shot and let my Imagination work every time I'm starting to create a design. I only knew basics in Adobe Photoshop but designing is really interesting and I am still eager to learn something new so I just watch tutorials and sometimes I am exploring it on my own.
During my school days I am fond of making Tarpaulin Designs (Birthdays, Organizations, Congratulations, Fellowship, Seminars, sometimes rushed tarpaulins and etc.), T-Shirt Designs (Family Reunion, Engineering Days, ECE Days), Programmes (Seminars, Organizations, Brochures and etc.), ID Pictures (different backgrounds, any sizes) and sometimes I'm editing just for fun. And thanks to Adobe Photoshop because I can do all those things I mentioned with less hassle and I can manage my time wisely.. So enough with these and let's get started with our #ARTGUILDPH banner making..
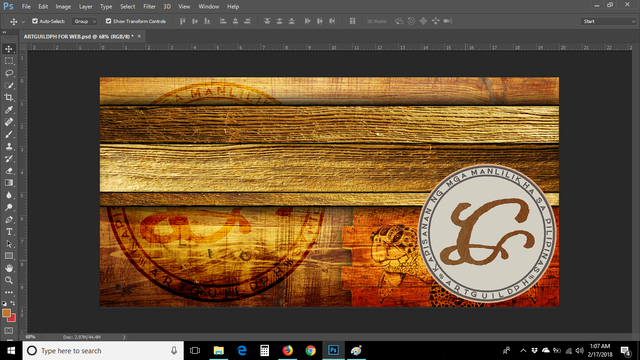
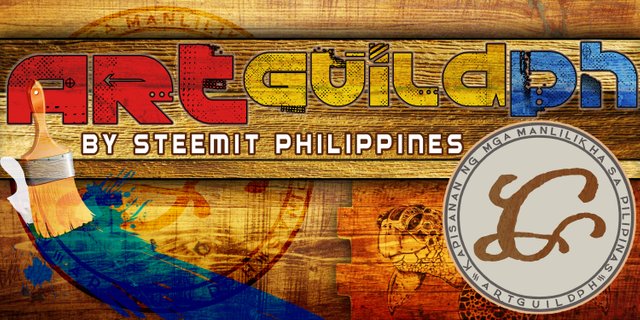
And take a look at the Final Design that I made.

Created and Edited by me @eceninzz .
2 / 17 / 2018
But before that here is the logo of the #artguildph that will be used, can be placed anywhere in the banner and should not be changed/edited. And the banner should contain "ARTGUILDPH" and BY "STEEMIT PHILIPPINES".
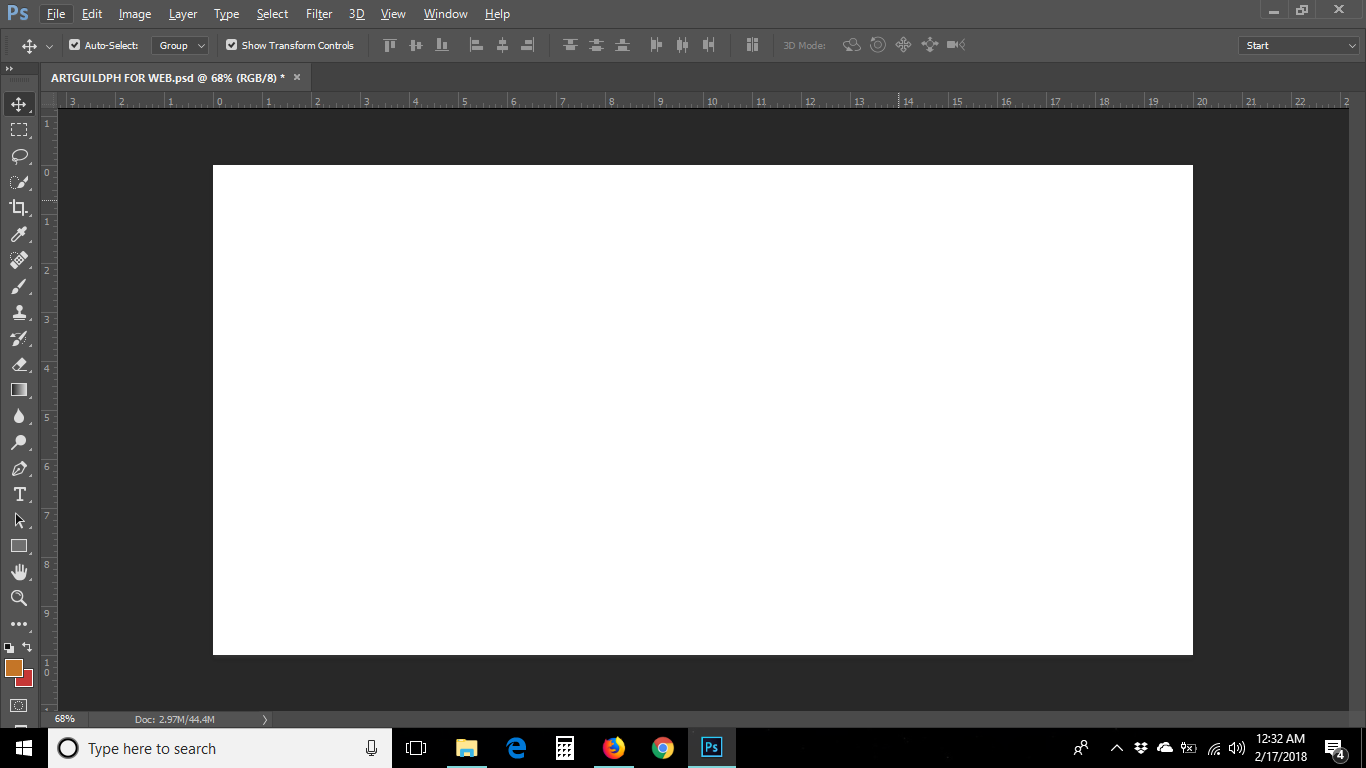
When I'm designing, I always stick to a 300 pixels/inch resolution so that I can have a very sharp and high quality designs. So creating a 10 in. x 20 in. Clipboard.
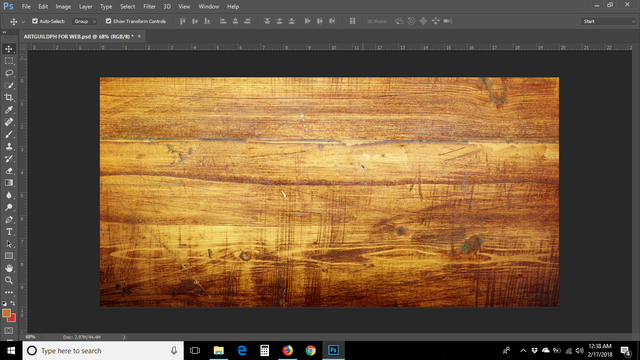
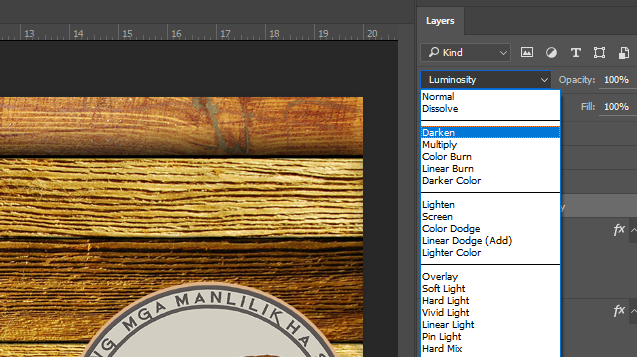
Actually I got some pictures from google and collected it so I can have more Imaginative designs. Then I apply the basics in Photoshop Editing (Blending Options).
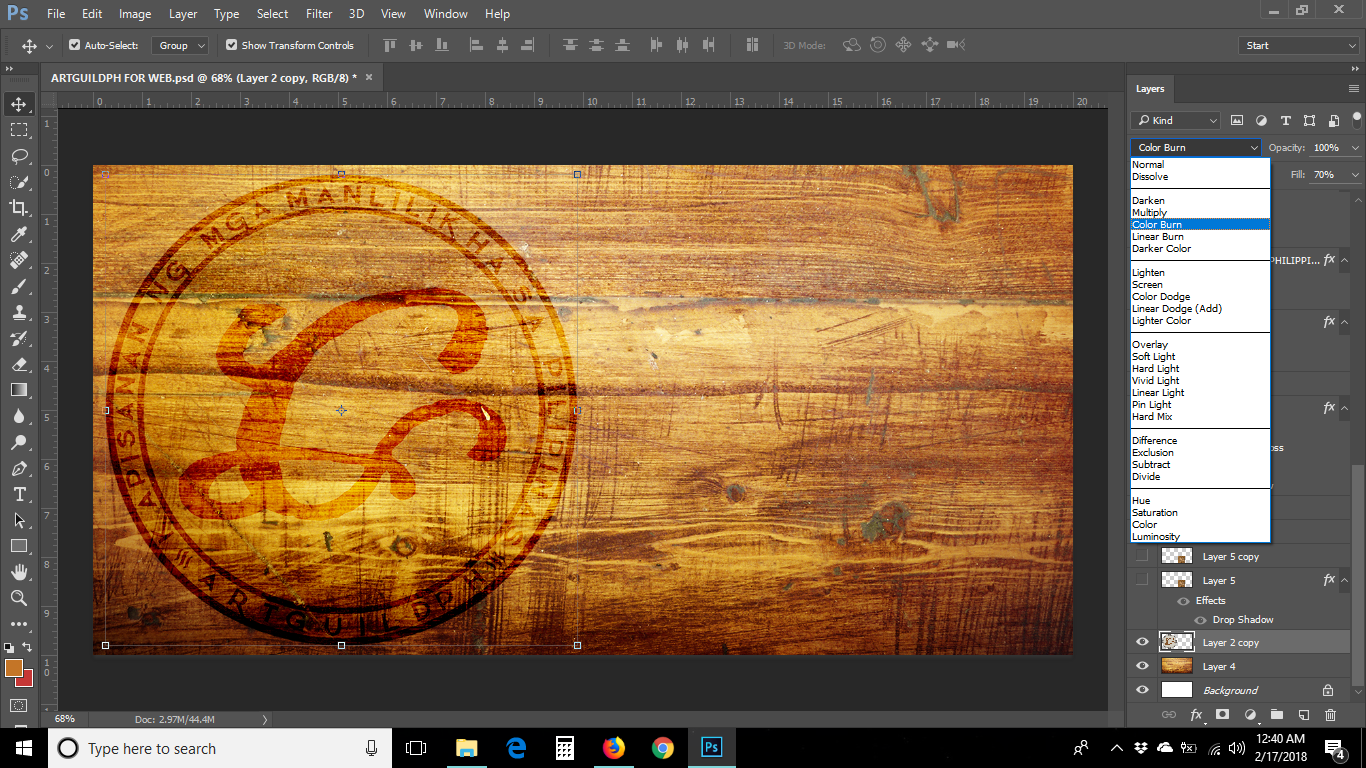
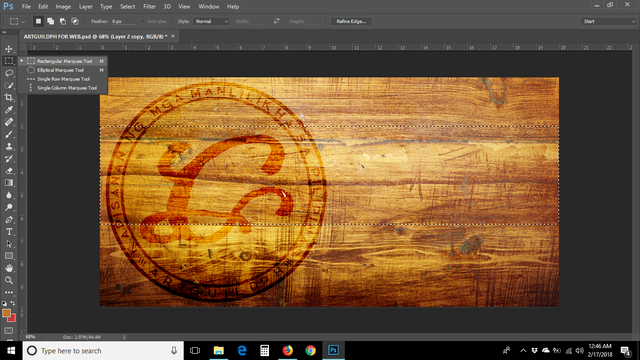
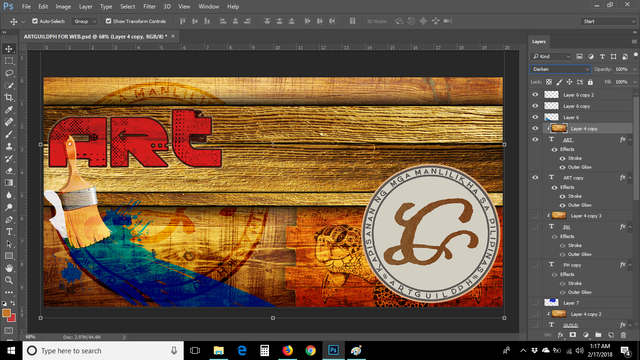
So I placed the bigger sized logo of #artguildph on the left side. And changed the Blending mode into Color Burn so it will actually look like a burned color that is blended with the background design.
Then selecting the Rectangular Marquee Tool to create a rectangular shape.
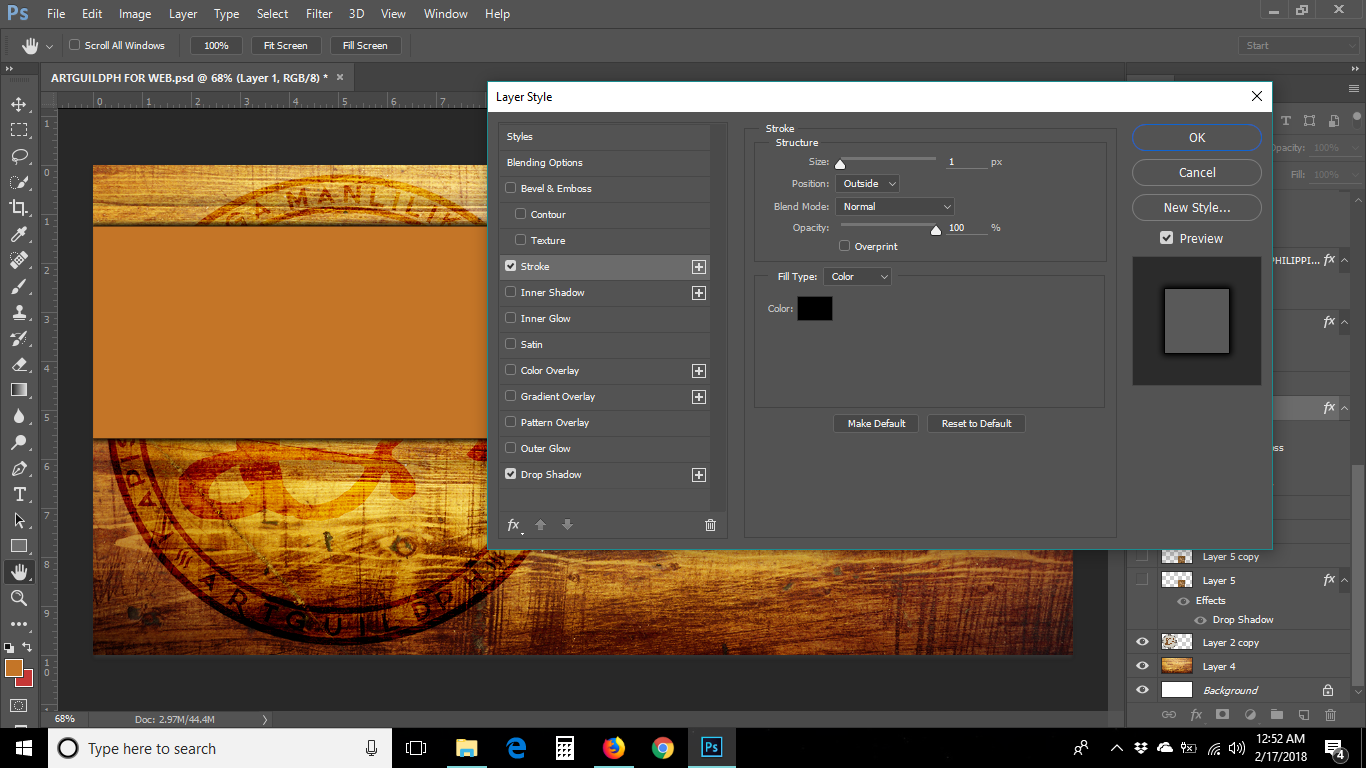
And I am using the brush tool, chose a color and making the work path rectangular. Then applying the Blending Options Stroke and Drop Shadow. You can have your own Layer Styles that will fit to your imaginations.
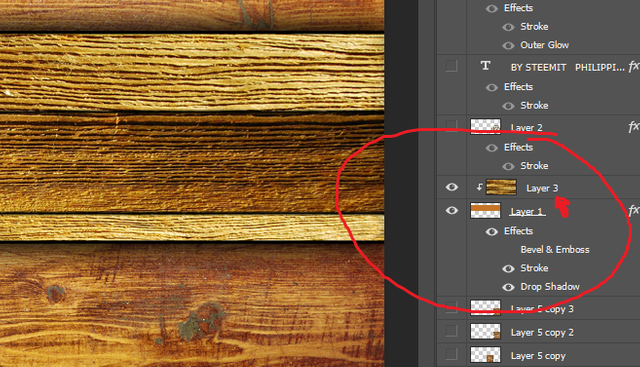
Fitting an Image to the rectangular path called Layer Mask.
The image layer to be fit in should be above the other layer. So by pressing ALT with the mouse pointing between both layers and clicked it once, you can actually create a Layer Mask (Making one layer fit into another). You can also make a picture fit into a Text Layer, isn't it amazing? :)
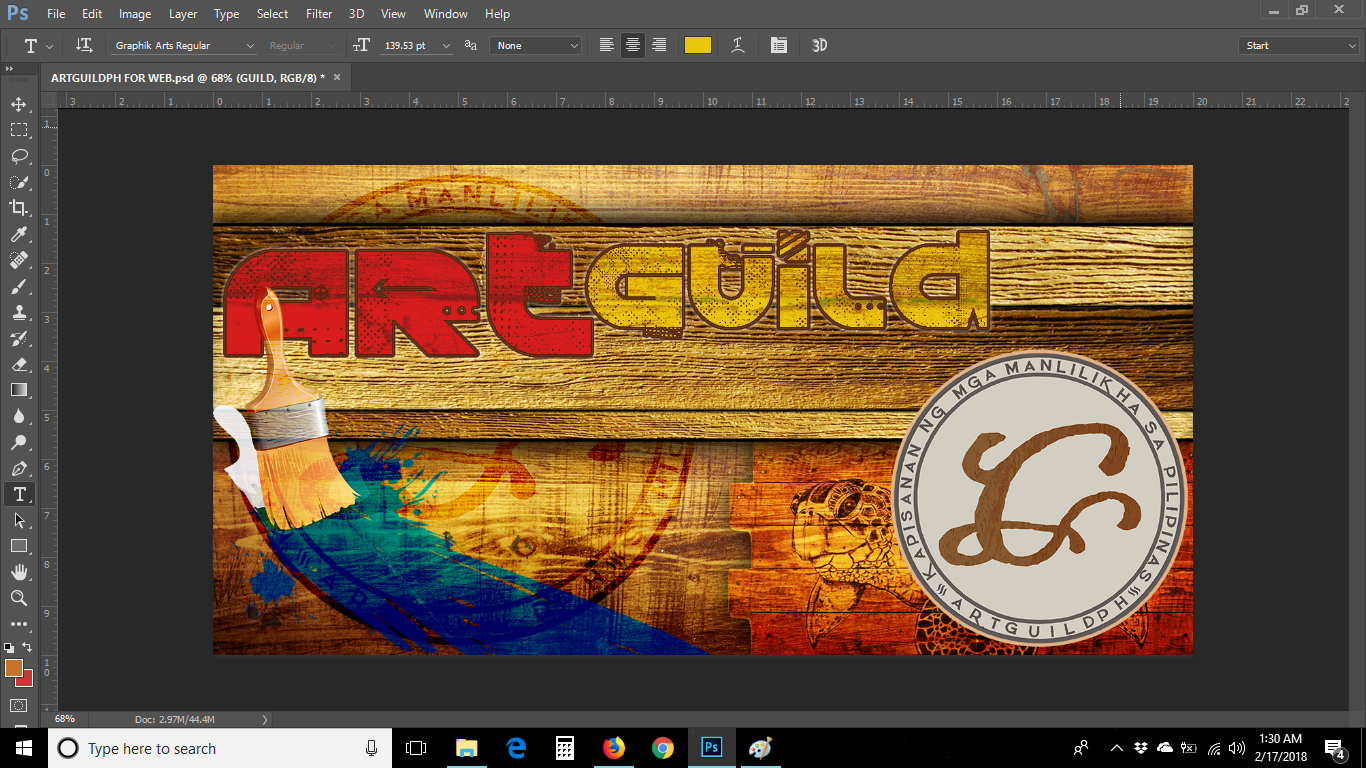
So placing now the small Logo on the right side of the banner.
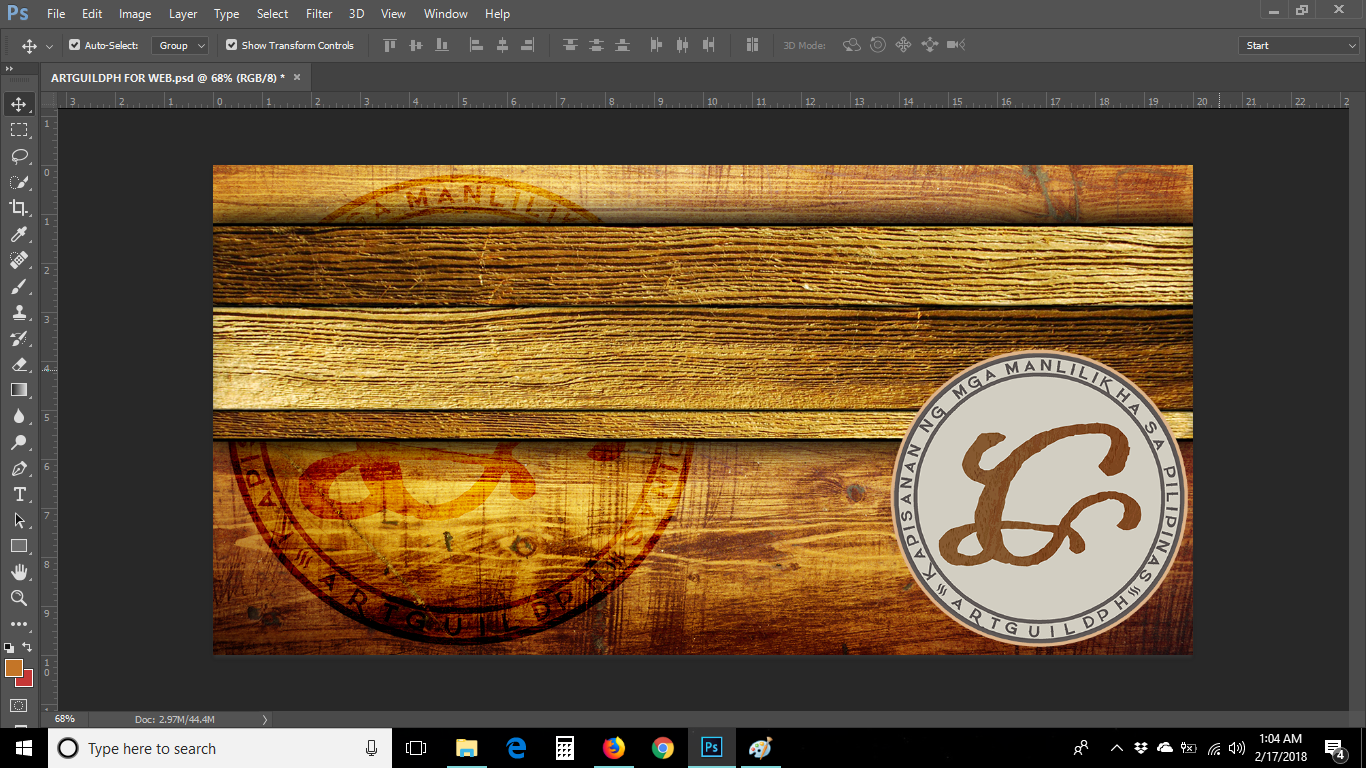
Then adding some pictures that I got from google that I forgot to save the links. And blending modes to each layers were being applied.
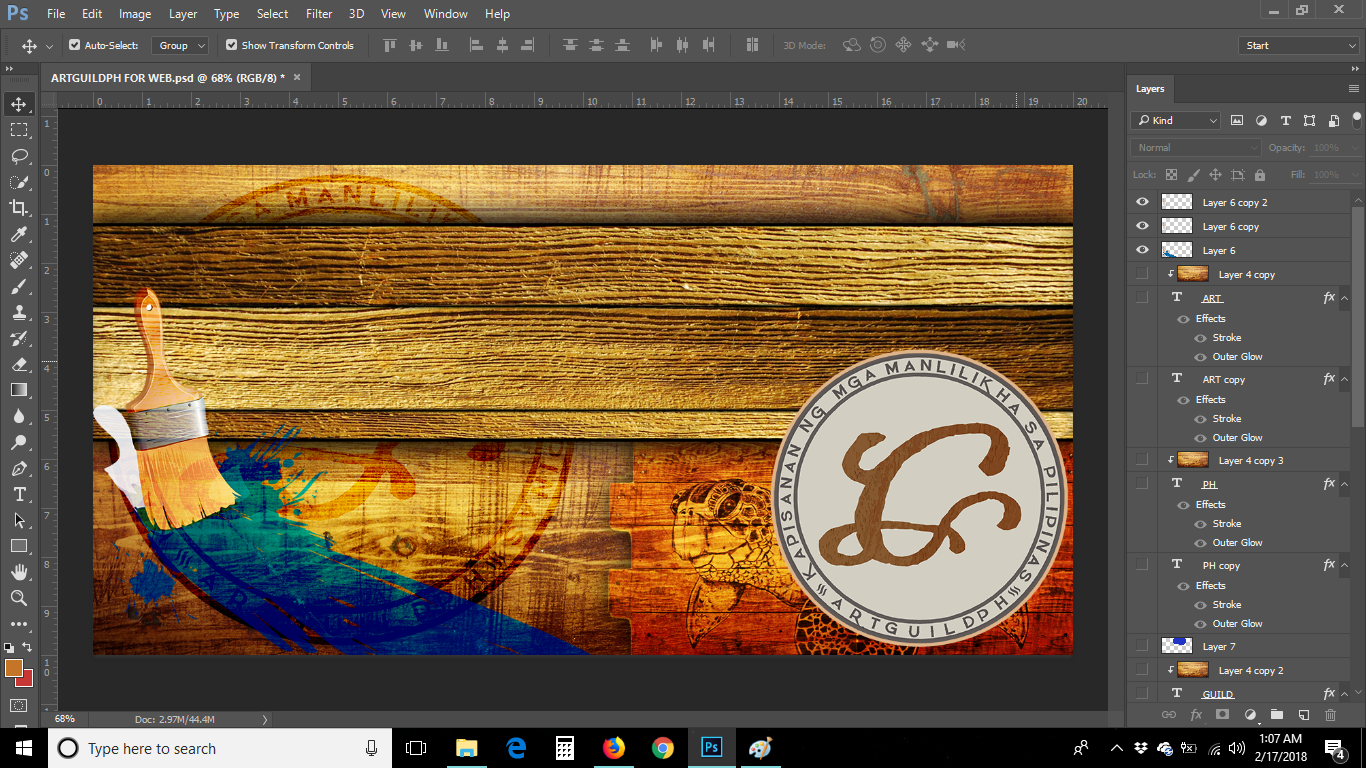
I am done with the designs, So now lets move on for the Text Layers with basic editing.
First is the "ART" word.. Duplicate the Background picture and then applying it to mask the RED COLOR TEXT WORD "ART" and changed the blending mode of the background picture to Darken . Then apply the blending options Strokes and Outer Glow to the word "ART". The font is Graphik Arts font and downloaded from here.
Right click the Text Layer to see the blending options.
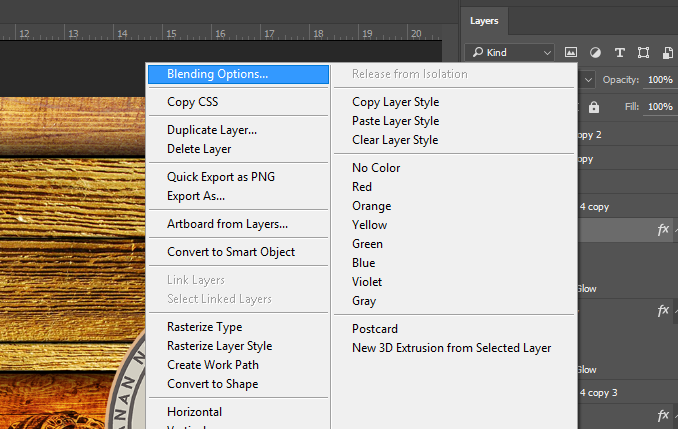
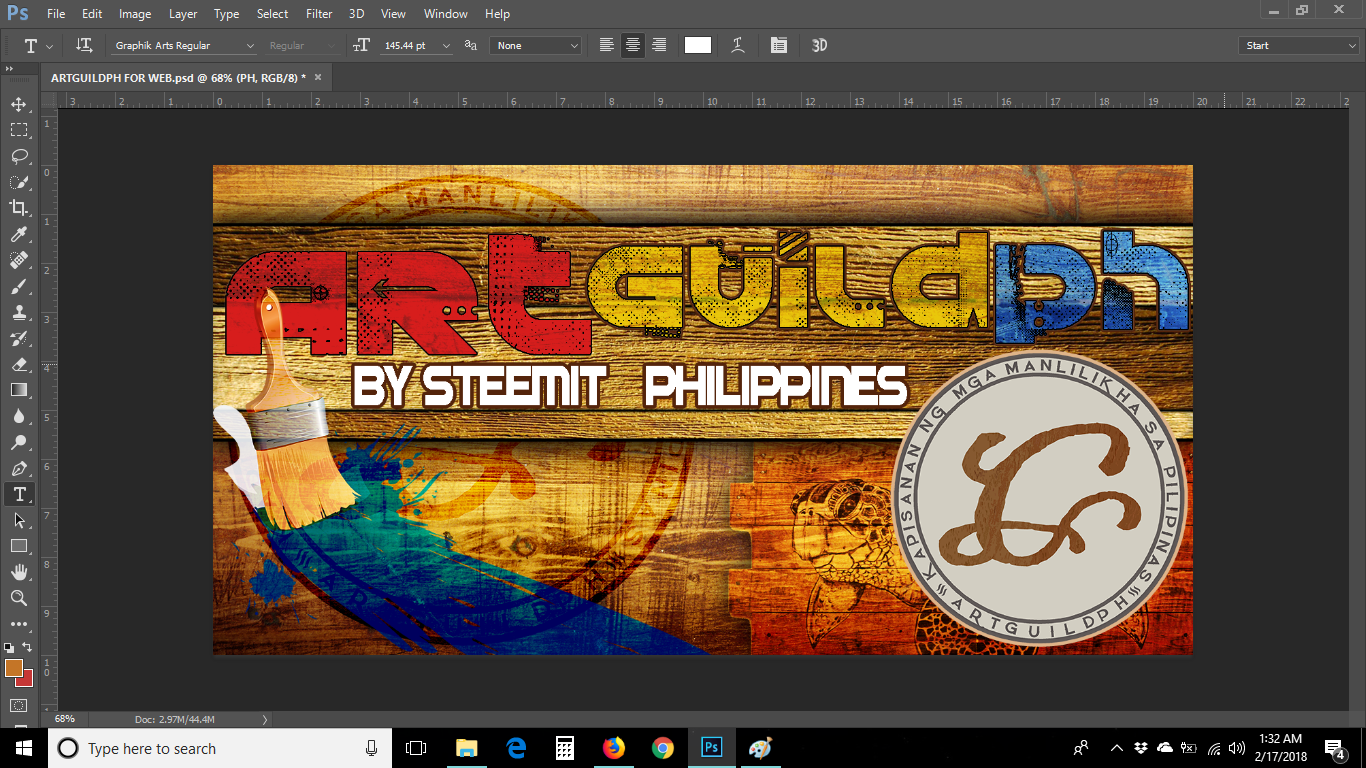
And then applying the same procedures to the other Text Layers "GUILD" and "PH" but with different colors.

and for the word "BY STEEMIT PHILIPPINES". I just made it simple, white color with a Stroke Blending Options.
and here is my Final Design once again :)
So i created a Timeline. And making each layers appear every 0.5 seconds. My design for the #ARTGUILDPH Banner is very simple to make. You just place everything to where you want it to be placed. You can actually create something that you would really be proud of.

And that's all for now Steemians.
I hope you had a great time reading my post. And hope you like my simple yet interesting Design of the #ARTGUILDPH Banner. And I really hope I could win this (Fingers Crossed) lol. :D
TIPS:
- Create/Design with your Imagination.
- Look for useful images in google.
- Look for fonts that will fit to its theme.
- Ask for assistance if you are having a hard time.
- and Learn from tutorials so you can apply it when you are the one making your design.
Be a member on our Facebook page -- Click this Link

This is your steem friend,
- Niño M.
ez
Impressive!
Thank you sir @maverickinvictus .. I hope you had a great time.. Steem On!
Nice one myu ♥
Nice work my friend! :) best of luck.. hope you'll win.. (bahin nya nako) hahahah :D
Congratulations! This post has been upvoted from the communal account, @minnowsupport, by eceninzz from the Minnow Support Project. It's a witness project run by aggroed, ausbitbank, teamsteem, theprophet0, someguy123, neoxian, followbtcnews, and netuoso. The goal is to help Steemit grow by supporting Minnows. Please find us at the Peace, Abundance, and Liberty Network (PALnet) Discord Channel. It's a completely public and open space to all members of the Steemit community who voluntarily choose to be there.
If you would like to delegate to the Minnow Support Project you can do so by clicking on the following links: 50SP, 100SP, 250SP, 500SP, 1000SP, 5000SP.
Be sure to leave at least 50SP undelegated on your account.
This post has received a 0.08 % upvote from @drotto thanks to: @banjo.
Way to create.
Thanks for dropping by. ☺
awesome
Oh thank you.. Have a Nice Day.. :)
nice ka bai