How to make Double Exposure
Double Exposure
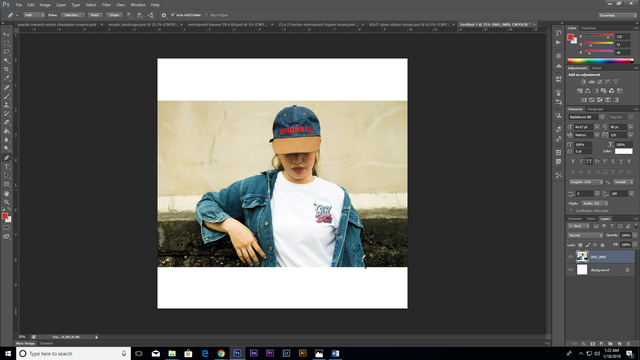
First,pick a picture you want and simply drag to photoshop. I used Adobe Photoshop CS6.
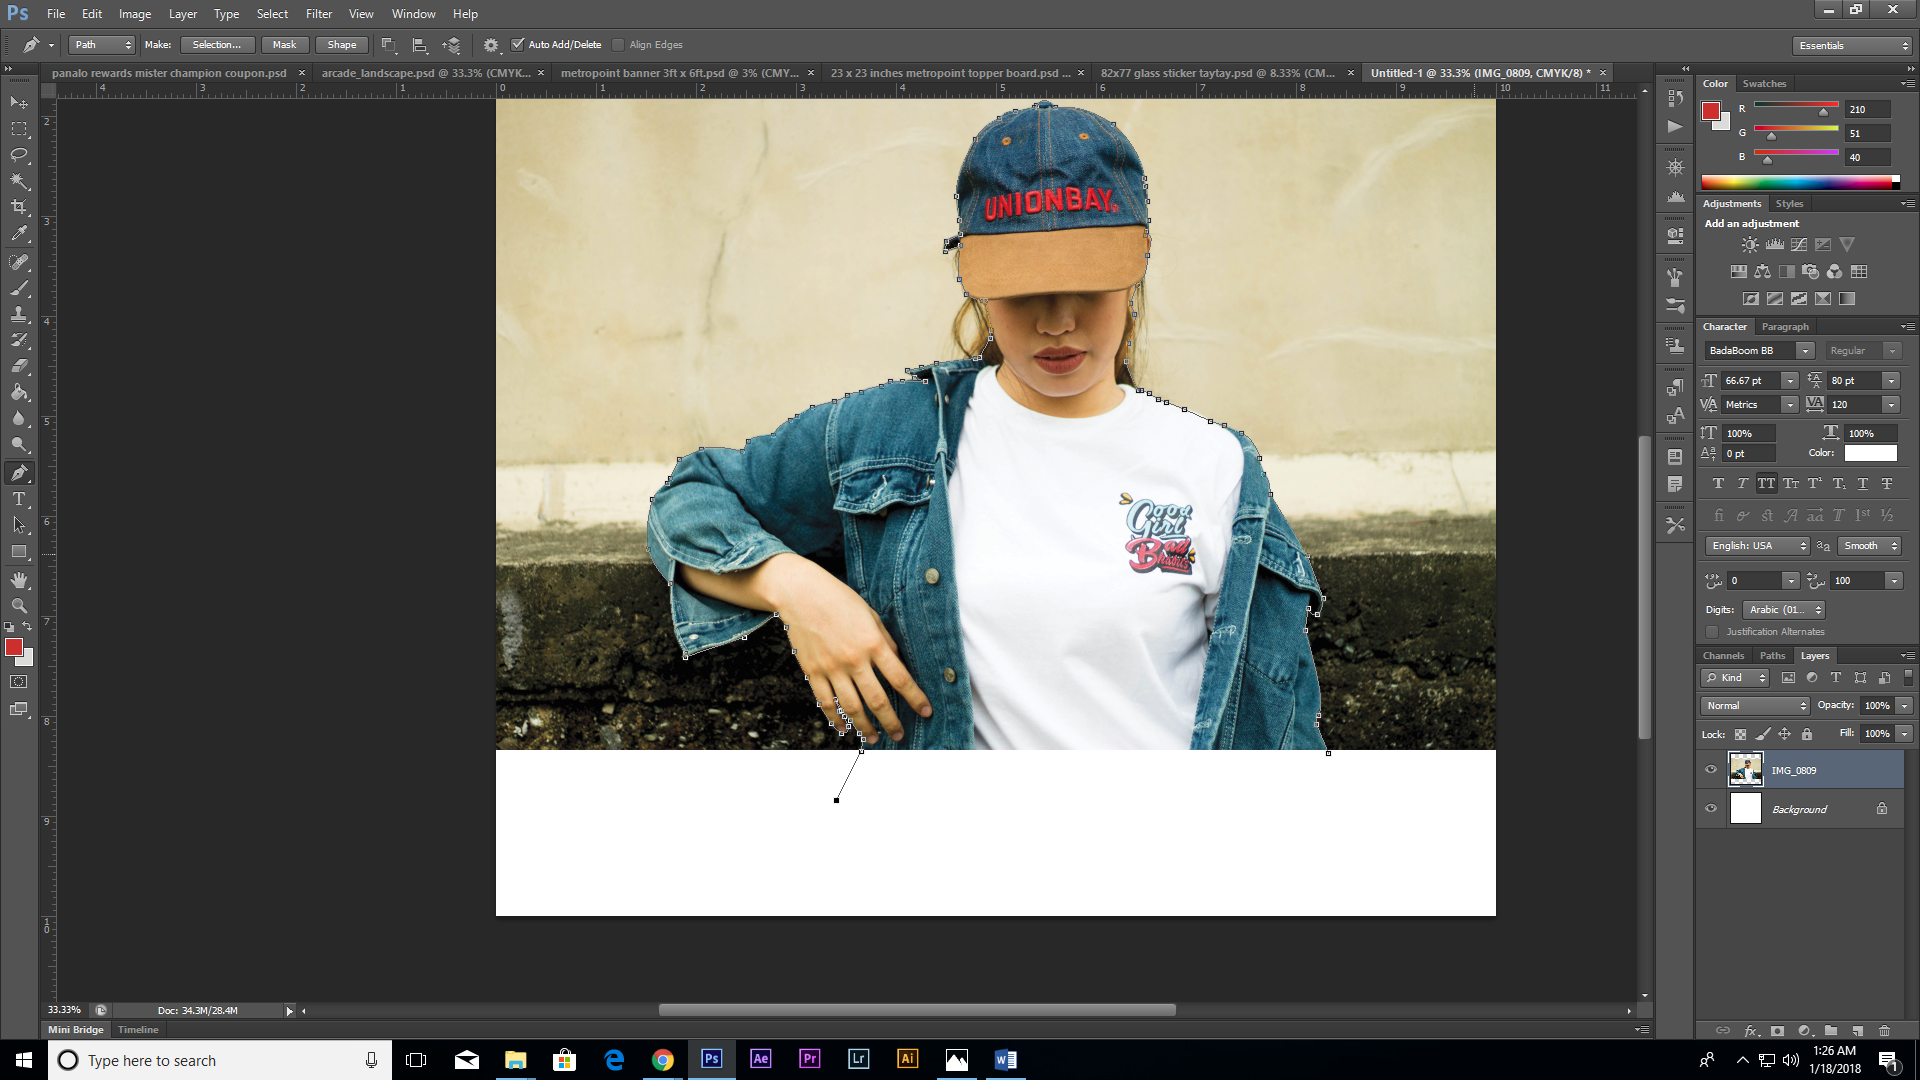
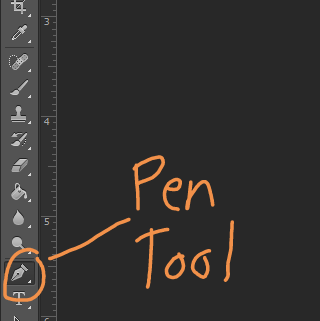
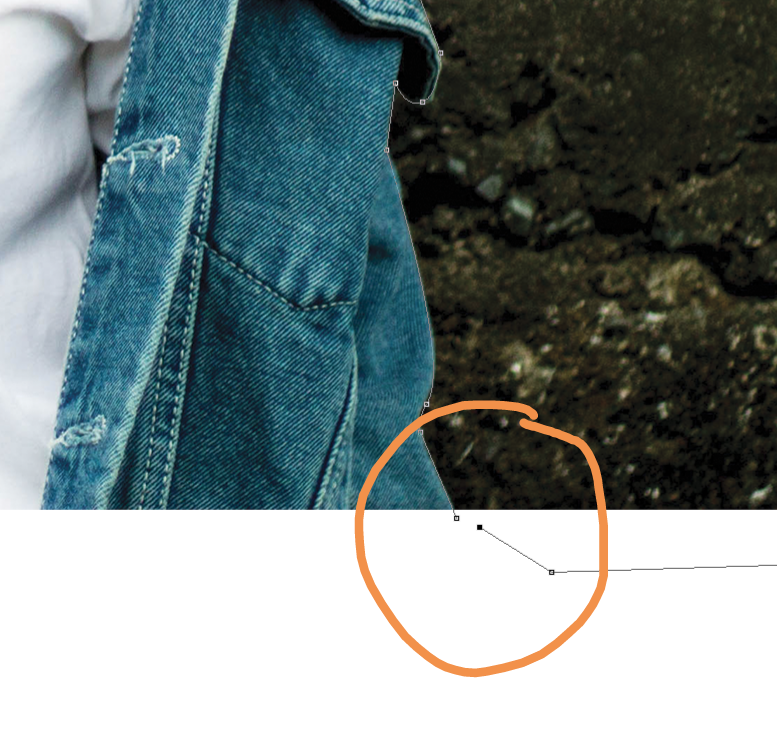
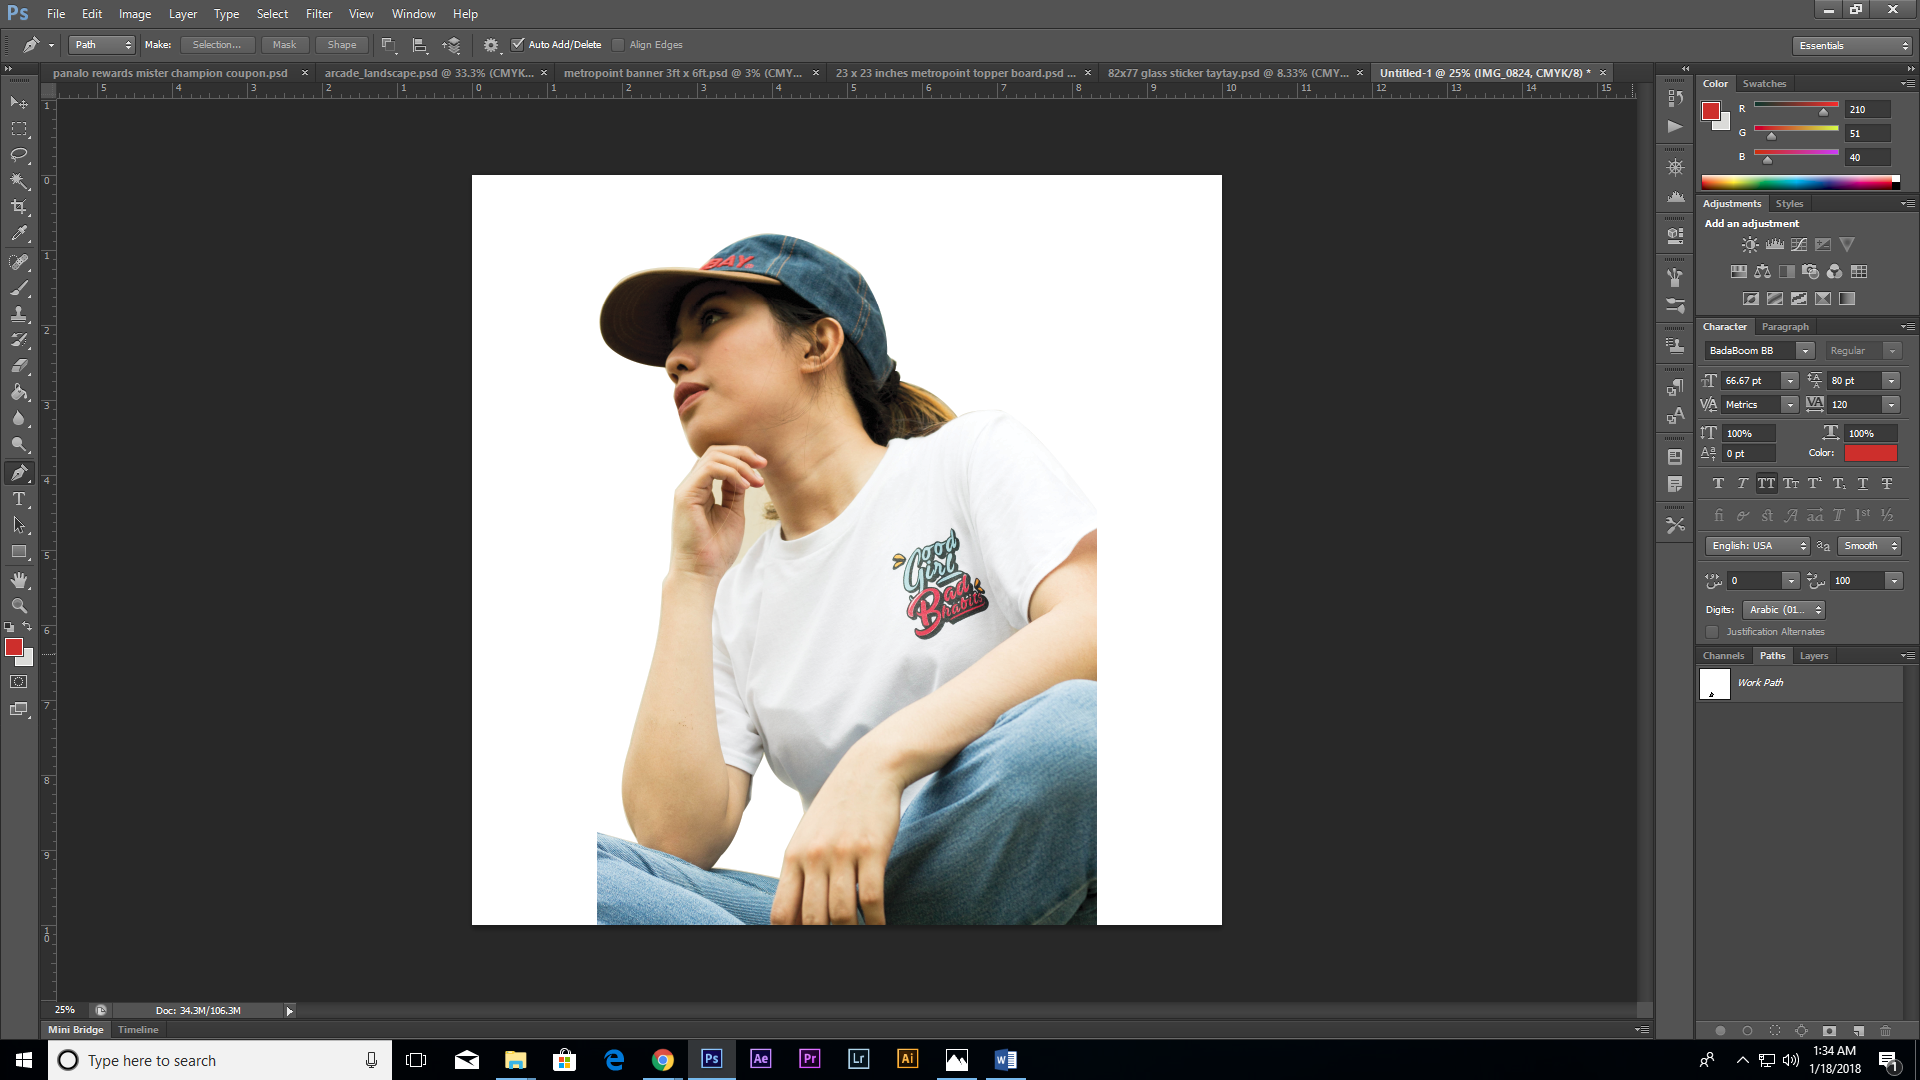
Second, trace your subject using pen tool.
Pen tool is for tracing a subject to erase the background.
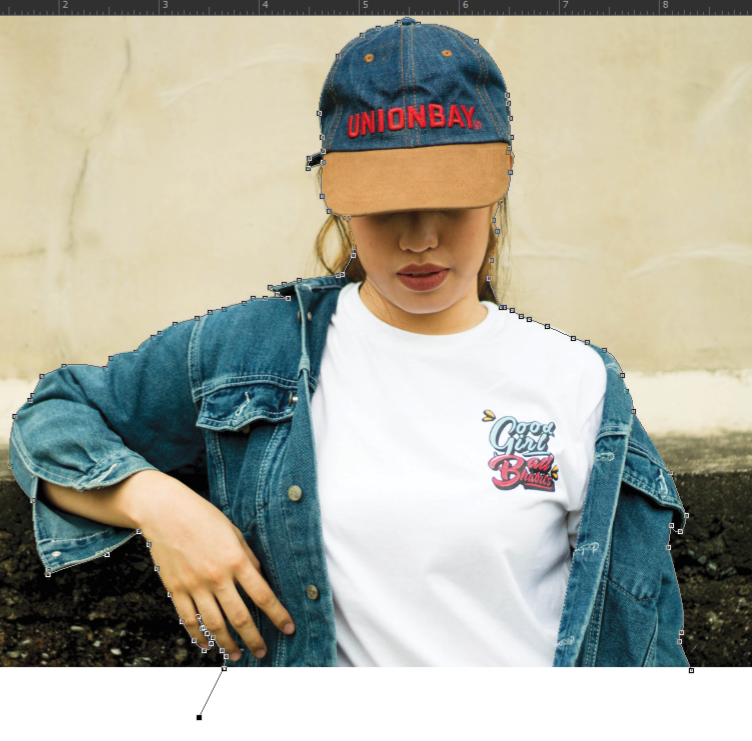
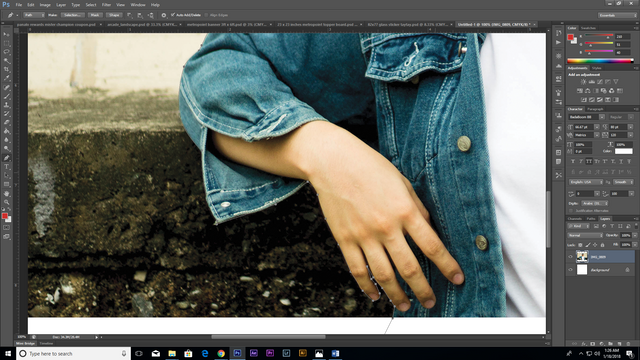
Trace your subject carefully.
Connect the first point and the last point you did to remove the background.
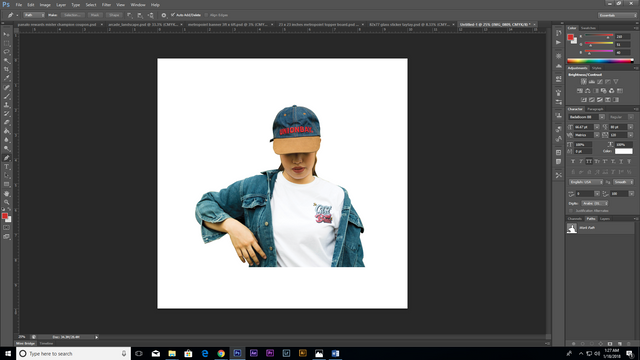
The image will be like this.
To erase the background just hold ctrl + shift + I .
The background is removed.
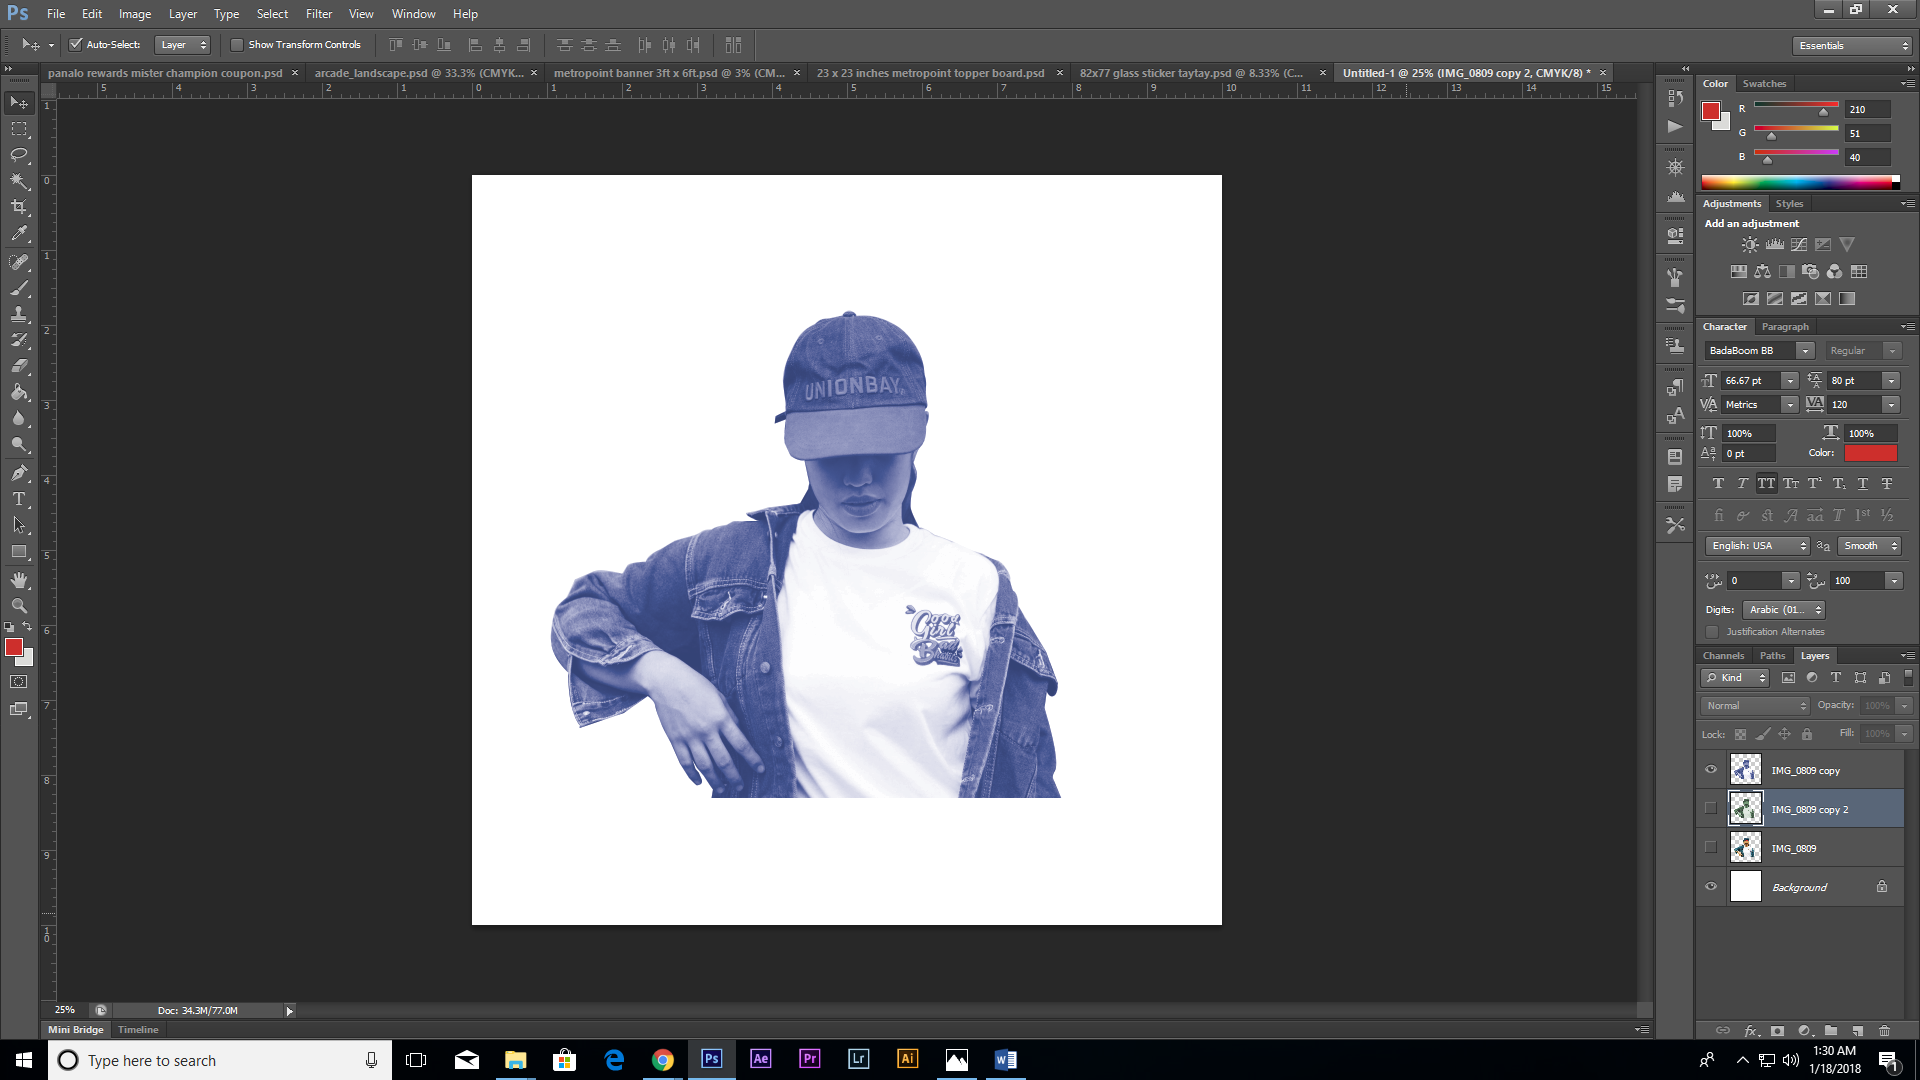
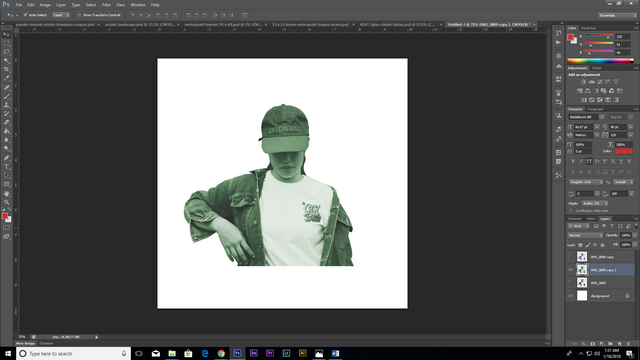
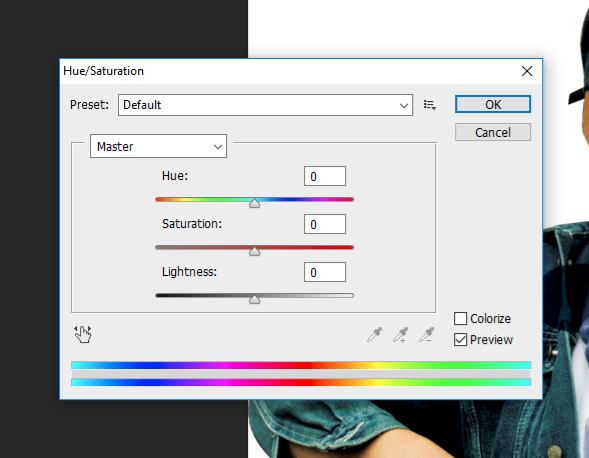
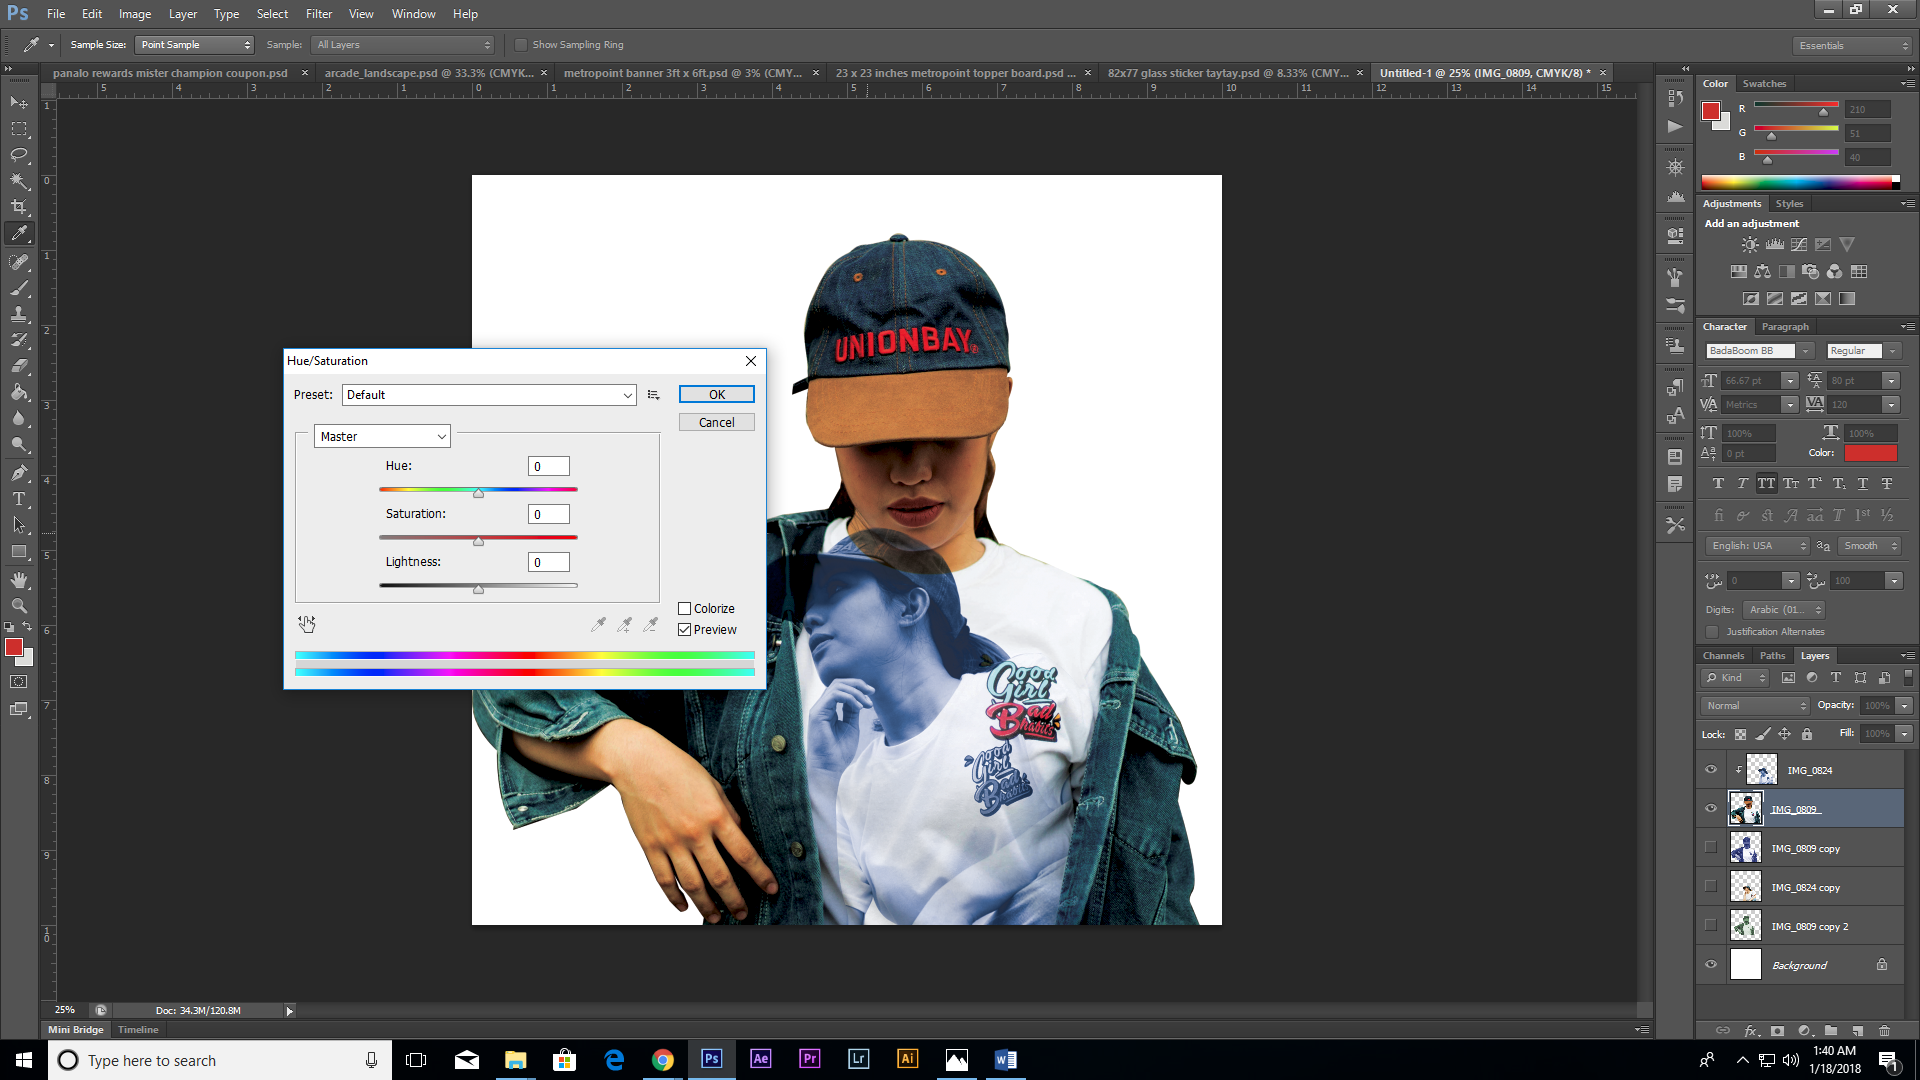
You can change your subject's color .
Just hold ctrl + U to Change it's color.
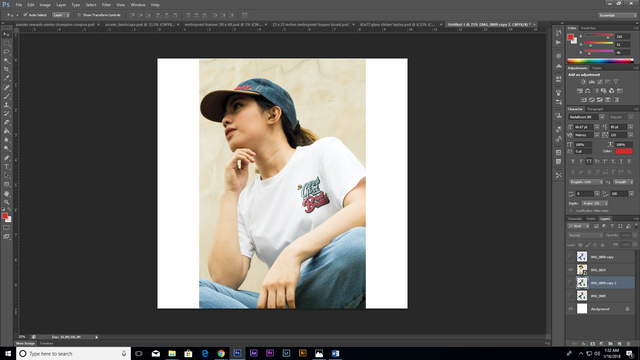
Then, you may put the second picture by simply dragging it to your workspace.
Do the process of tracing again.
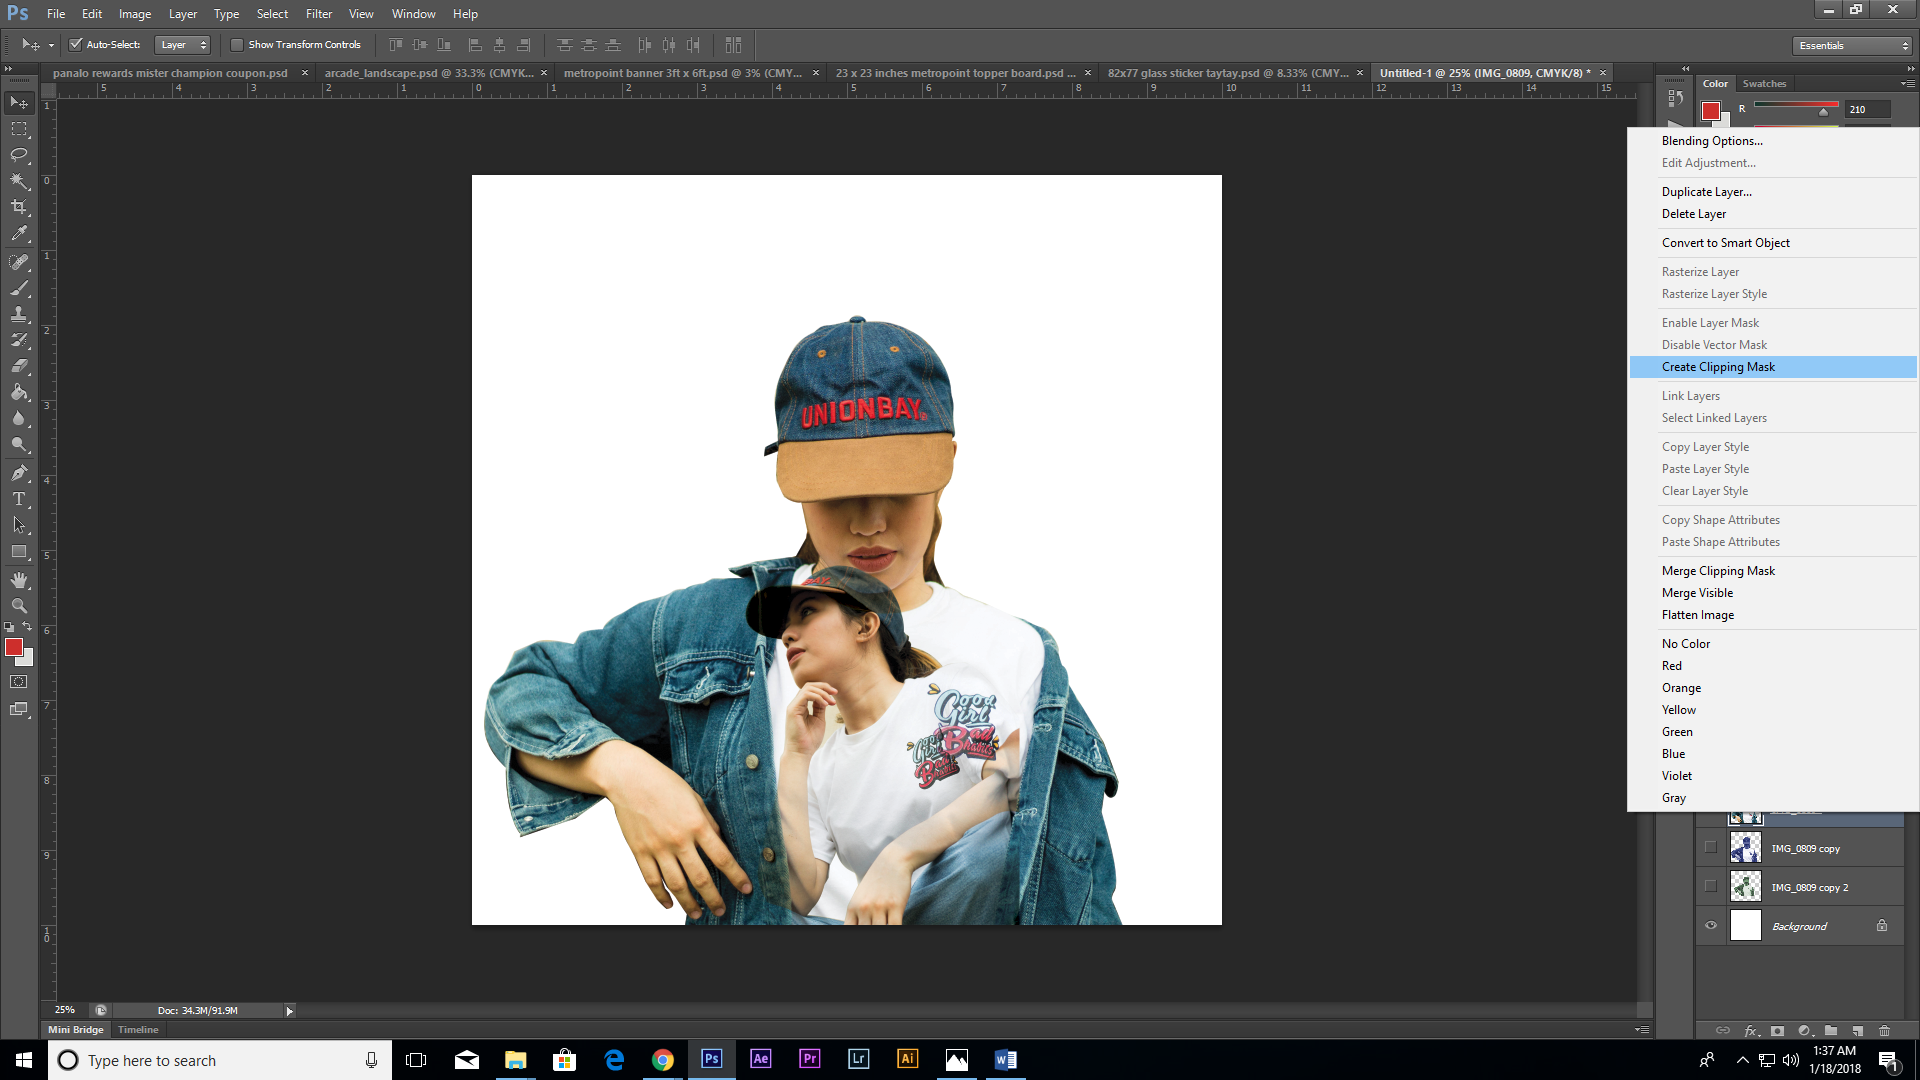
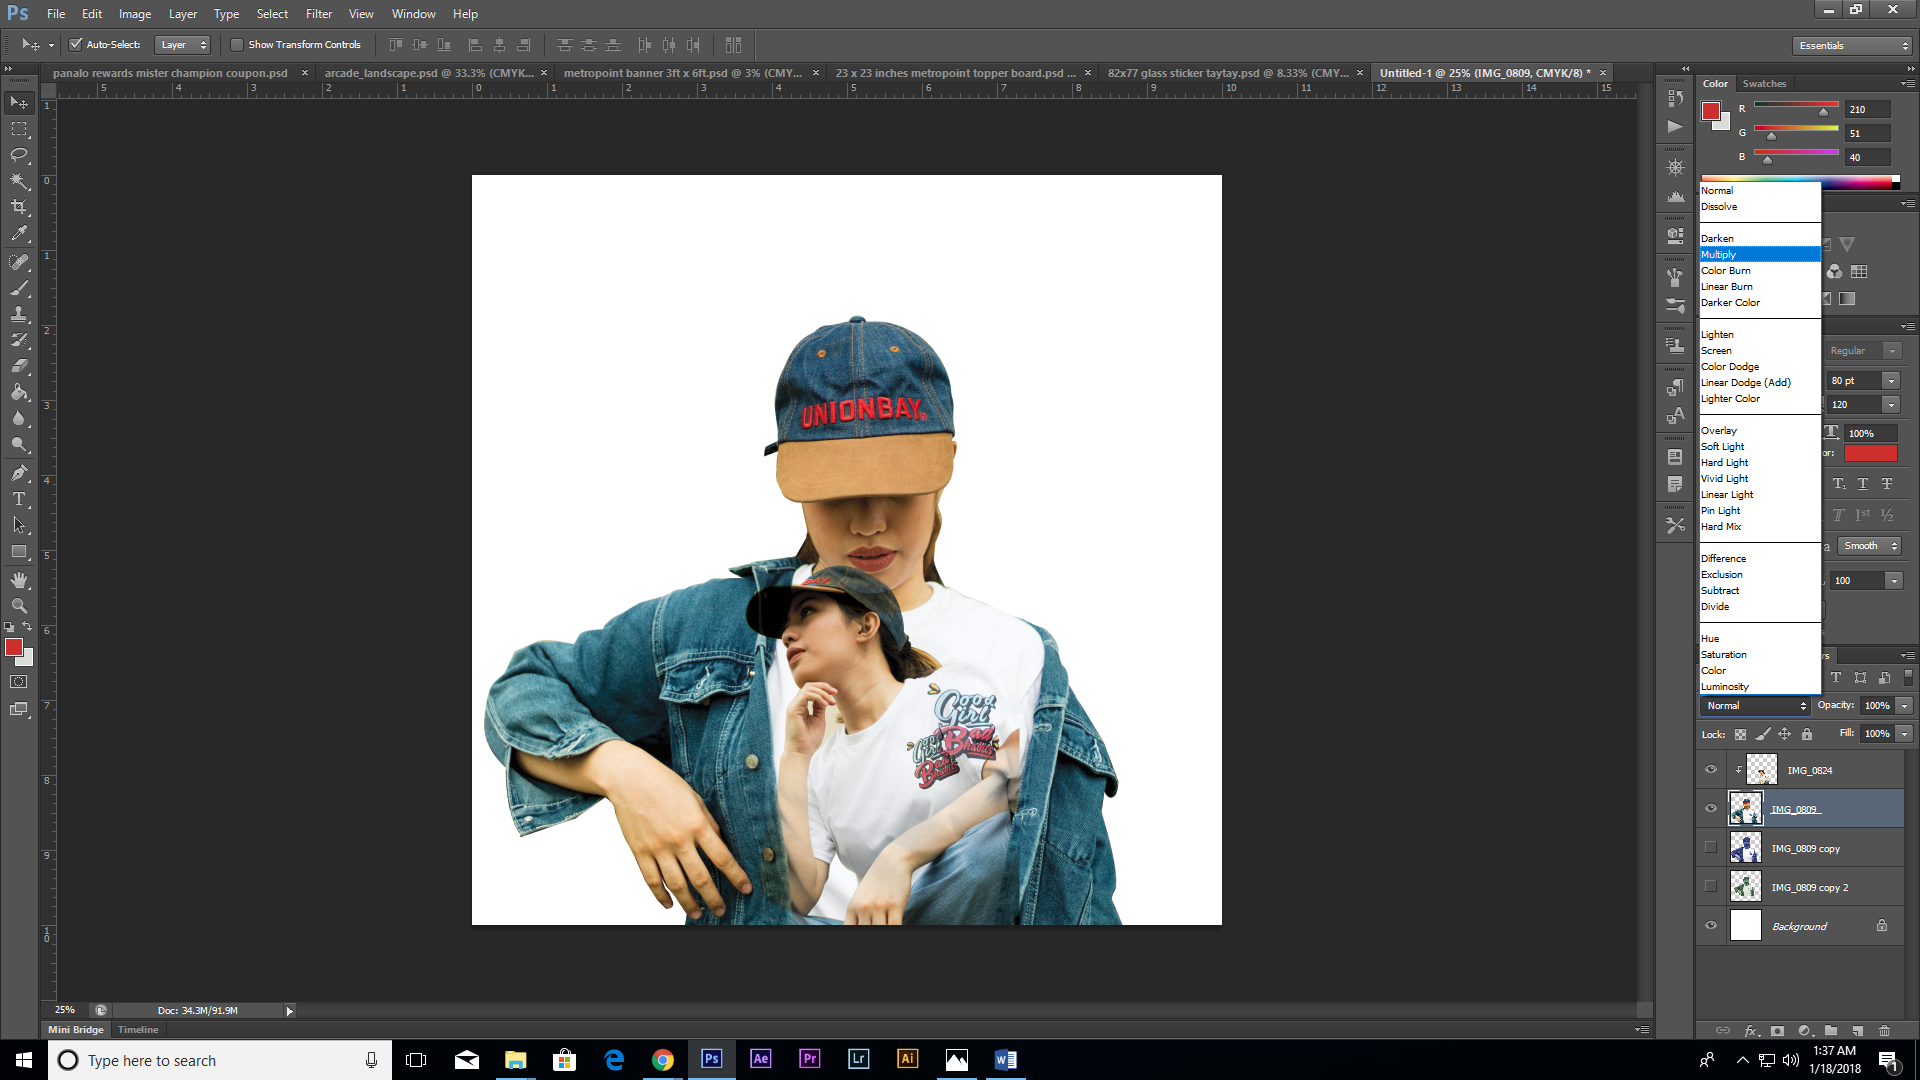
Combine the two pictures.
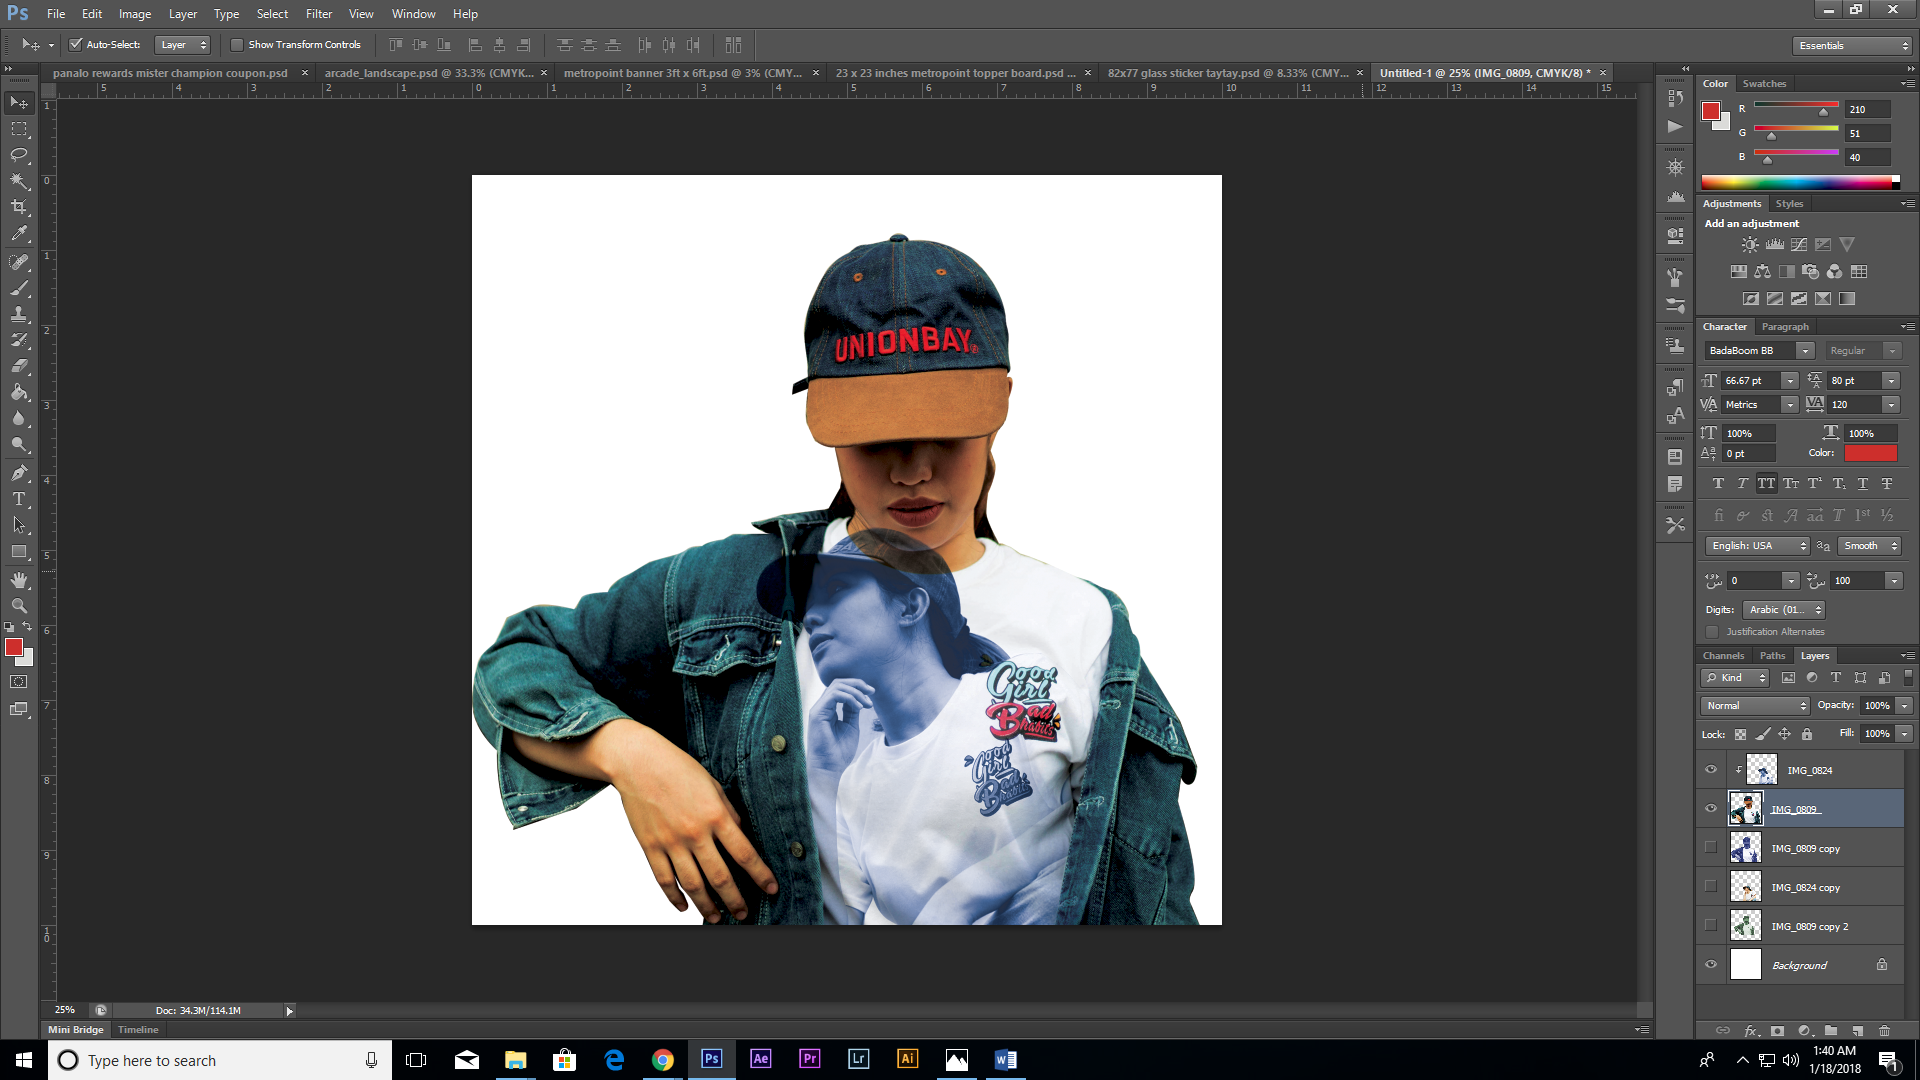
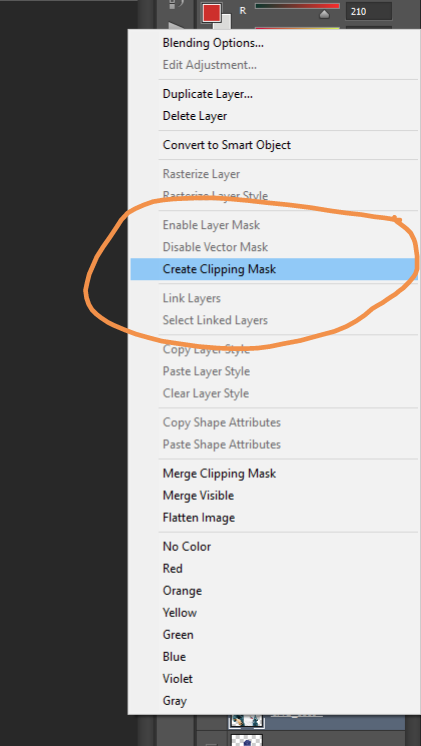
Create clipping mask,Clip masking is when objects on one layer are set to hide (or reveal) objects on another layer.
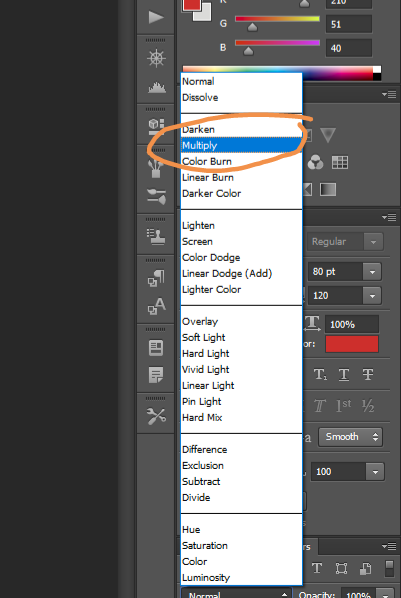
To make it attractive change the opacity of the other picture or simply click multiply.
To use it, right-click on a layer, select “Blending Options…” and then set “Blend Mode: Multiply”. Or use the Layer > Layer Style > Blending Options.The Multiply mode simply multiplies each component in the two layers. The Color Burn mode divides the inverted bottom layer by the top layer, and then inverts the result. ... The darker the bottom layer, the more its color is used. Blending with white produces no difference.
After applying the multiply you can change again your subject's color.
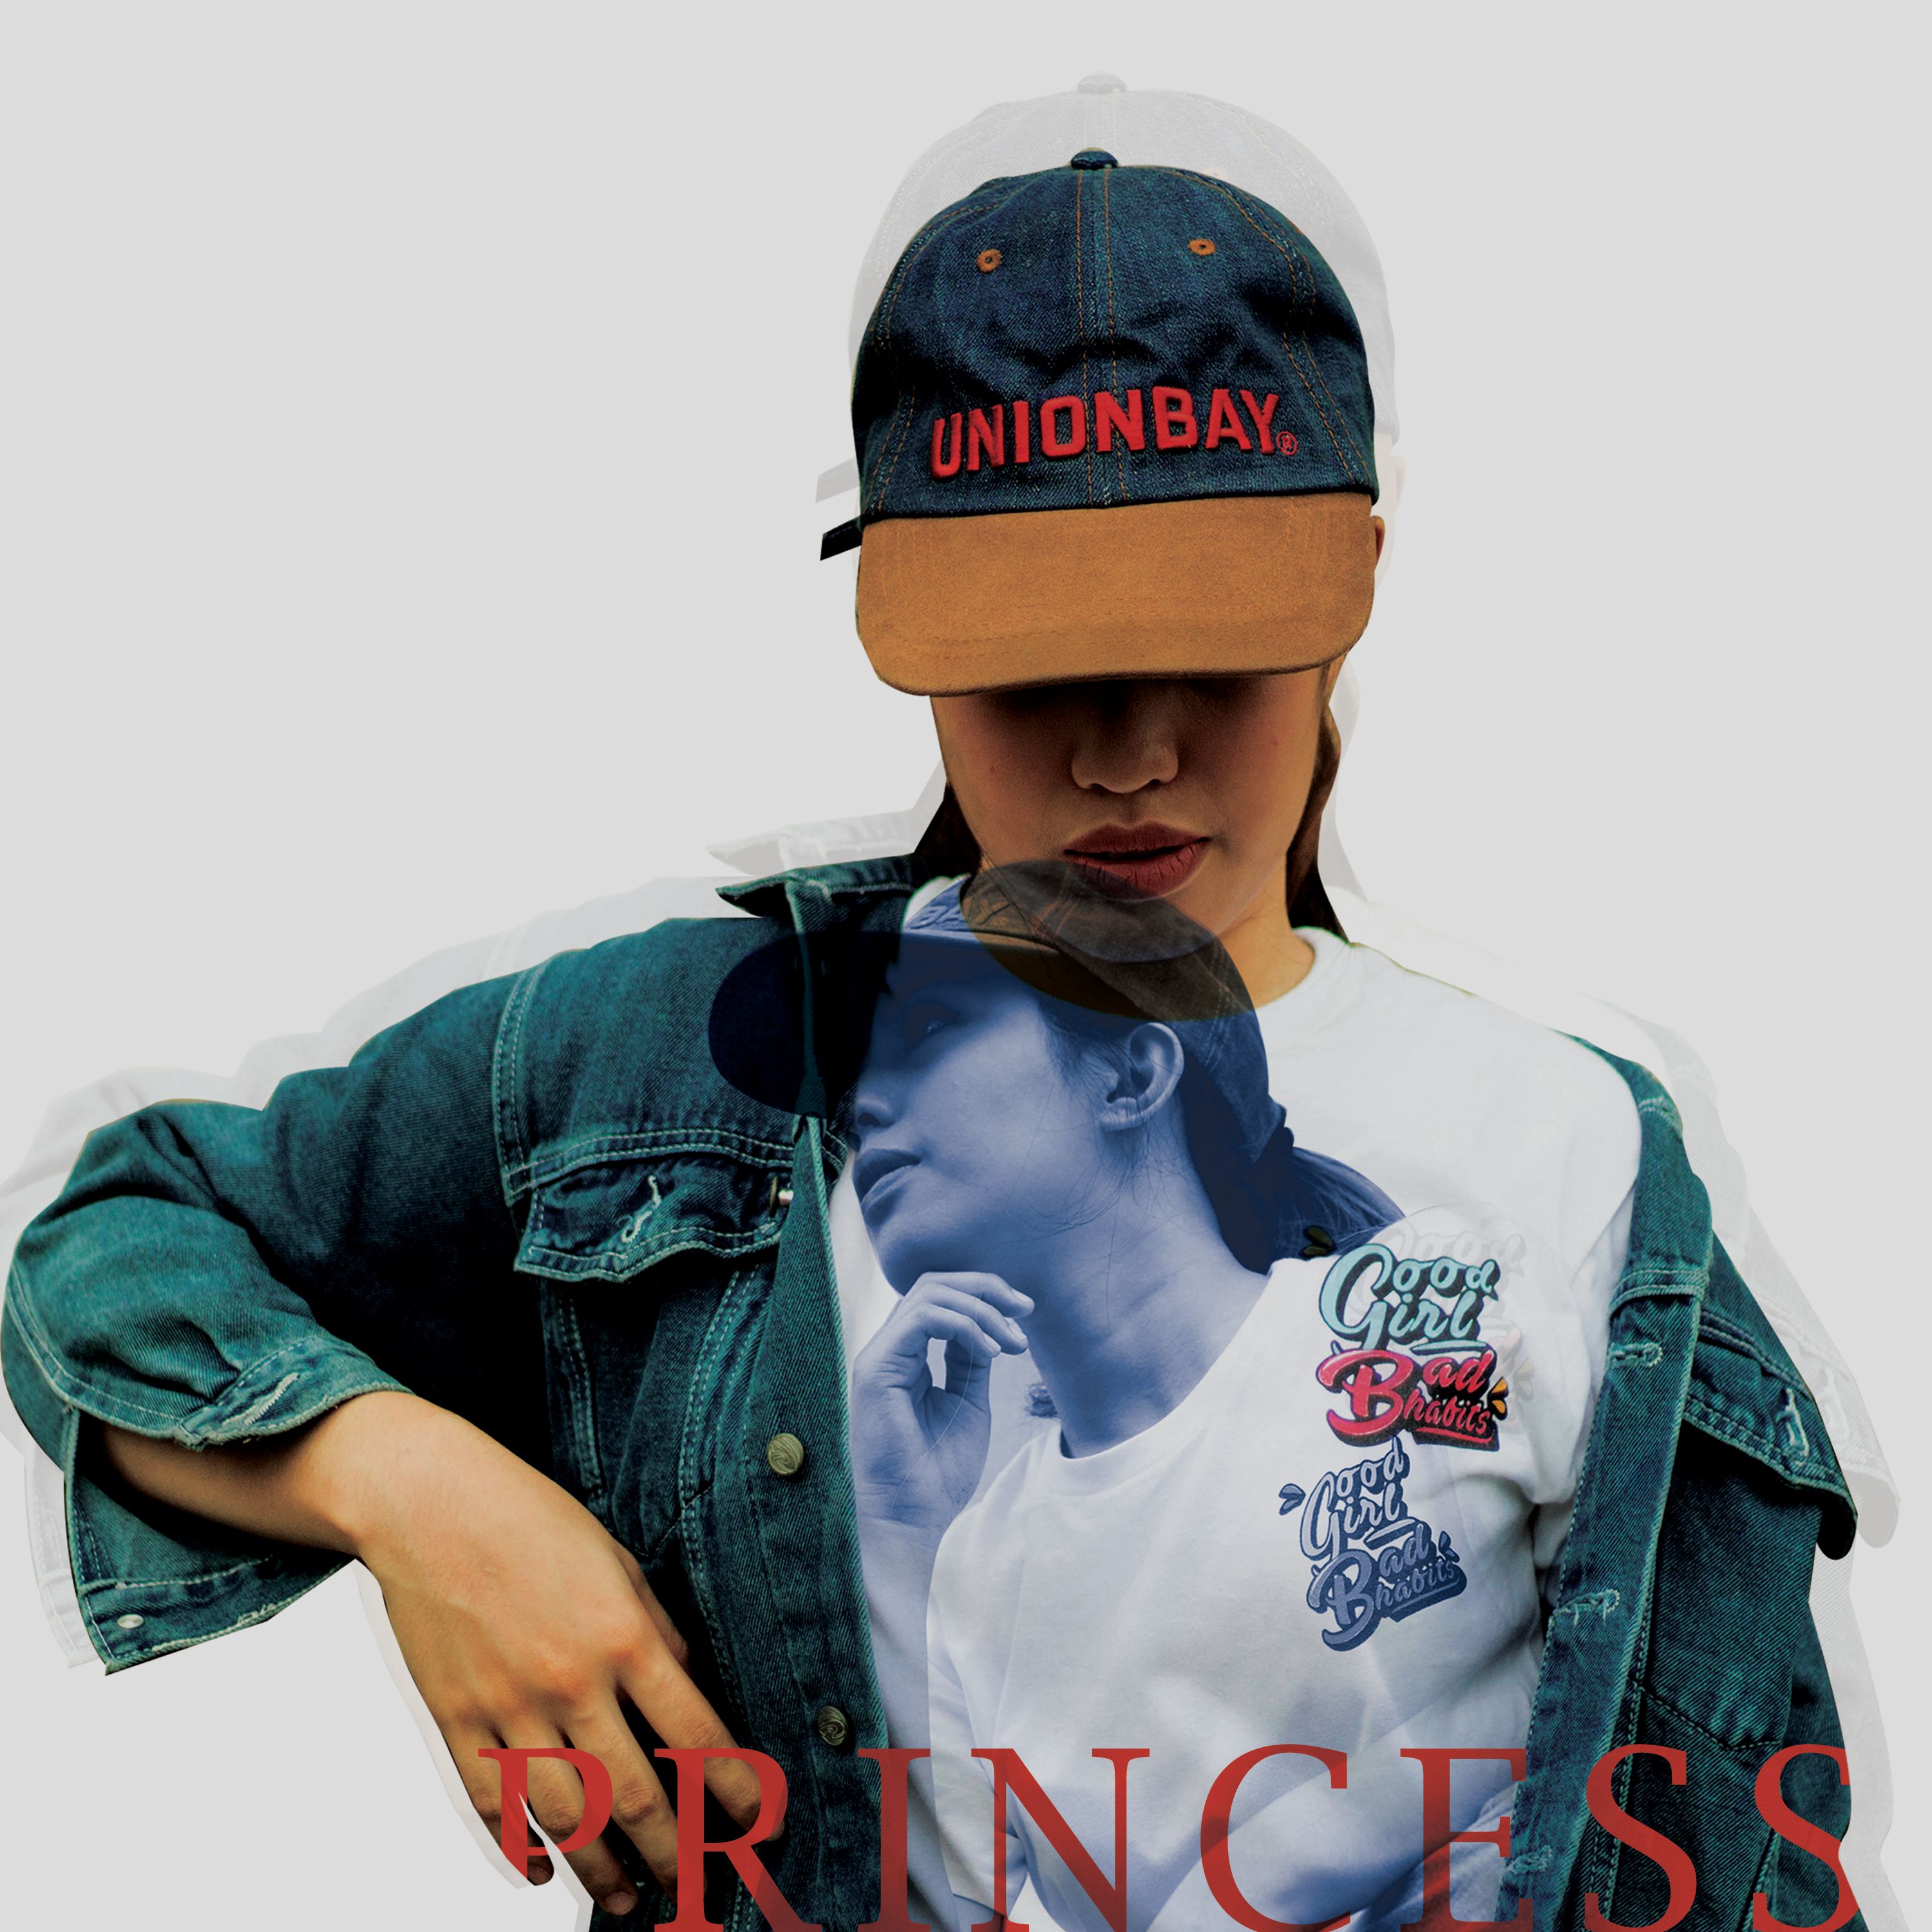
You can use this to create difference to your two pictures also seeing the double exposure effect.
Now we're finish!
You may adjust again the colors if you want.
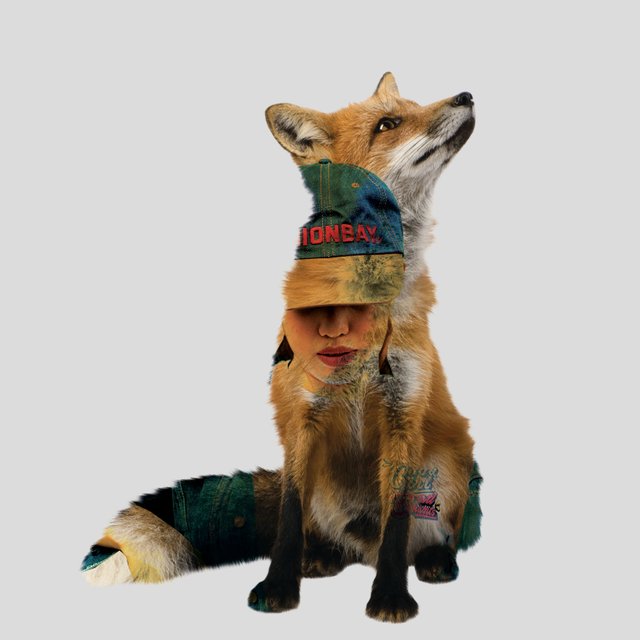
We can do other double exposure by using objects.
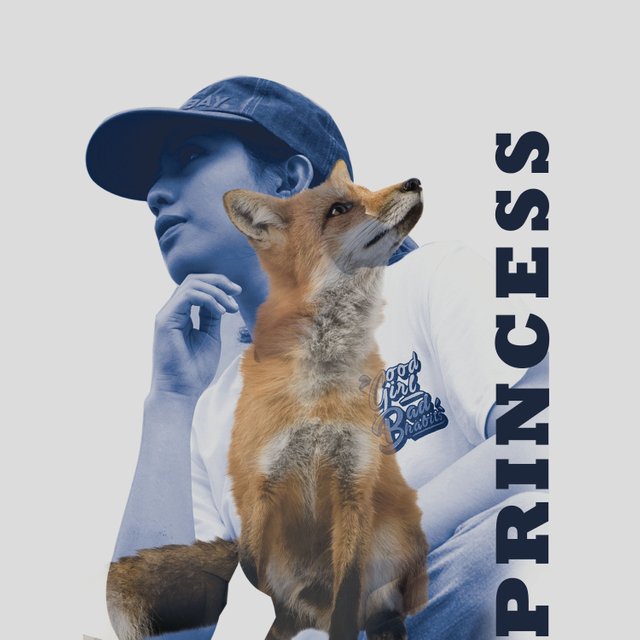
We can use also animals to create double exposure.
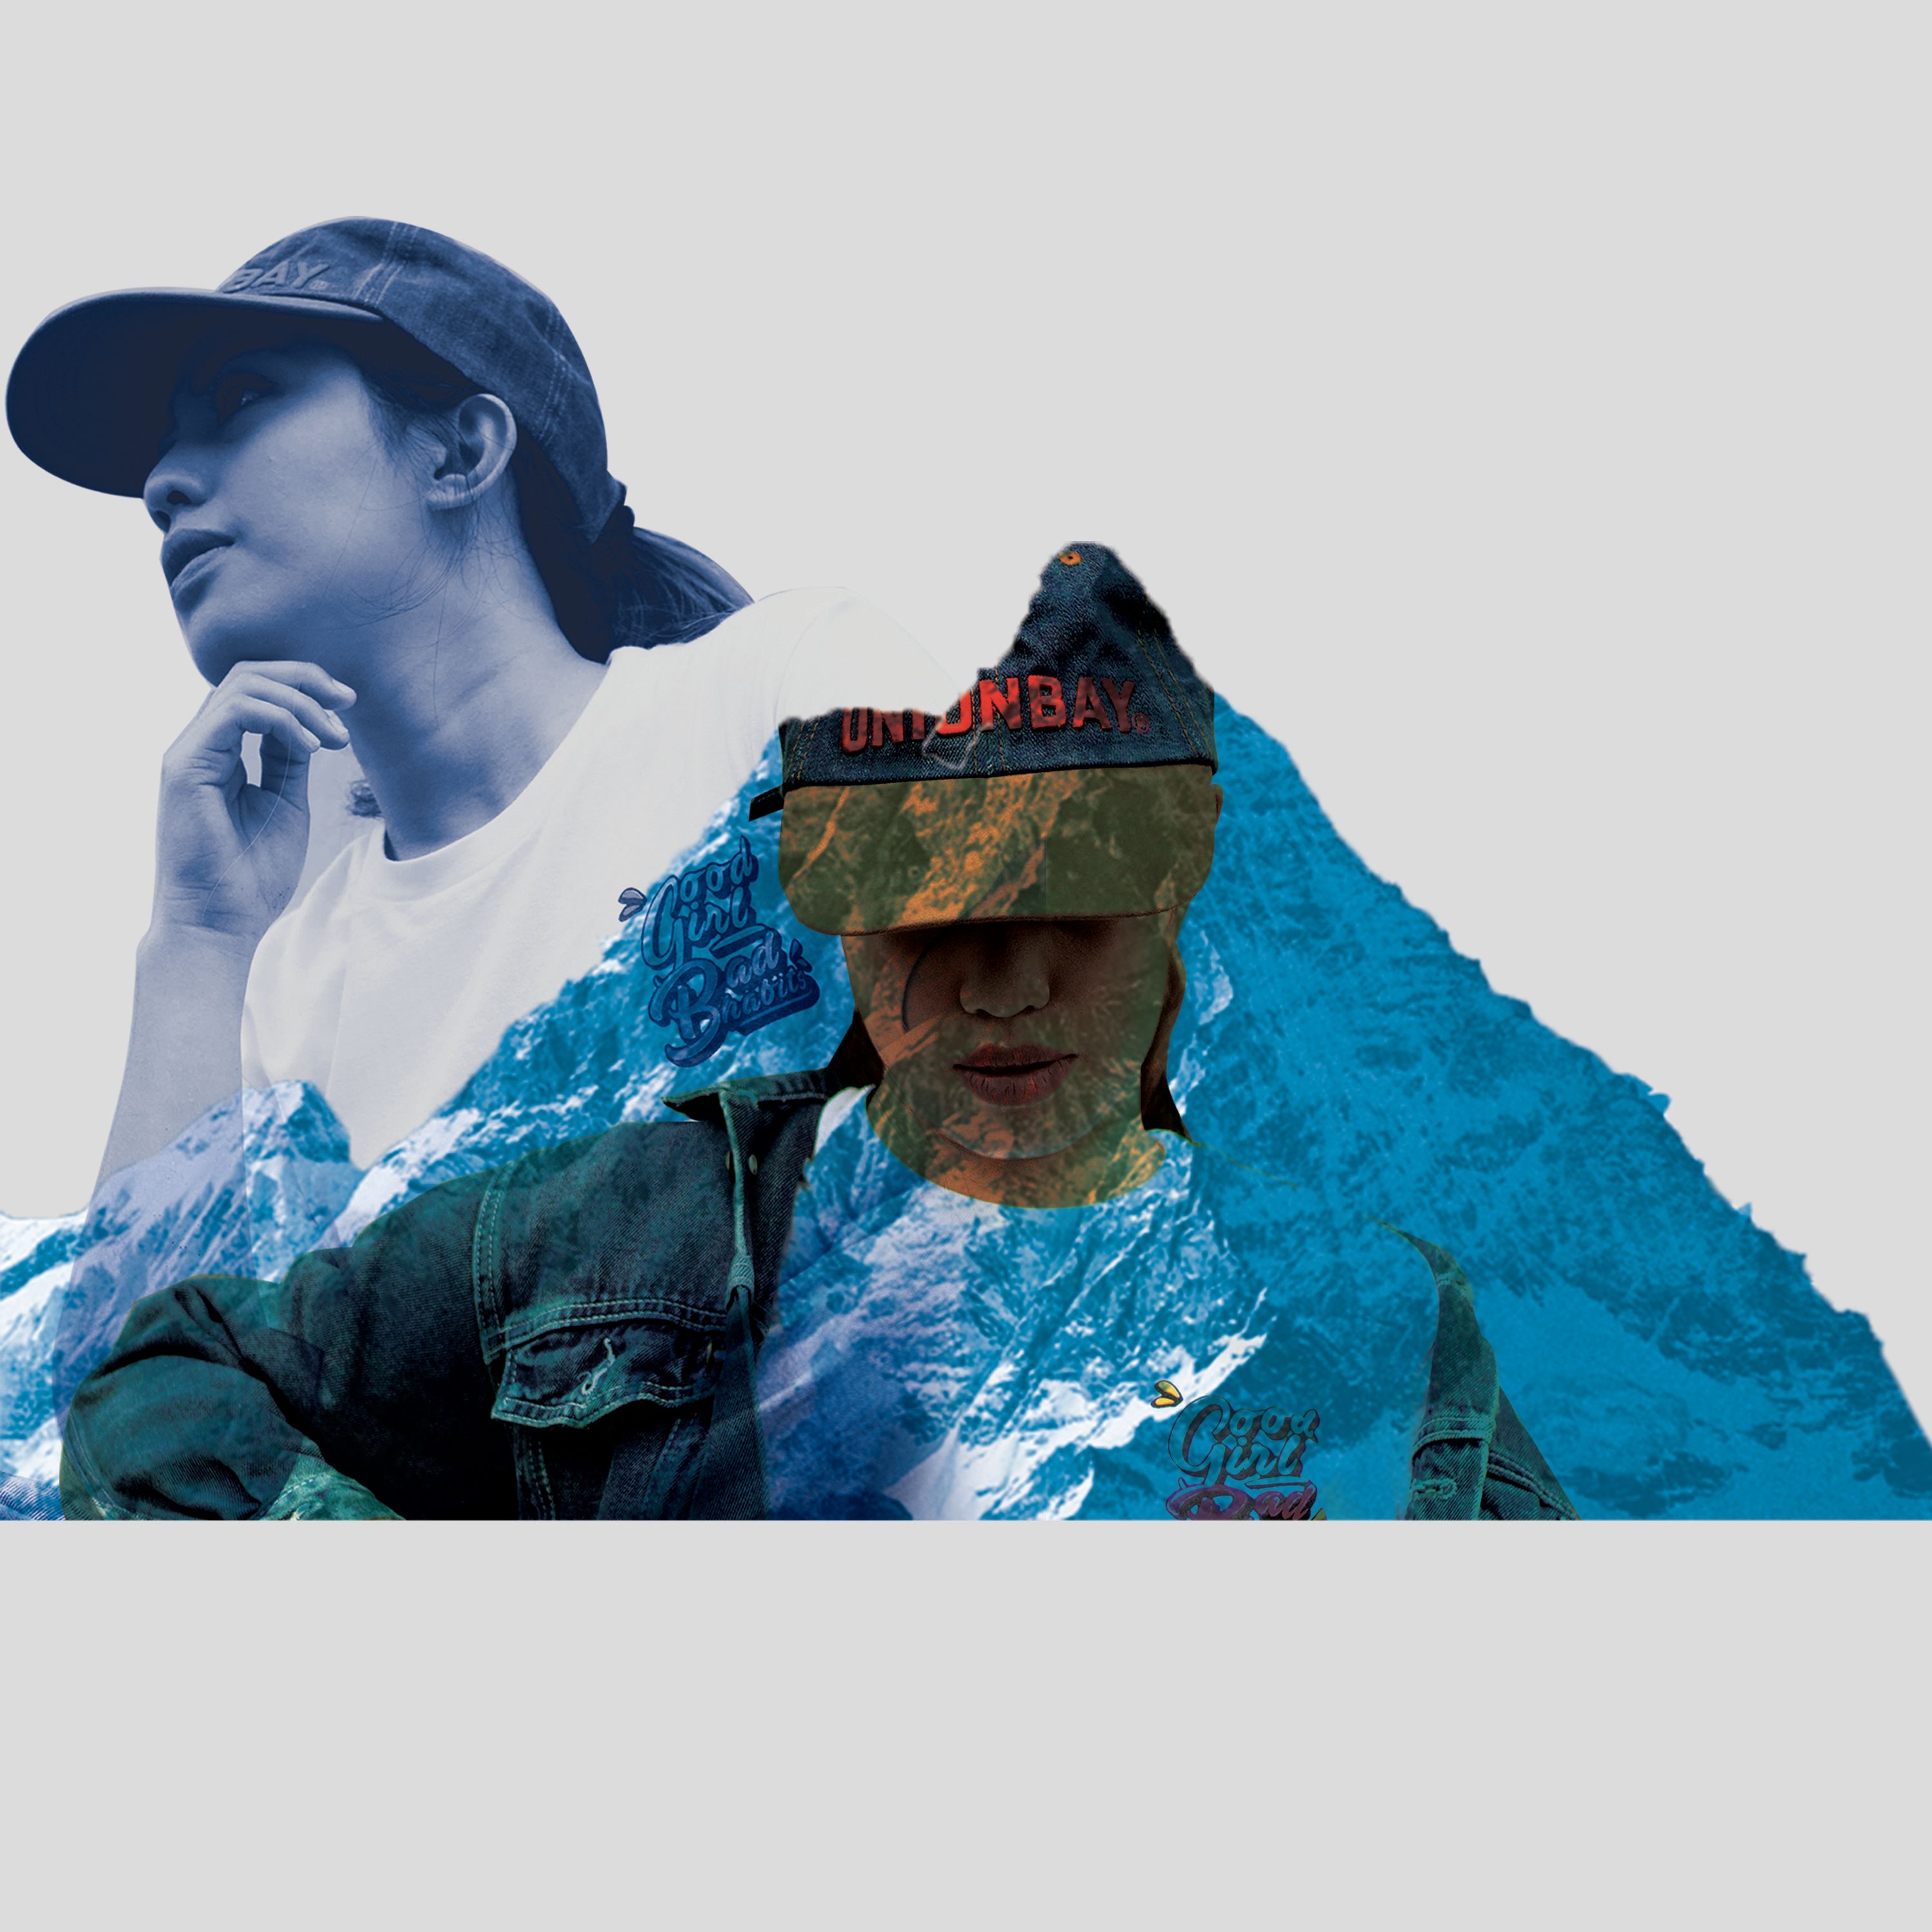
Even mountains,hill,volcanoes and other.
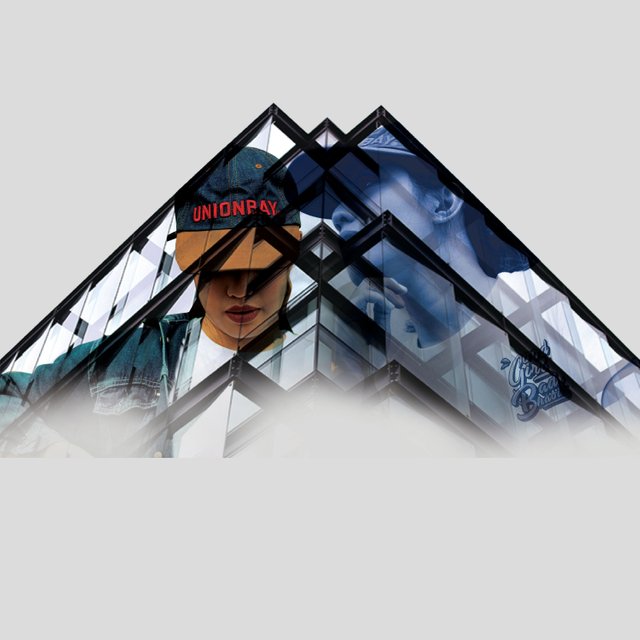
We may also use infrastructures/buildings.
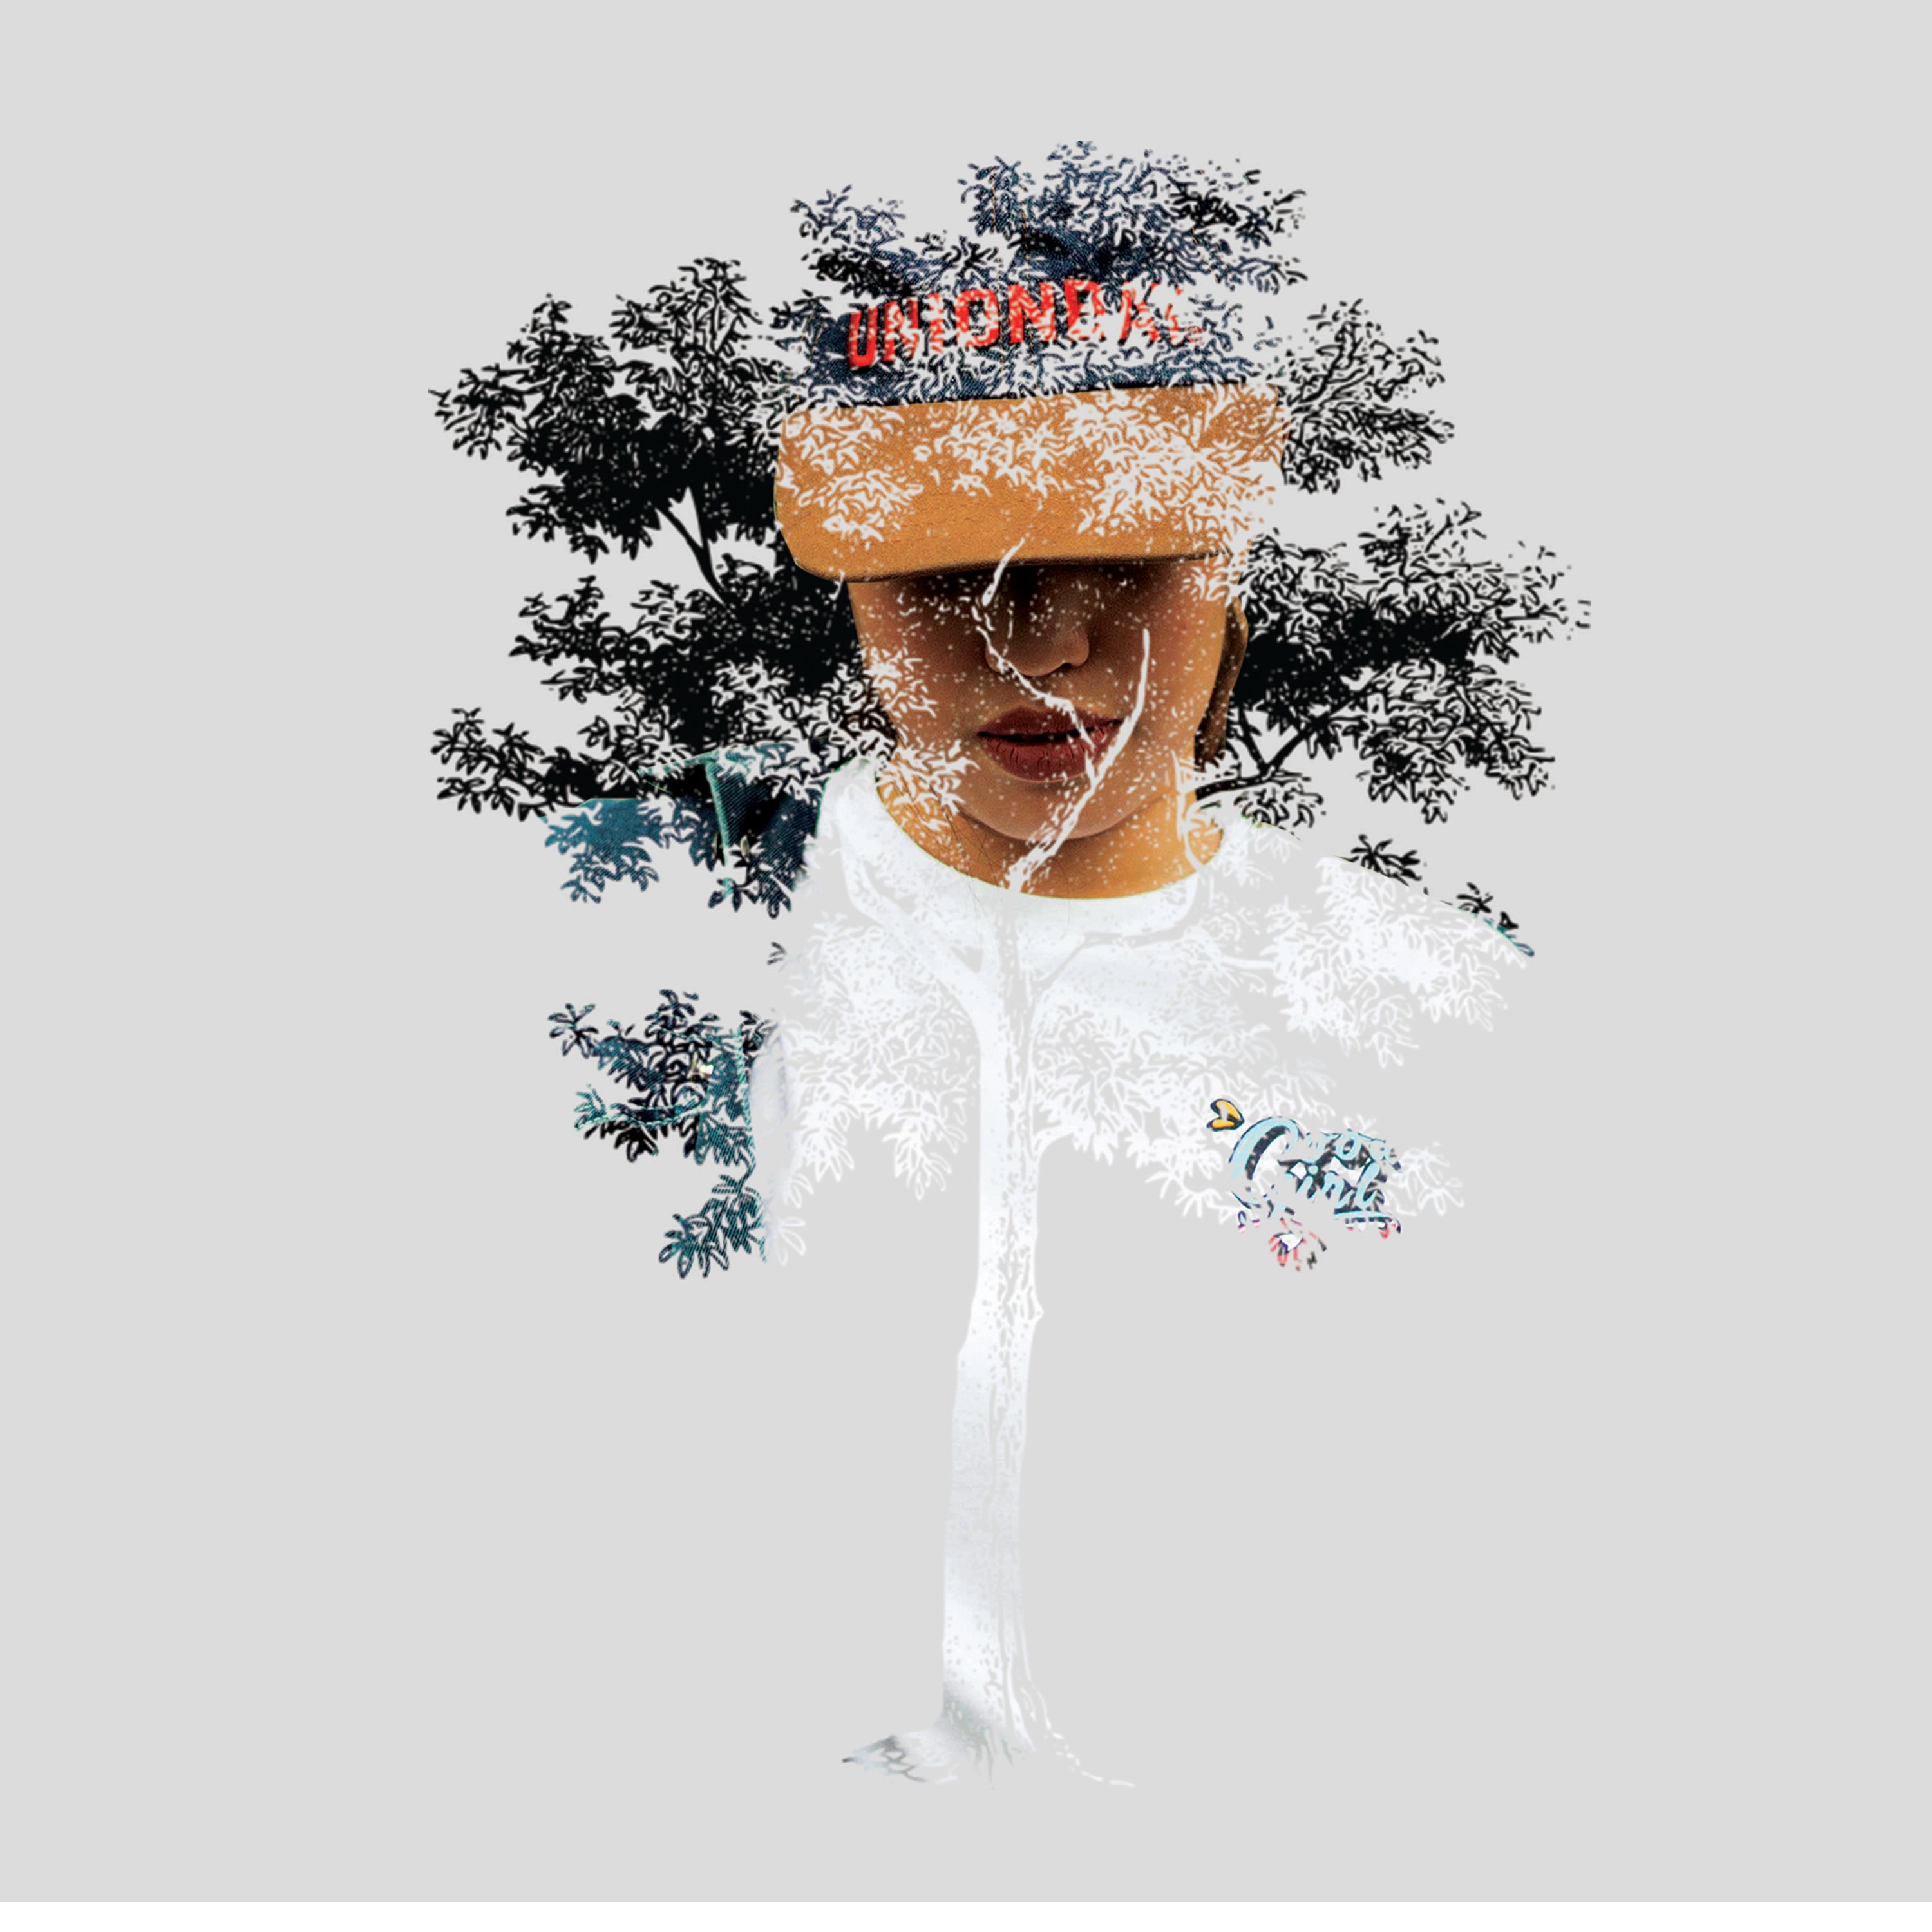
And also the trees we can make beautiful double exposure .
Thank you ! I hope you learn and enjoy!


Congratulations! You are one of our Weekly featured Authors.
Welcome to Steemit Philippines. Check out @steemph and join us in discord to connect with other Filipinos on Steemit.
very informative post! will definitely try this. i like the one with the tree. :)
Thank you madam! Yah,try very exciting. You can create with other objects too. Thank you again.
Good detailed tutorial bro! I've only tried the actual double exposure on my digital and film camera which the result is always unexpected. Might try this to get a little bit more control on the results.
If you know photoshop or illustrator you must try this. Great double exposure result. Follow me for other photoshop and art stuff.😂 follow you too bro. God bless.
I`m not good in editing. Thanks for the information! Resteemed.
Thank you!!
I like @neihy05, I'm not very good at editing... but with this. I can be a designer. :)
wow! thank you! follow me for other simple process of editing using photoshop.
naysudesu
Aralin muna photoshop! Salamats!!
Woah great tips!!
Thank you! Try it!😊