An Entry for Day 6 of Inktober: The Sword
Since #Inktober has started, I would like to participate in this opportunity. Since there are exams, I decided to participate late.
So what is with Inktober ?
Inktober was first created by an Jake Parker, an artist that wanted to challenge himself to improve his inking skills and bring forth better habits for drawing. Every October it is a challenge taken by artists to do an ink drawing for every day for the month.
The rules for this challenge is to
- Make a drawing in ink.
- Post it online. It would be better to place the hashtags #Inktober and/or for this year, #Inktober2017
- And do this for every day of October.
So what is today's drawing?
Usually there is a 'prompt list' that includes words that you might be interested to draw it out, but it still depends on you if you want to use that 'word of the day' or get a theme of your own. It's fine.
So since today is October 6, the list says 'sword'. Okay, I have decided to that.
Here is the step-by-step process for this ink drawing. I used a Pilot G-Tec C4 with 0.4 point of black ink.
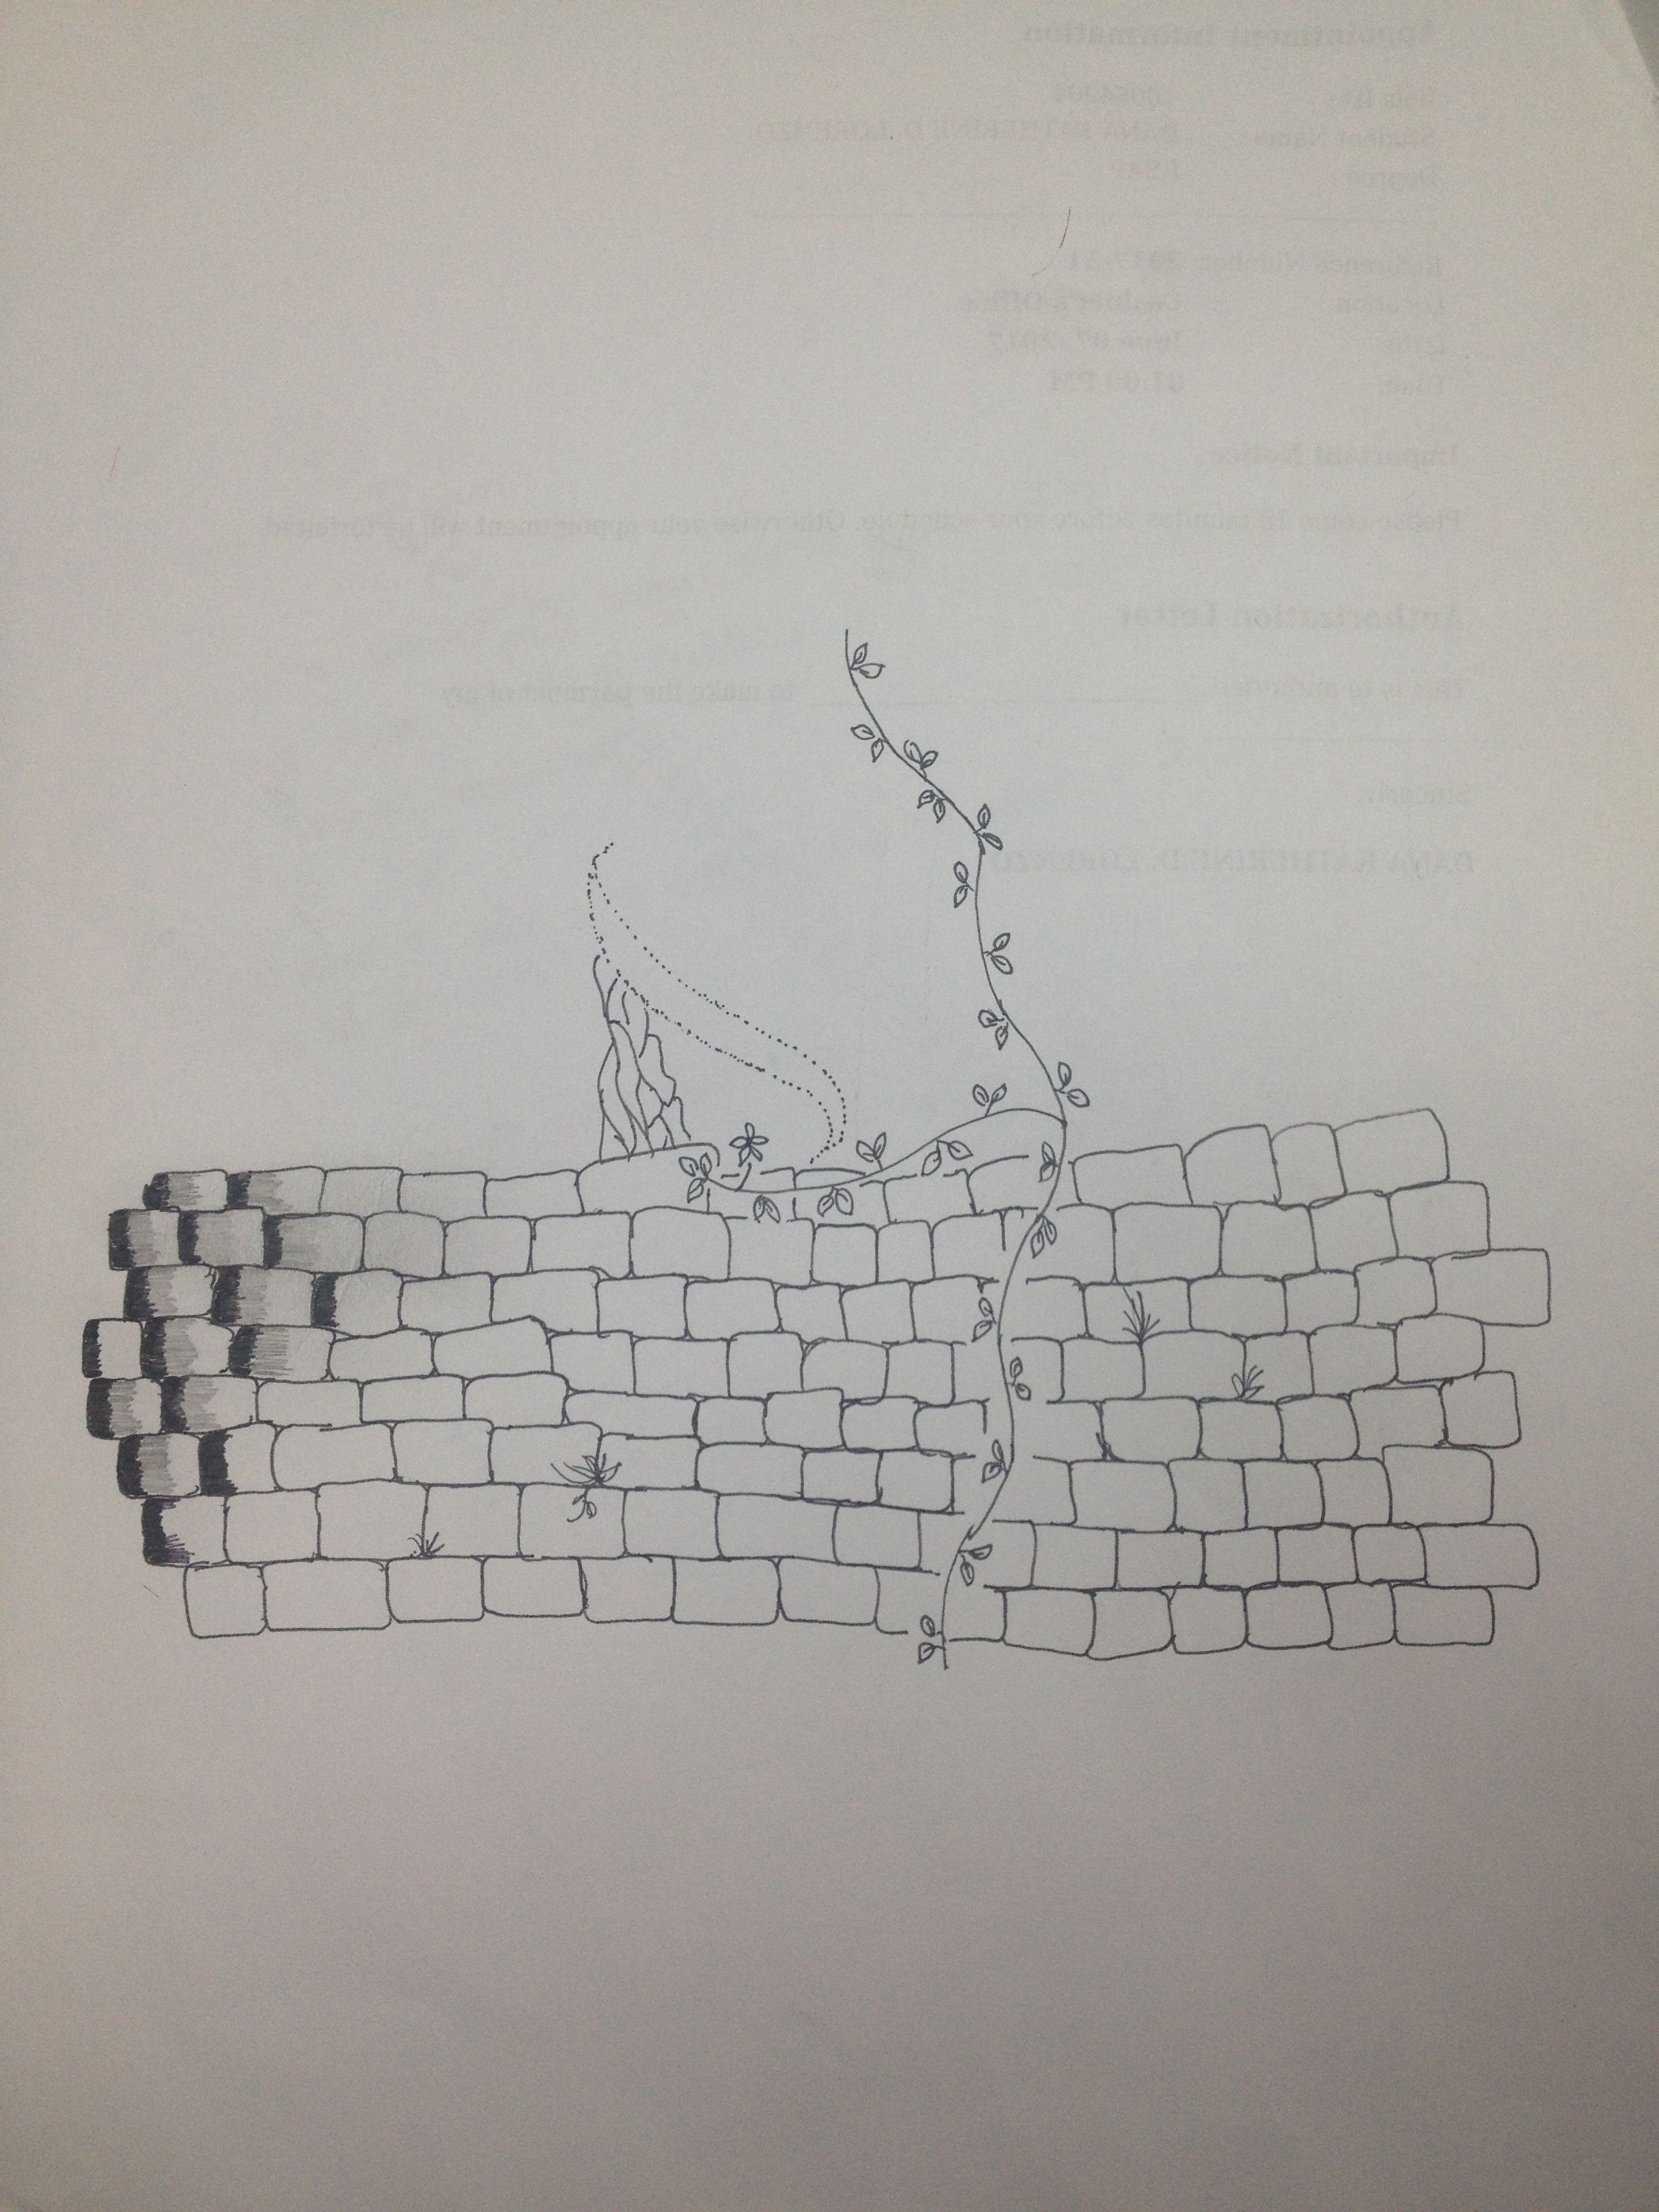
1. The bricks
I just got curious about Inktober that I had no idea what to do so I was not so sure of what to draw at first.
.JPG)
I drew a vine and tried to make a layout of bricks in the background. More layers of bricks were added and the next photo shows the finished number of layers of bricks.
.JPG)
2. The tree trunk
I am not really the artist type that can draw in many variations, but I decided to make the drawing of the tree different from the common way that I draw a tree trunk.
.JPG)
This manner looks more rough than the usual drawing of a tree trunk in just opposite-faced curved lines. The tree was finished in the next photo.
.JPG)
3. Shades for the bricks
I was actually undecided if I were to place shading marks on the edges of the bricks, because I have already shaded from the second photo. So I continued for a few more blocks to evaluate its appearance.
.JPG)
Also, I drew the outline of the bark of the tree and the bricks to at least make the lines thicker.

4. The sword
So I inserted the drawing of the sword.
.JPG)
Some details were added after the blade of the sword was drawn.
.JPG)
And the shadings for the bricks were continued.
.JPG)
Also, a few markings on the blade of the sword was added.
.JPG)
5. The sign
As an aspiring artist (I really hoped this would happen, hihi), I placed my small sign on the top rightmost side of the layer of bricks.
.JPG)
Note: It is actually allowed to include colors for ink can not only be in black color. I would like to add and mix colors but as of the moment I only have a black pen with me. So maybe I can add the colors upon an arrival of another opportunity. :)
