Steemit Tutorial - Turn Your Images Into Realistic Photo Snapshots Easily - Sketch Render Art
I'm trying out a different type of image for my kid's picture books and found another free Photoshop Action from PanosFX.com Called Bent Photos. They make Bent Photos action freely available, as well as others. There's one I used in these posts called Paperworks:
Steemit Paper Projects - Cube Shaped Holiday Ornament Steemit Logo
New Steemit Paper Project - Cube Shaped Holiday Ornament Red and Green
I'm wanting to add some flair to the children's books I'm making so I figured I'd give it a try and see if i could make the graphics look better. I made two other Giant panda images in a previous post:
The Giant Panda In A Tree - Original Sketch Renders With Polaroid Photo Effect
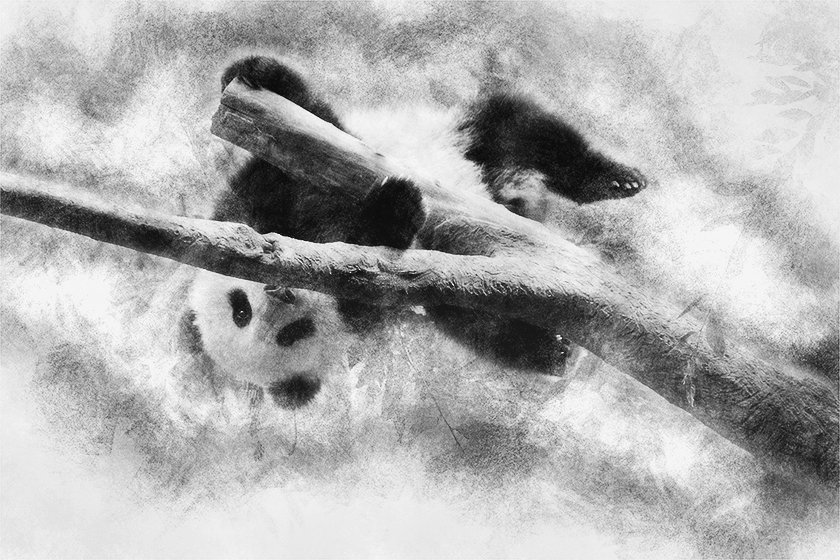
Photo Effect Finished Product

The Original Sketch Render
Step 1: Oopen up yout picture in Photoshop

Step 2: Click Window - Actions

Step 3: The Actions panel Opens
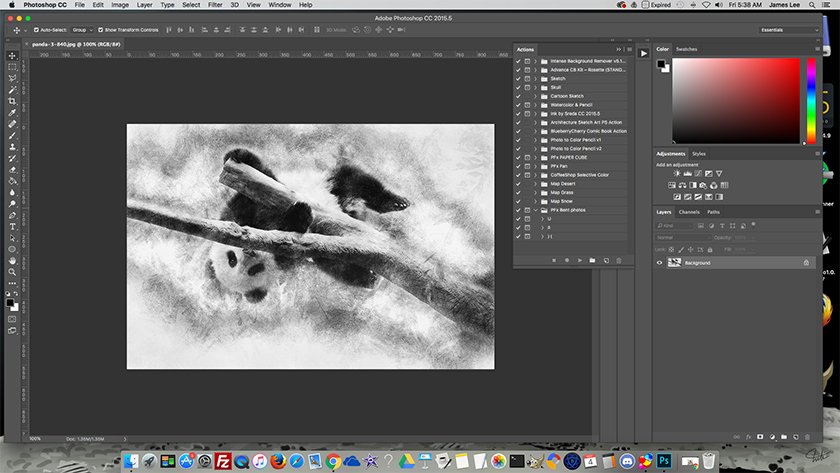
Step 4: Click the menu button top right of actions panel - choose load actions. Then browse to where you downloaded the PFx Bent Photos action and double click the .acn file to load it.

Step 5: Expand the PFx Bent Photos folder - click one of the three styles - click the play button below.

Step 6: Read the dialogue box that opens - click continue.

Step 7: This is where the action allows you to adjust the size of the photo's white border. I just accept the default by hitting ENTER.

Step 8: Read the dialogue box that opens - click continue.

Step 9: This is where you can adjust the Gaussian Blur, I just accept defaults by clicking OK.

Step 10: Read the dialogue box that opens - click continue.

Step 11: This is where you can adjust the Motion Blur, I just accept defaults by clicking OK.

Step 12: This is where the action tells you finished. Click OK.

Step 13: Click FILE - SAVE AS - or EXPORT AS.

I like the results with this action, and it's great that PanosFX.com makes their actions freely available. You can download this action at the following link:
Thanks, very useful. Will try it out!
Your welcome. Lots of useful things on their site!