Tutorial: Simple Steps on How to change the Colour of anything on Photoshop !! (WORKS LIKE MAGIC)
Hello Steemians, I am so sure we would have at a point been wondering , how to change the colors of things (Objects) before uploading displaying online or even print them. Today, I would be sharing with us, how to change the color of anything or object using Photoshop, not minding the version of Photoshop you might be using.
However, I am using Photoshop CC so your interface feel may look a little bit different but you will still get the same thing if you follow this tutorial.
Join me as I put you through with my Step-by-Step Approach.
Step 1
You can use any image that suits you. The image used for this is from THIS SITE. You can get cool wallpapers here also. Thank me later
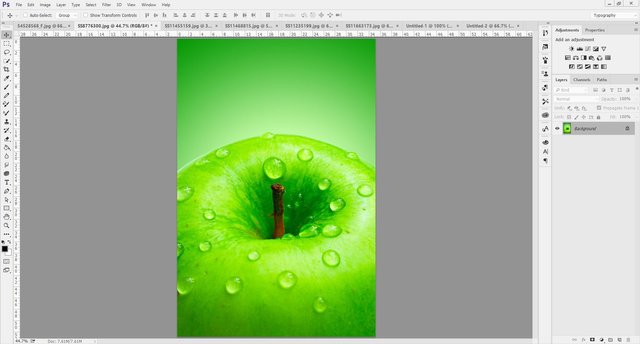
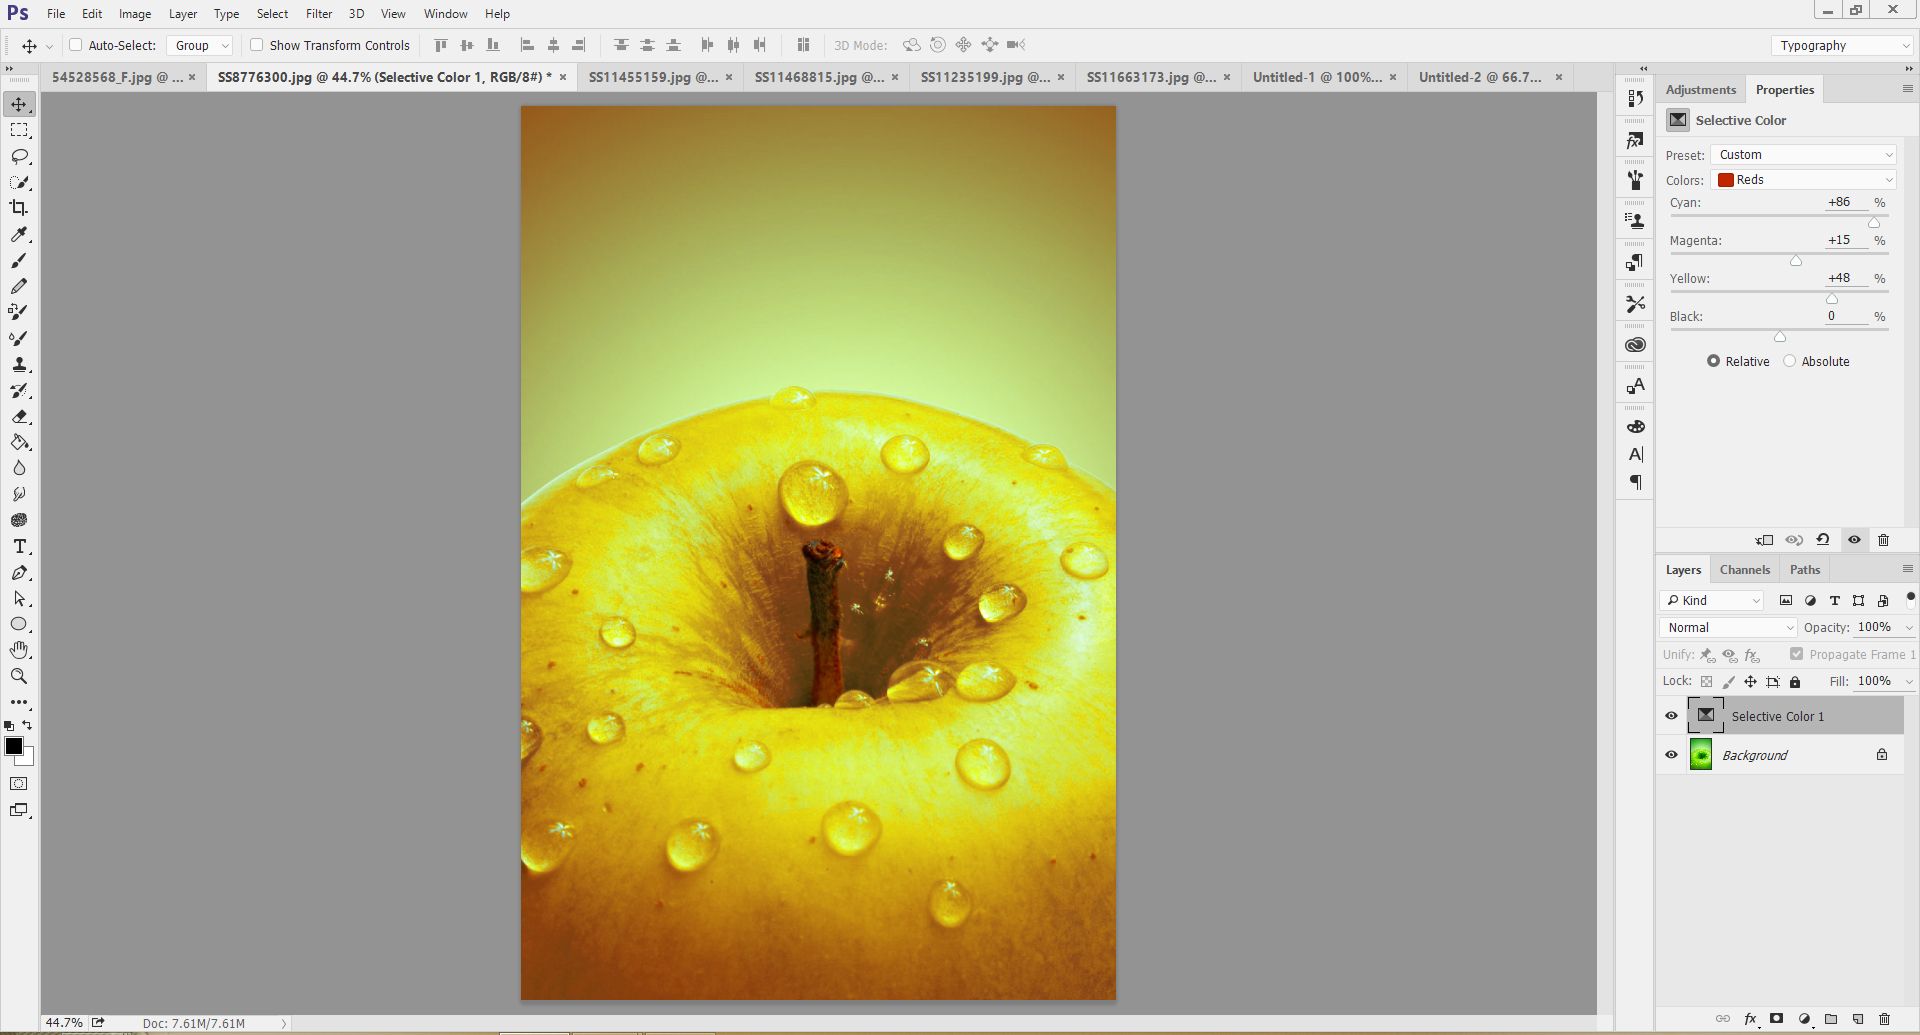
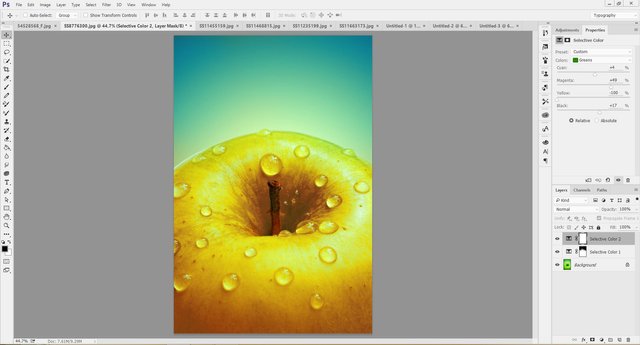
Open your Image in Photoshop, once you have, you should have something like this.
Step 2
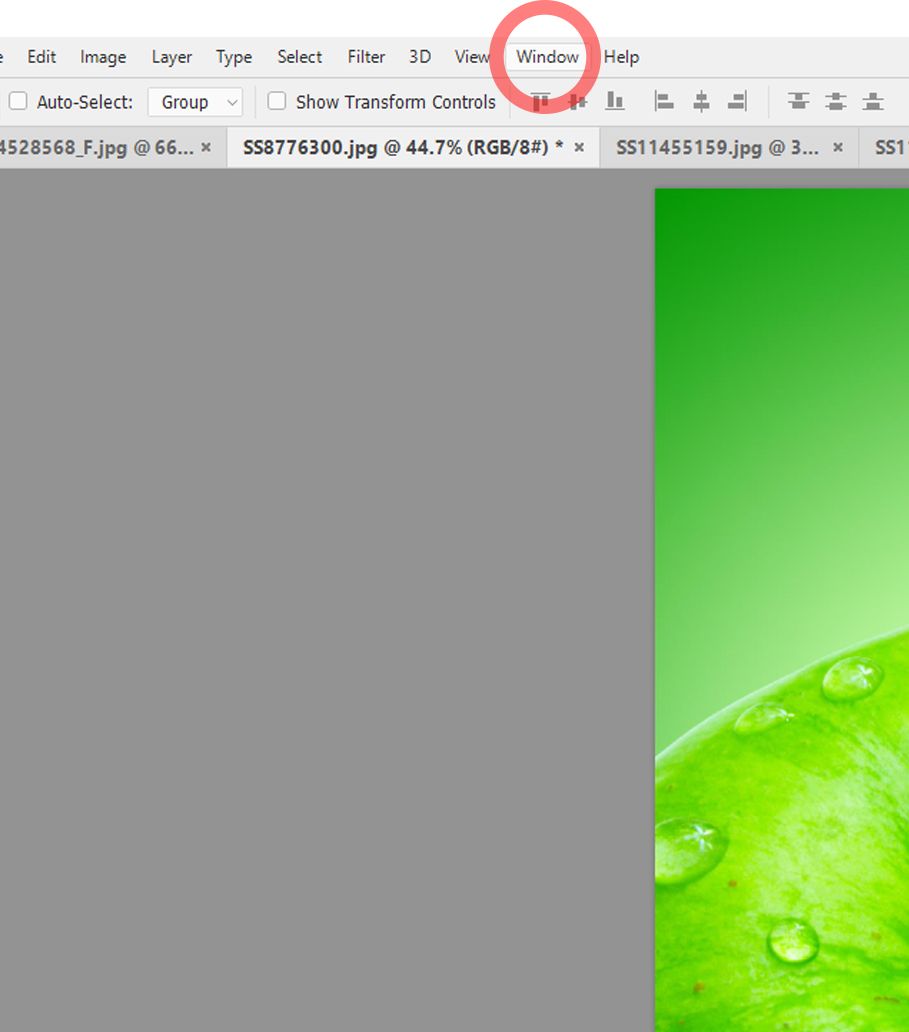
Go to the tab above, and Click on Windows, which is Circled Red as shown in the image below.
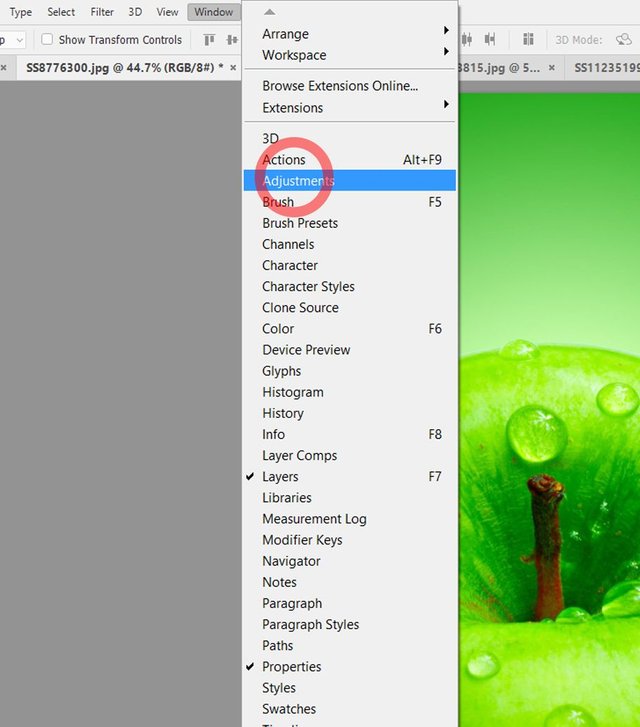
Click on Adjustment once you have opened "Window", as seen in the screen below:
Step 3
Once you click on the Adjustment tab, you would notice an adjustment tab on your right, depending on your Photoshop Workspace.
Step 4
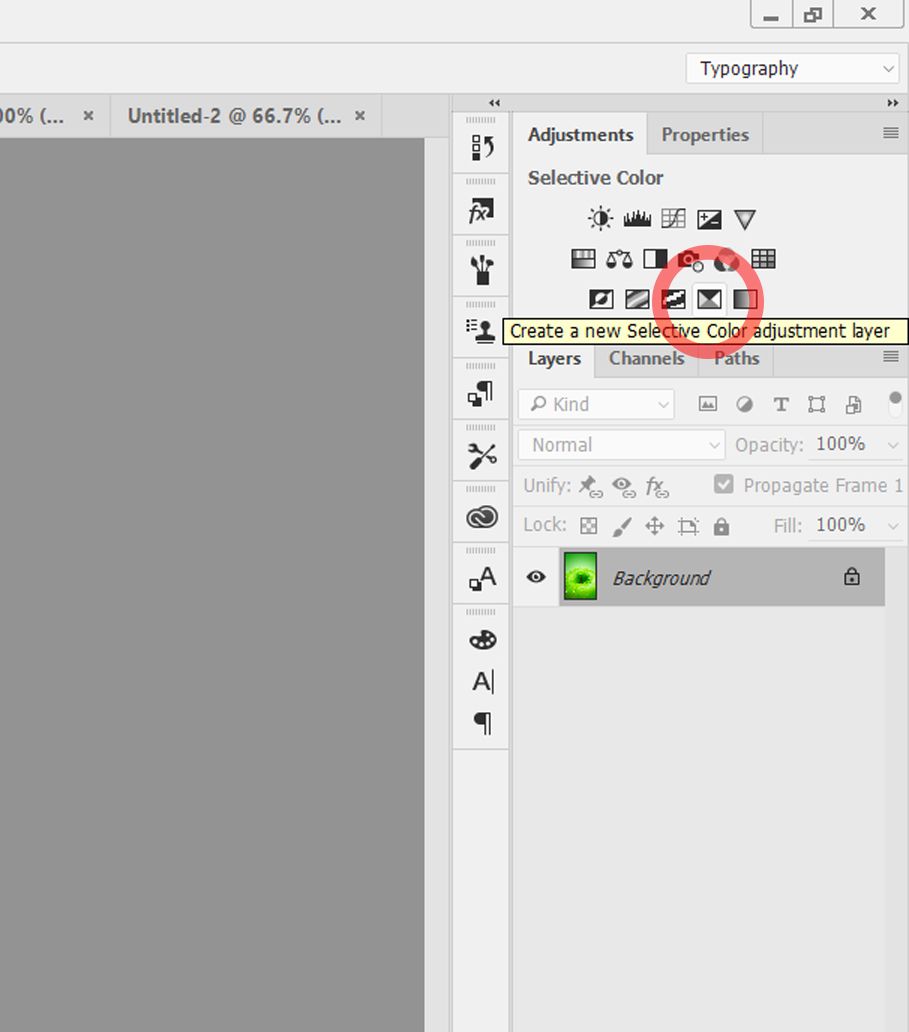
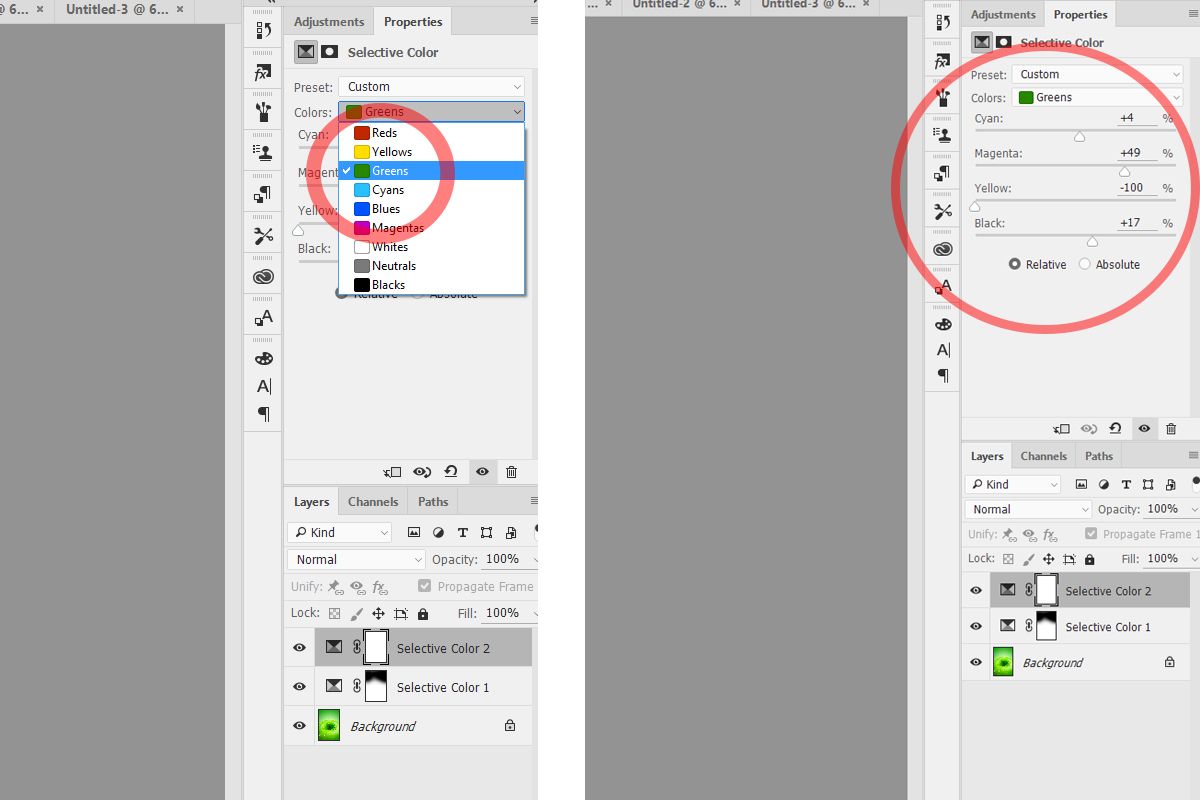
After getting hold of the Adjustment tab, look for the tool called "Selective Colour", as you have seen with the picture displayed above. It is the tool within the Red Circle.
Click on the tool, once you have you would notice a tab been displayed called "Properties".
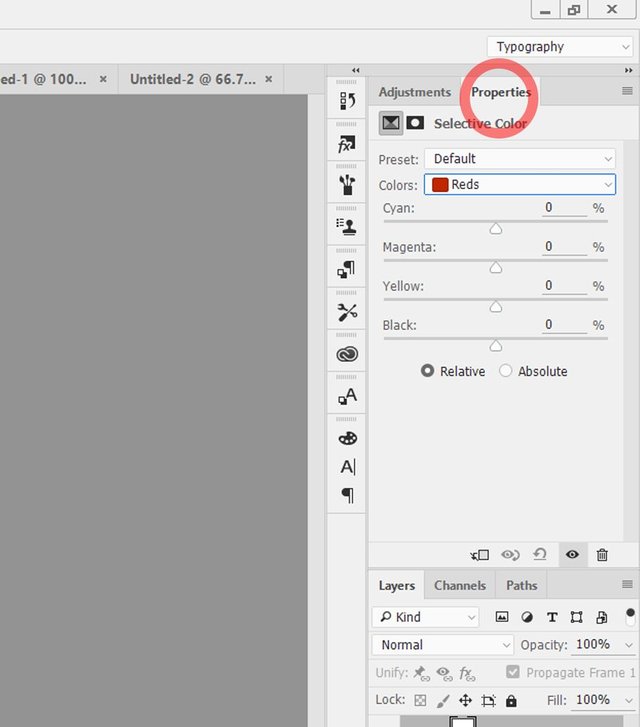
After finding it, you would notice a small tab, with the Red Colour, or any other colour from the list of available colours in the tab.
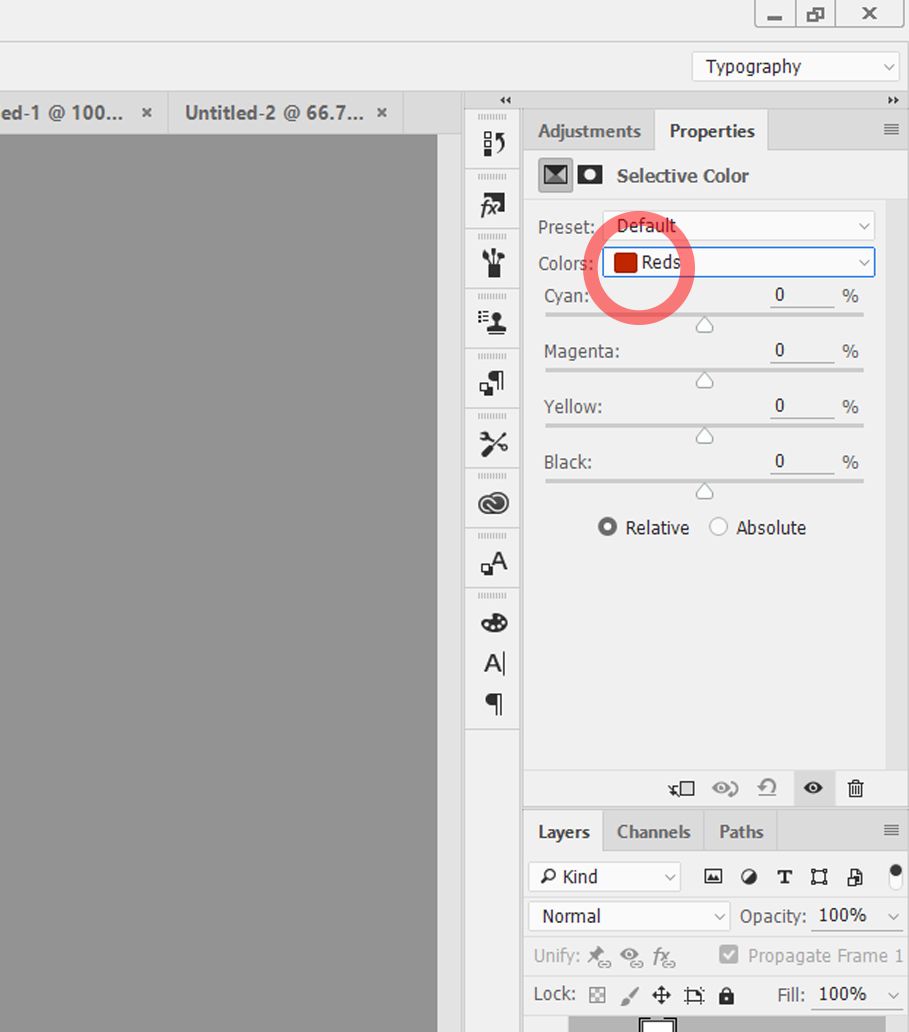
Once you have located the tab, you can begin adjusting the colours as you wish using the tabs which are available for use.
Here is my own adjustment setting which led me to achieving the result I got.
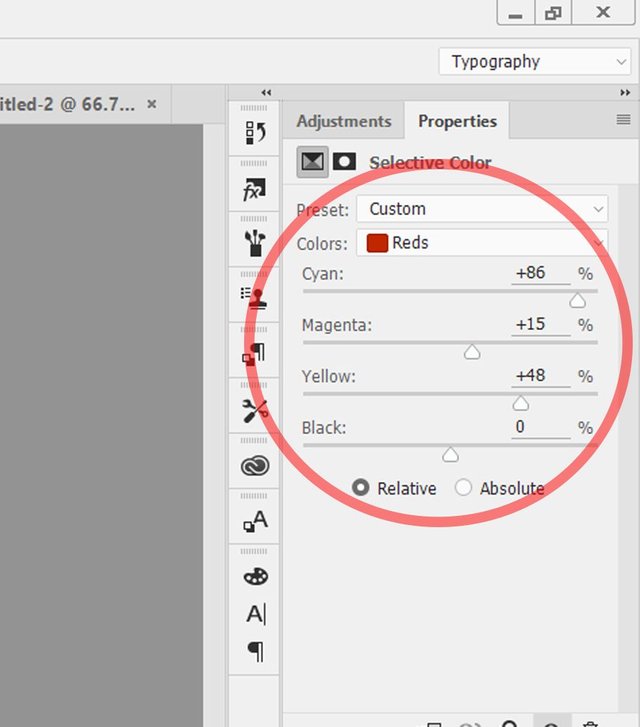
If you are following my setting you should achieve this:
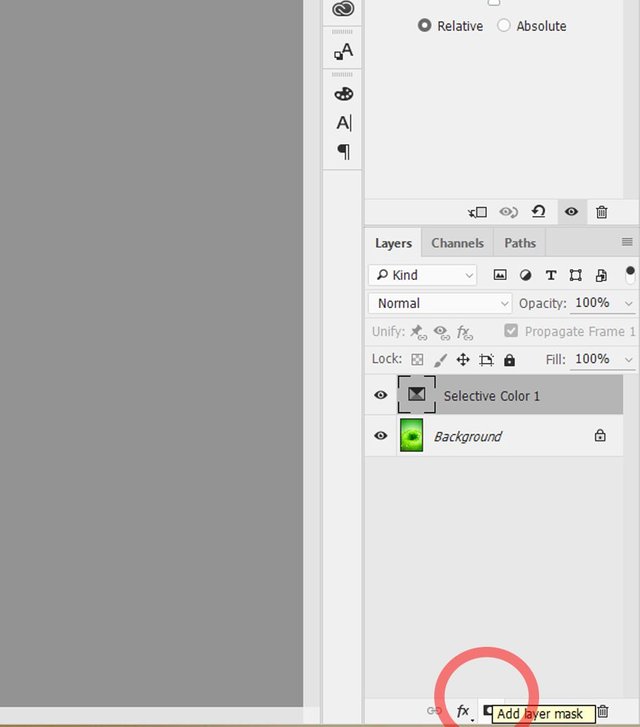
Once you have, click on the "Add Layer Mask" option as seen on the right tab, circled in Red, as seen in the picture below:
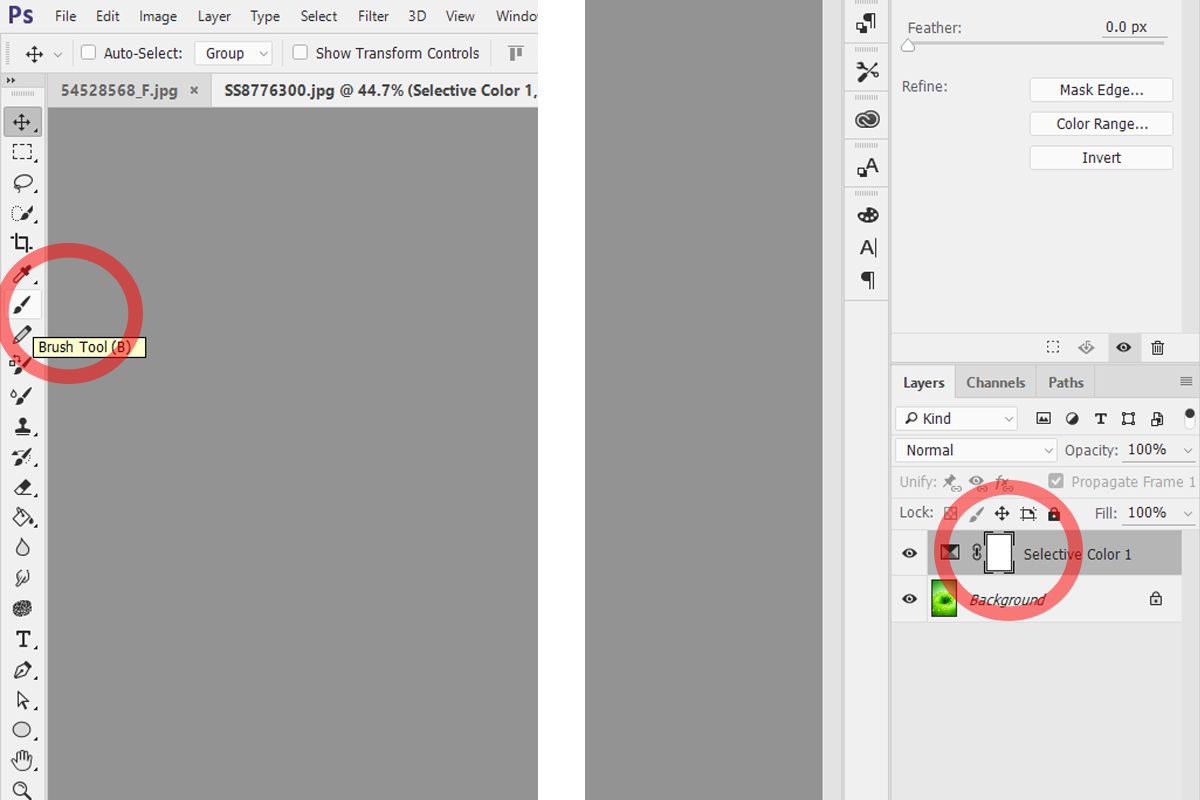
Once you have, you should notice a small white box been placed beside the "selective Colour" among the Layers. After noticing that, click on the Brush Tool found on the left Toolbar of your Photoshop work space, as also seen below.
Step 5
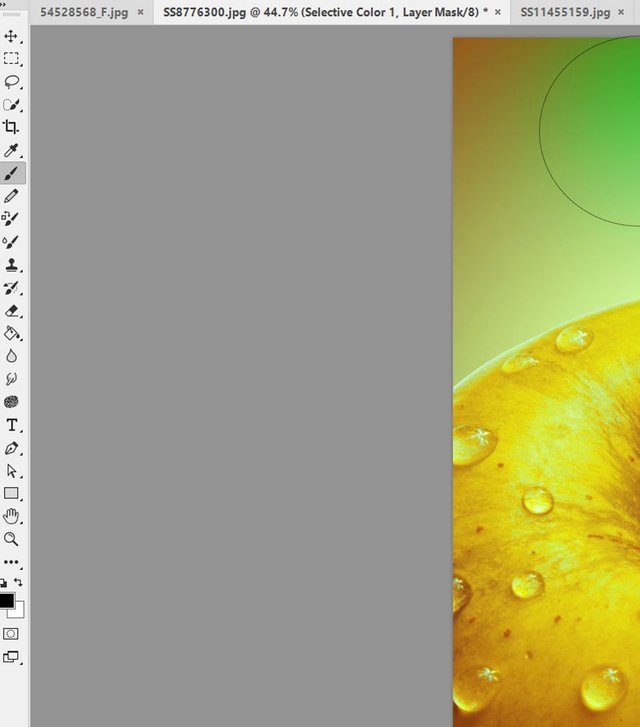
Now, carefully use the circle appearing after clicking on the Brush Tool to clean the upper part of the picture to achieve the initial Green colour, as seen below:
After cleaning up the Green colour from the top, click on the "Selective Color" node from the Adjustment panel and Click on the Green colour as seen from the tab and adjust the settings as seen below:
After using this adjustment panel setting, you should arrive at this.
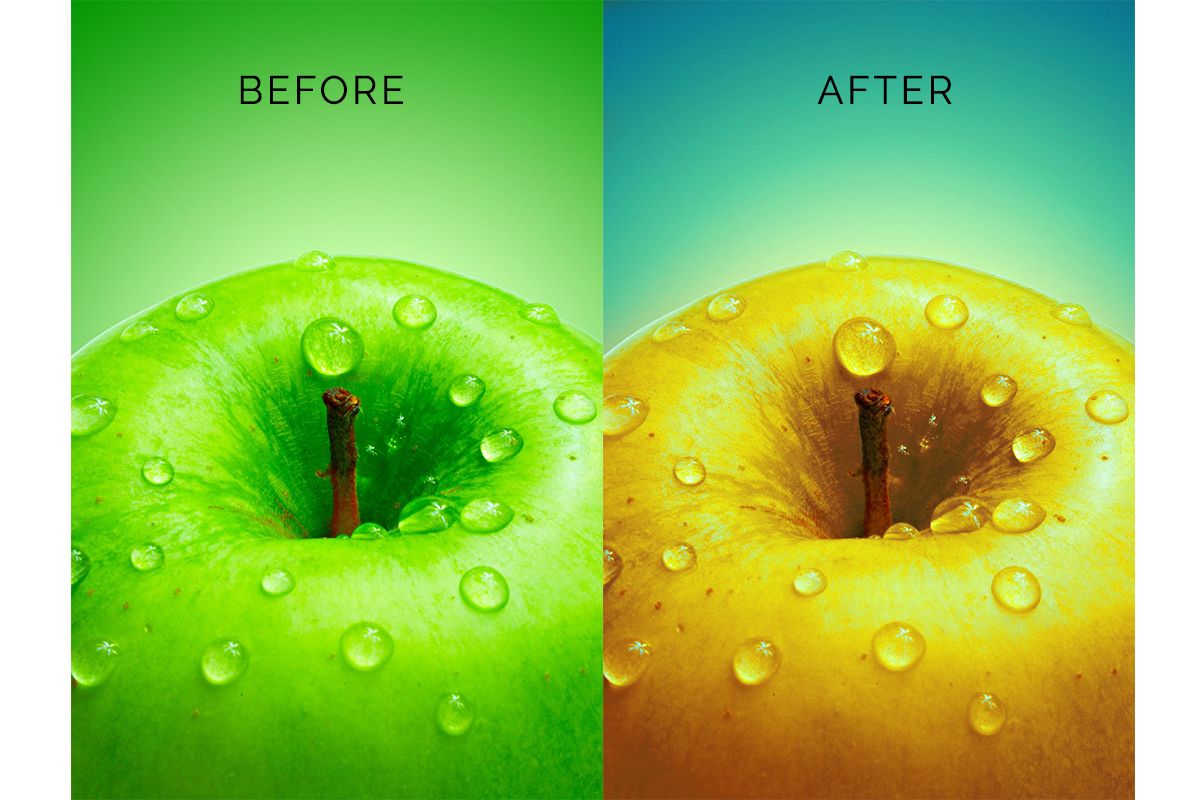
And Finally, we have finally changed the colors of our Picture.
Does it not look beautiful.
Here are more samples, share your view about them:
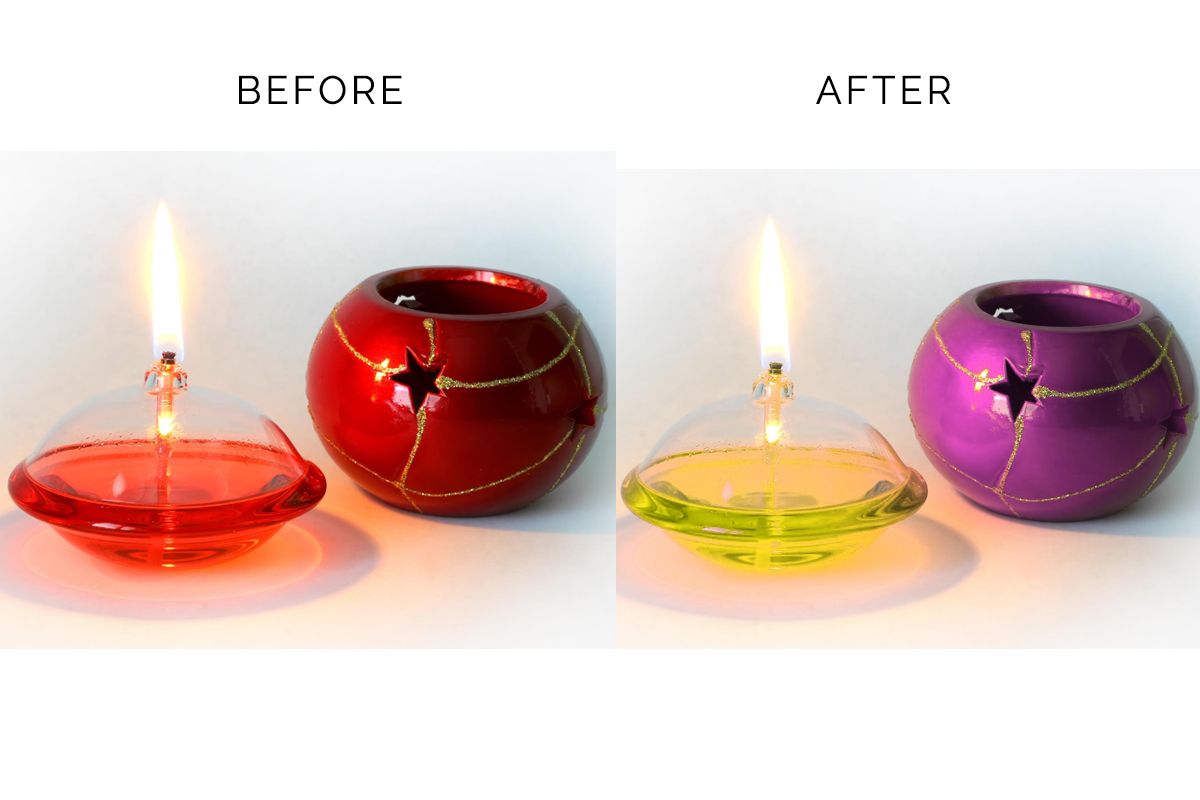
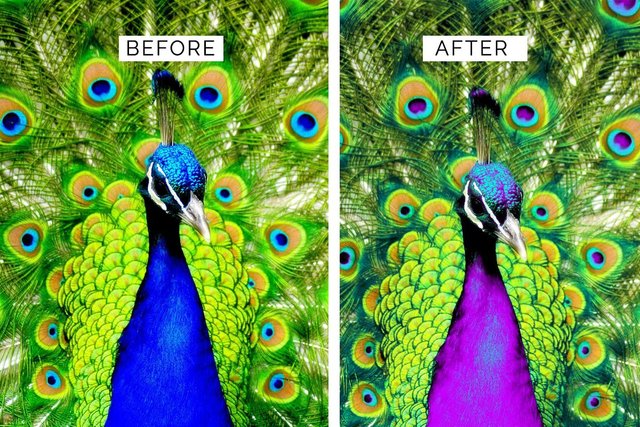
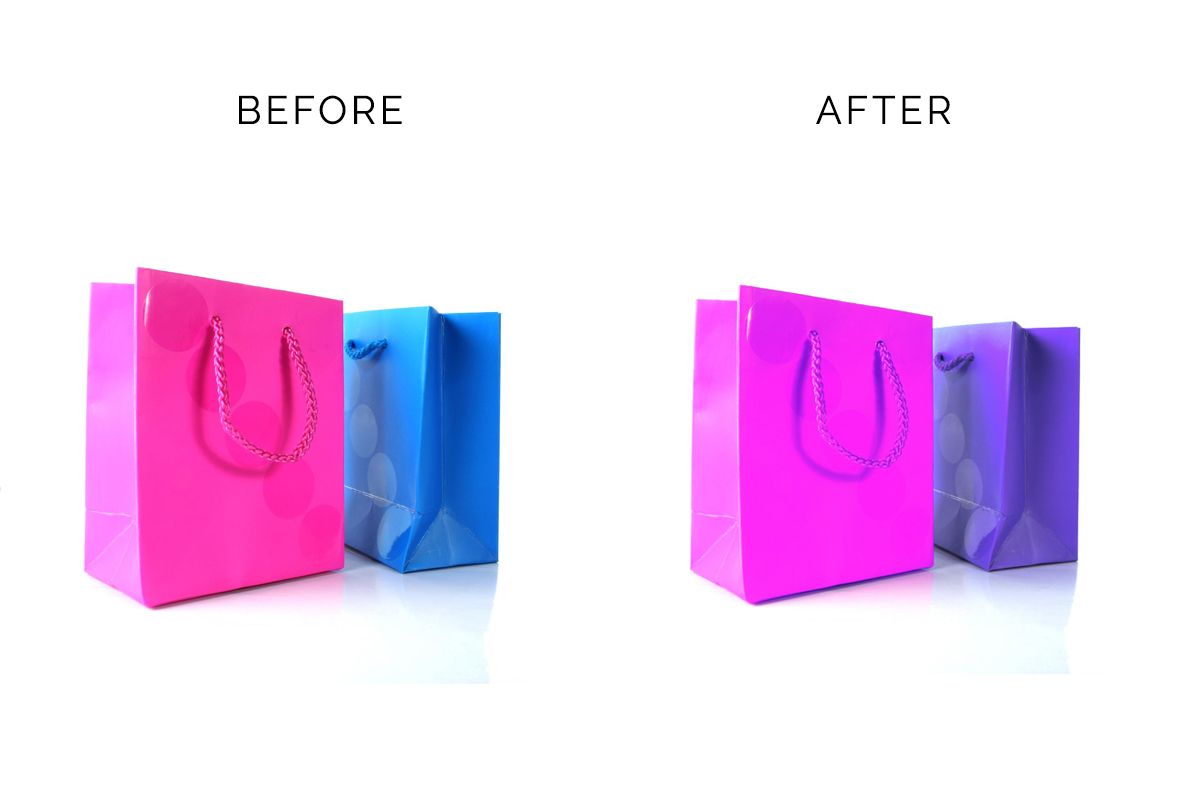
All sample images were gotten from here
Thanks for reading through.
This looks great! Thanks for sharing. I just feel it needs more samples.
Here you go, Hope you love them.
They're amazing!
This post smells interestingly :) I give for you my vote :)
Thanks, much appreciated.
You are welcome :)
Yeah, nice tutorial. You do good quality content, man!

We learn everyday on steemit, i gained a lot here. Am glad someone resteemed and i landed myself here. Nice work sir
Thanks for this, would definitely try it out.
Looks magical! I love this.