Make Your Own Awesome Jewelry!
DIY Clay Jewelry Tutorial
Have you ever wanted to make your own jewelry but didn't know where to start? Or maybe you couldn't get past the "look" of beginner jewelry (I feel ya, I refuse to wear a necklace on a damn cord). Or maybe you loved playing with clay as a kid and want to pick the hobby back up?
If this sounds like you, I have good news. Polymer Clay is widely available, pretty cheep, customizable up the wazoo, and makes for pretty epic jewelry.
Keep Scrolling to Skip The Details and See the Time Lapse/Stop Motion of the Process.
Bare Minimum Supplies Needed
- Polymer Clay - can be bought in small packs in a million colors anywhere craft supplies are found.
- A Working Oven (even a toaster-oven will work!)
Nice to Have Supplies
- A Clay Roller - You can use something at home like a can or rolling pin!
- Clay Shape Cutters - You can start with a basic shape pack.
- Wax Paper - To cover your work space and bake your pieces on.
- A Clay Cutting Blade - Again you can use something in the drawer!
- Jewelry Findings (Jump rings, chain, clasps, bails, etc.)
Really Nice To Have a.k.a Upgrades
- A Pasta Rolling Machine - To condition your clay and save your hands.
- Mod Podge Dimensional Magic or Cating Resin to to add a clear dome to the top of your piece.
Quick Start Guide
- Take the clay out of the plastic wrap and break off a chunk. Warm the chunk with your hands and begin kneading it until soft.
- Roll your clay out flat and even by putting pressure on it while rolling across it. You should now have a clay pancake. Do this with all your chosen colors for this project. Congrats - you just "conditioned" your clay.
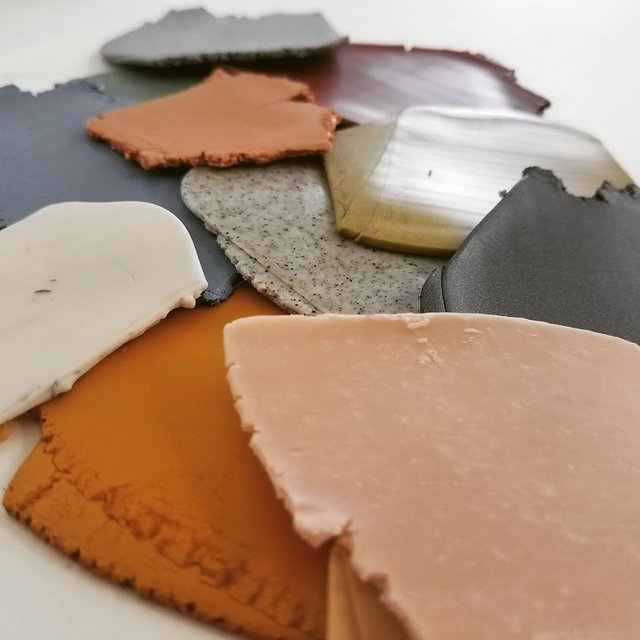
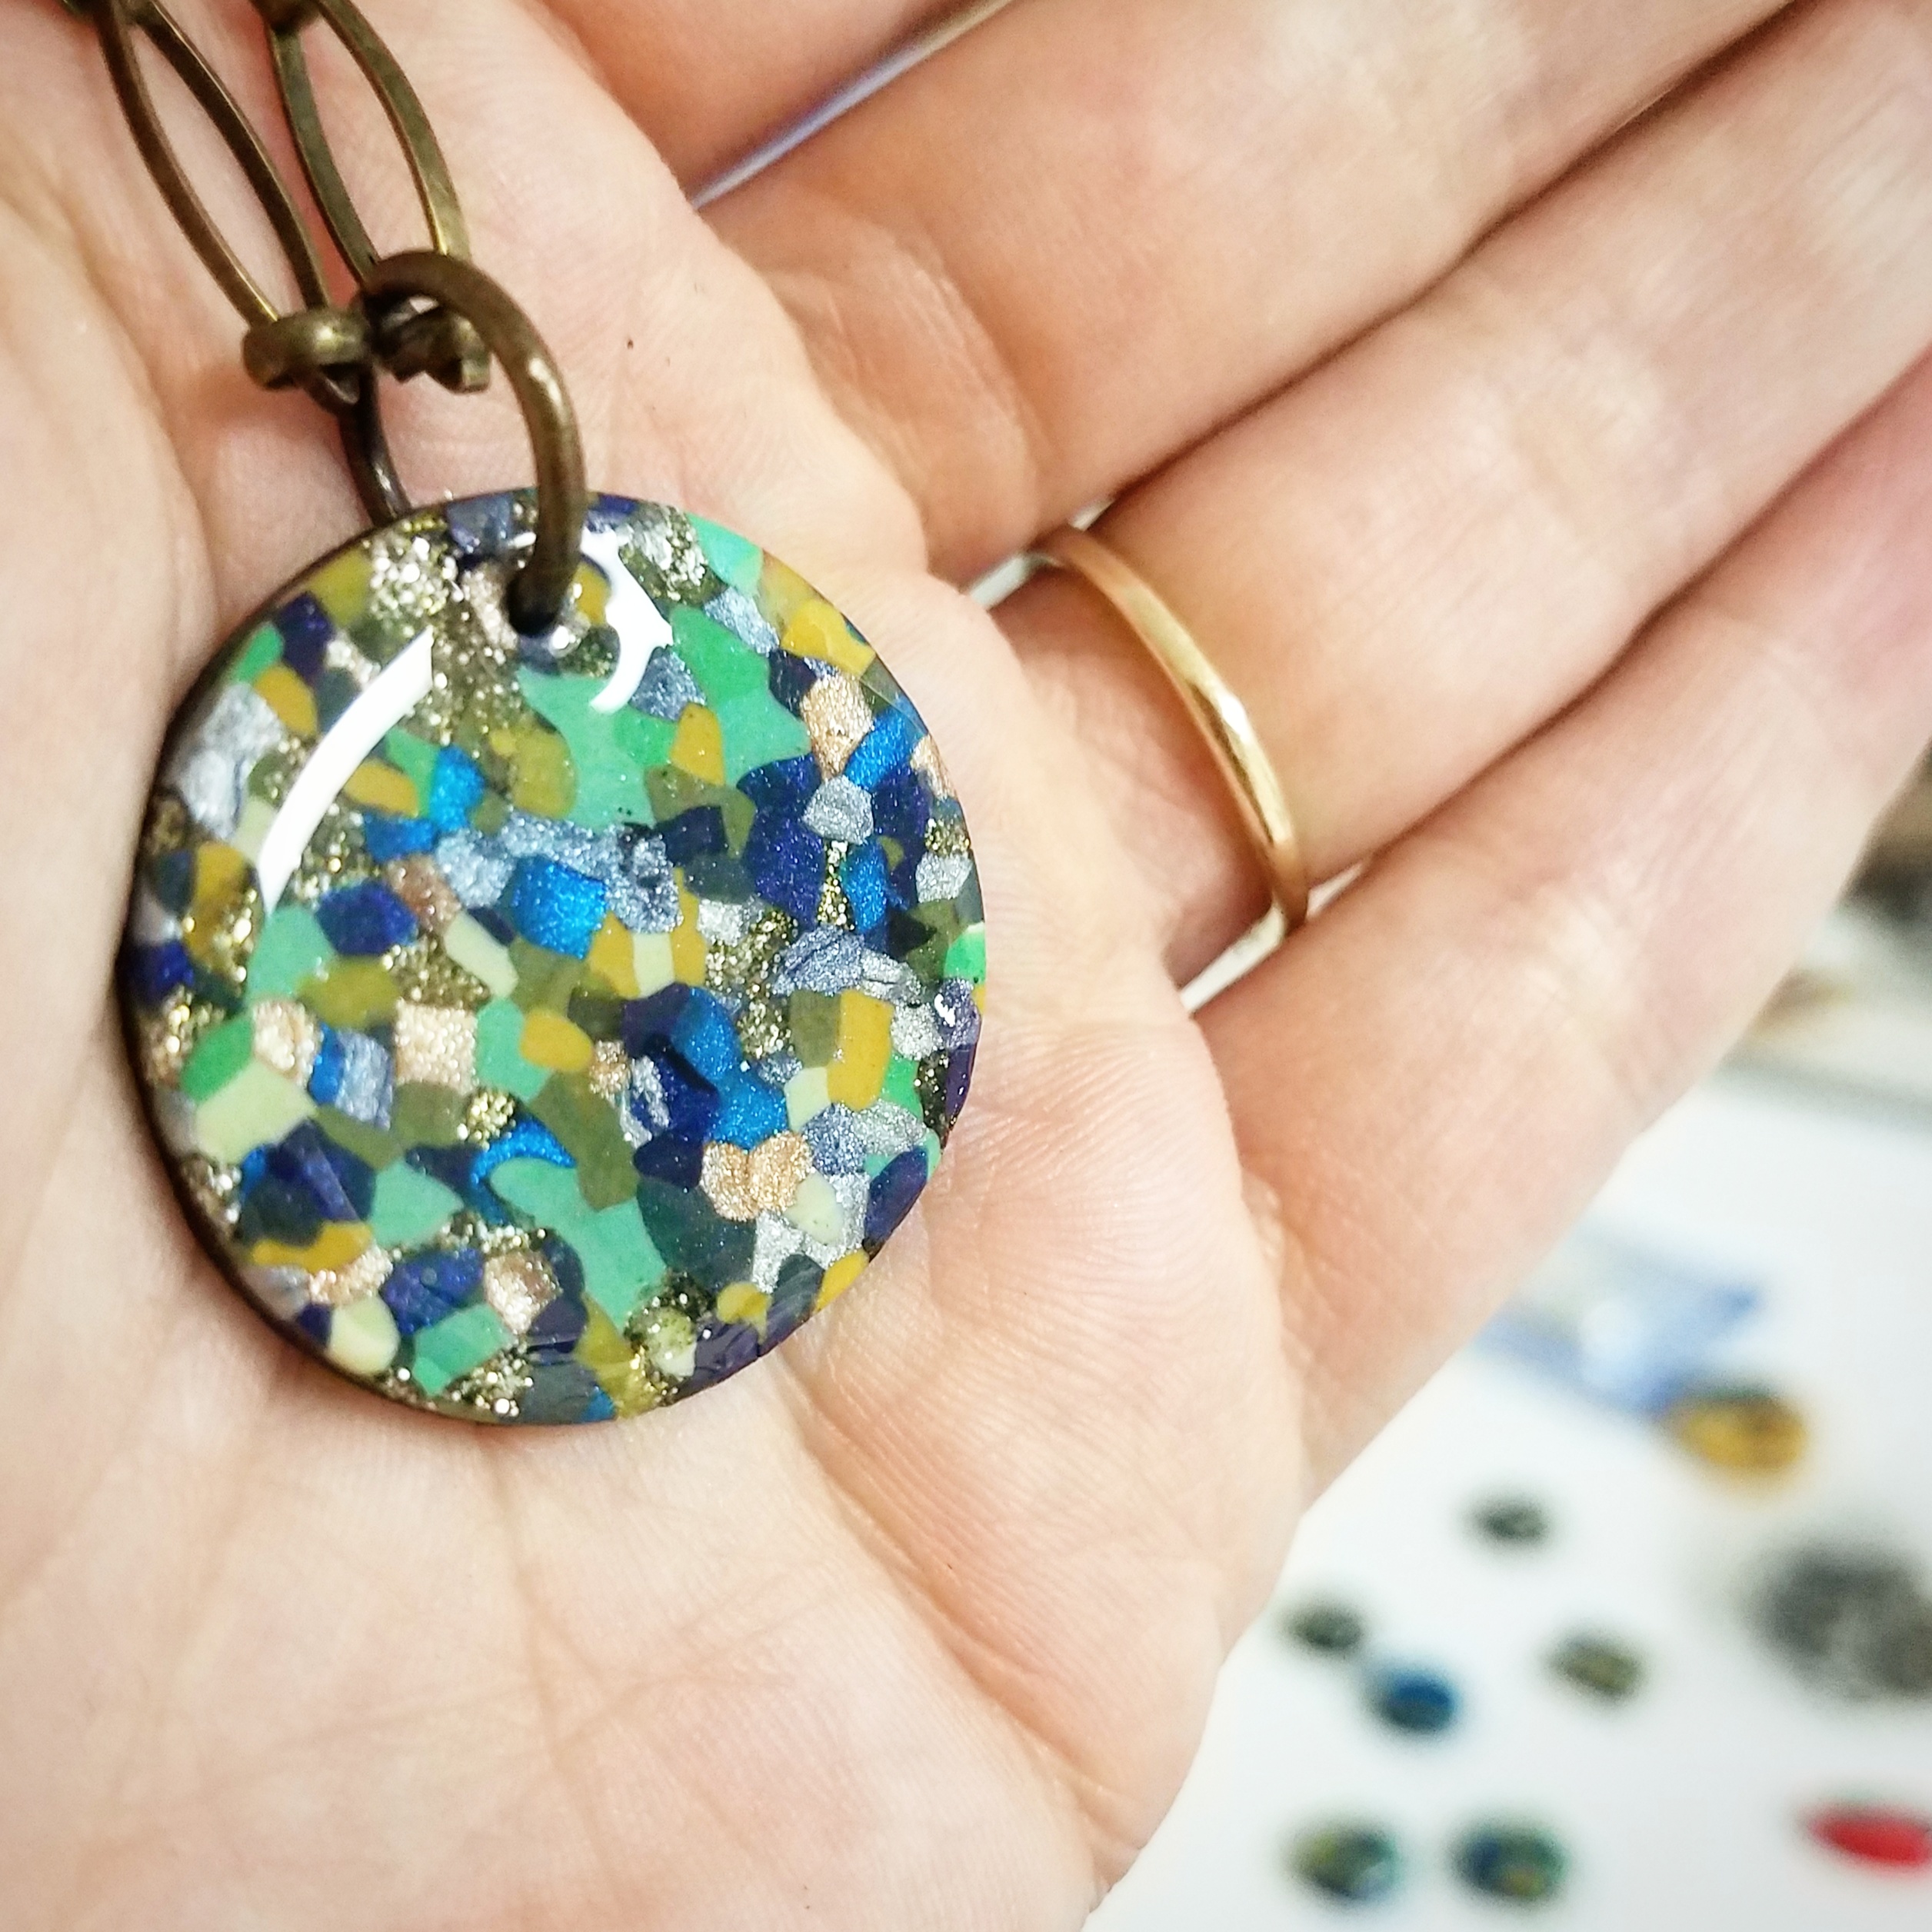
- Now you can get creative. Mix your colors, make patterns, use tiny pieces to create a mosaic, etc.
- Lose the rough edges by cutting out a desired shape.
- Preheat your oven to 275 degrees Fahrenheit.
- Place your clay piece on a flat oven safe surface.
- Bake at 275 for 30 minutes. Let cool before handling.
You now have a pretty clay thing that you made!
Other Notes:
*Clay can be sanded and drilled so feel free to go to town and finish it the way you want!
*There are SO many polymer clay techniques to learn online. Get inspired!
Check out my time-lapse video of the process here:
Thank you for following along!
If you enjoyed this tutorial please UPVOTE, COMMENT & ReSTEEM.
I appreciate you - go make some art!
|Toni Craft|
Hey @tonicraftshow, nice post! I like your content. Keep up the good work! It's always nice to see good content here on Steemit! Congratulations :)
Thank you so much! I'm really excited to be here. Right now my biggest following is on YouTube but I always wanted to have more of a blog style with my videos as an add on - so Steemit is perfect!