Art & Woodworking: How I relief carved a wolf face. Complete process with pictures.
The Wolf.
Relief carving is a type of woodcarving in which figures are carved in a flat panel of wood. The figures project only slightly from the background rather than standing freely. The last two weeks I’ve been working on this relief carving of a wolf face.

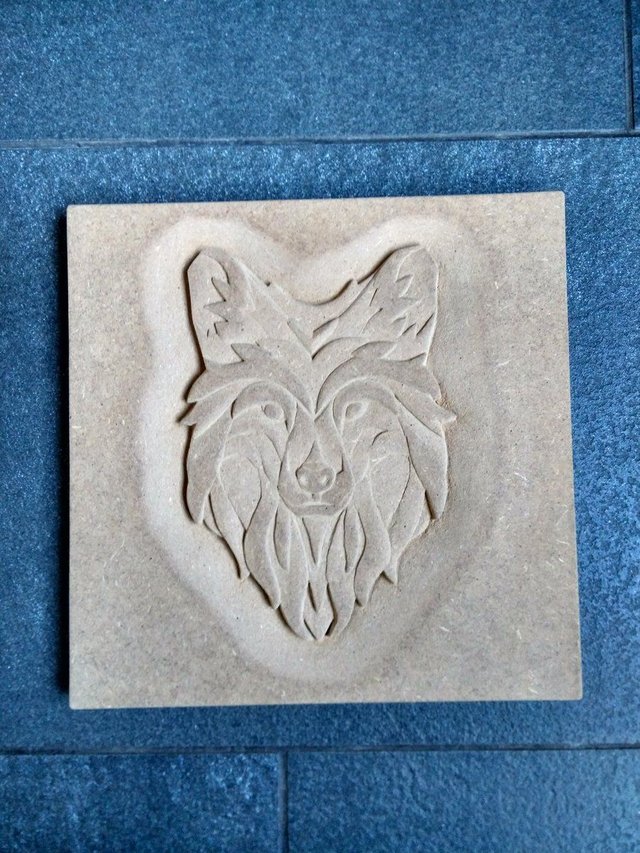
(1) The wolf face hanging on the wall like a painting.
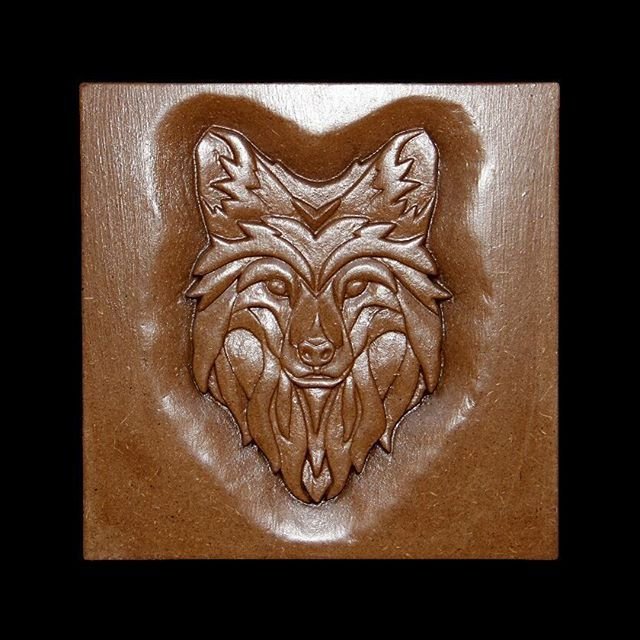
(2) The wolf face against a black background.
The pictures above are the results of at least forty hours of work. Even though I think this piece turned out pretty good, I’m by no means a professional woodworker. I’m still learning and that is the sole reason why I would like to share my woodworking process and progress with you Steemers.
Process.
The first thing that I do before I start a new relief carving, is asking myself what I would like to learn. I challenged myself to make the wolf face look like as if it was made out of a lot of layers. The thing is though, it is only made out of three different layers that do slightly differ in height.
The process pictures below might not have the best resolution but these are the only ones I have at the moment. I’ll make sure that the other blog posts will have higher quality pictures. Next time I’ll also try to get some kind of time laps going instead of just a picture.

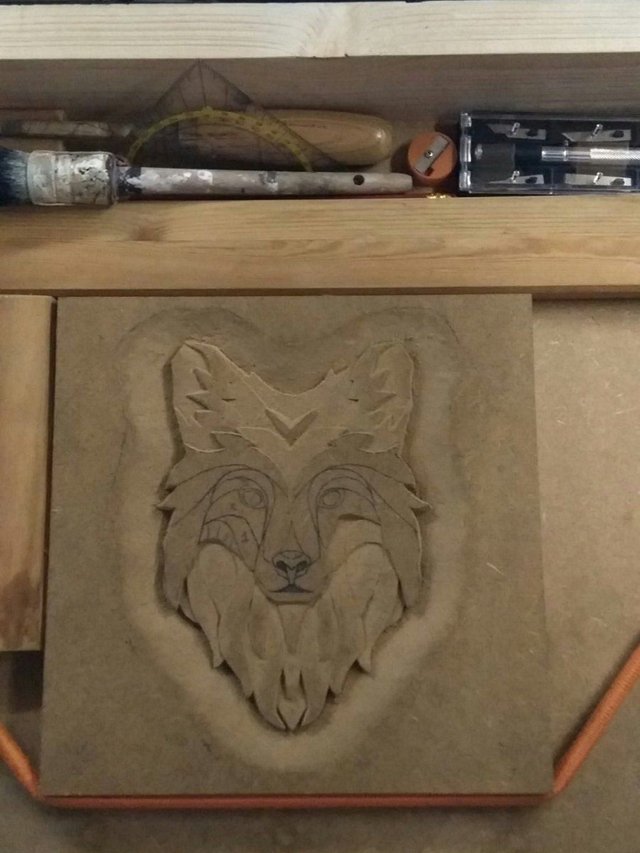
(3) After drawing the design on the wood, I made a small v-cut along the outer line.
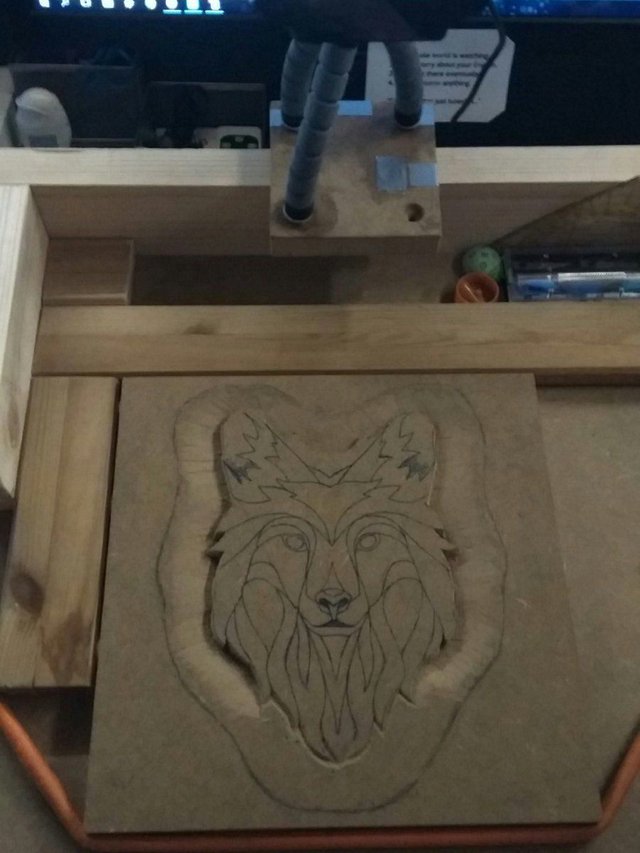
(4) The v-cut makes it easier to remove more wood projecting the face from the background.

(5) I started on the beard after completely freeing the face from the background.
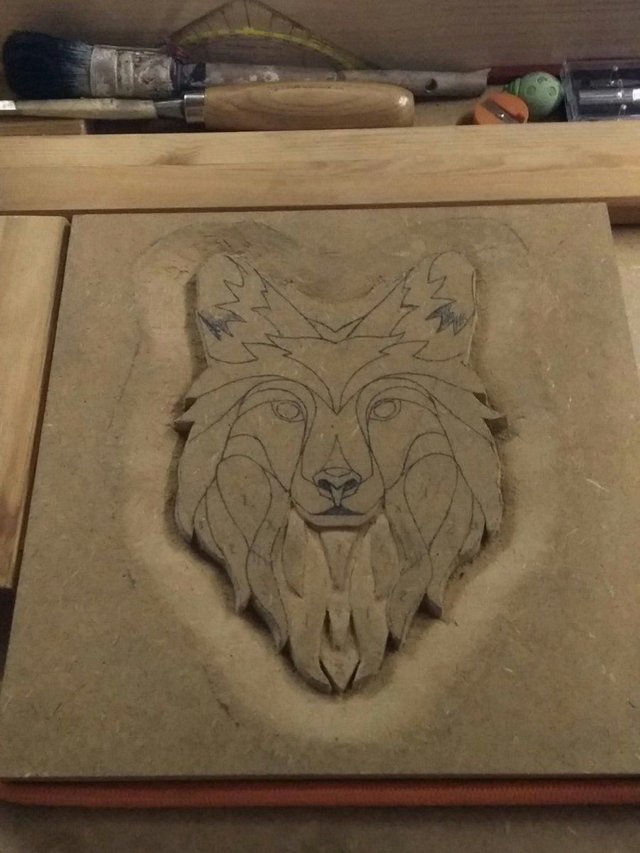
(6) After numbering the layers on the work, I continued carving out the beard.
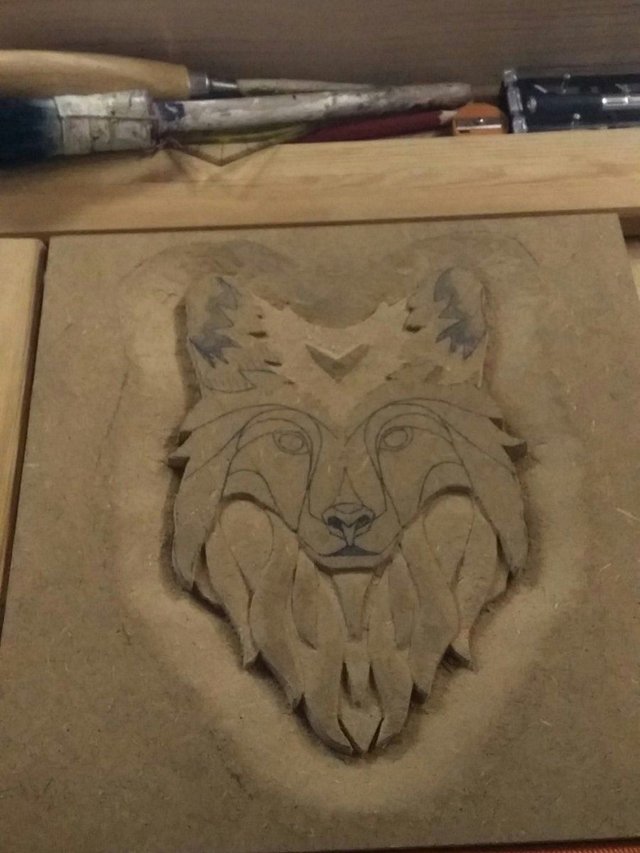
(7) I started on the forehead while thinking about how I should be doing his ears.
(8) Even though I thought the ears would be difficult, it was actually not that hard.
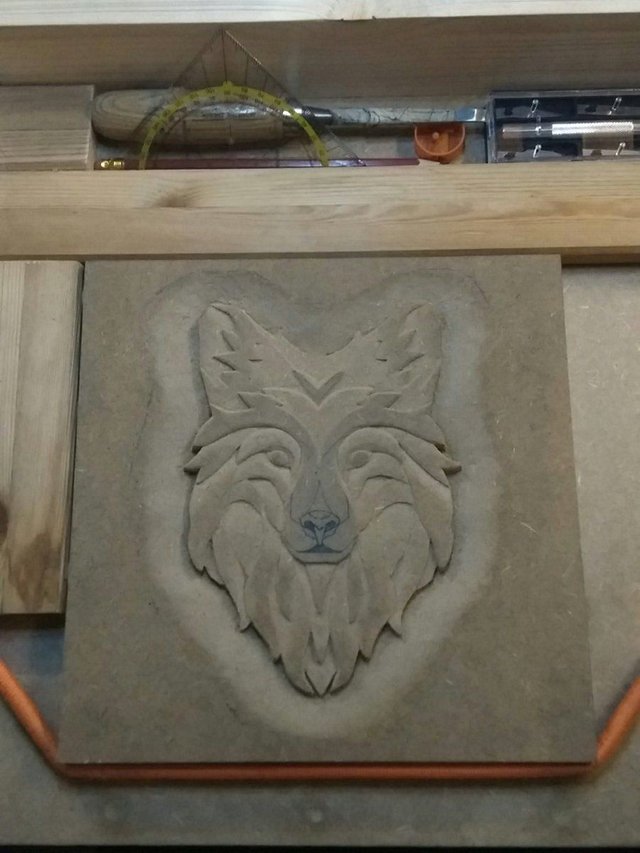
(9) I spend hours perfecting the eyes and eyebrows since they were a real challenge.
(10) After finishing the nose, I smoothed out the face with some sandpaper.
Painting.
My previous two project I finished by painting them white. This time I wanted to try something else. That is why I went with a transparent varnish. From now on I probably finish every piece with this coating since it highlights the height differences perfectly. I think it looks really authentic this way.

End.
For those that are unaware, I do also stream all my woodworking endeavours live on Twitch.tv. As of right now I’ll also try to post on this blog at least two times a week. Interested in supporting and following my efforts of becoming a better woodworker? A follow on Steemit would mean the world to me.
Social & Media.
- Website: www.tomtinderbox.com
- Twitch: www.twitch.tv/TomTinderbox
- Twitter: www.twitter.com/TomTinderbox
- Facebook: www.facebook.com/TomTinderbox
- Steemit: www.steemit.com/@TomTinderbox
- Instagram: www.instagram.com/TomTinderbox
- Shop: www.tomtinderbox.com/woodworking
I’m happy to answer all the questions that come my way. Oh and yes, this piece is for sale.
Much Love,

TomTinderbox
Nicely done, turned out very good.
Thanks for showing the process too!
Thank you! I'll be starting on my next project soon enough...
Amazing work! Upped, followed, resteemed!
The complete package! Thank you so much...
You're welcome, I hope it helped :)
Stunning woodwork! Thank you so much for sharing your process :)
Anytime! If you have any questions, please let me know.
Awesome! You got it :)