Tutorial..! Pencil Realistic Portrait
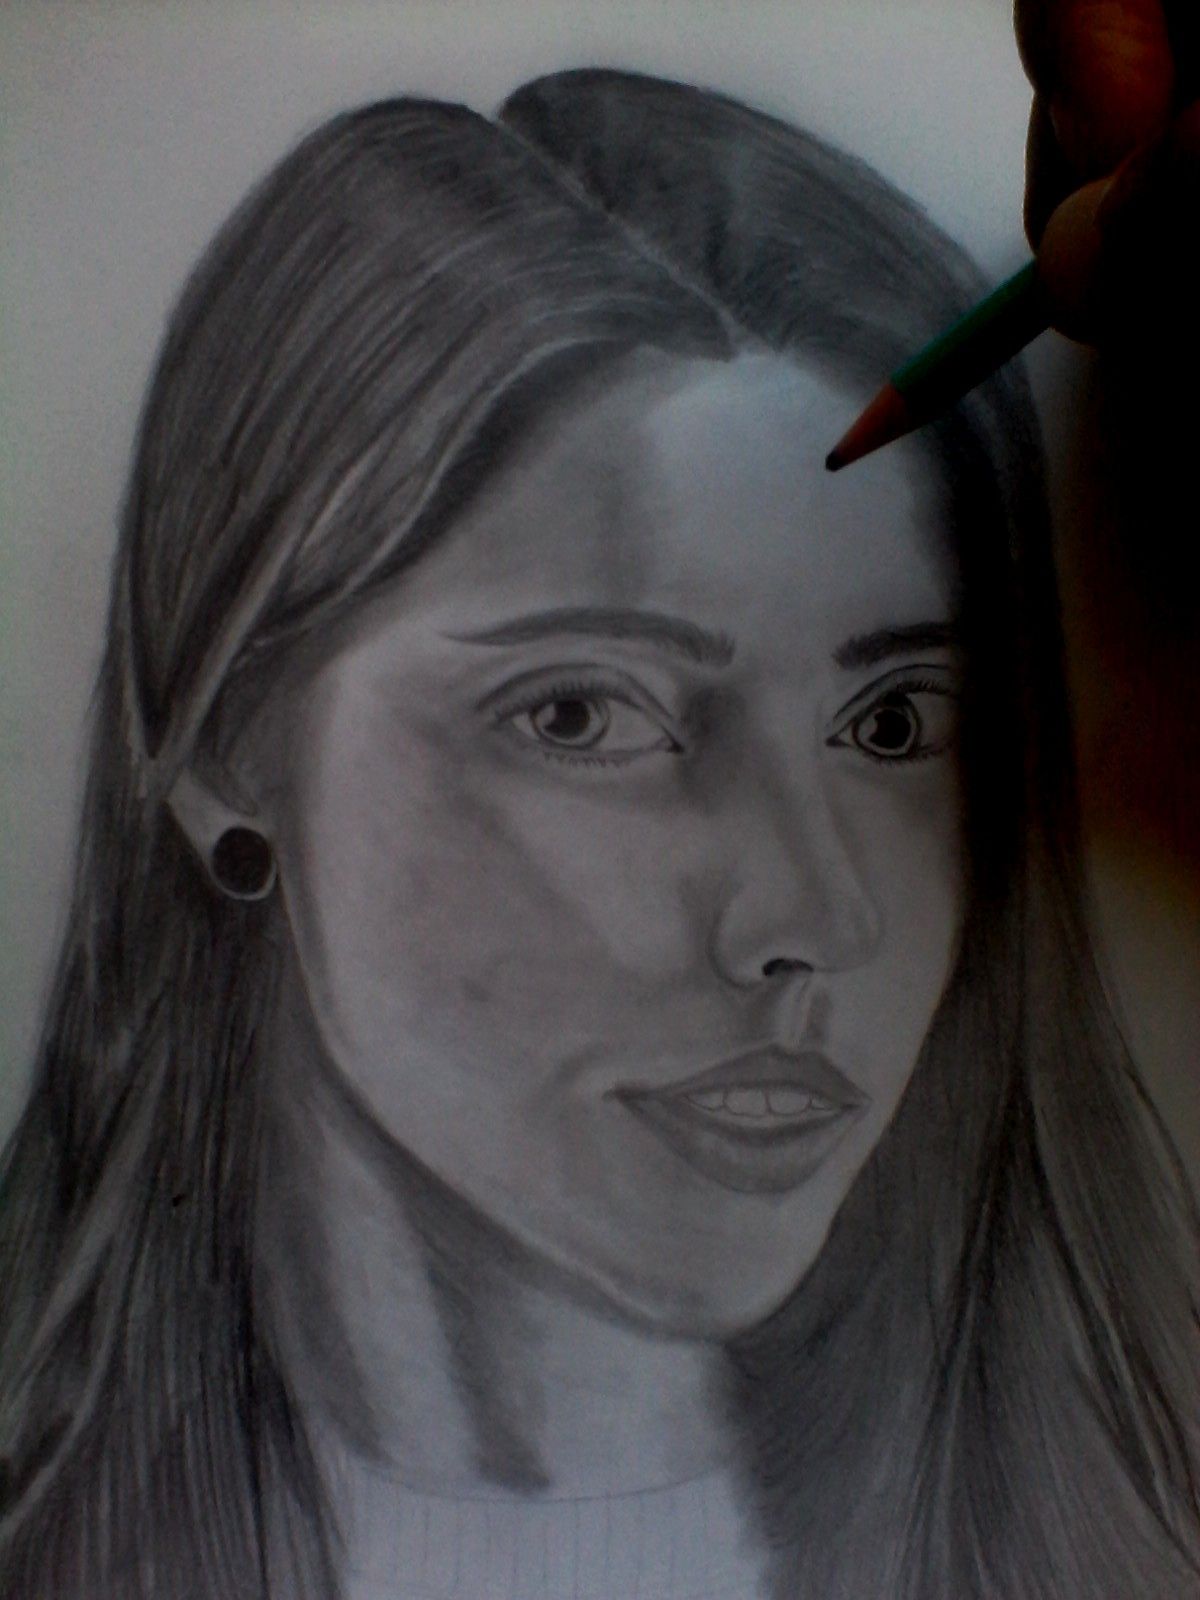
Hola comunidad Steemit, bienvenidos a un nuevo tutorial, de cómo hacer un retrato realista, en este caso solo utilice lápiz de dibujo y un esparcidor de sombras que construí yo mismo de manera casera. Ya que no poseo uno profesional, pero este es igual de efectivo para dibujar y difuminar sombras.
Then I will leave a link where you can see a tutorial on how to make one easily.
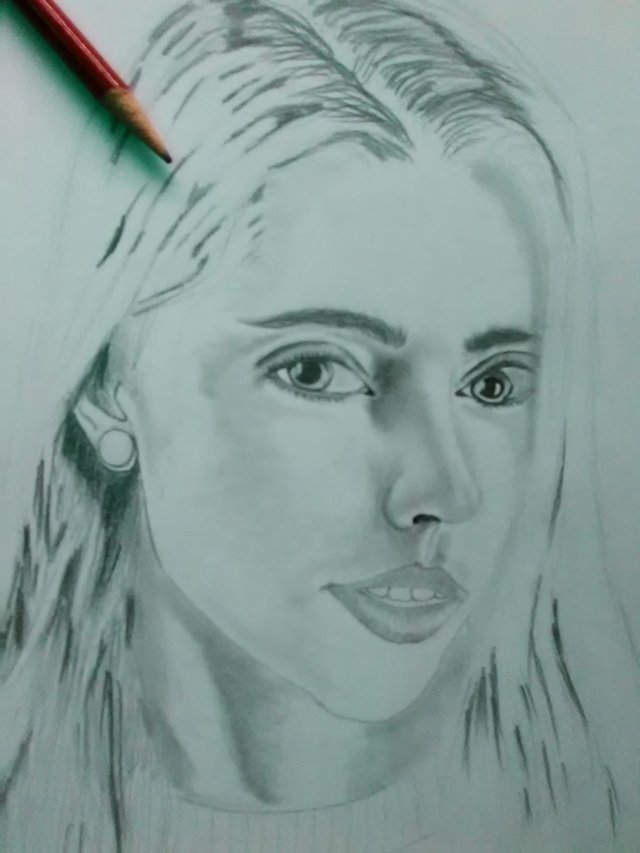
The first step as a base, is always to make the outline to be able to have a starting point in terms of all the details that we must perform. In general and in particular, I always prefer to use traces that are not so defined so that I can erase some that later on can not be used or if I can not modify them a bit, this is why the contours of references should always be done as much as possible. tenuous possible, many prefer to start with any other part of the face, such as nose, eyes etc. Usually, in my case, I always vary a little in the way of starting them, the important thing is to know how to give them the correct perspective of where the gaze is fixed.
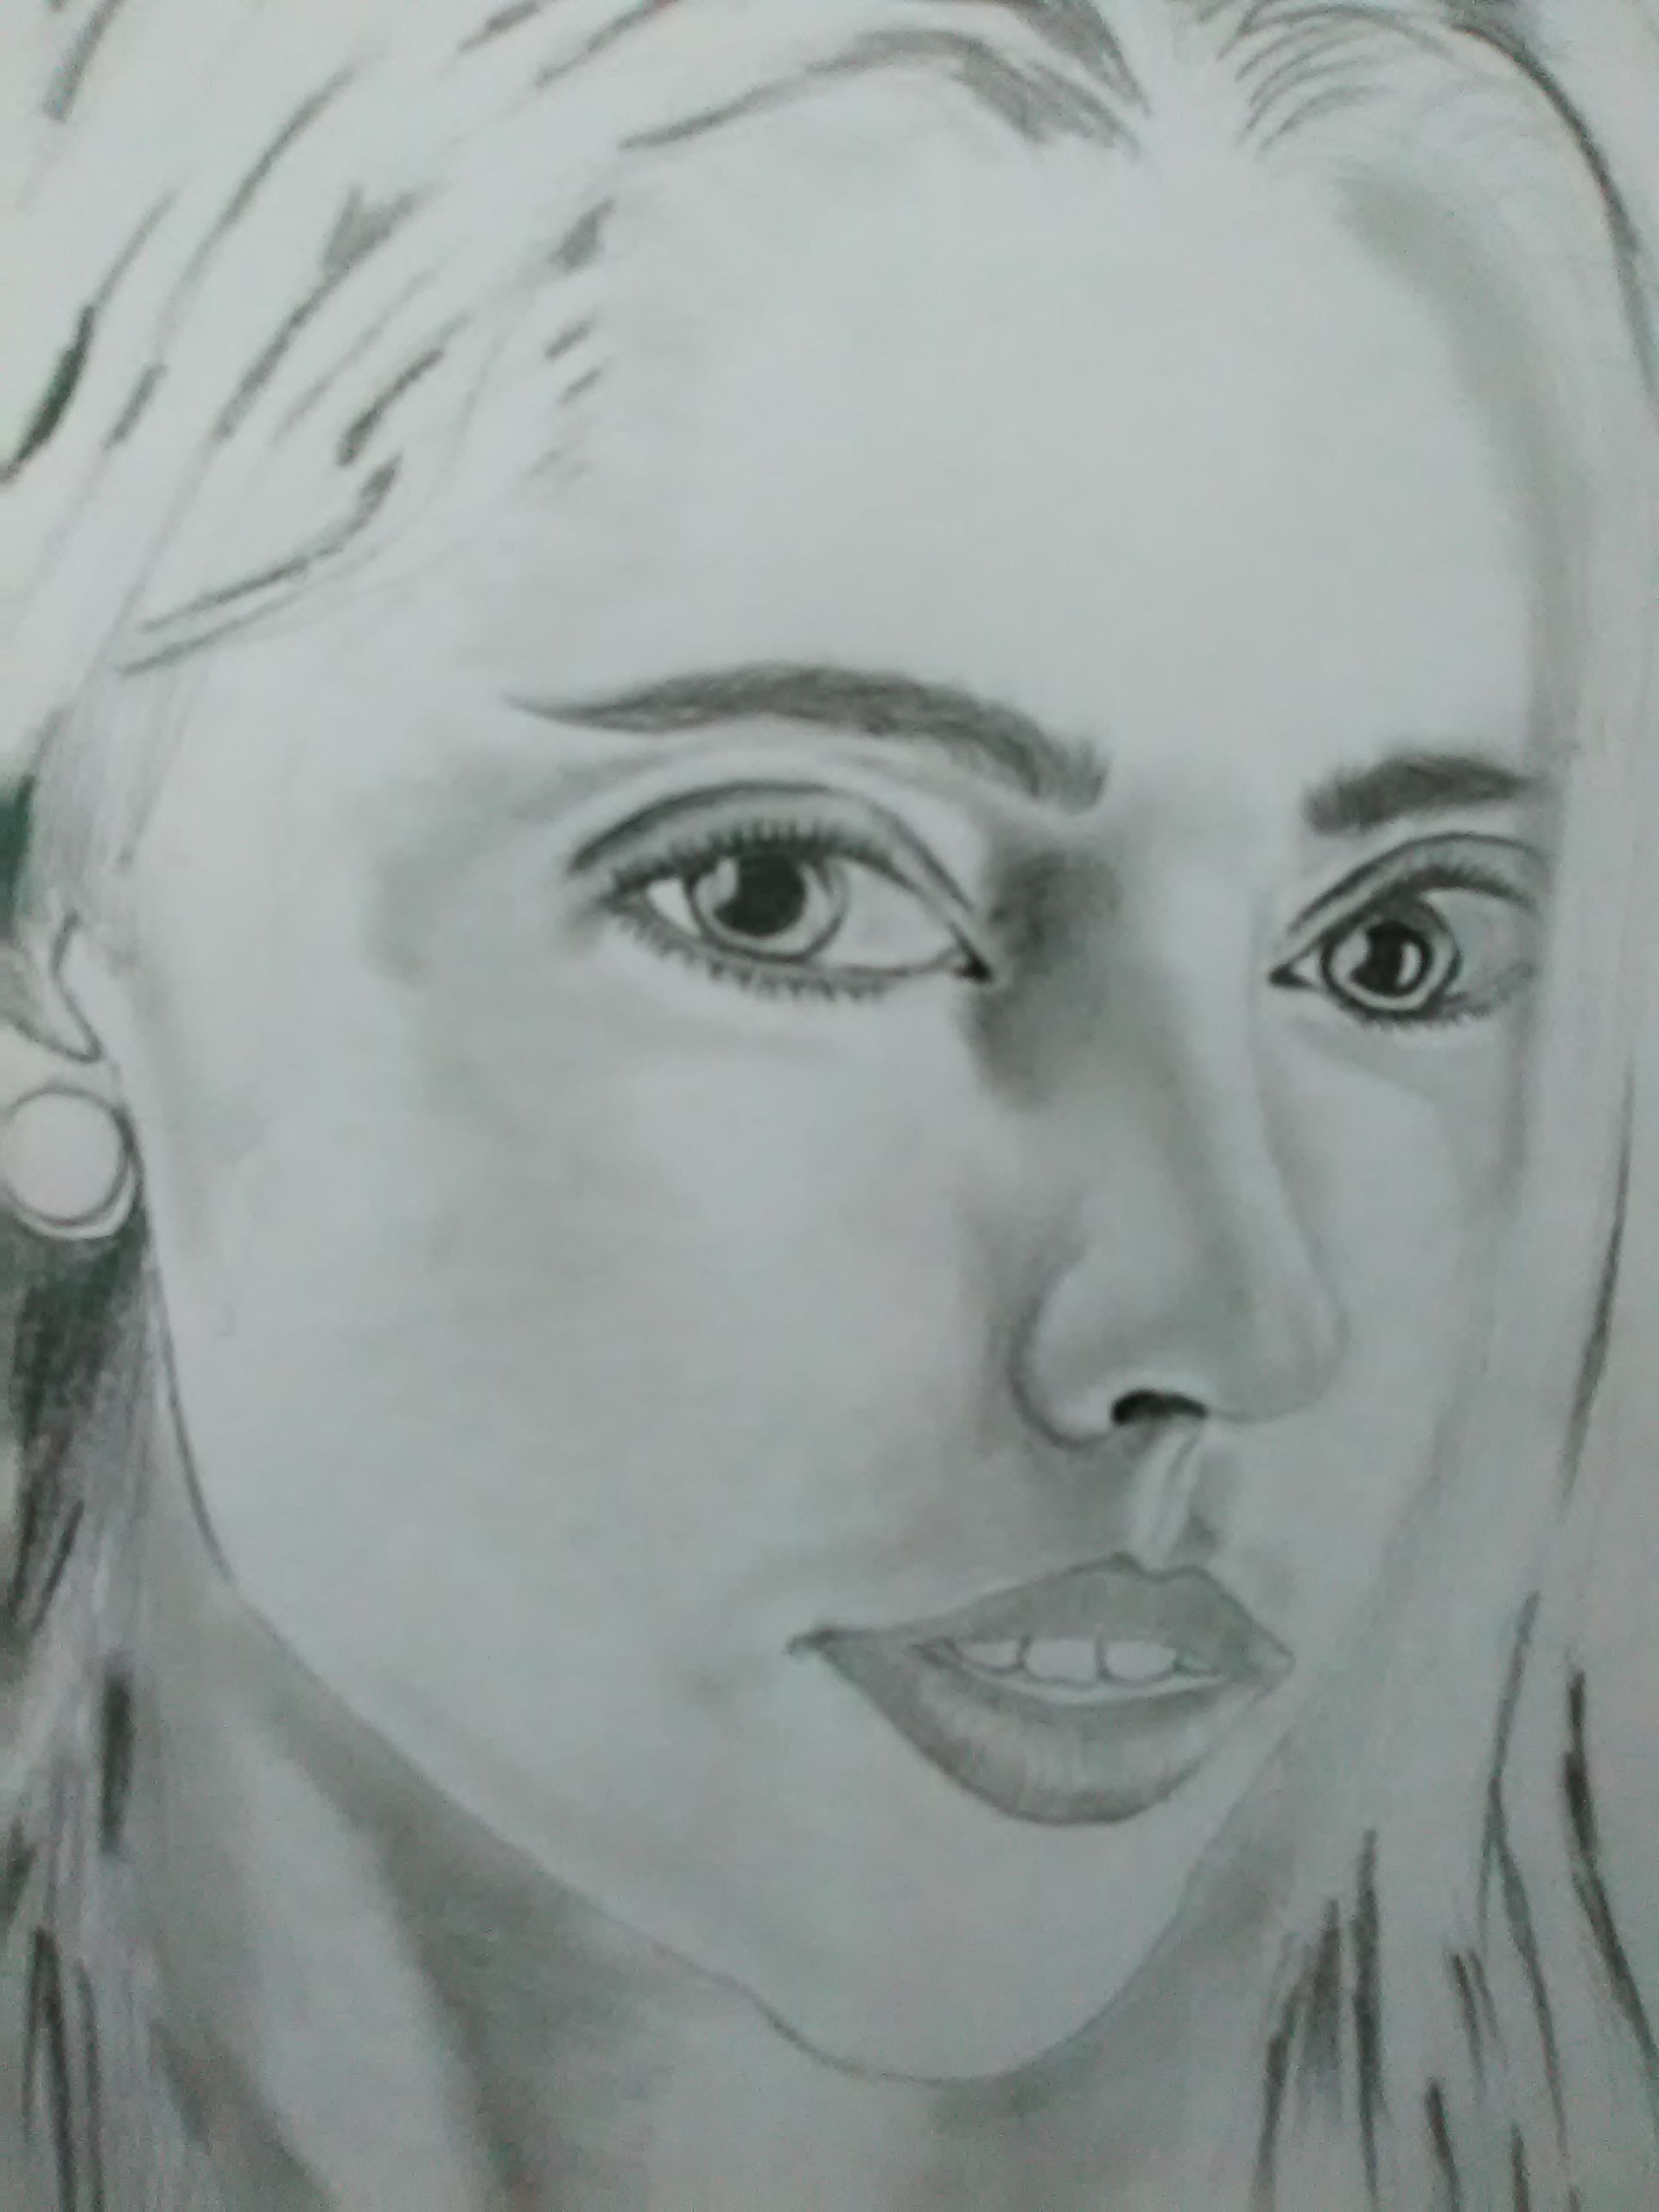
As you can see apart from the outlined as initial sketch, I have a little advance what would be eyes, nose and mouth, since these parts are the most important to give realism to the portrait, in which I have used the help of a drawing pencil and a my shadow spreader that I commented to you above which I had to make it personally. This tool is very helpful to get blurred, although you can also use the different types of HB pens that we all know are highly recommended for this type of work. Work a little more dividing lines to better define the facial features, as well as the layers of shadows that gradually give texture and volume to every portrait.
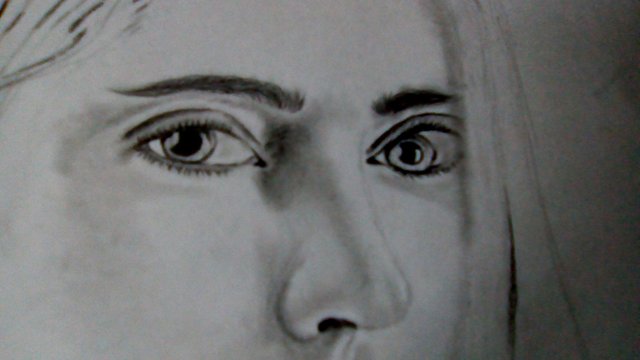
Now I am darkening a little more the contours and shadows in the part of the eyes and eyebrows, and with the help of the spreader I blur the edges a bit, taking care not to discolor much the dark color in the pupils, eyebrows and nostrils.
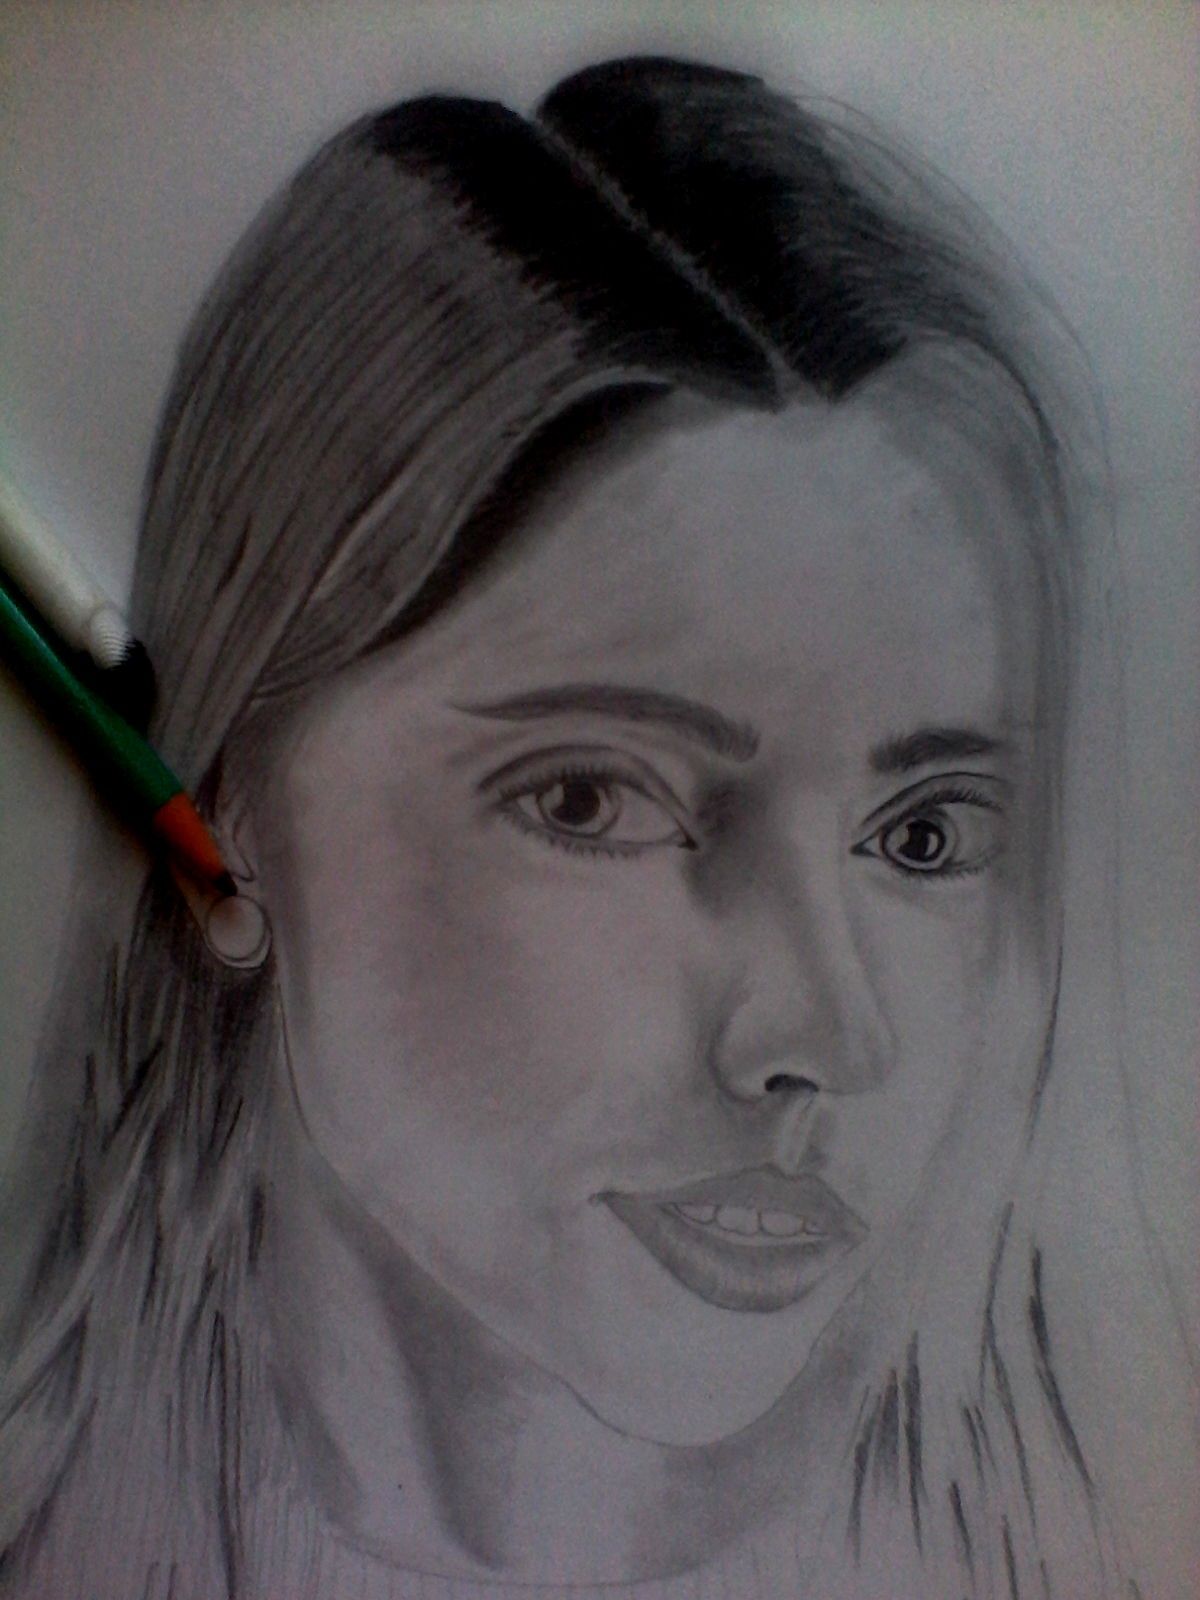
In this step I am working with the hair, starting from the roots to the tips, the lines are important parts in the effect of volume and movement to the hair and can differentiate the layers of it. The technique I use for the hair is very simple and effective, I only make long lines by setting strong from the beginning of the path and loosening a little more and more at the end of the path, and with the help of an eraser, I delete certain parts to define certain parts where should go volumes and changes of direction in the hair and blurring the darkest parts to the clearest to create this effect.
!
Now all I'm going to do as a final part is to darken by reviewing fillings and shading by setting a little more the pressure of the pencil, to give the final finish, but remember and be very clear that when making a portrait, the final finish is with the You better feel and be satisfied, because everyone has their own criteria when it comes to portraying and each person's opinion must be respected.
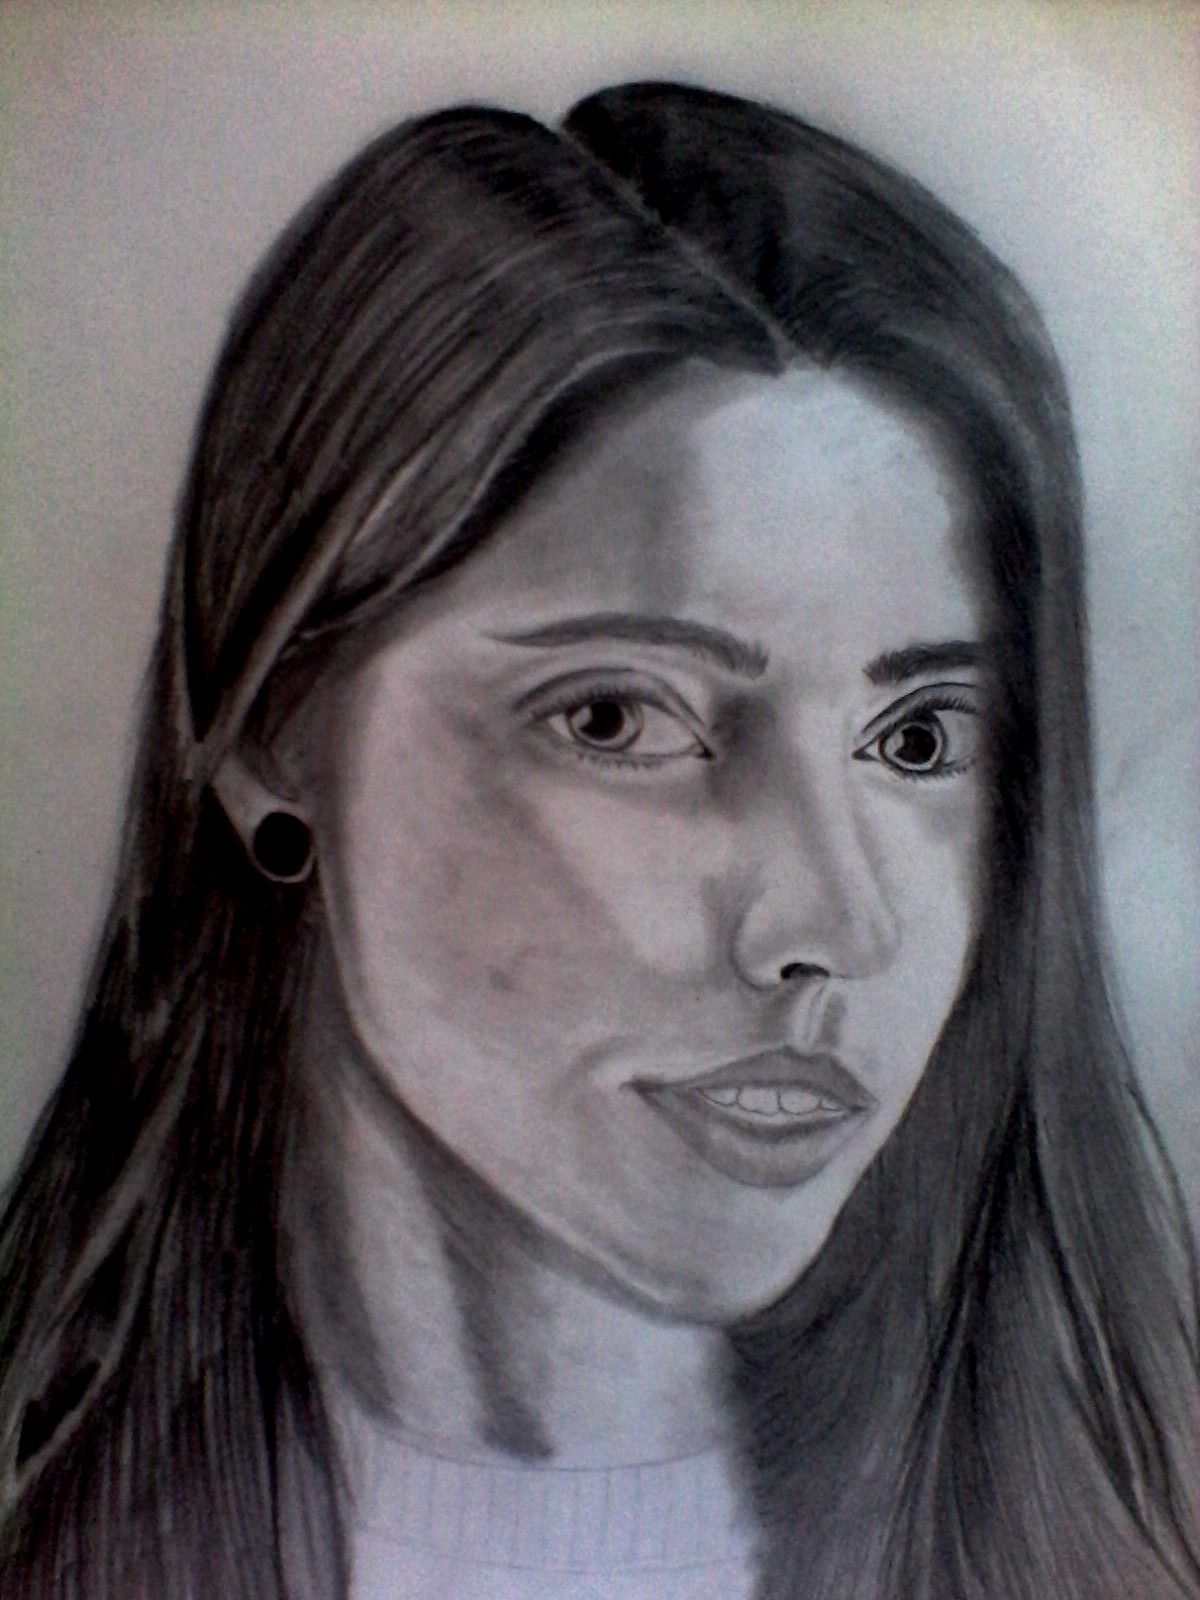
I hope you liked it and this post will be very useful. Do not forget to vote and upload your comment with your best portrait and participate for the closing of the publication where I will be giving some SBD to the winning portrait.
Beautiful. Keep it up and practice everyday. Check out my art too.
Thank you brother, I'm sure I'll walk by your wall and give you my vote.