Implosion Marble Tutorial
The Marble:
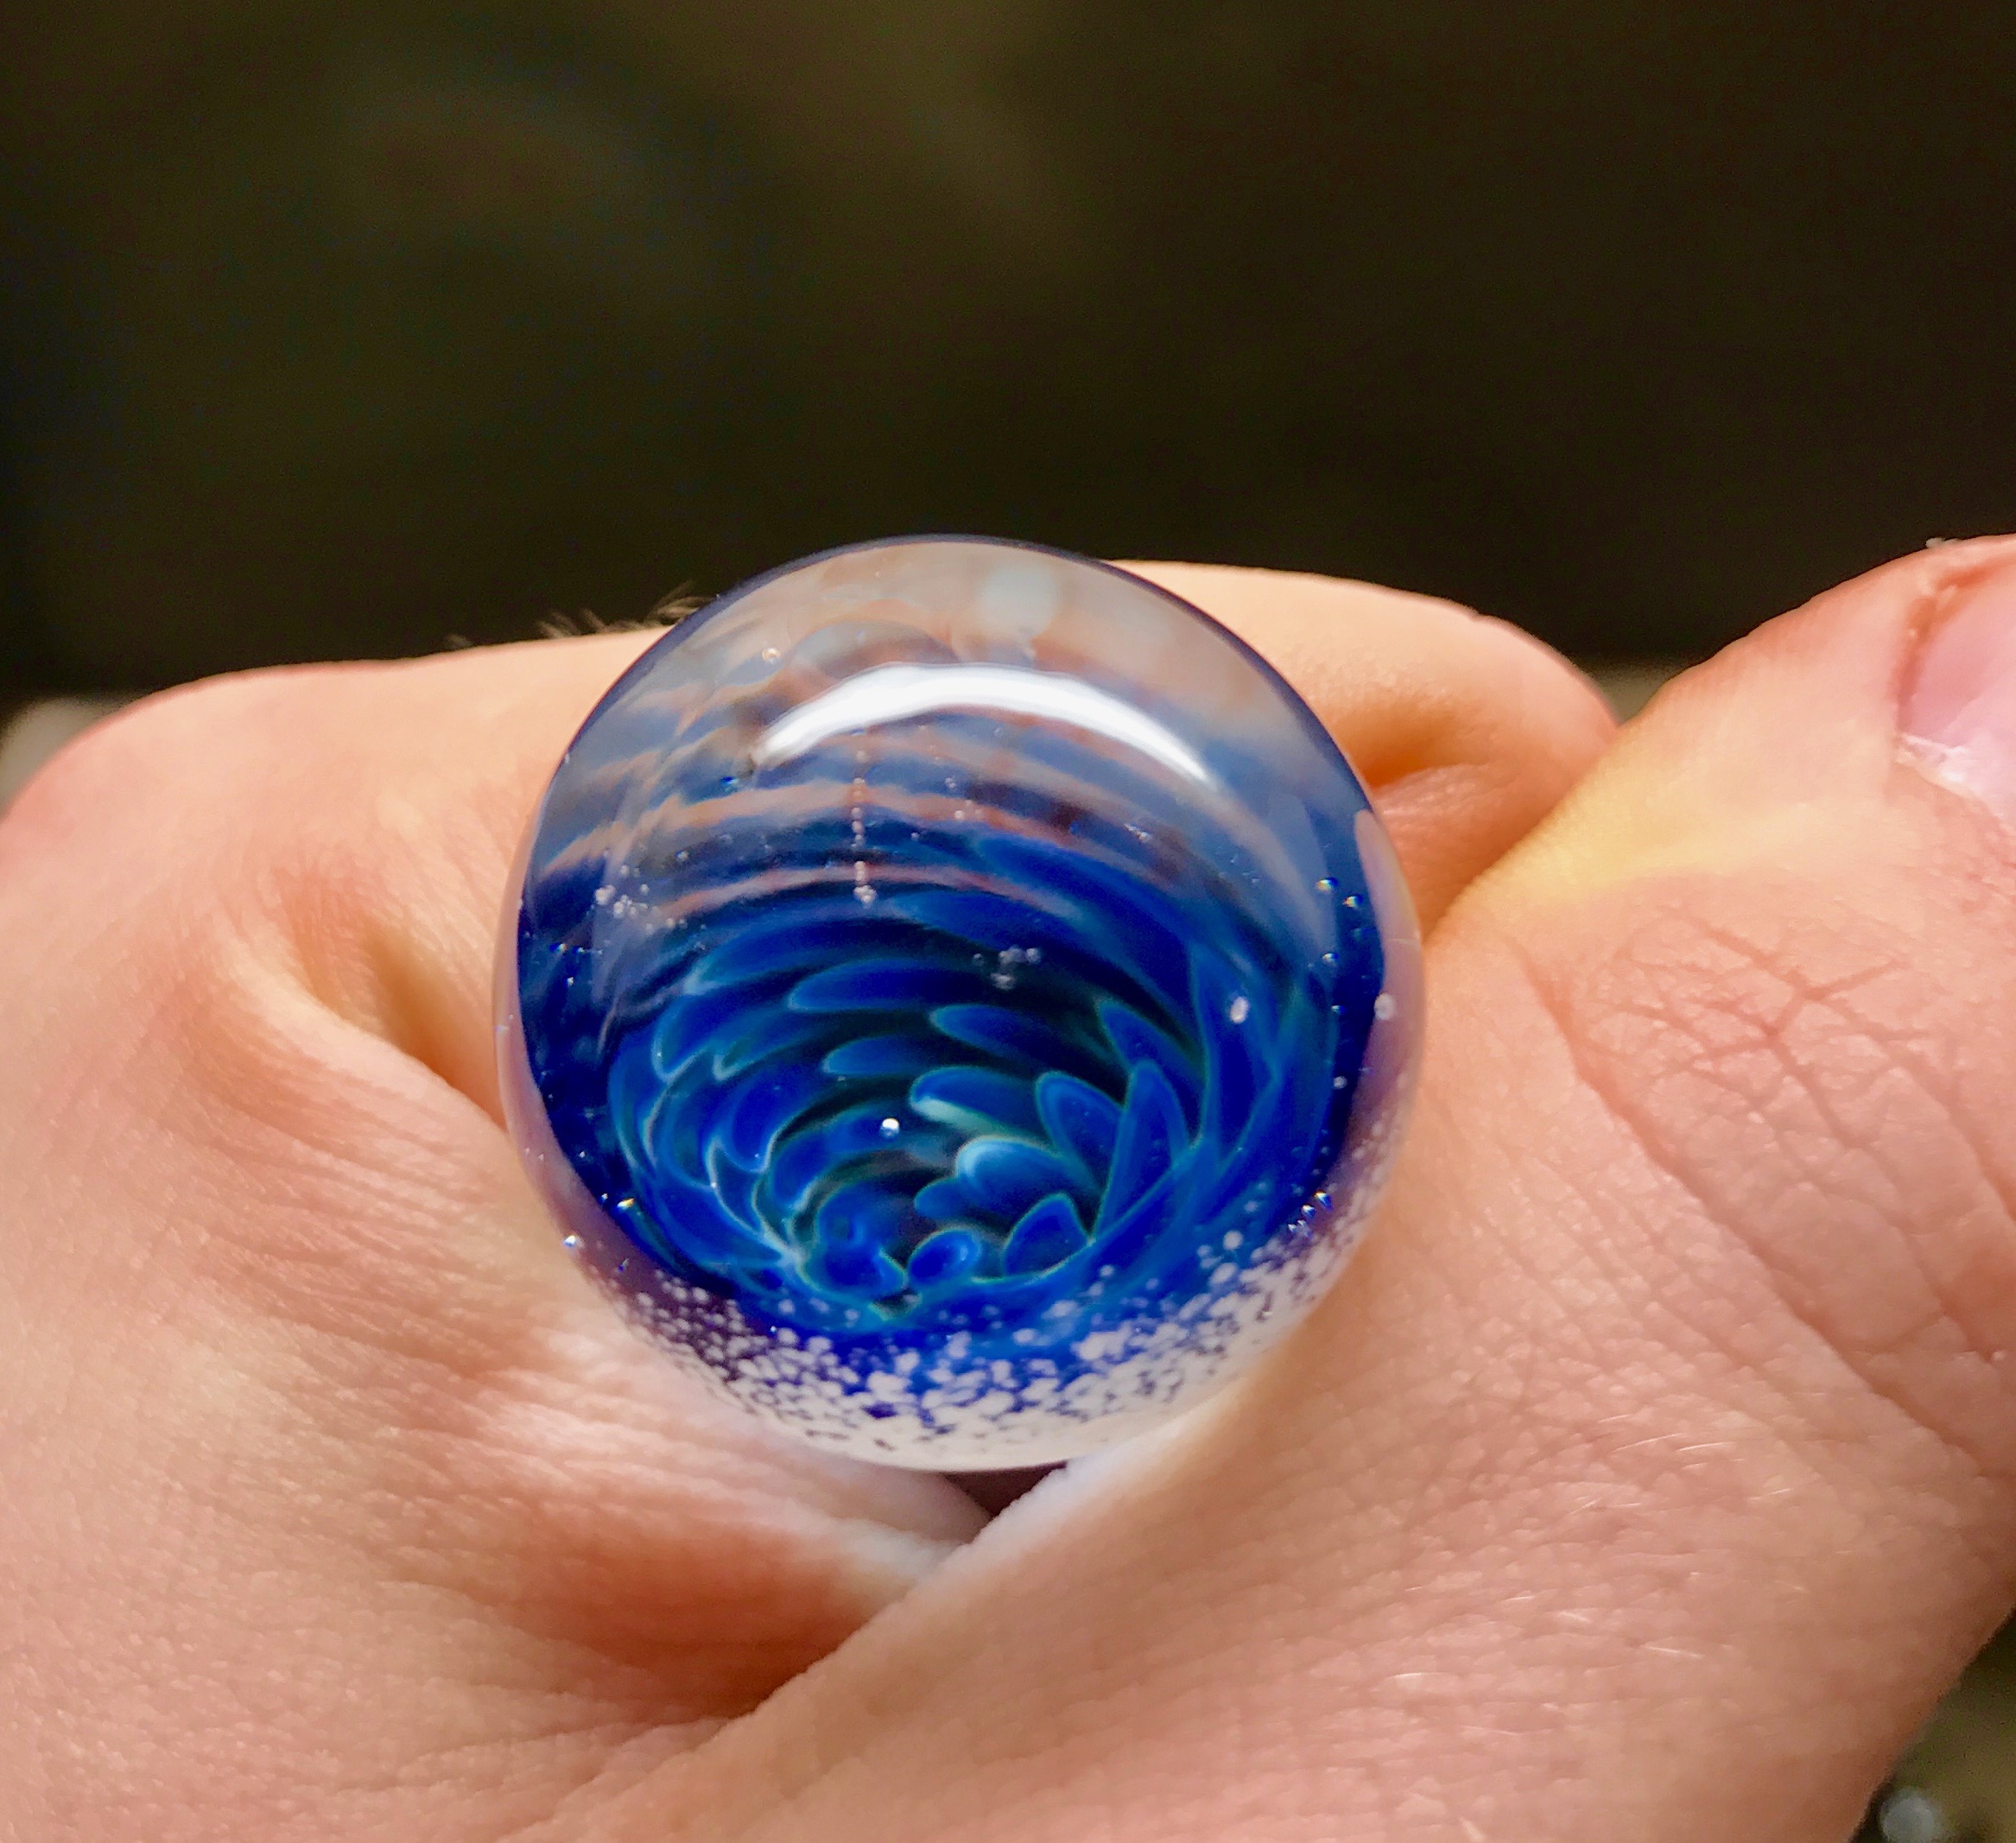
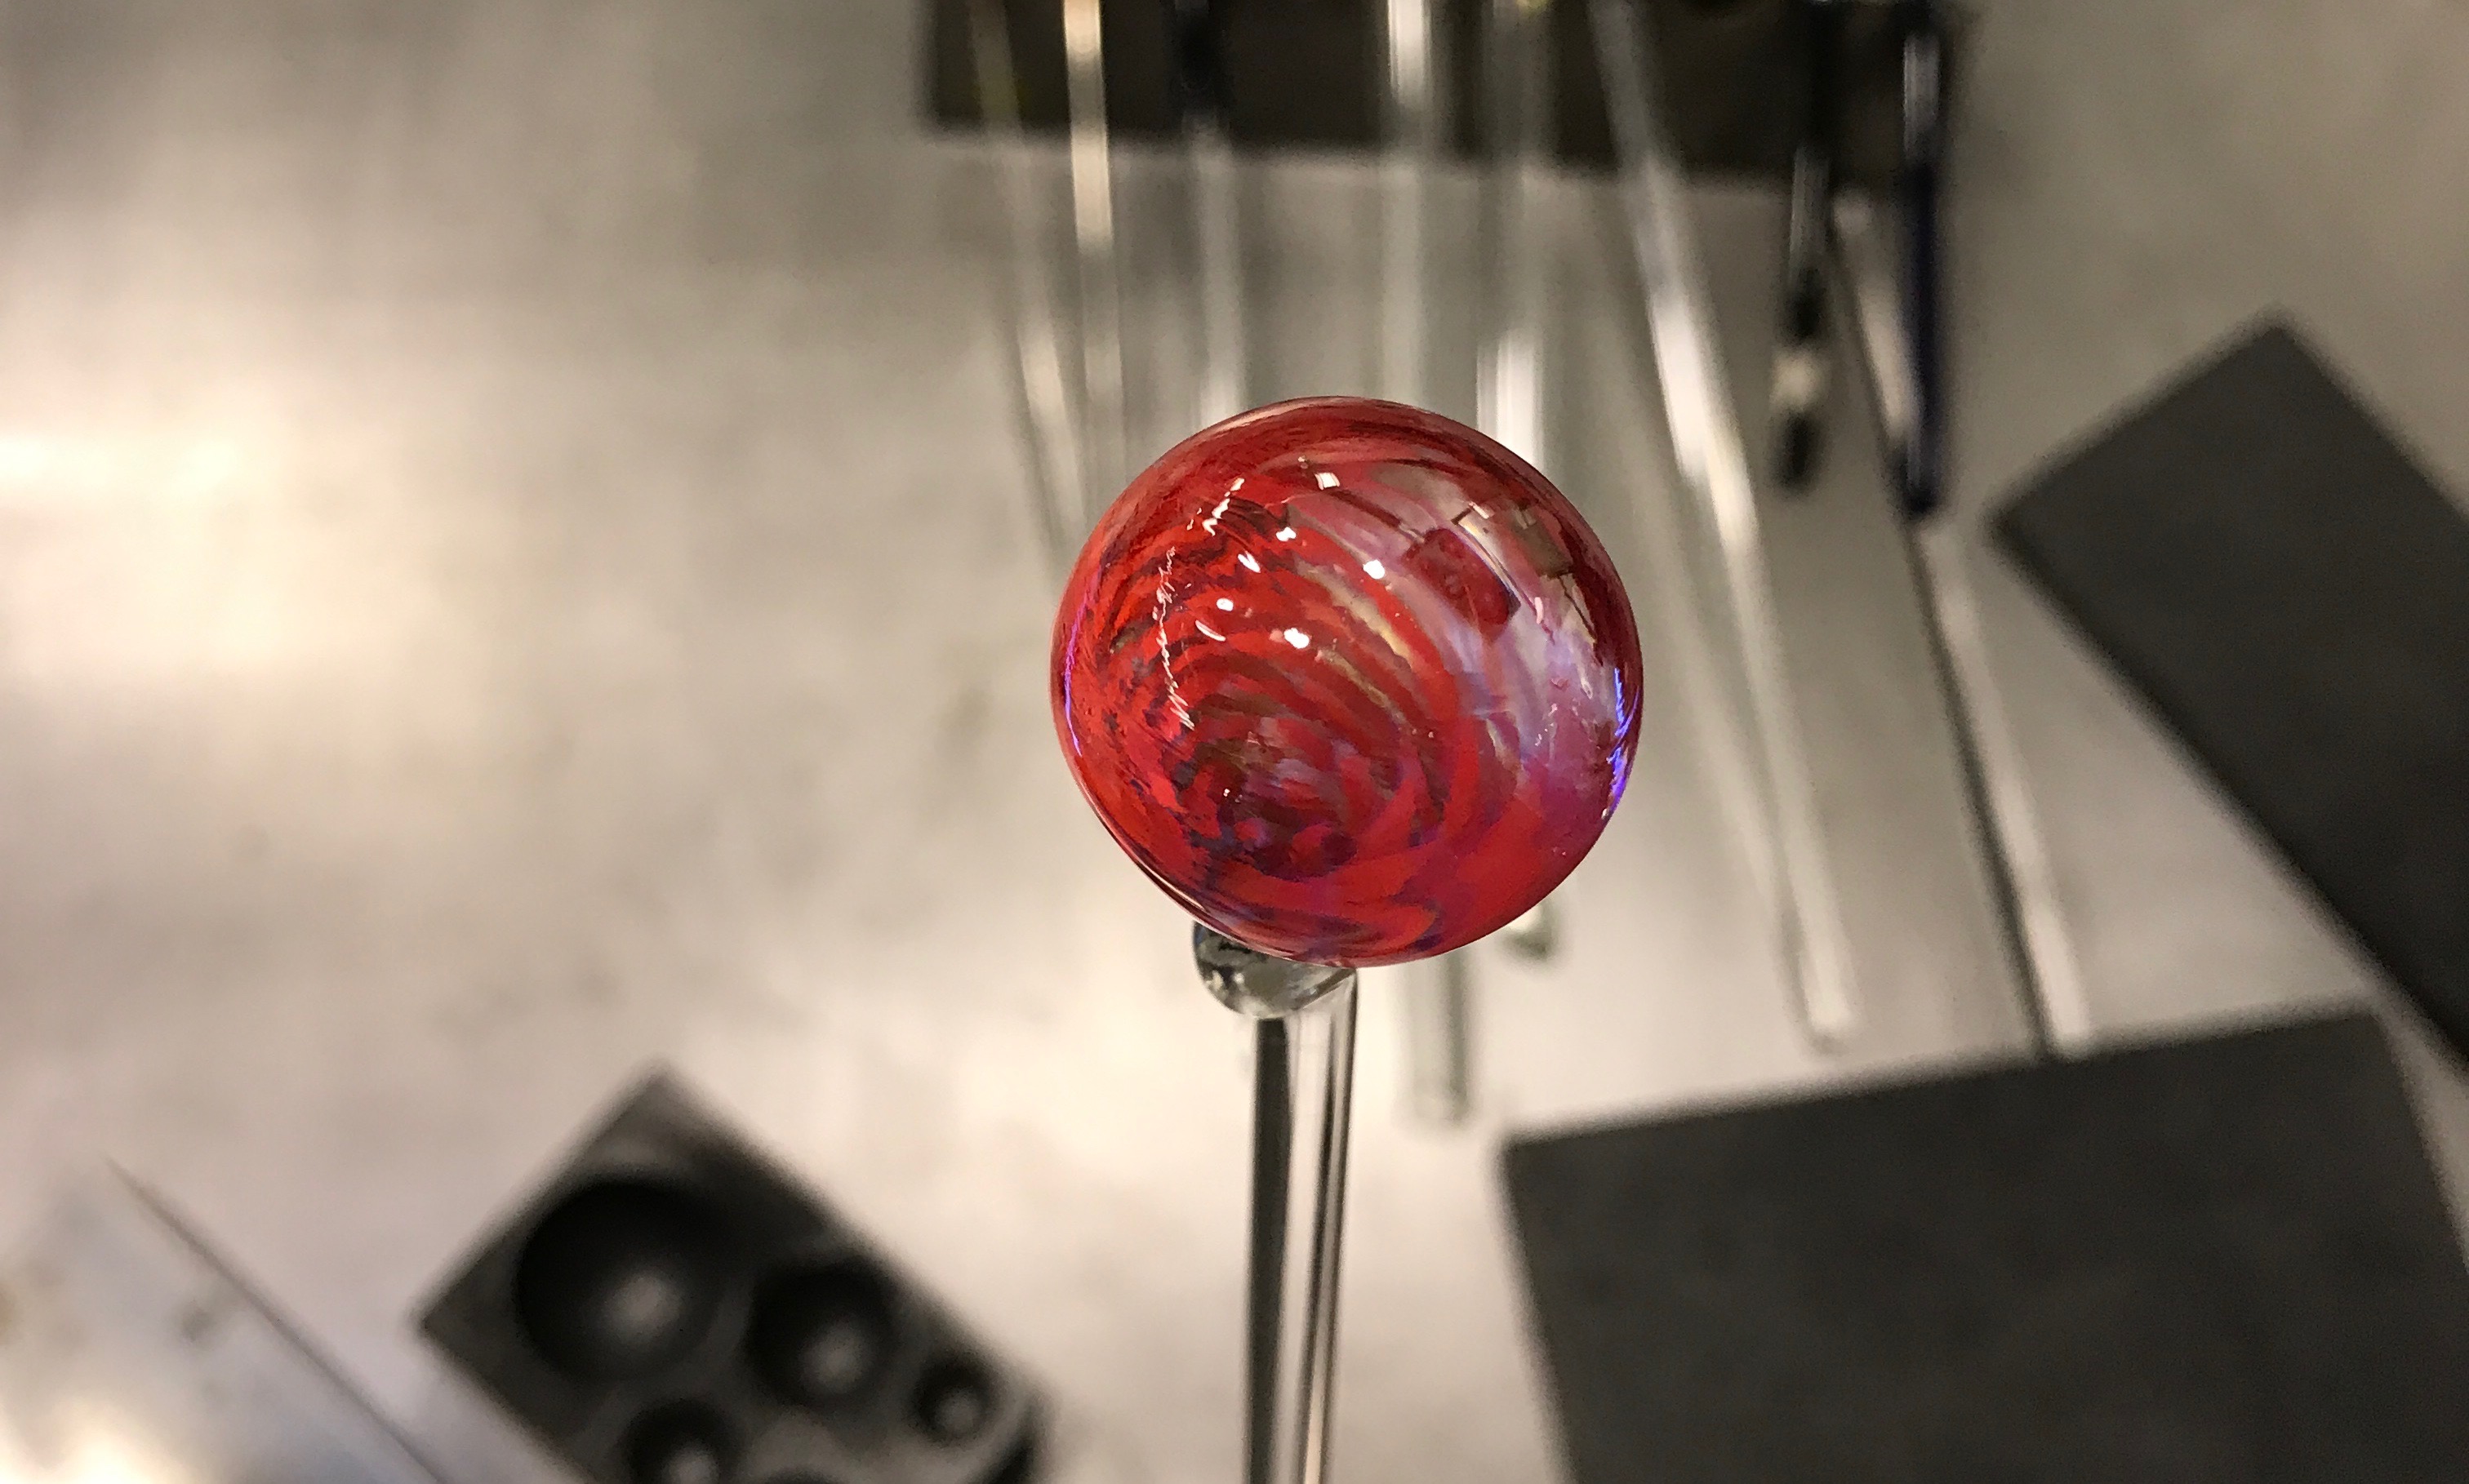
In an effort to post a new tutorial every week, I thought people might be interested in an implosion marble. This is done differently than implosion pendants and start with hollow tubing rather than solid glass rods. The tubing allows for deeper implosion and a large surface area for dot applications.
Here's the final piece:
How To:
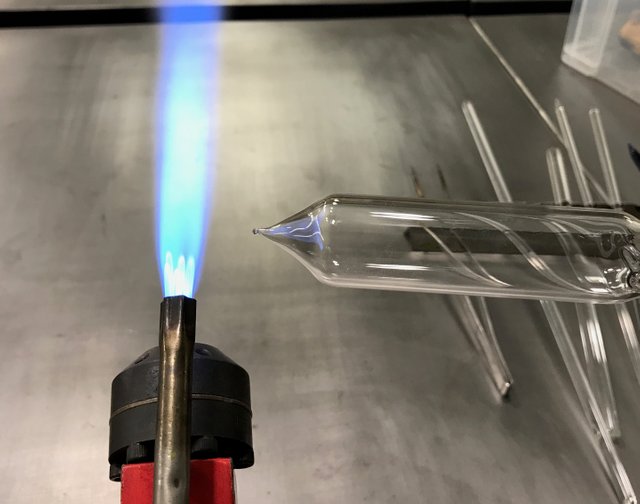
The first step in this process is to heat up the end of a hollow tube. In theory any size tubing will work but thicker bigger tubing makes things easier.
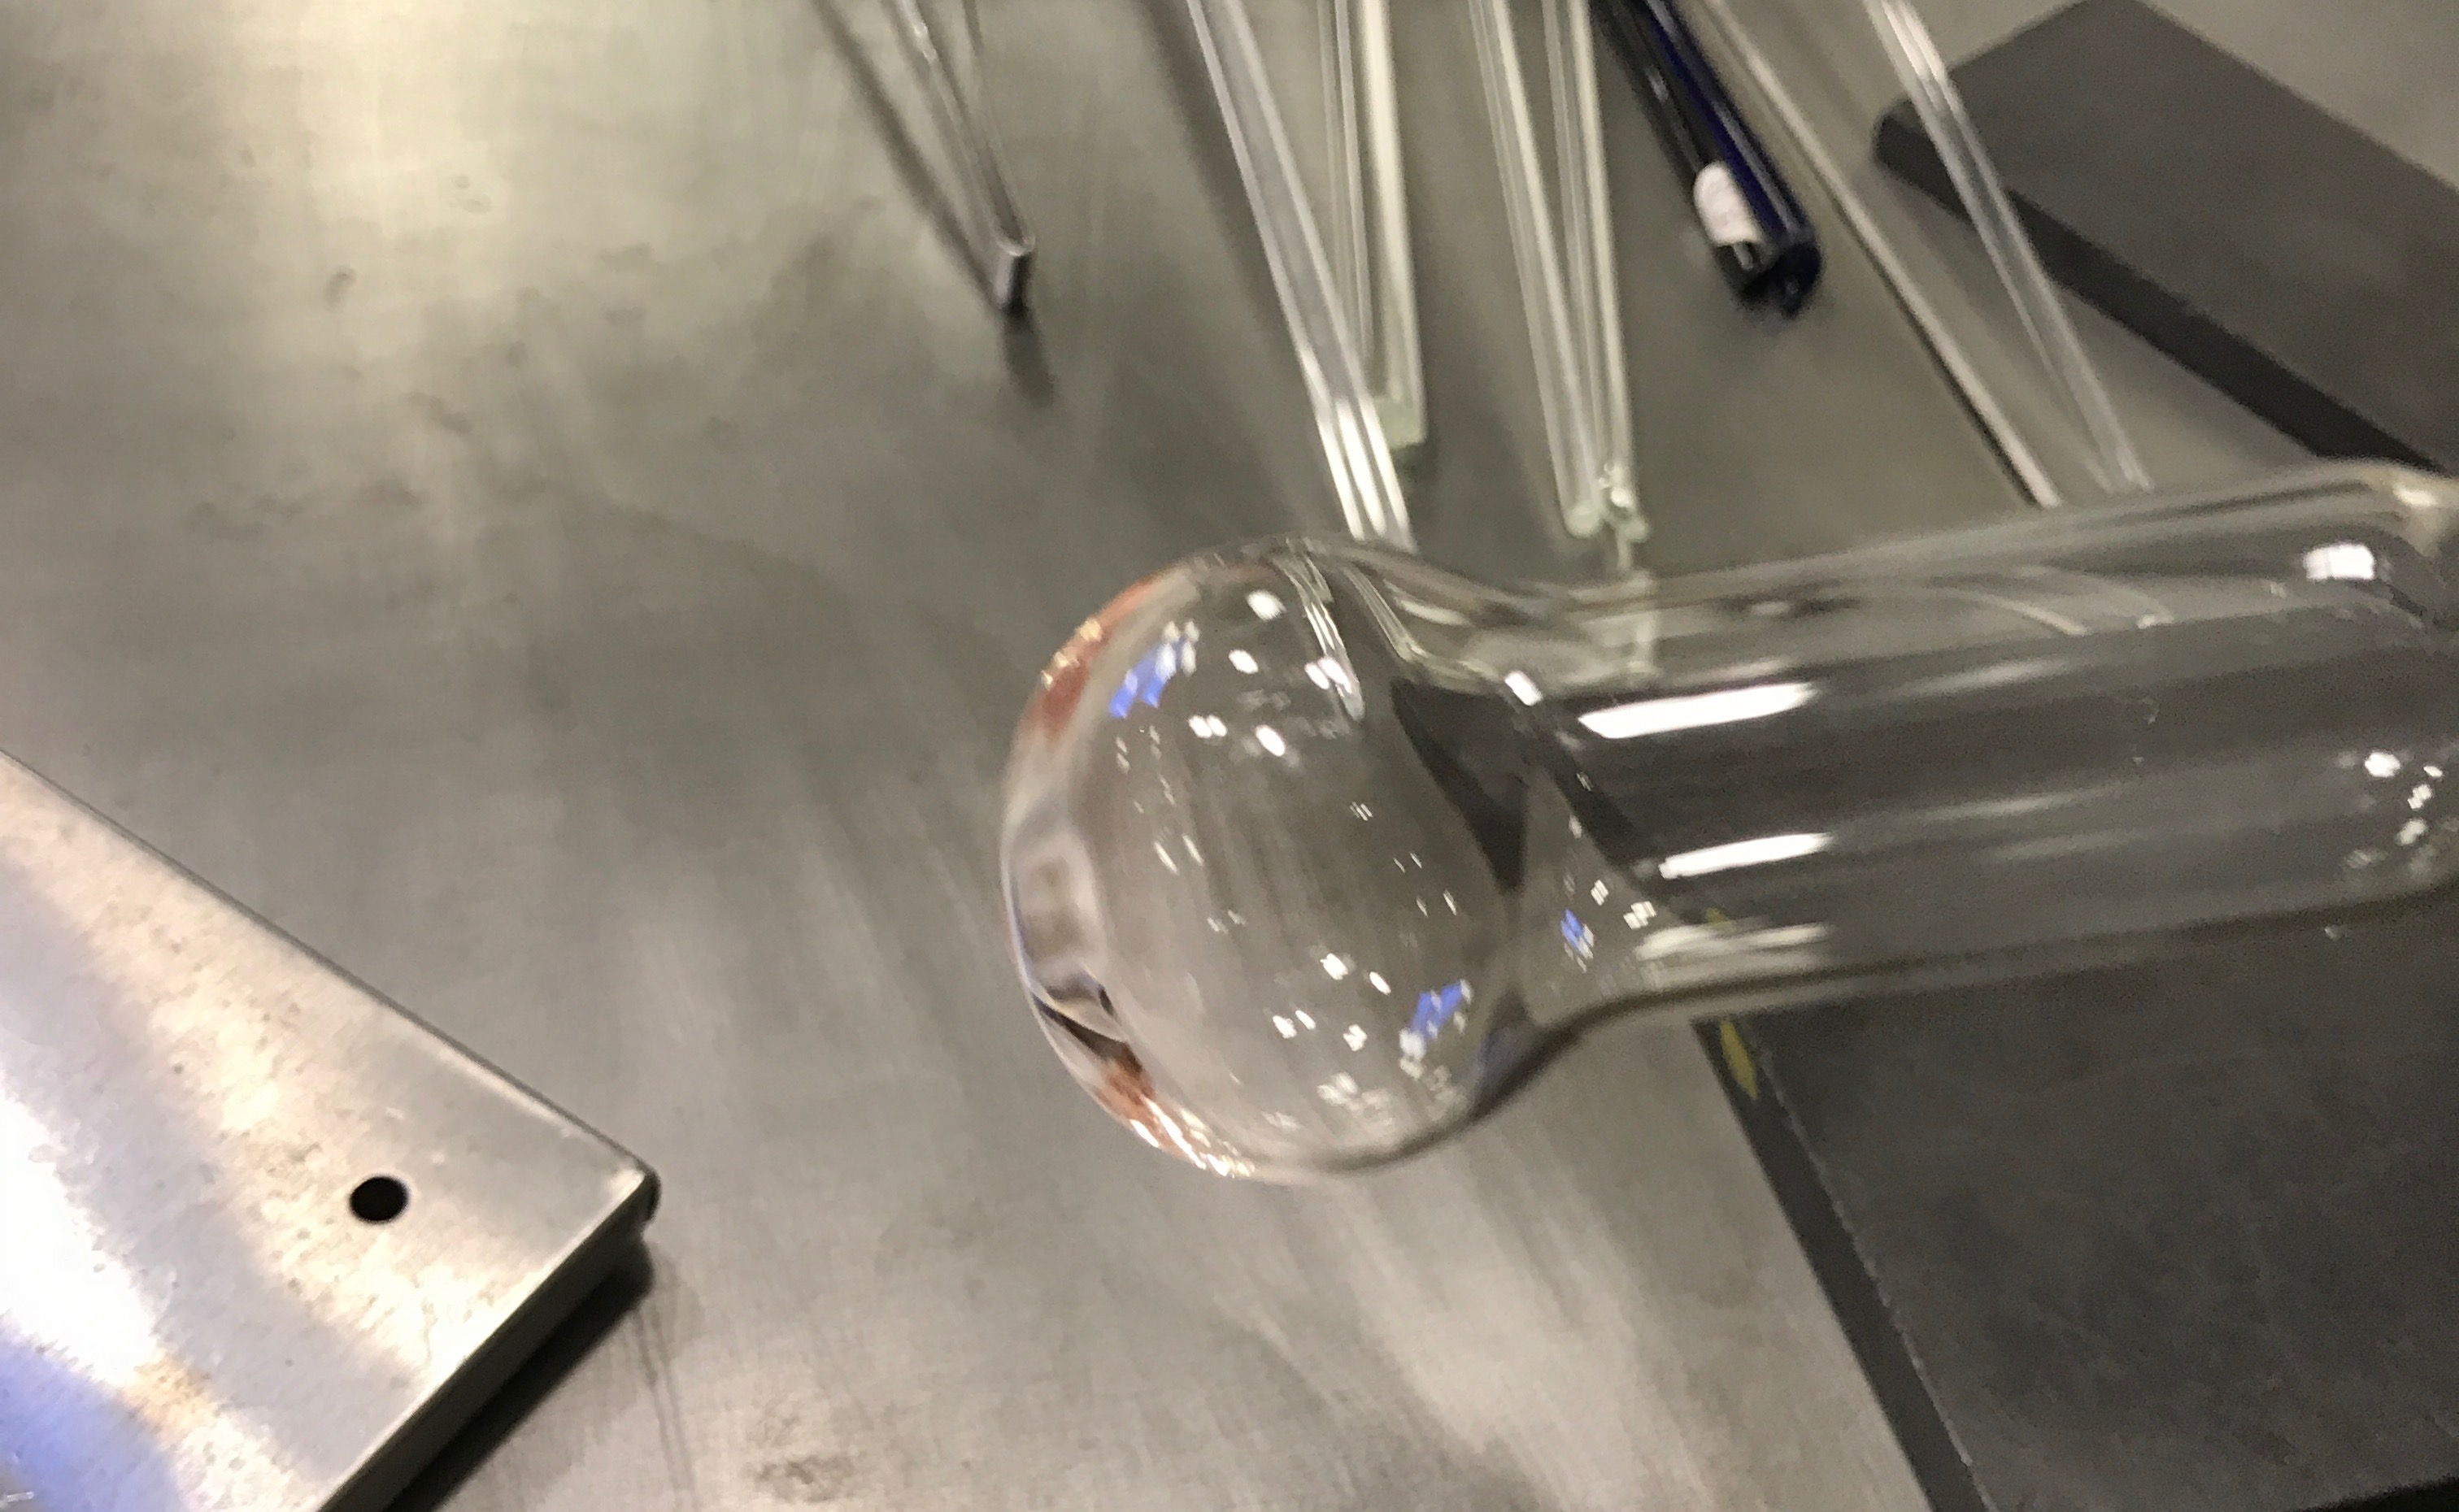
From here we want to heat about an inch of the tube and then add pressure to expand the tubing into a bubble at the end. Ideally it should look like this:
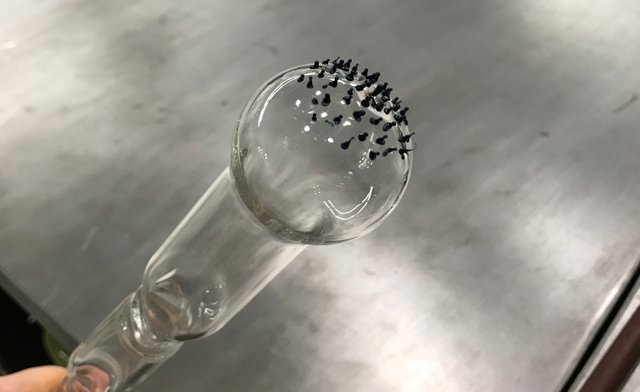
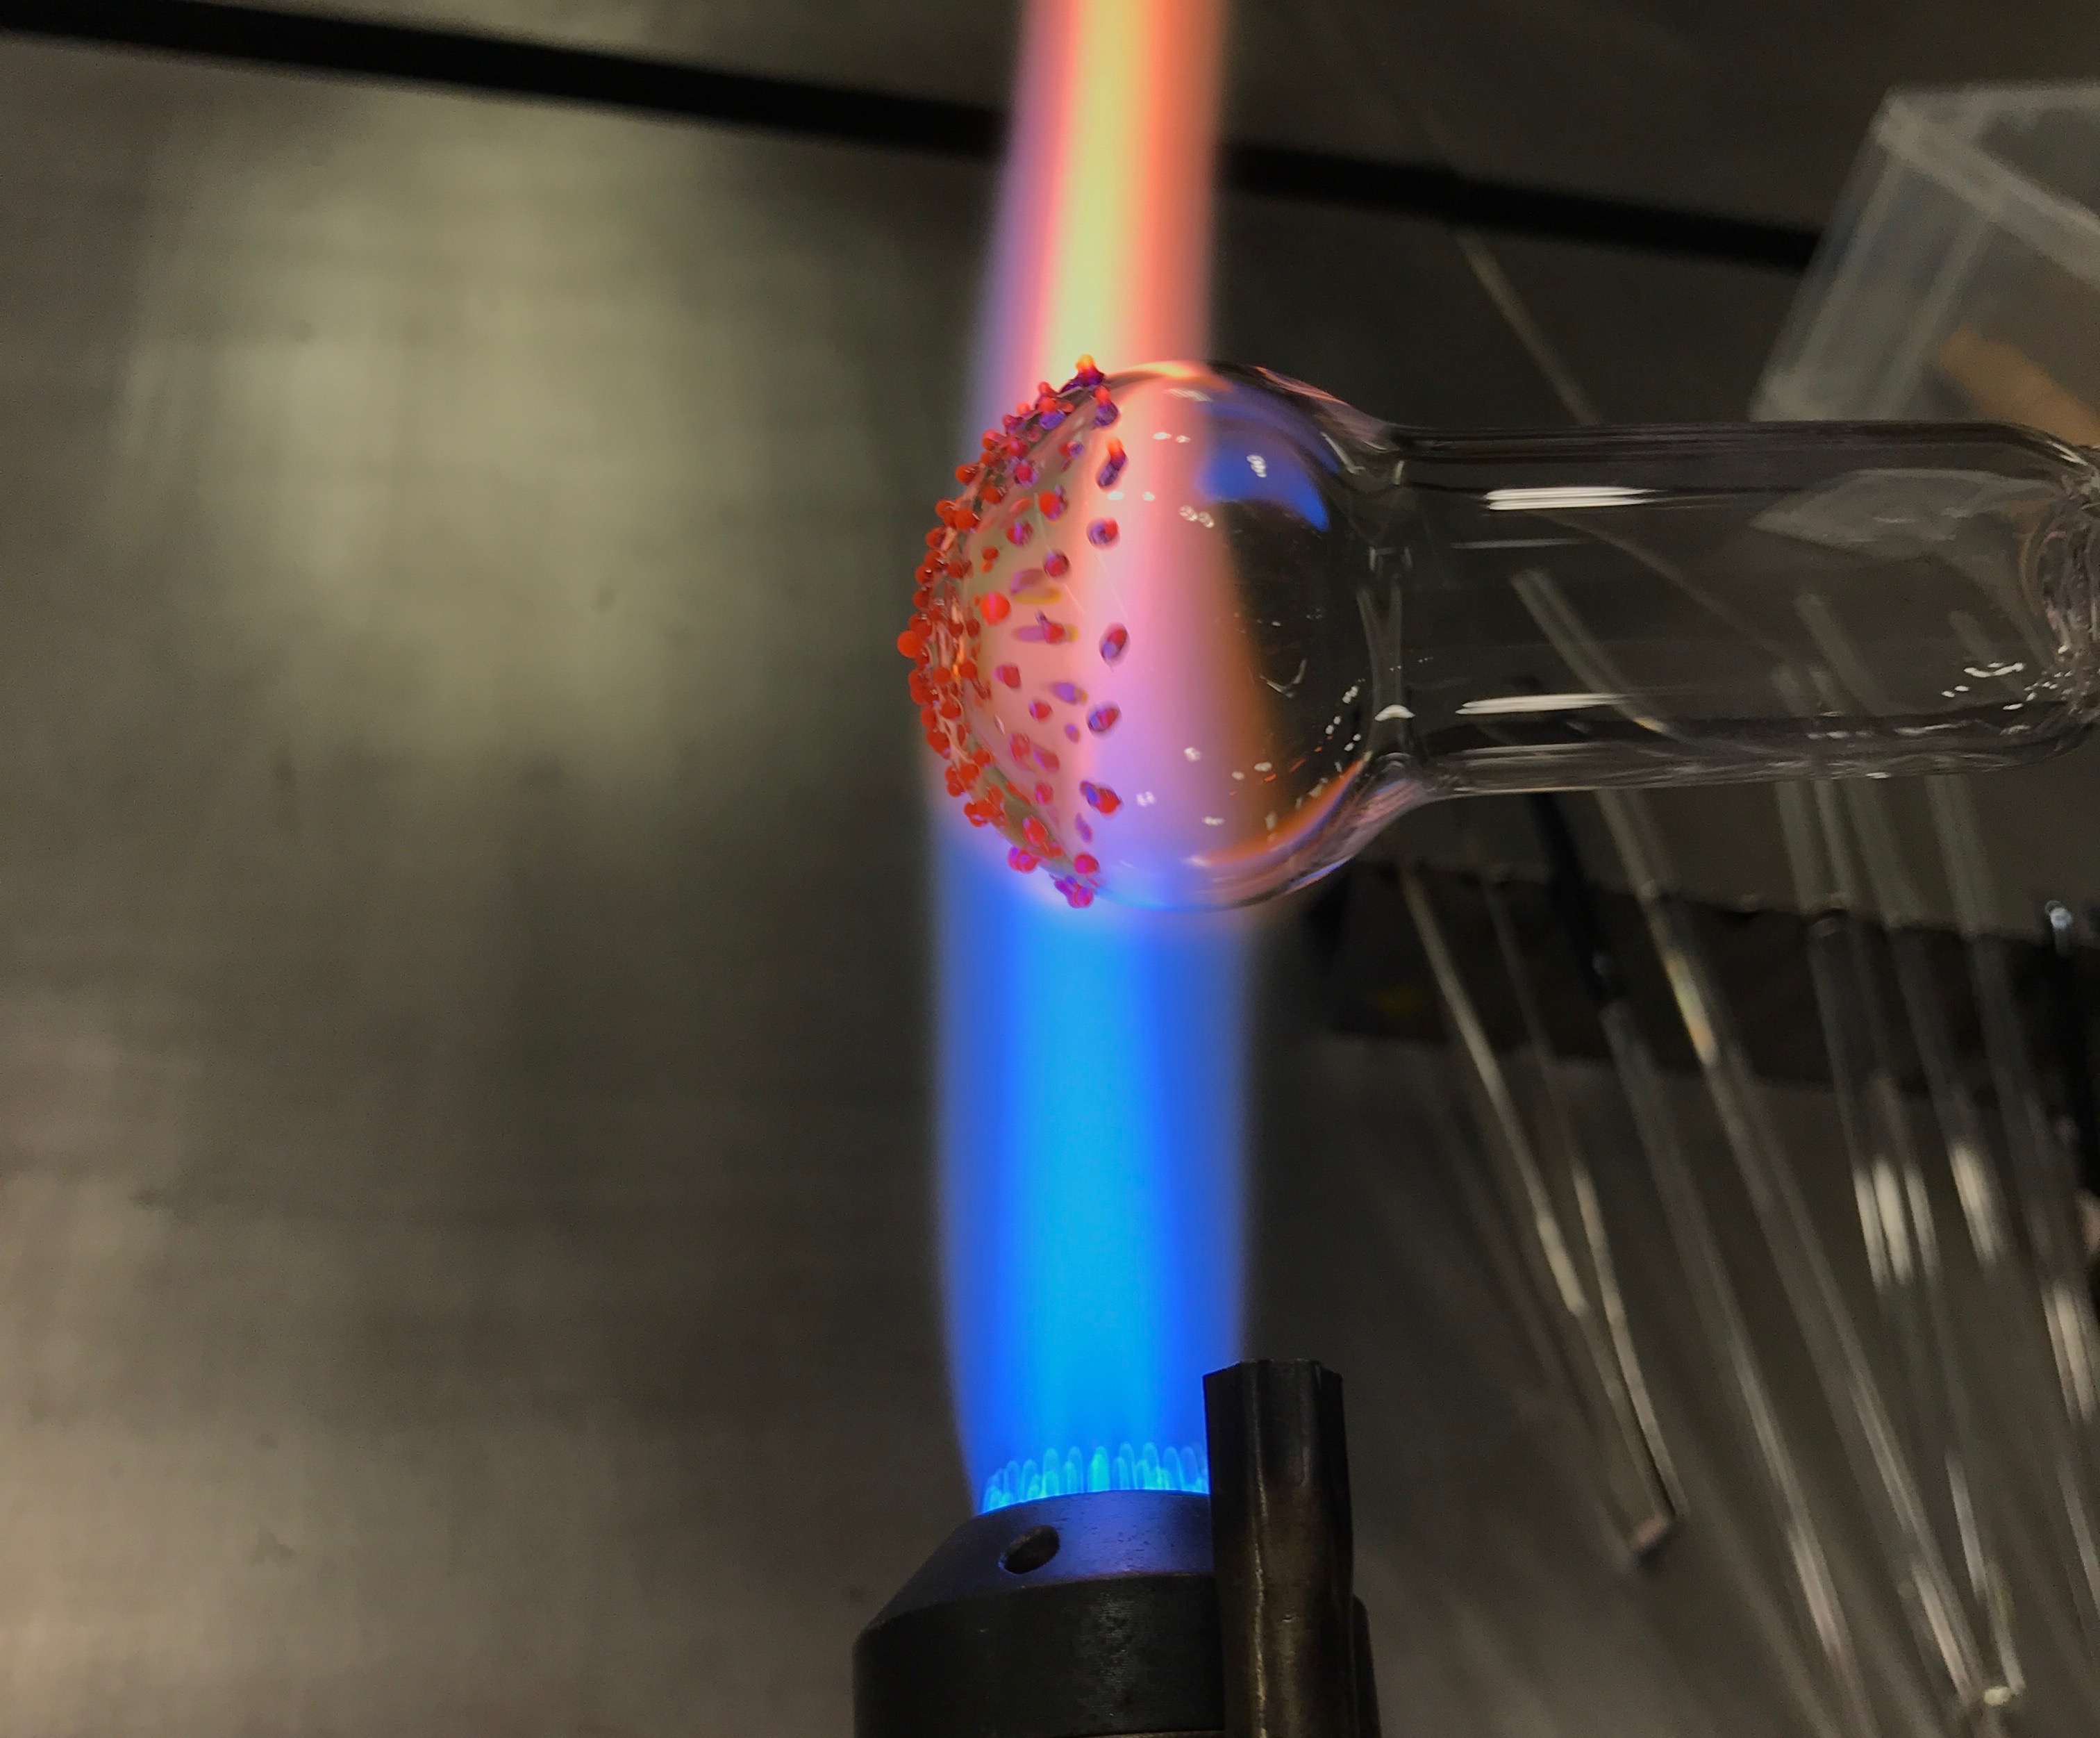
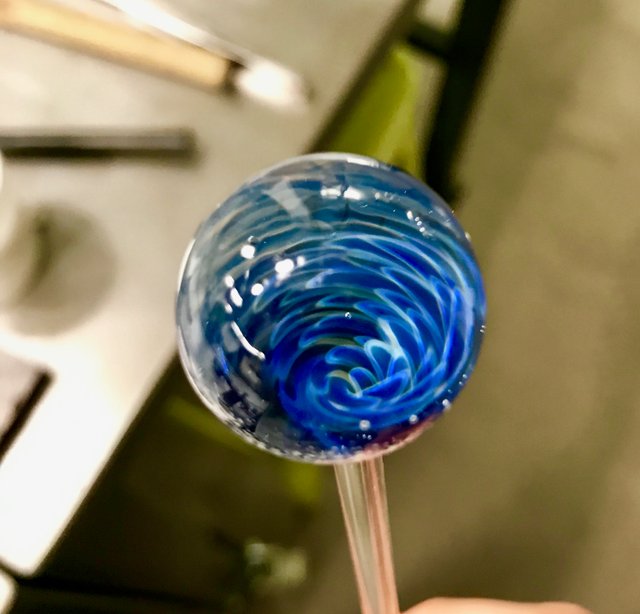
Next we want to start applying color. To do this we take a color rod and make contact and then quickly pull away while the rod is hot. In this example I use a dark blue (with silver reduction) and a lighter transparent blue.
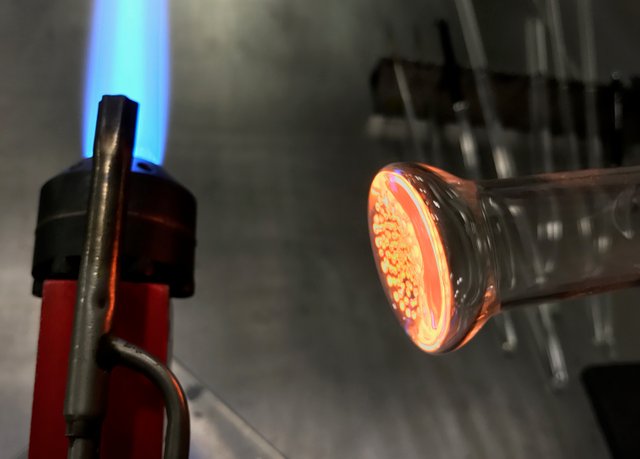
We want to apply these dots to the top hemisphere of bubble. Applying dots any further and the dots will not implode. The next step is to heat it up and start melting the bubble back into the tubing.
As the bubble melts in the shape should look like this:
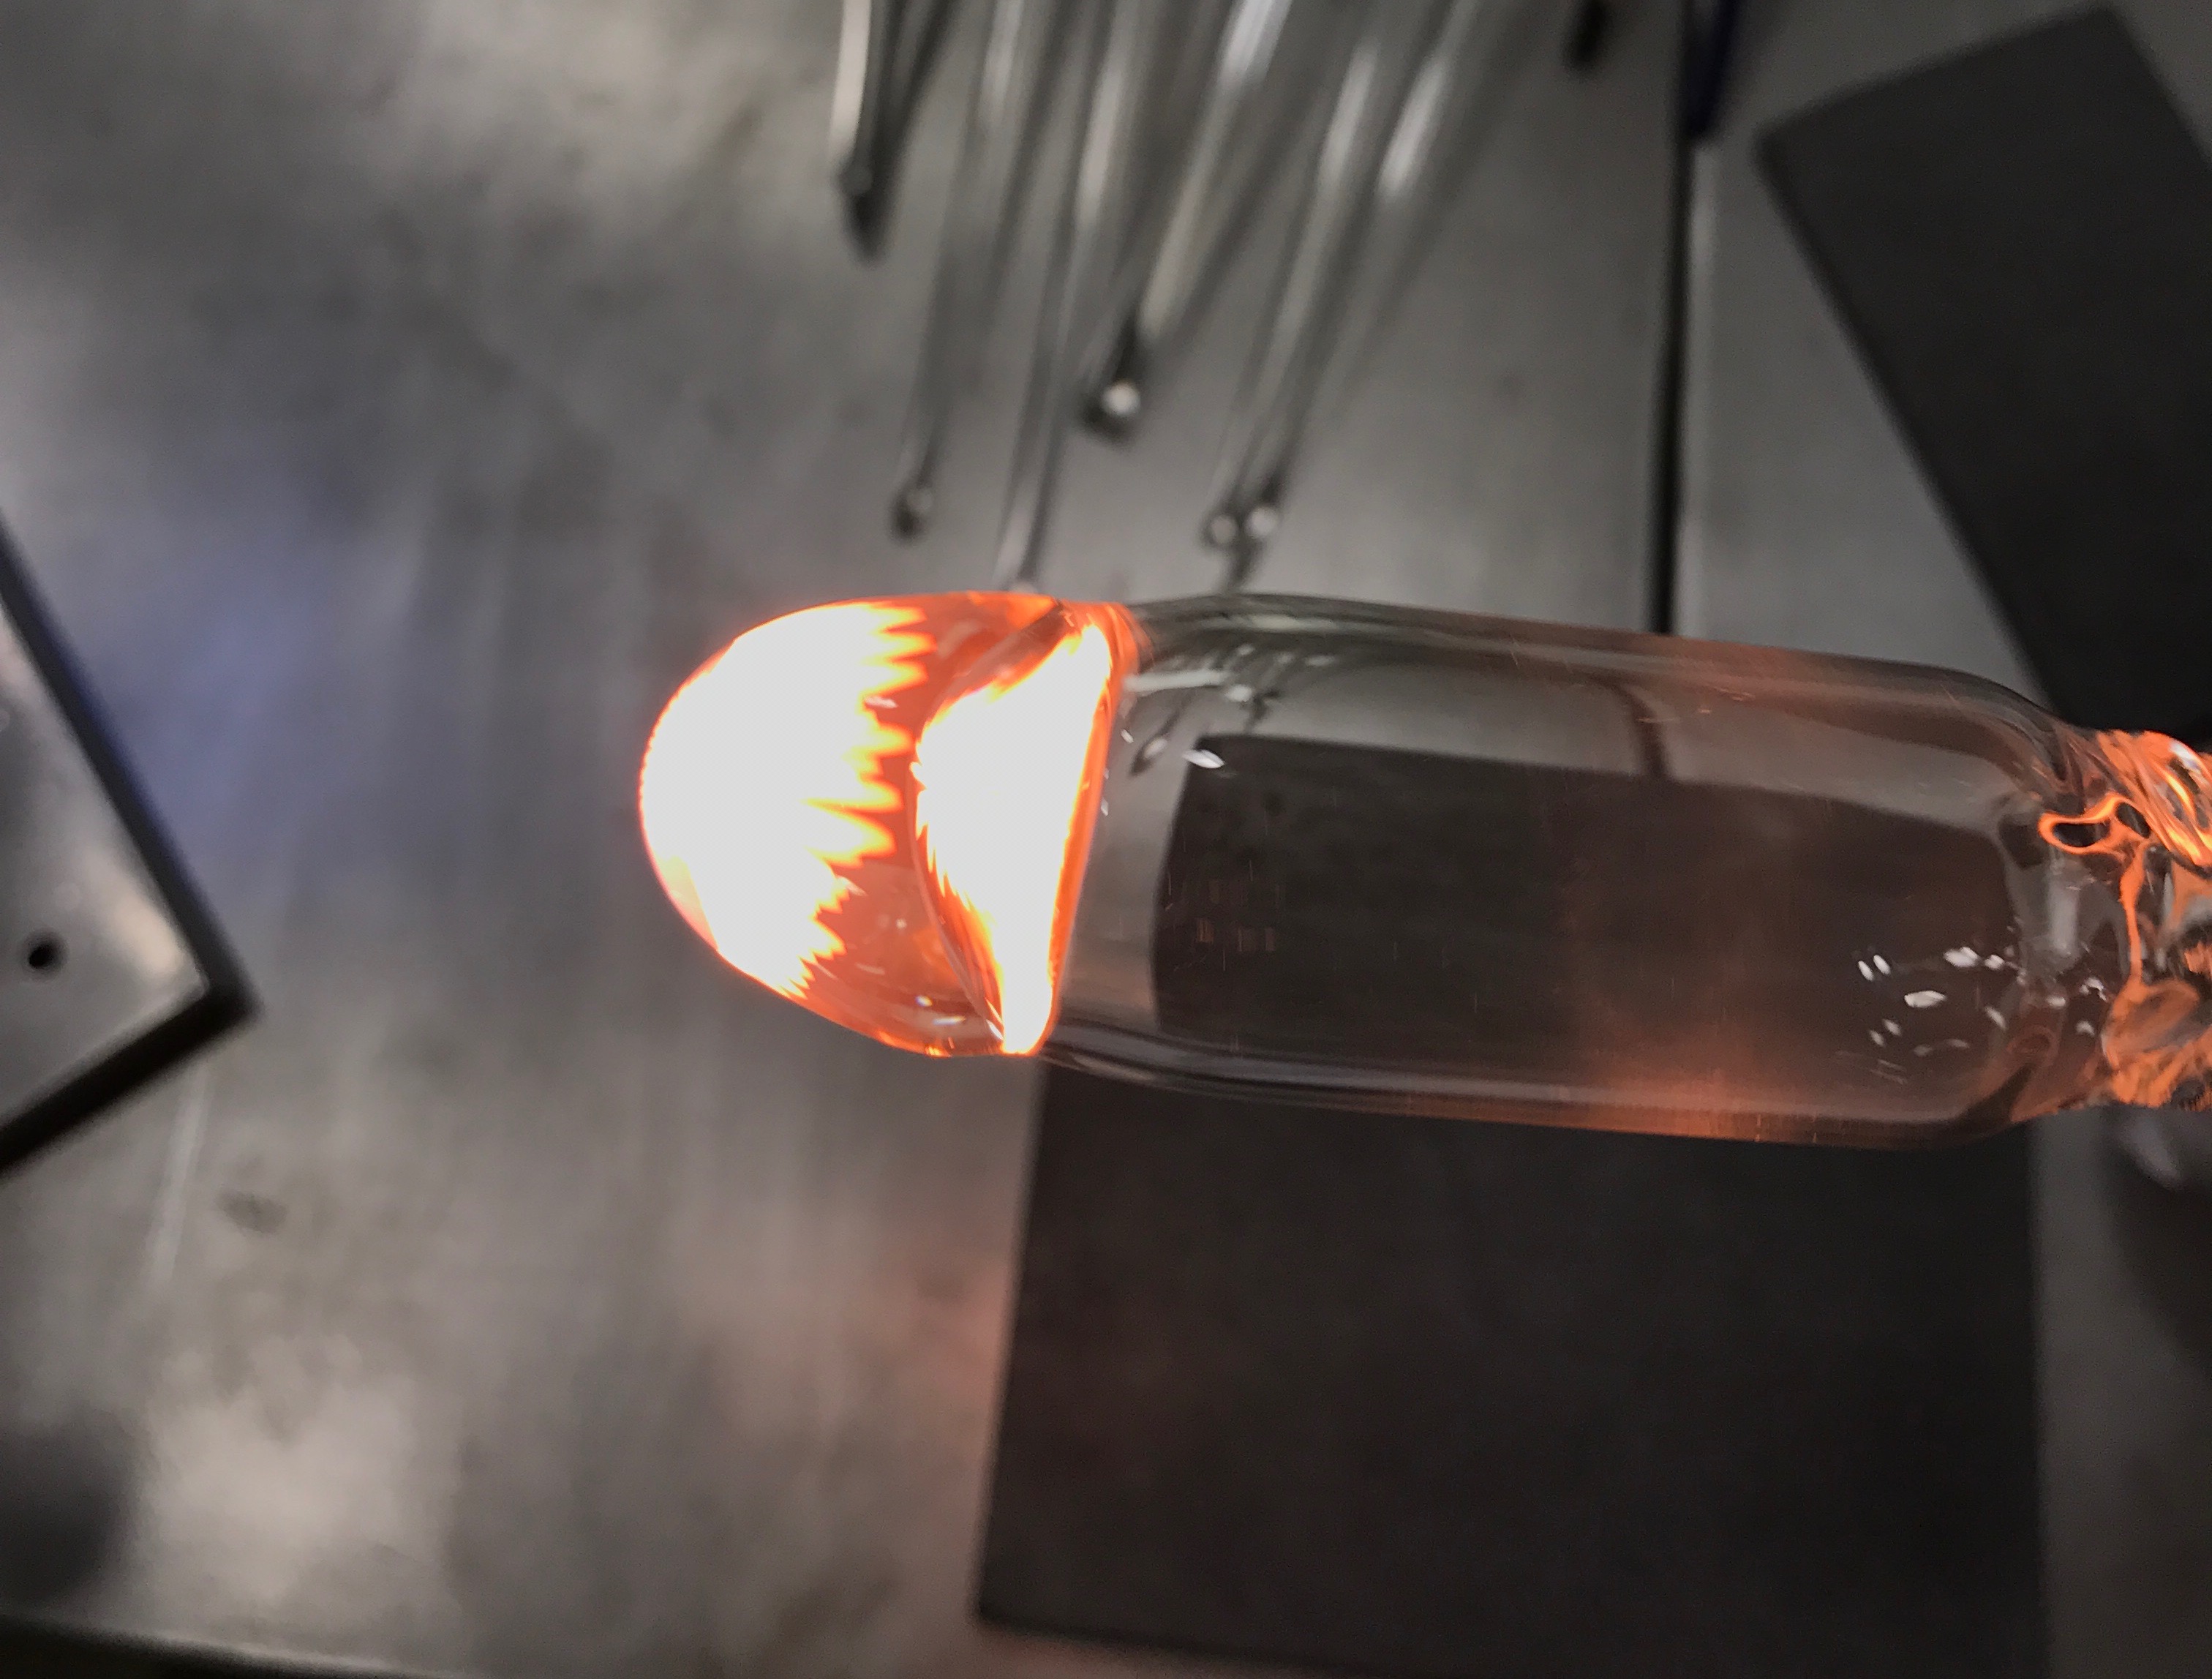
Once the piece is melted past the original point of bubble curvature you end up with a solid bulb shape with the color imploded.
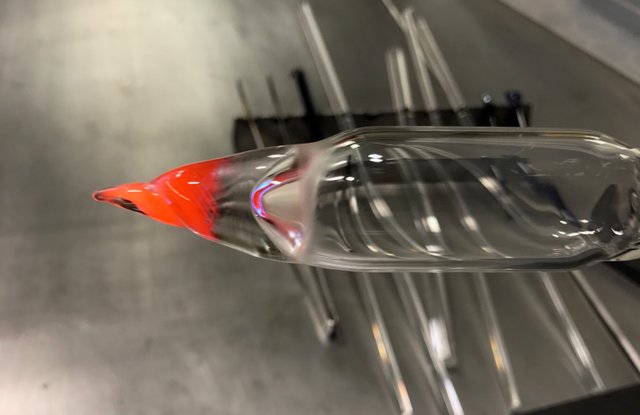
From here we can either leave the dots imploded or take a clear small rod, attach it to the back of the piece, and twist. This will result in the swirl you can see in the first picture. It may also help to pull outwardly as you twist. After twisting and pulling you end up with this shape.
From here you want to melt in the protruding cone shape and cut off the tubing from the marble. This step can be difficult as it is easy to trap air bubbles after melting in the remanence of the tube. (for a more detailed explanation of how to do this effectively please ask me in the comments.) After melting in both sides your marble should look like this.
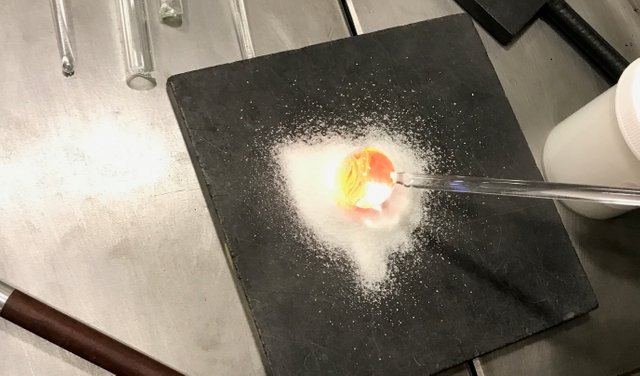
After this you can add a background color (I chose white). Just apply this to the bottom half to allow a window into the marble.
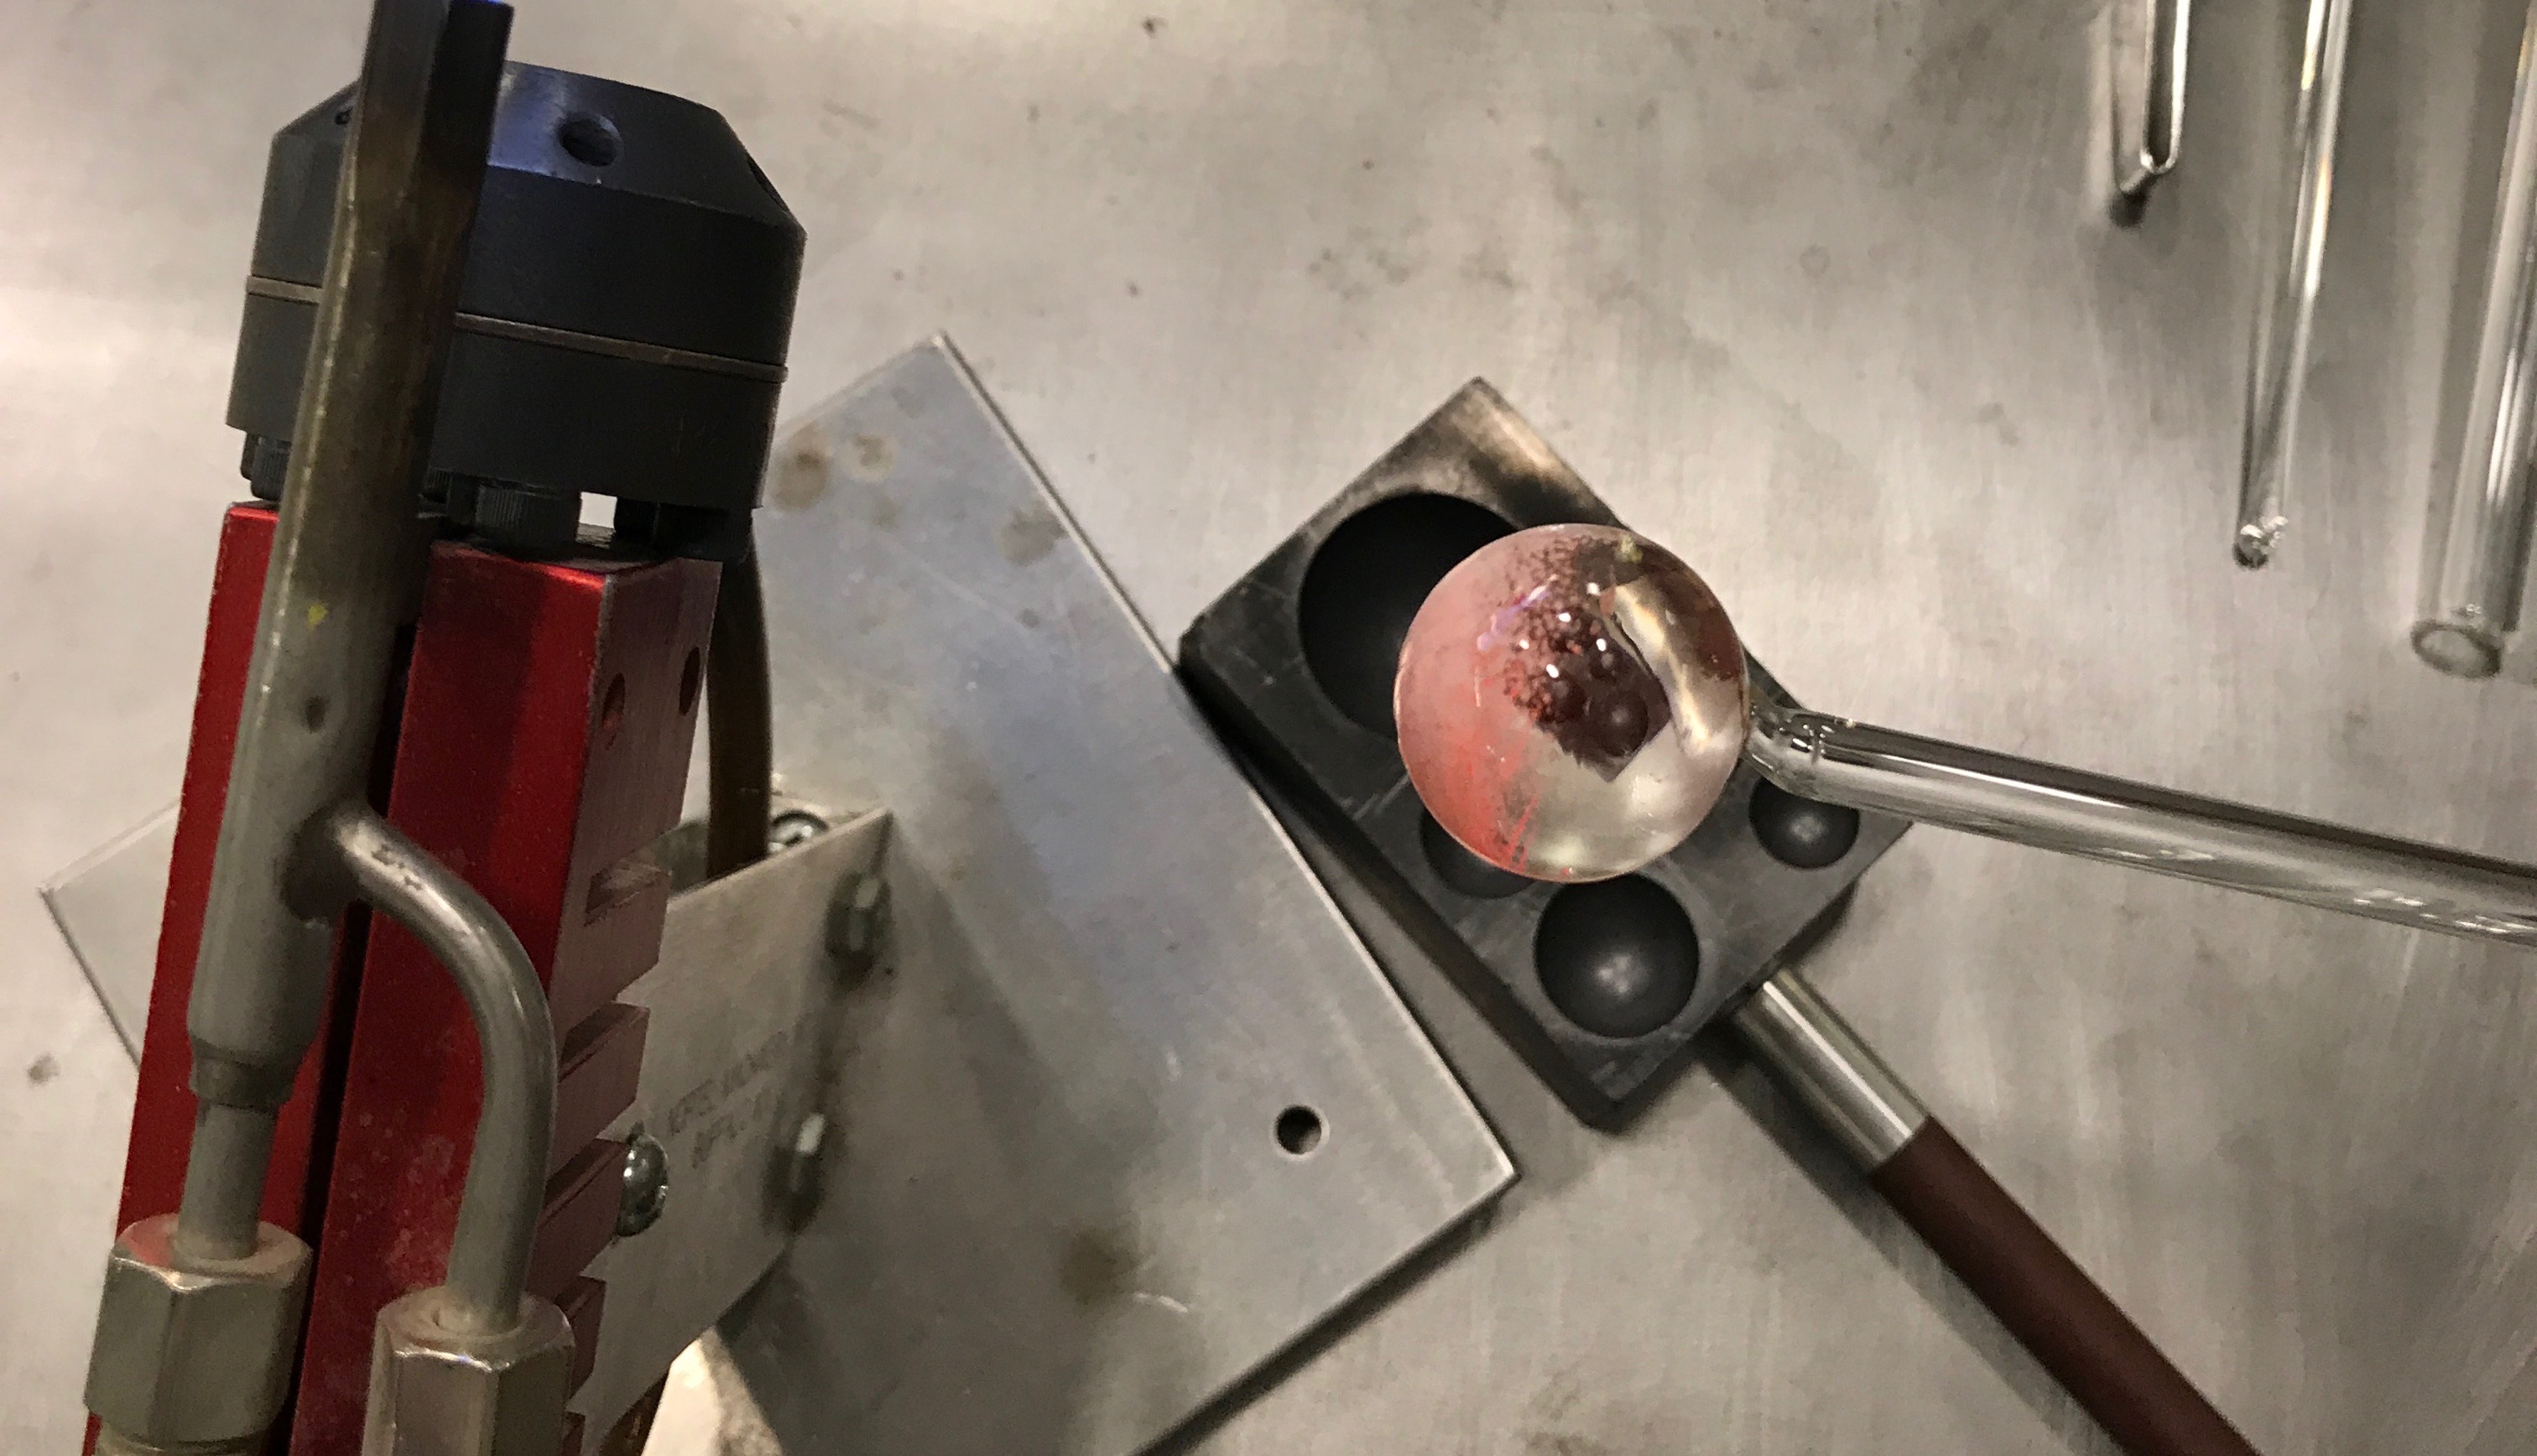
Once this color is applied all that is left is shaping. You can use a marble mold and flame polishing to round out the shape and create the smooth outer surface. In the end it should look something like this:
Thanks for reading!
Please upvote and follow for more content!
@curie
Love it! Following you for sure!!!
Wow, sooo beautiful! I wish I had a gas lamp and a room to make such beauties! When I was young, I made many-many glass beads and fused glass at our school.
Thank you! Lampworking is a ton of fun. Where did you go to school?
In Budapest. It was very long ago :)))