Glass Implosion Snail (with tutorial) AKA Lord Shelton
Last Time
In my last tutorial I talked a little bit about the many options an implosion style pendant affords you. If you haven't seen it, here's the link https://steemit.com/art/@spc/implosion-turtle-with-tutorial. In continuation of that theme I wanted to try and make a new creature, one that I'd never made before or seen before. I'm sure I'm not the first person to make a snail out of glass but for this piece I didn't want to influence my process with any outside images so I refrained from looking up "glass snail" or "snail" on google. Accordingly, my piece isn't anatomically correct, but I'm happy with that.
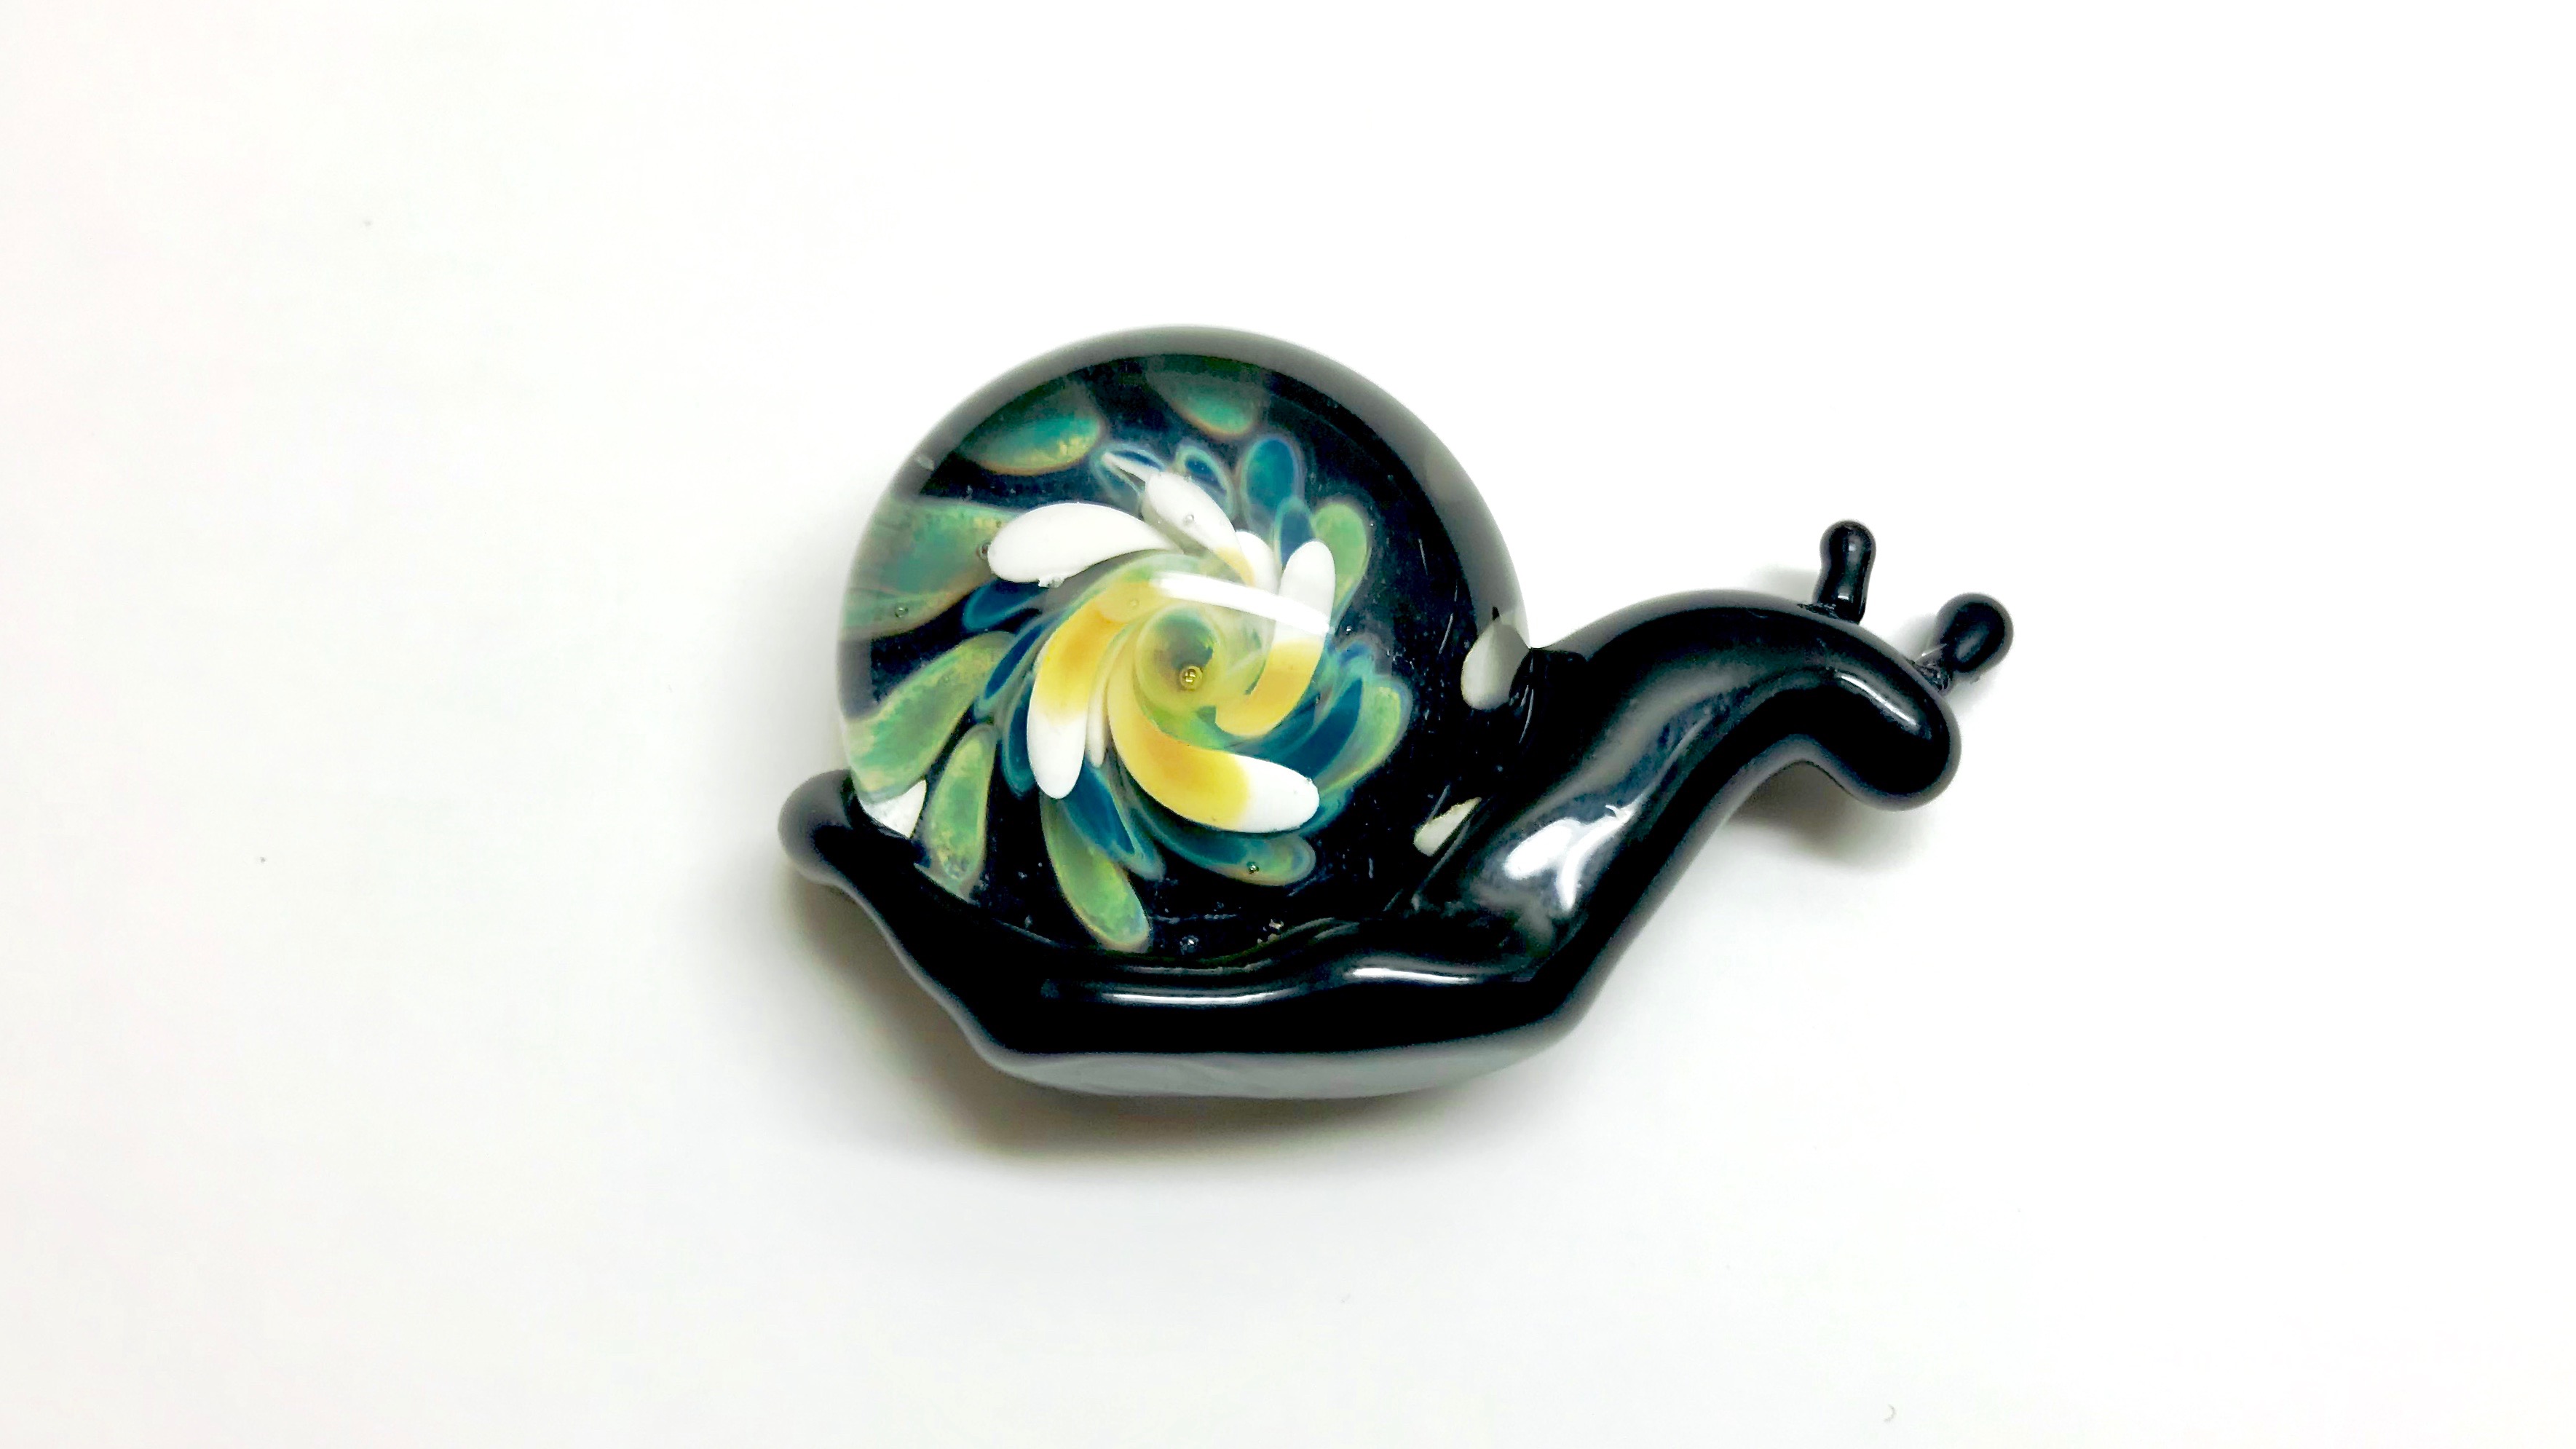
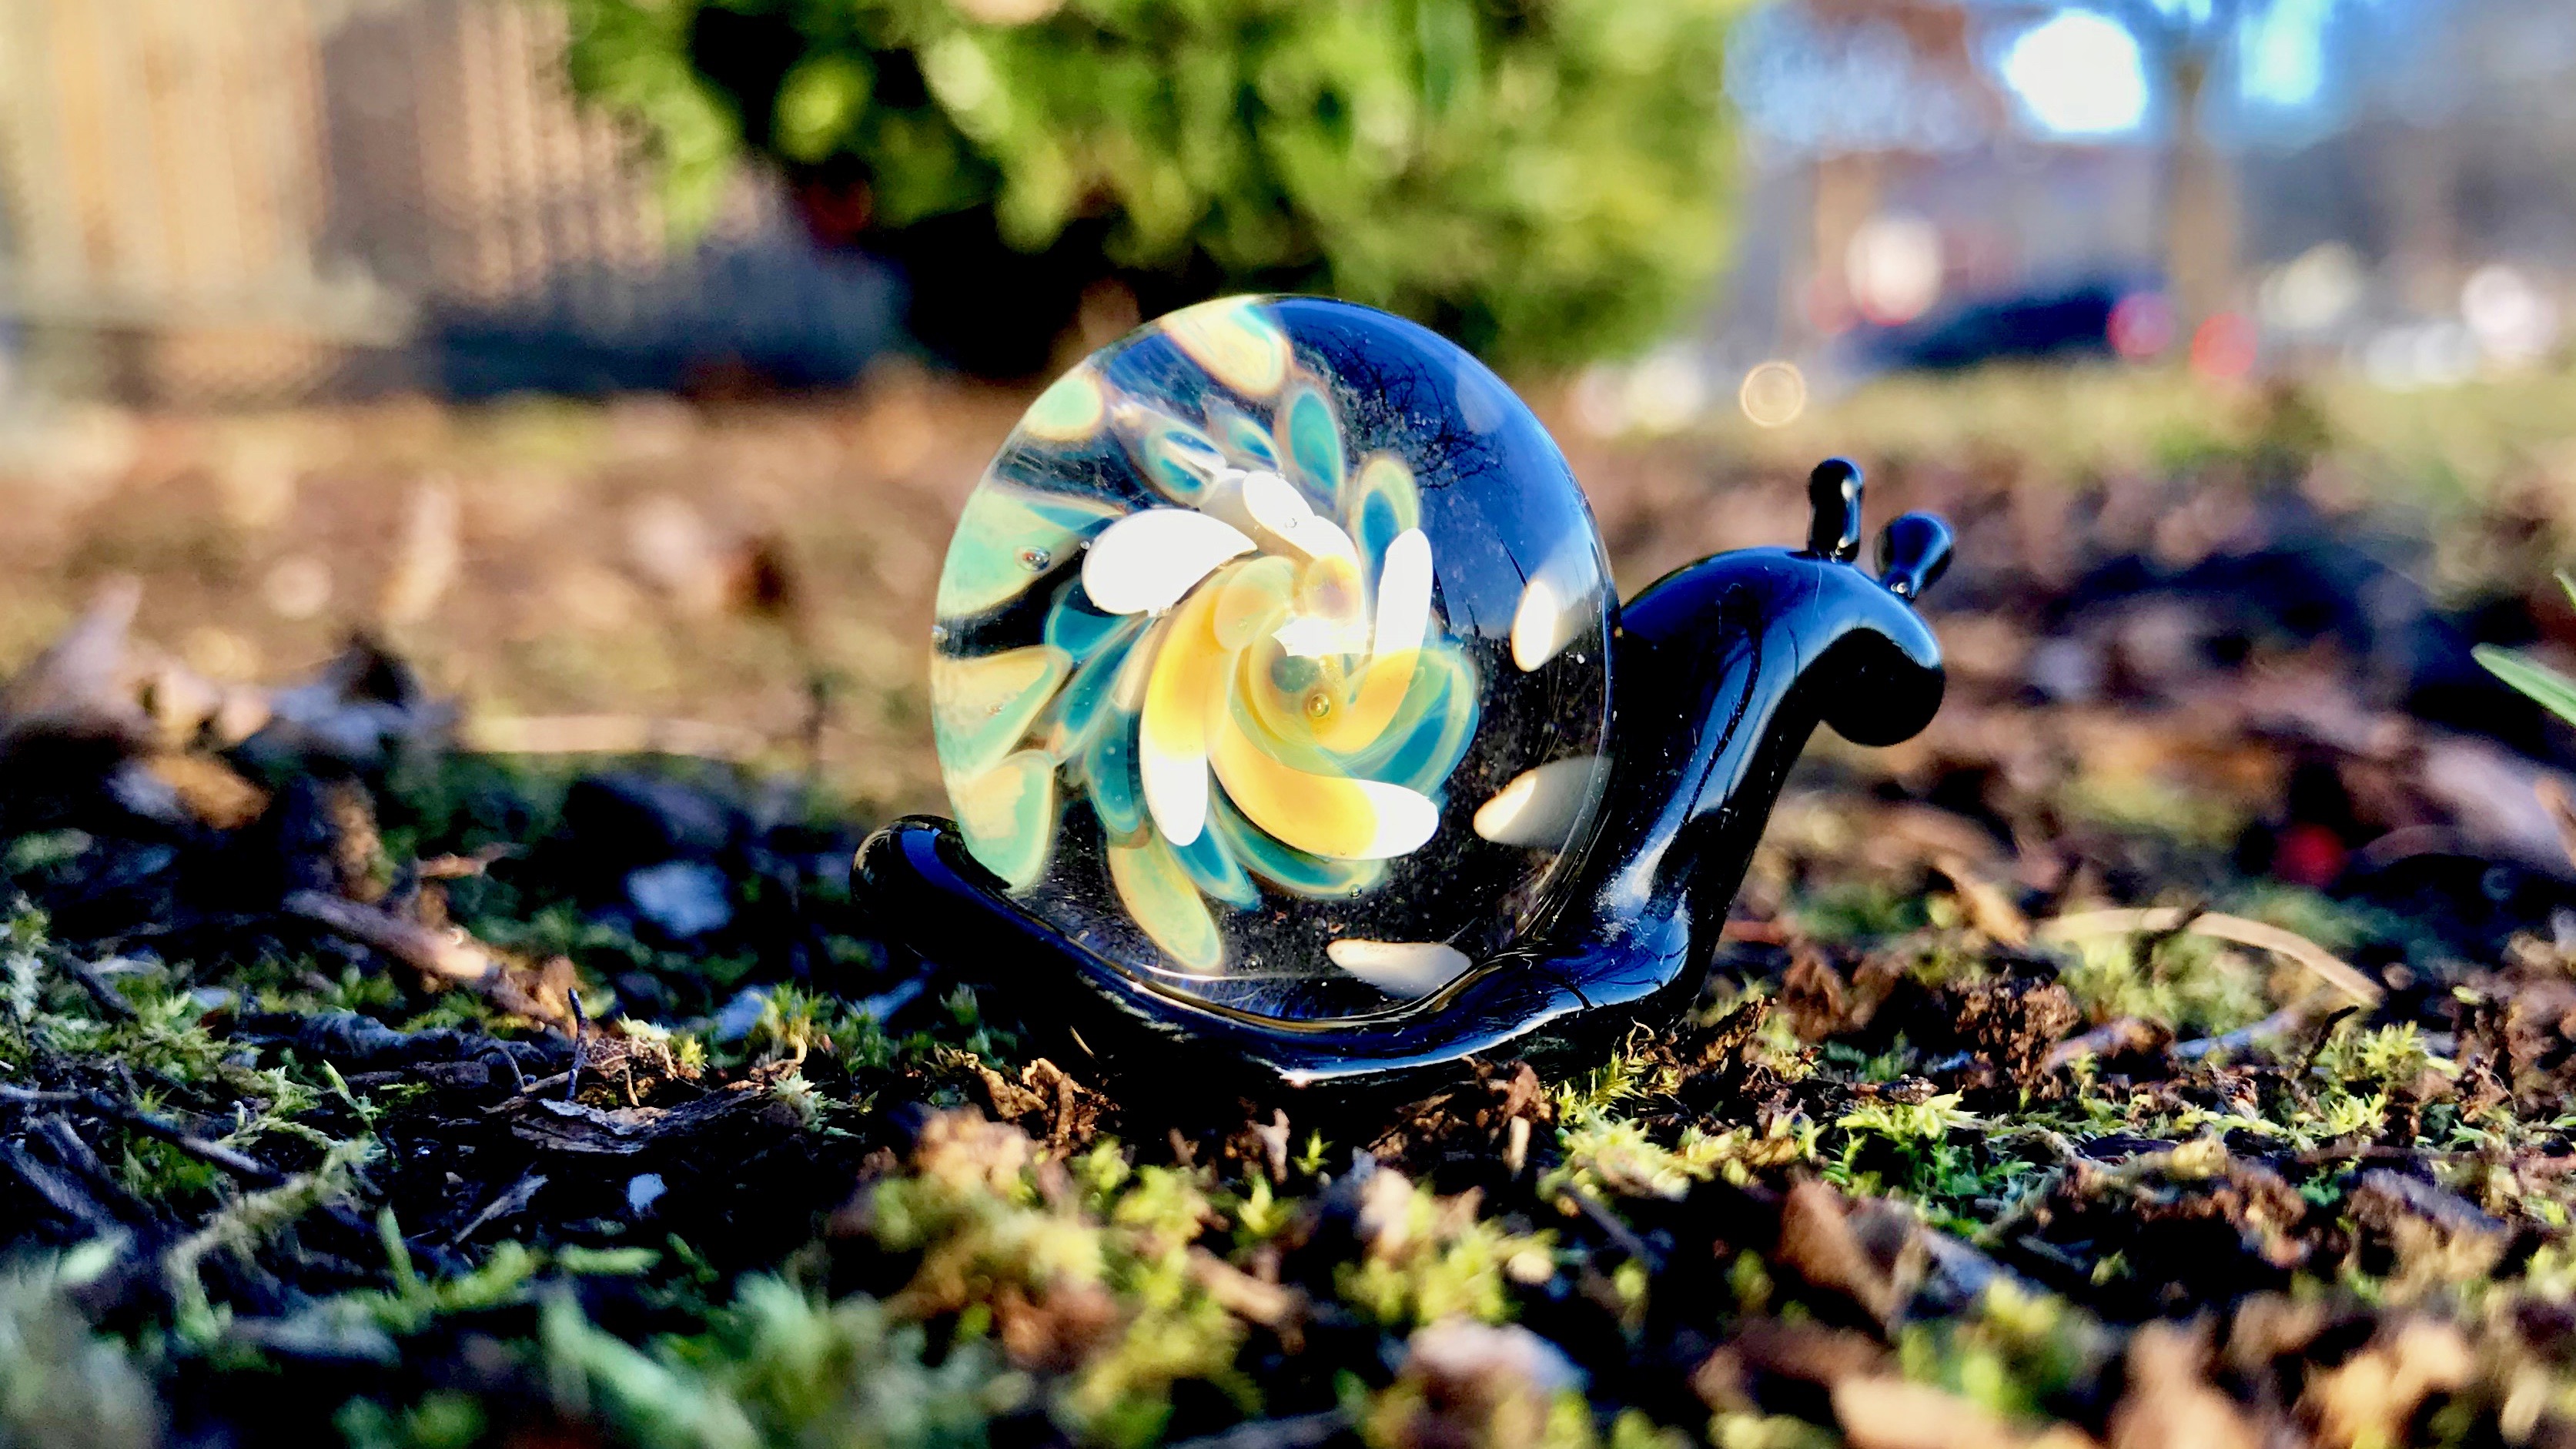
The Snail (Lord Shelton)
Typically, I'm drawn to using blues when I make pieces but since I associate snails with greens I thought I'd try using those as well. I also have been using a white for the background of most of my pieces recently but the color tends to burn and turn a bit yellow so I decided a dense black would be a better option. Anyway, here is Lord Shelton! (There are more photos of Lord Shelton exploring his kingdom at the bottom.)
The Process
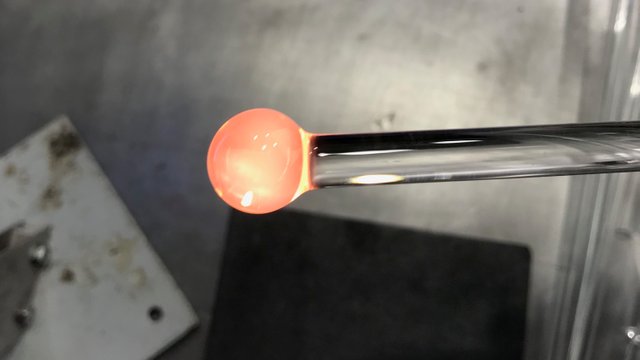
As with most of my posts, I'll explain how I made this piece. Per usual I start with a gather of clear glass. This just requires melting and turning a clear glass rod in the flame at a 45 degree angle. The glass naturally collects into a spherical shape like so:
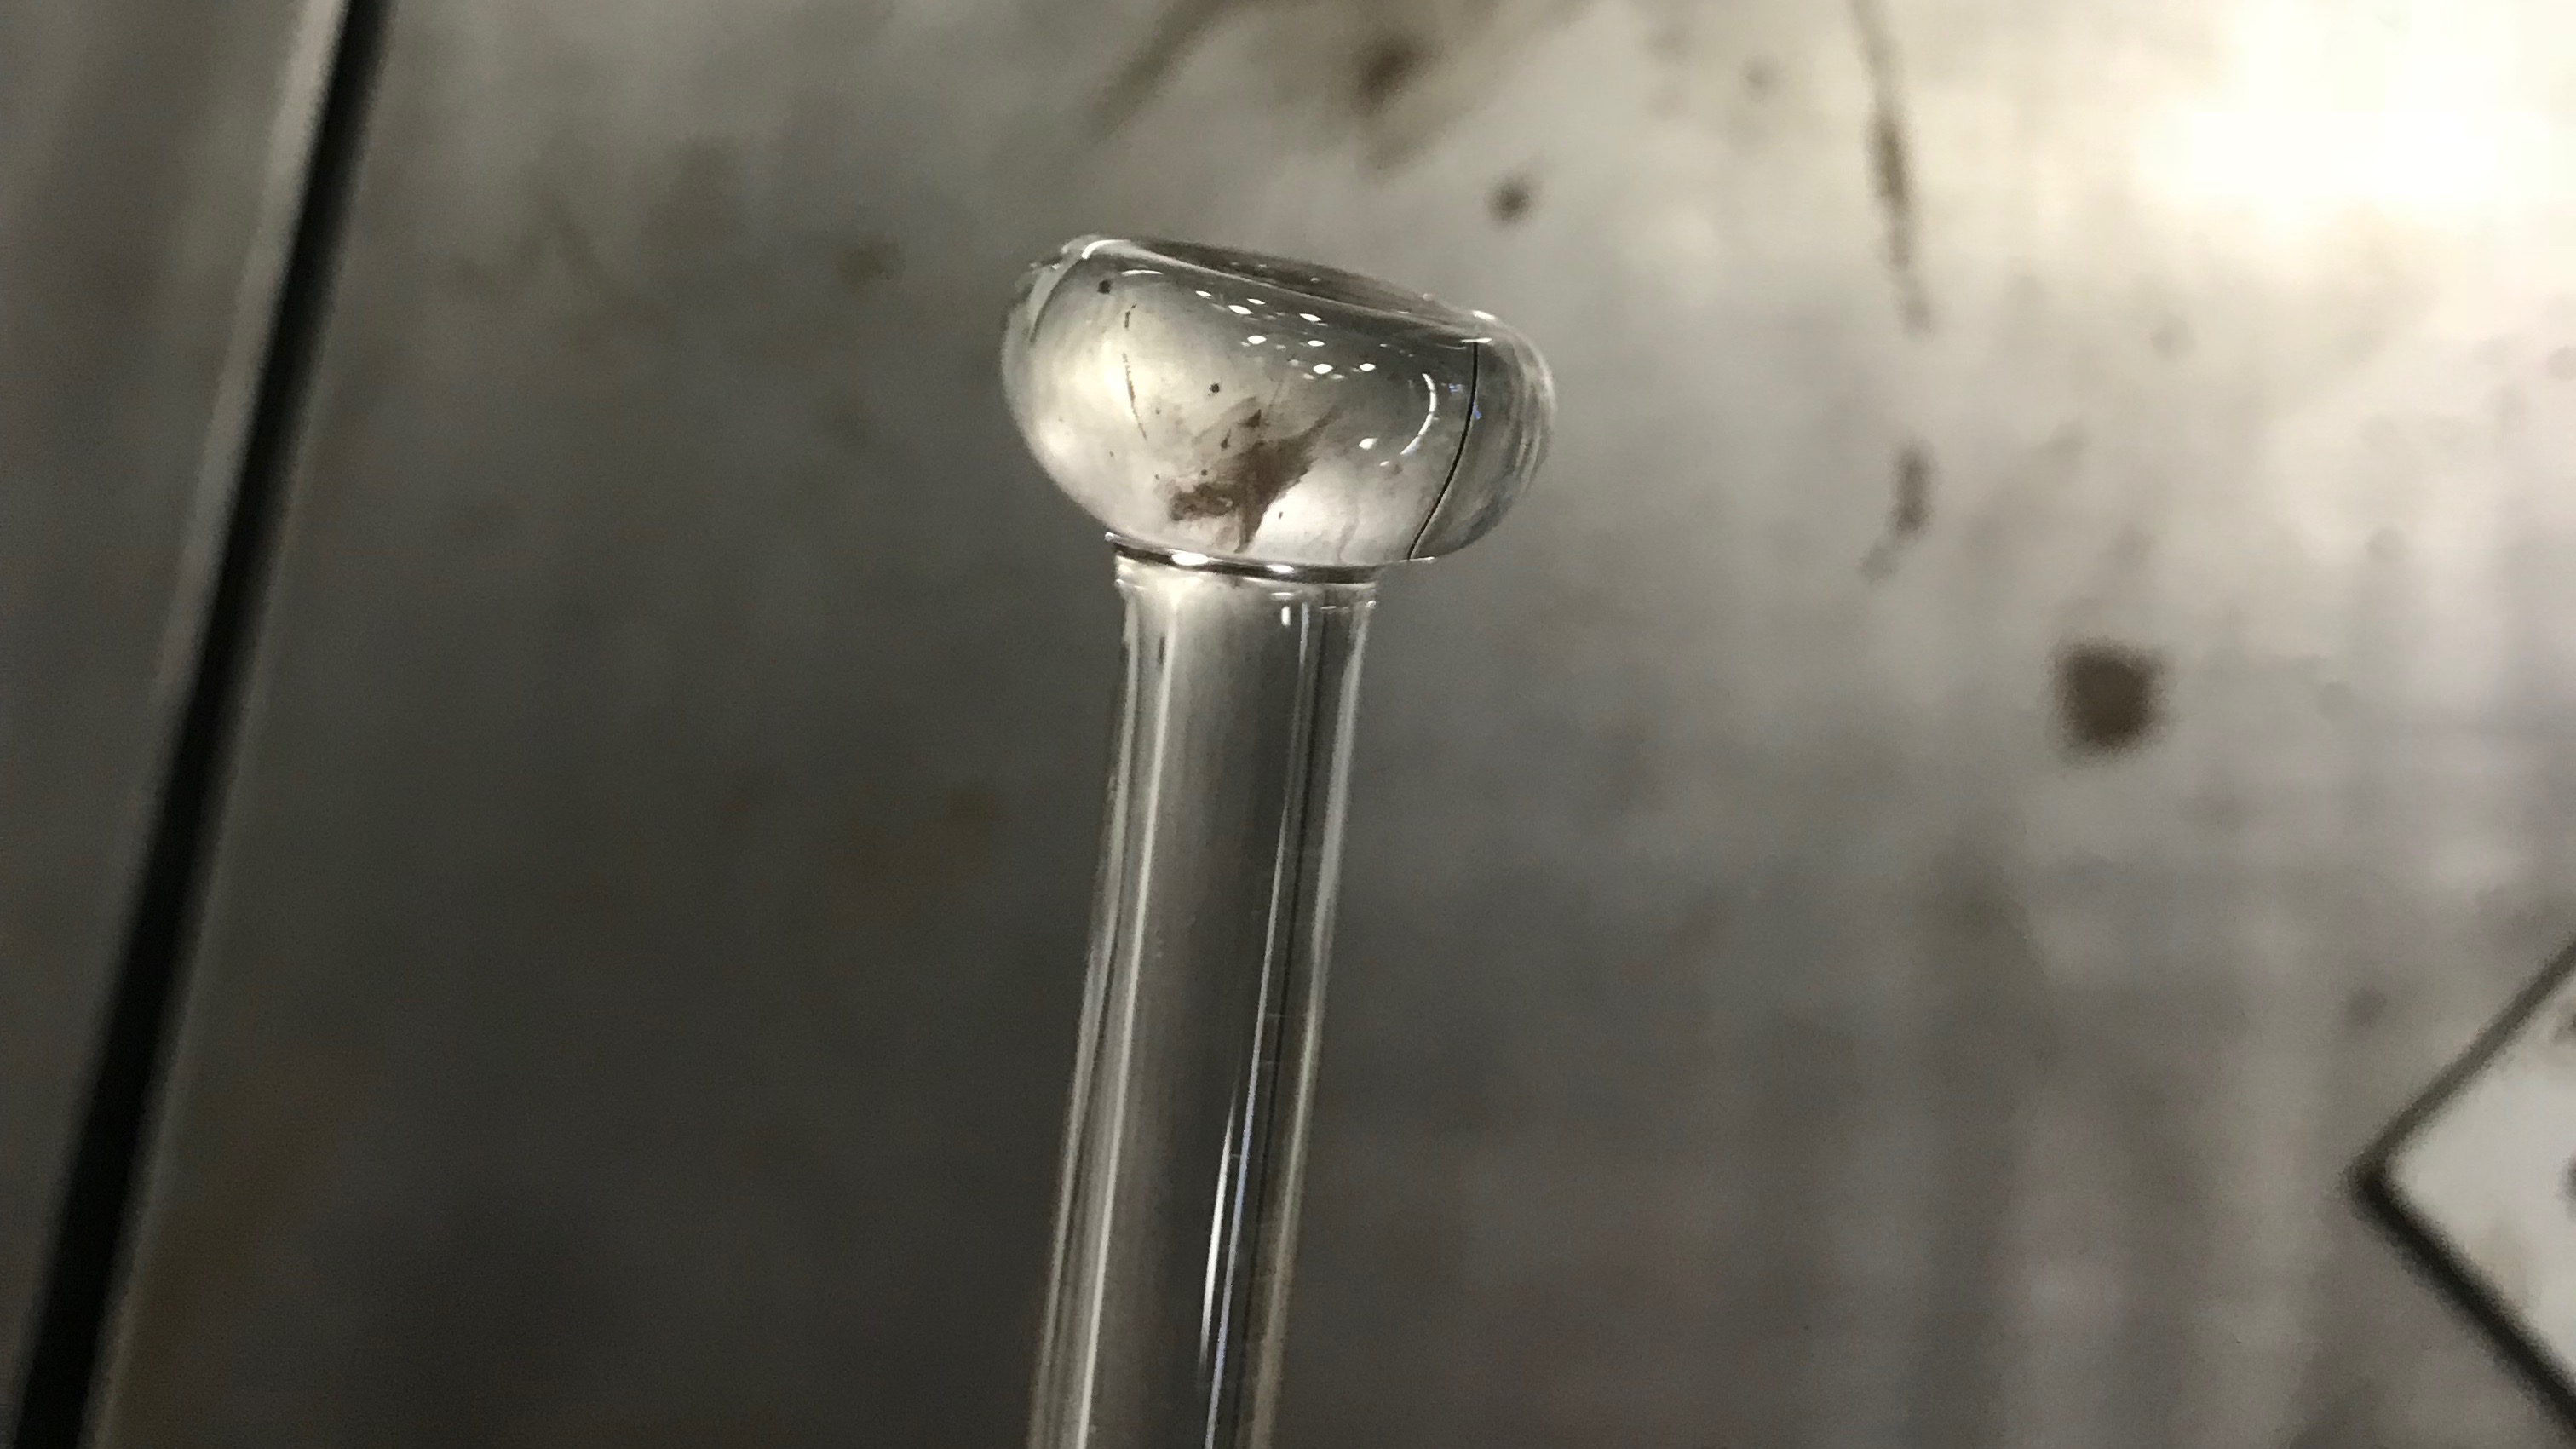
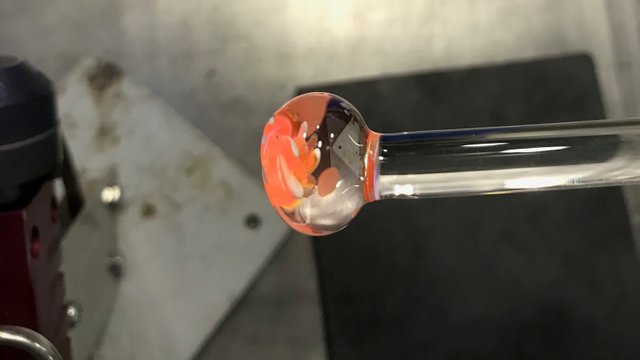
Next, I flatten the bottom to create a flat surface on which to apply color. This step requires getting the whole sphere hot and then placing the rod upside down on a graphite pad. This step uses gravity to pull the glass down on top of the flat surface (it is important not to push down hard on this step or else the glass will come up the sides of the rod and create an irregular shape). After flattening the bottom the gather should look like this:
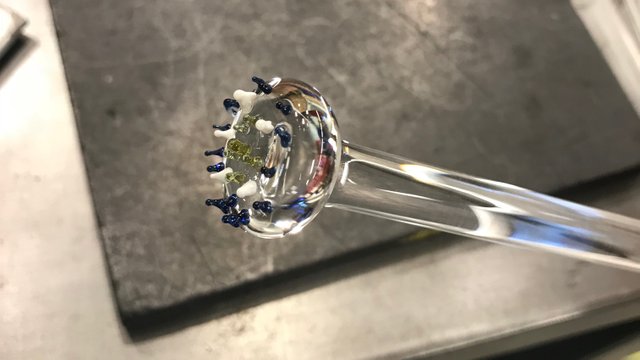
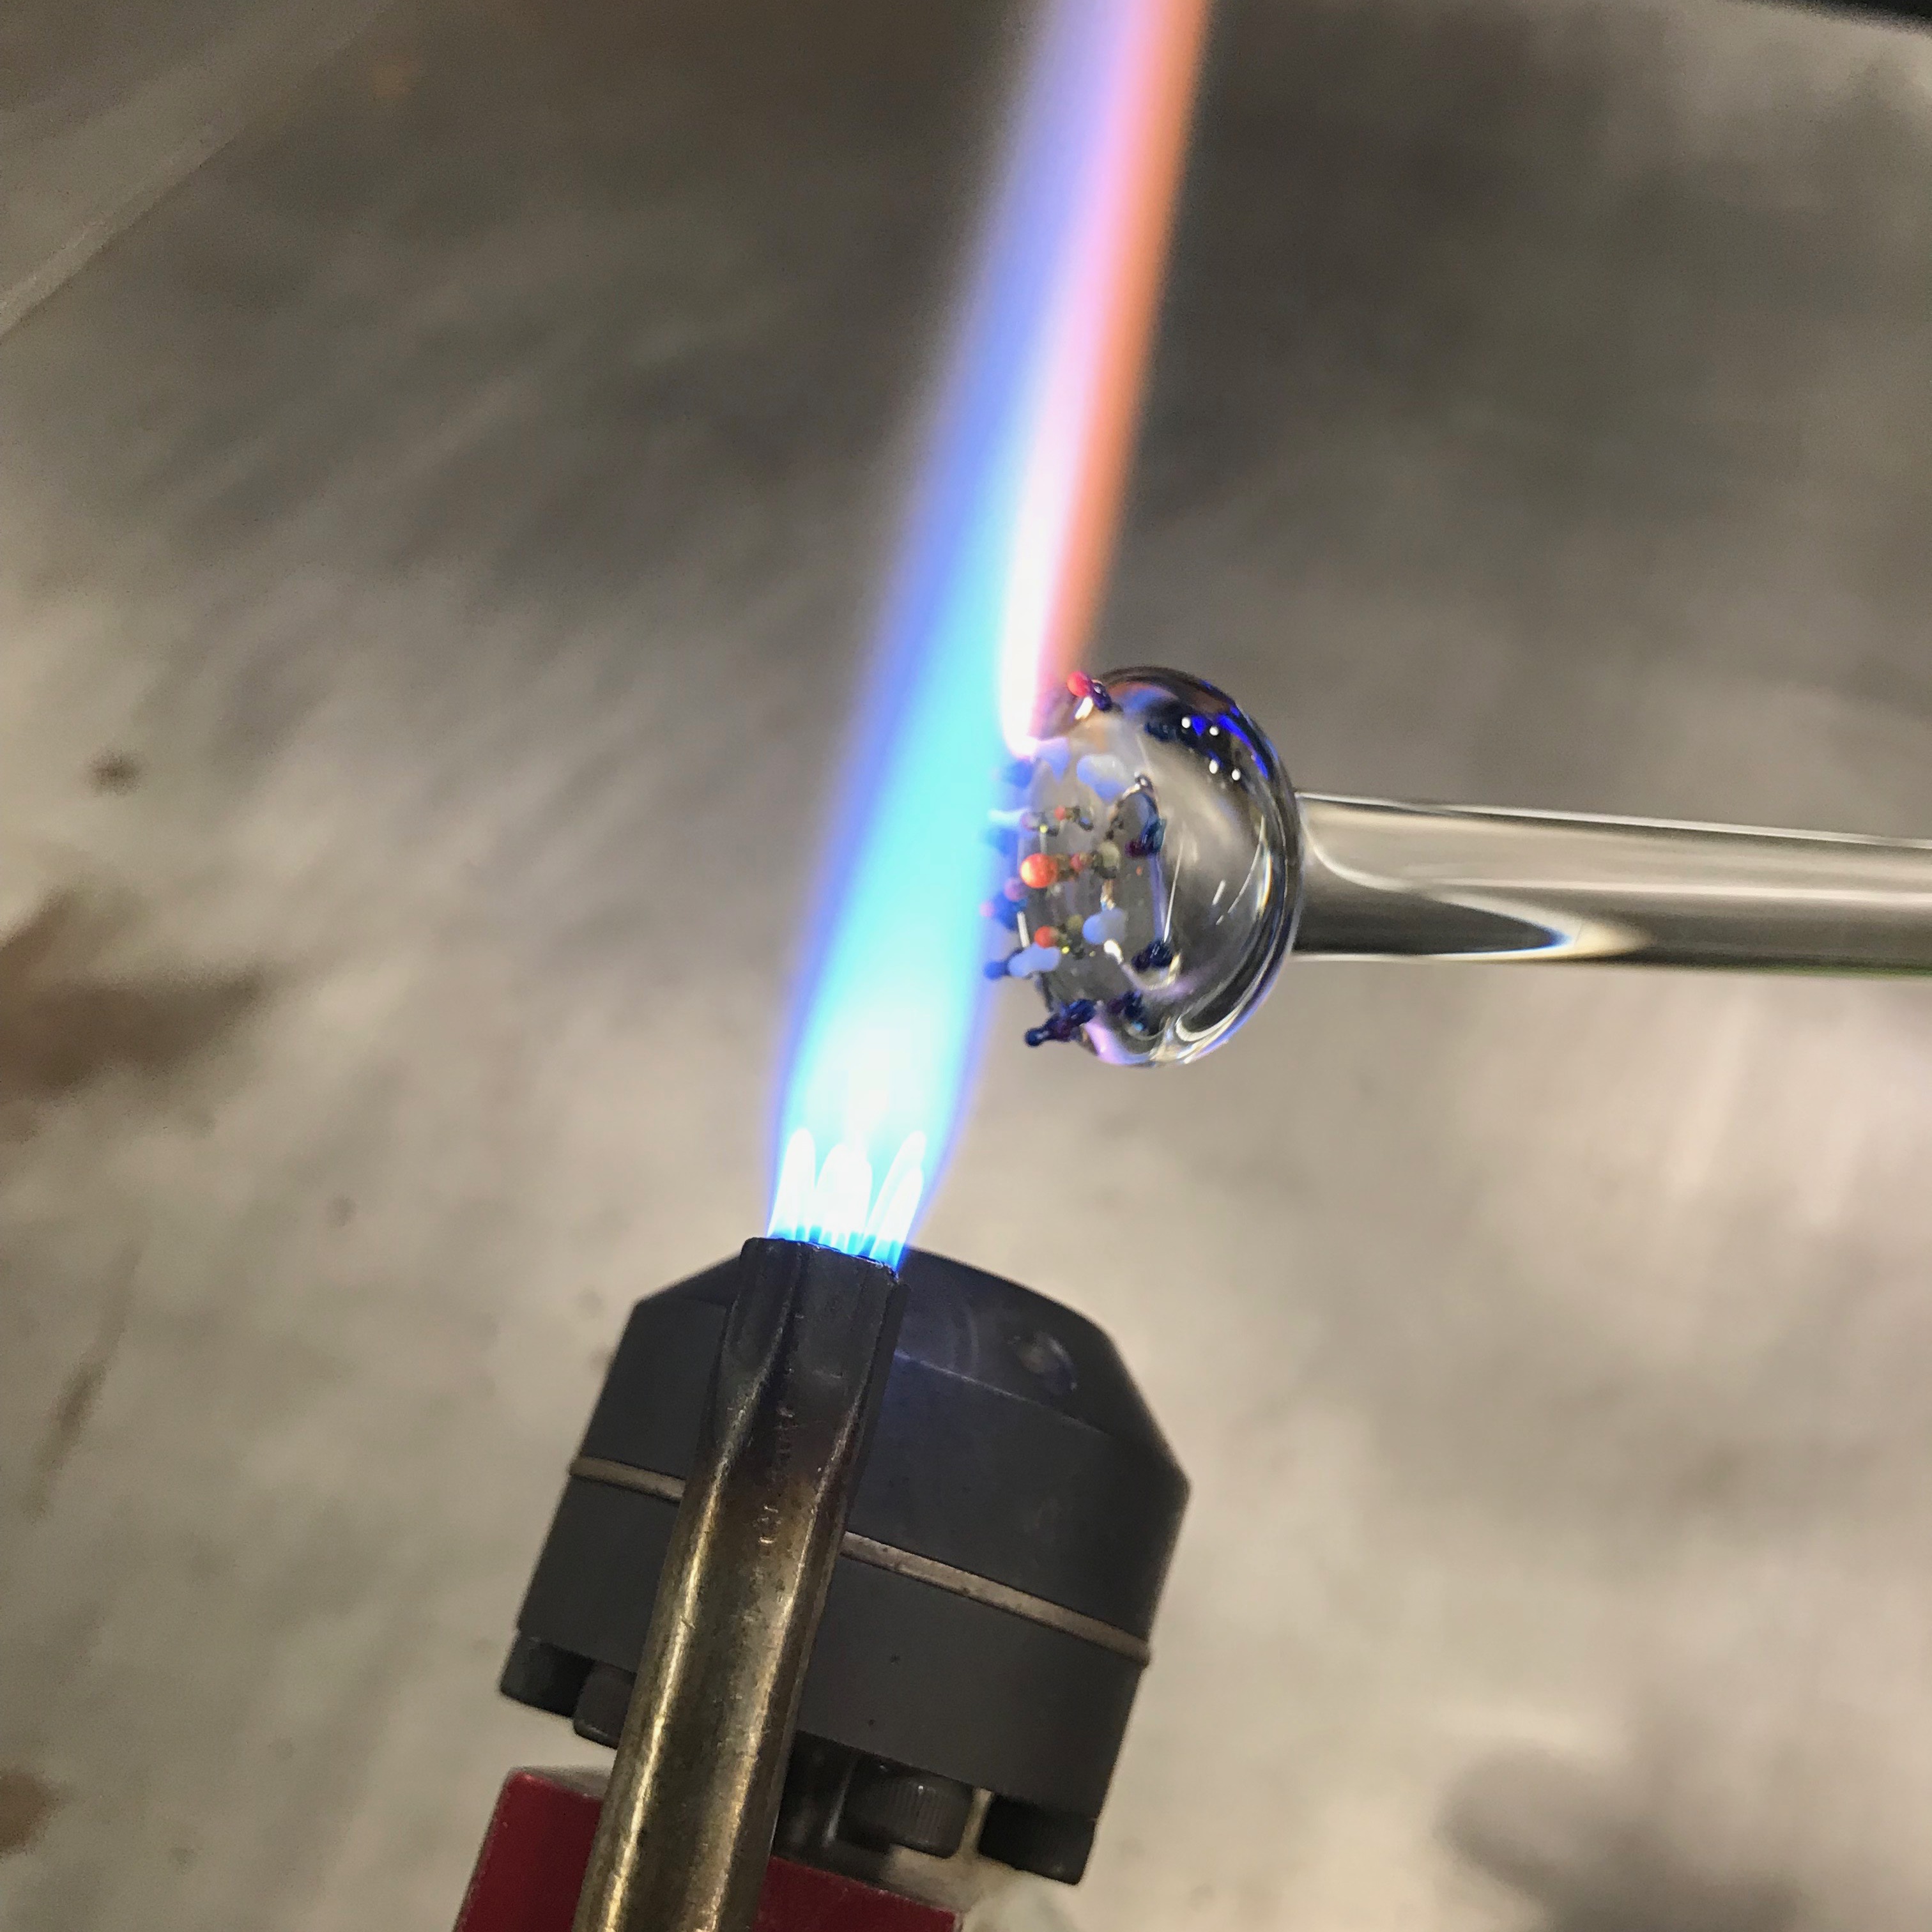
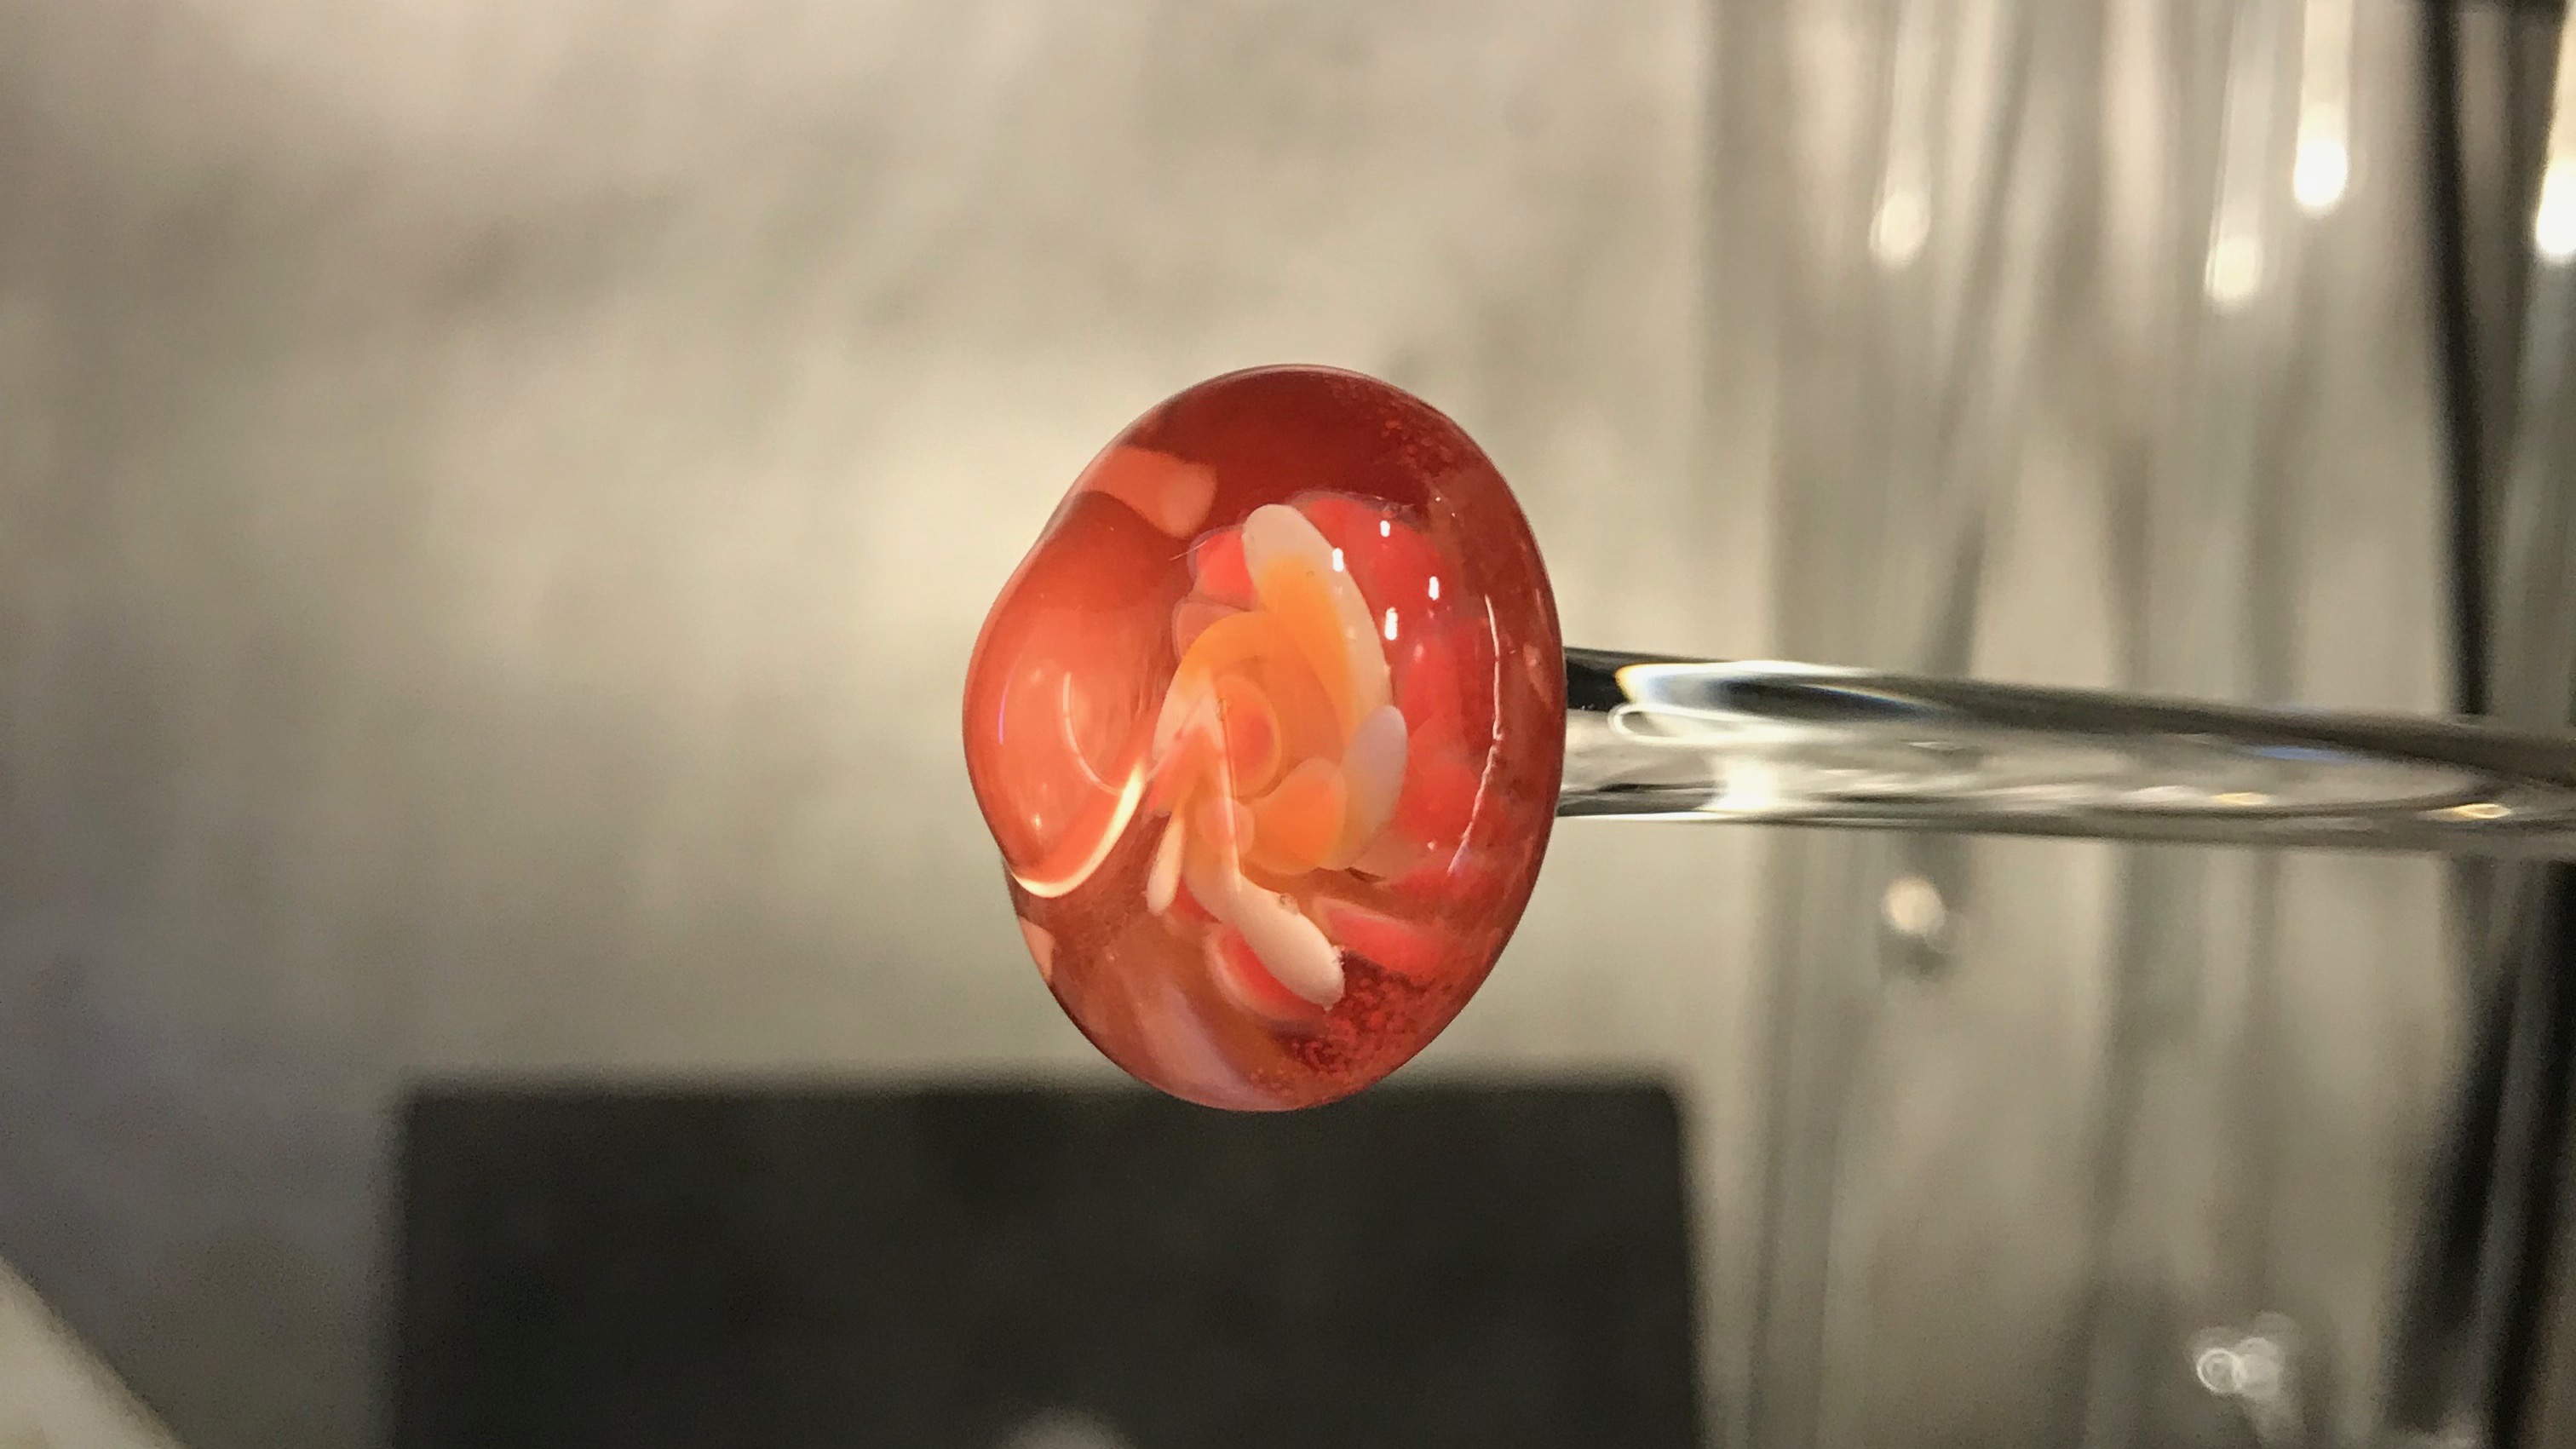
Now I have a flat surface to apply dots of color. In this step I'll use white, green, and blue. The first dots I apply will become the foreground of the piece so it's important to make sure these dots are where I want them to be and of the correct size and shape. Adding these dots can be tricky because you must repeatedly apply and flame cut the rod of color so using a small, narrow flame with relatively high oxygen can make this easier. The high oxygen makes the cutting more precise. The first layer of color should look like this:
From here, I began to melt in all the dots to create a spherical gather again. This step requires a small flame with a lower oxygen content. The goal is to heat all the dots slowly and uniformly. This will keep the color from burning and allow the surface of the clear glass to also get hot. Over time the clear glass absorbs the colored dots and thus begins the implosion.
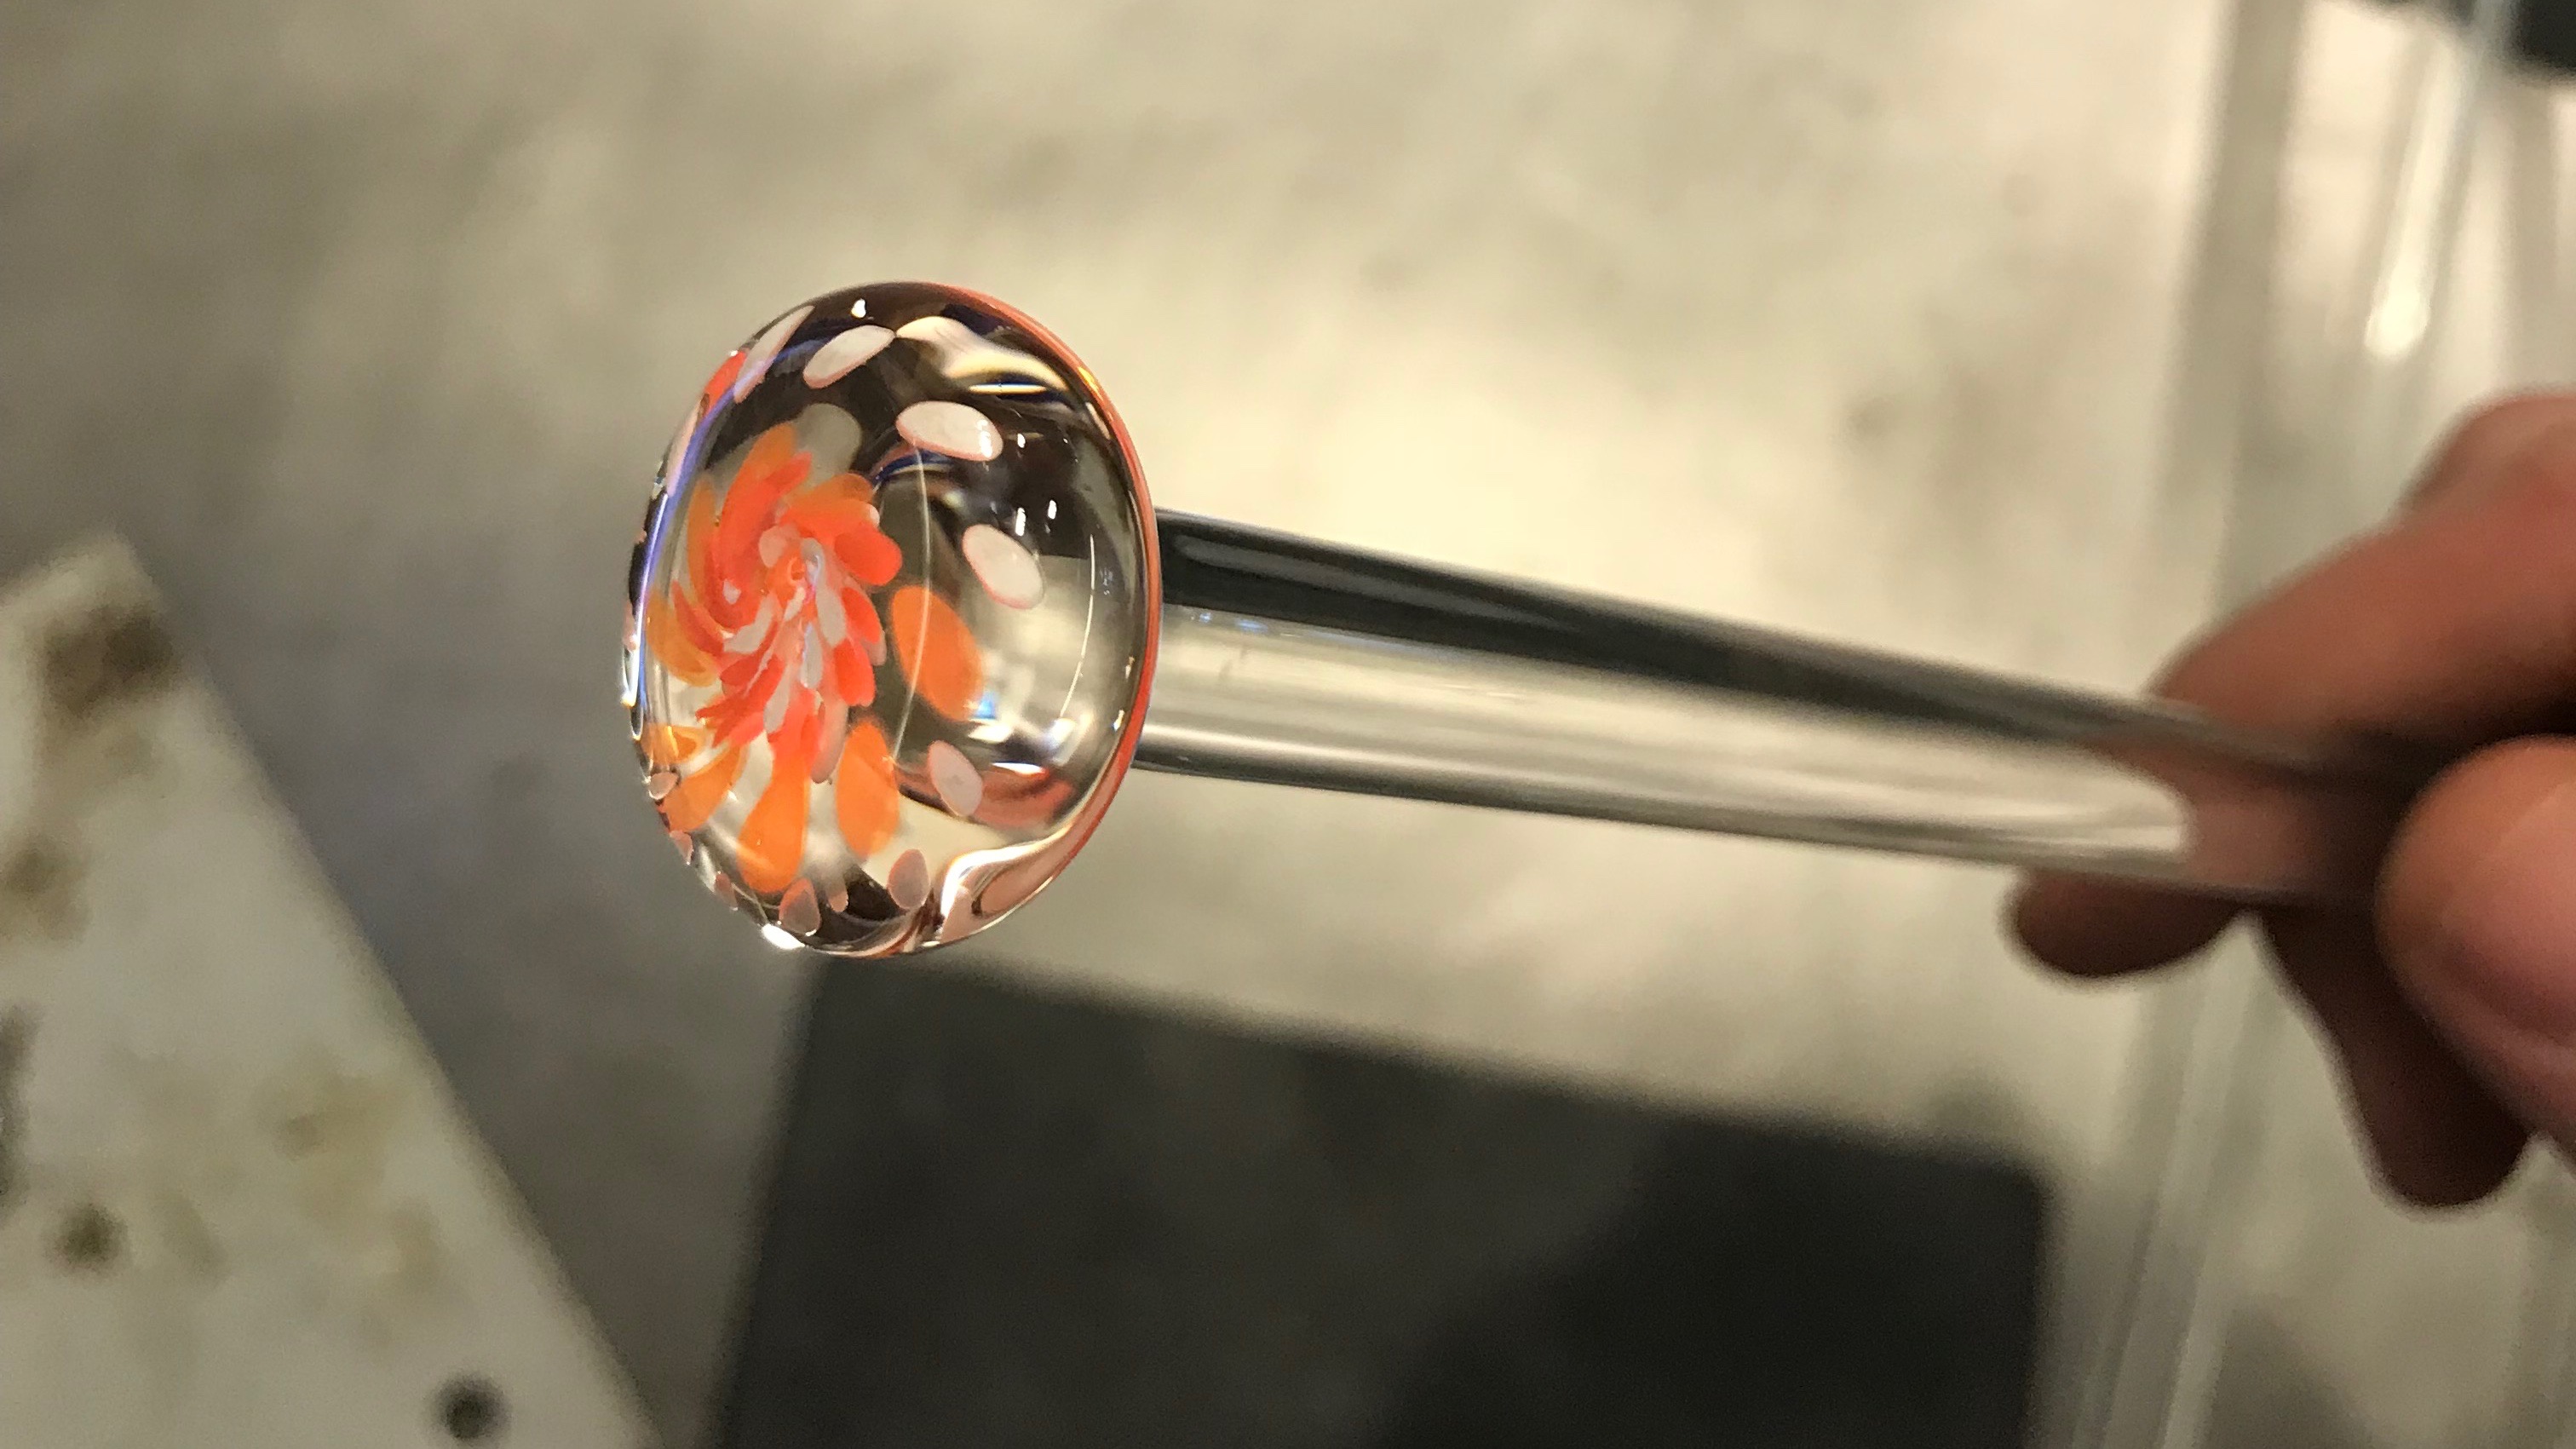
After this step, I applied another set of colored dots (using more green and white) and melted them in. After that, I wanted to make the dots swirl. To do this I heated up the whole sphere and attached a thin clear rod to the top of the sphere. The thin rod is cold and the sphere is very hot. The difference in temperature allows me to turn the sphere while keeping the thin rod stationary and twist the colored dots.
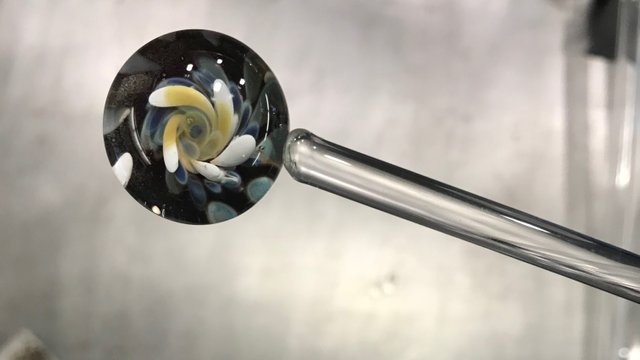
After flattening this gather the effect of the twist should be clear:
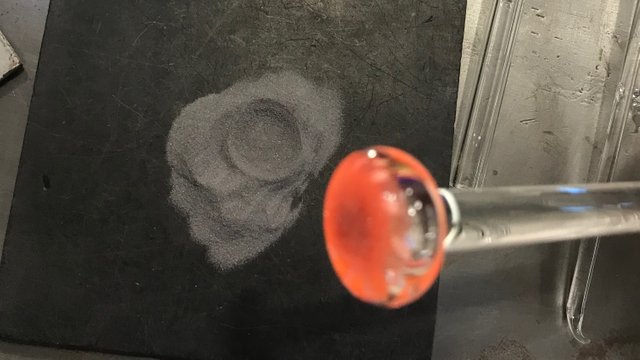
I wanted to create a black background for the swirl implosion so I used black frit (powdered glass). This step requires repeatedly heating the flat bottom and then stamping it on top of a mound of frit. The heat from the bottom of the glass makes the piece sticky and picks up the black frit. From here, I cant melt the color into the piece and repeat the process. Here you can see the black frit and the outlines of where the piece has been stamped on it.
After applying enough color, I attached a clear rod to the bottom of the piece (the part with color) and flame cut the top. This results in a small accumulation of clear glass from where the thick rod was attached that must be melted in.
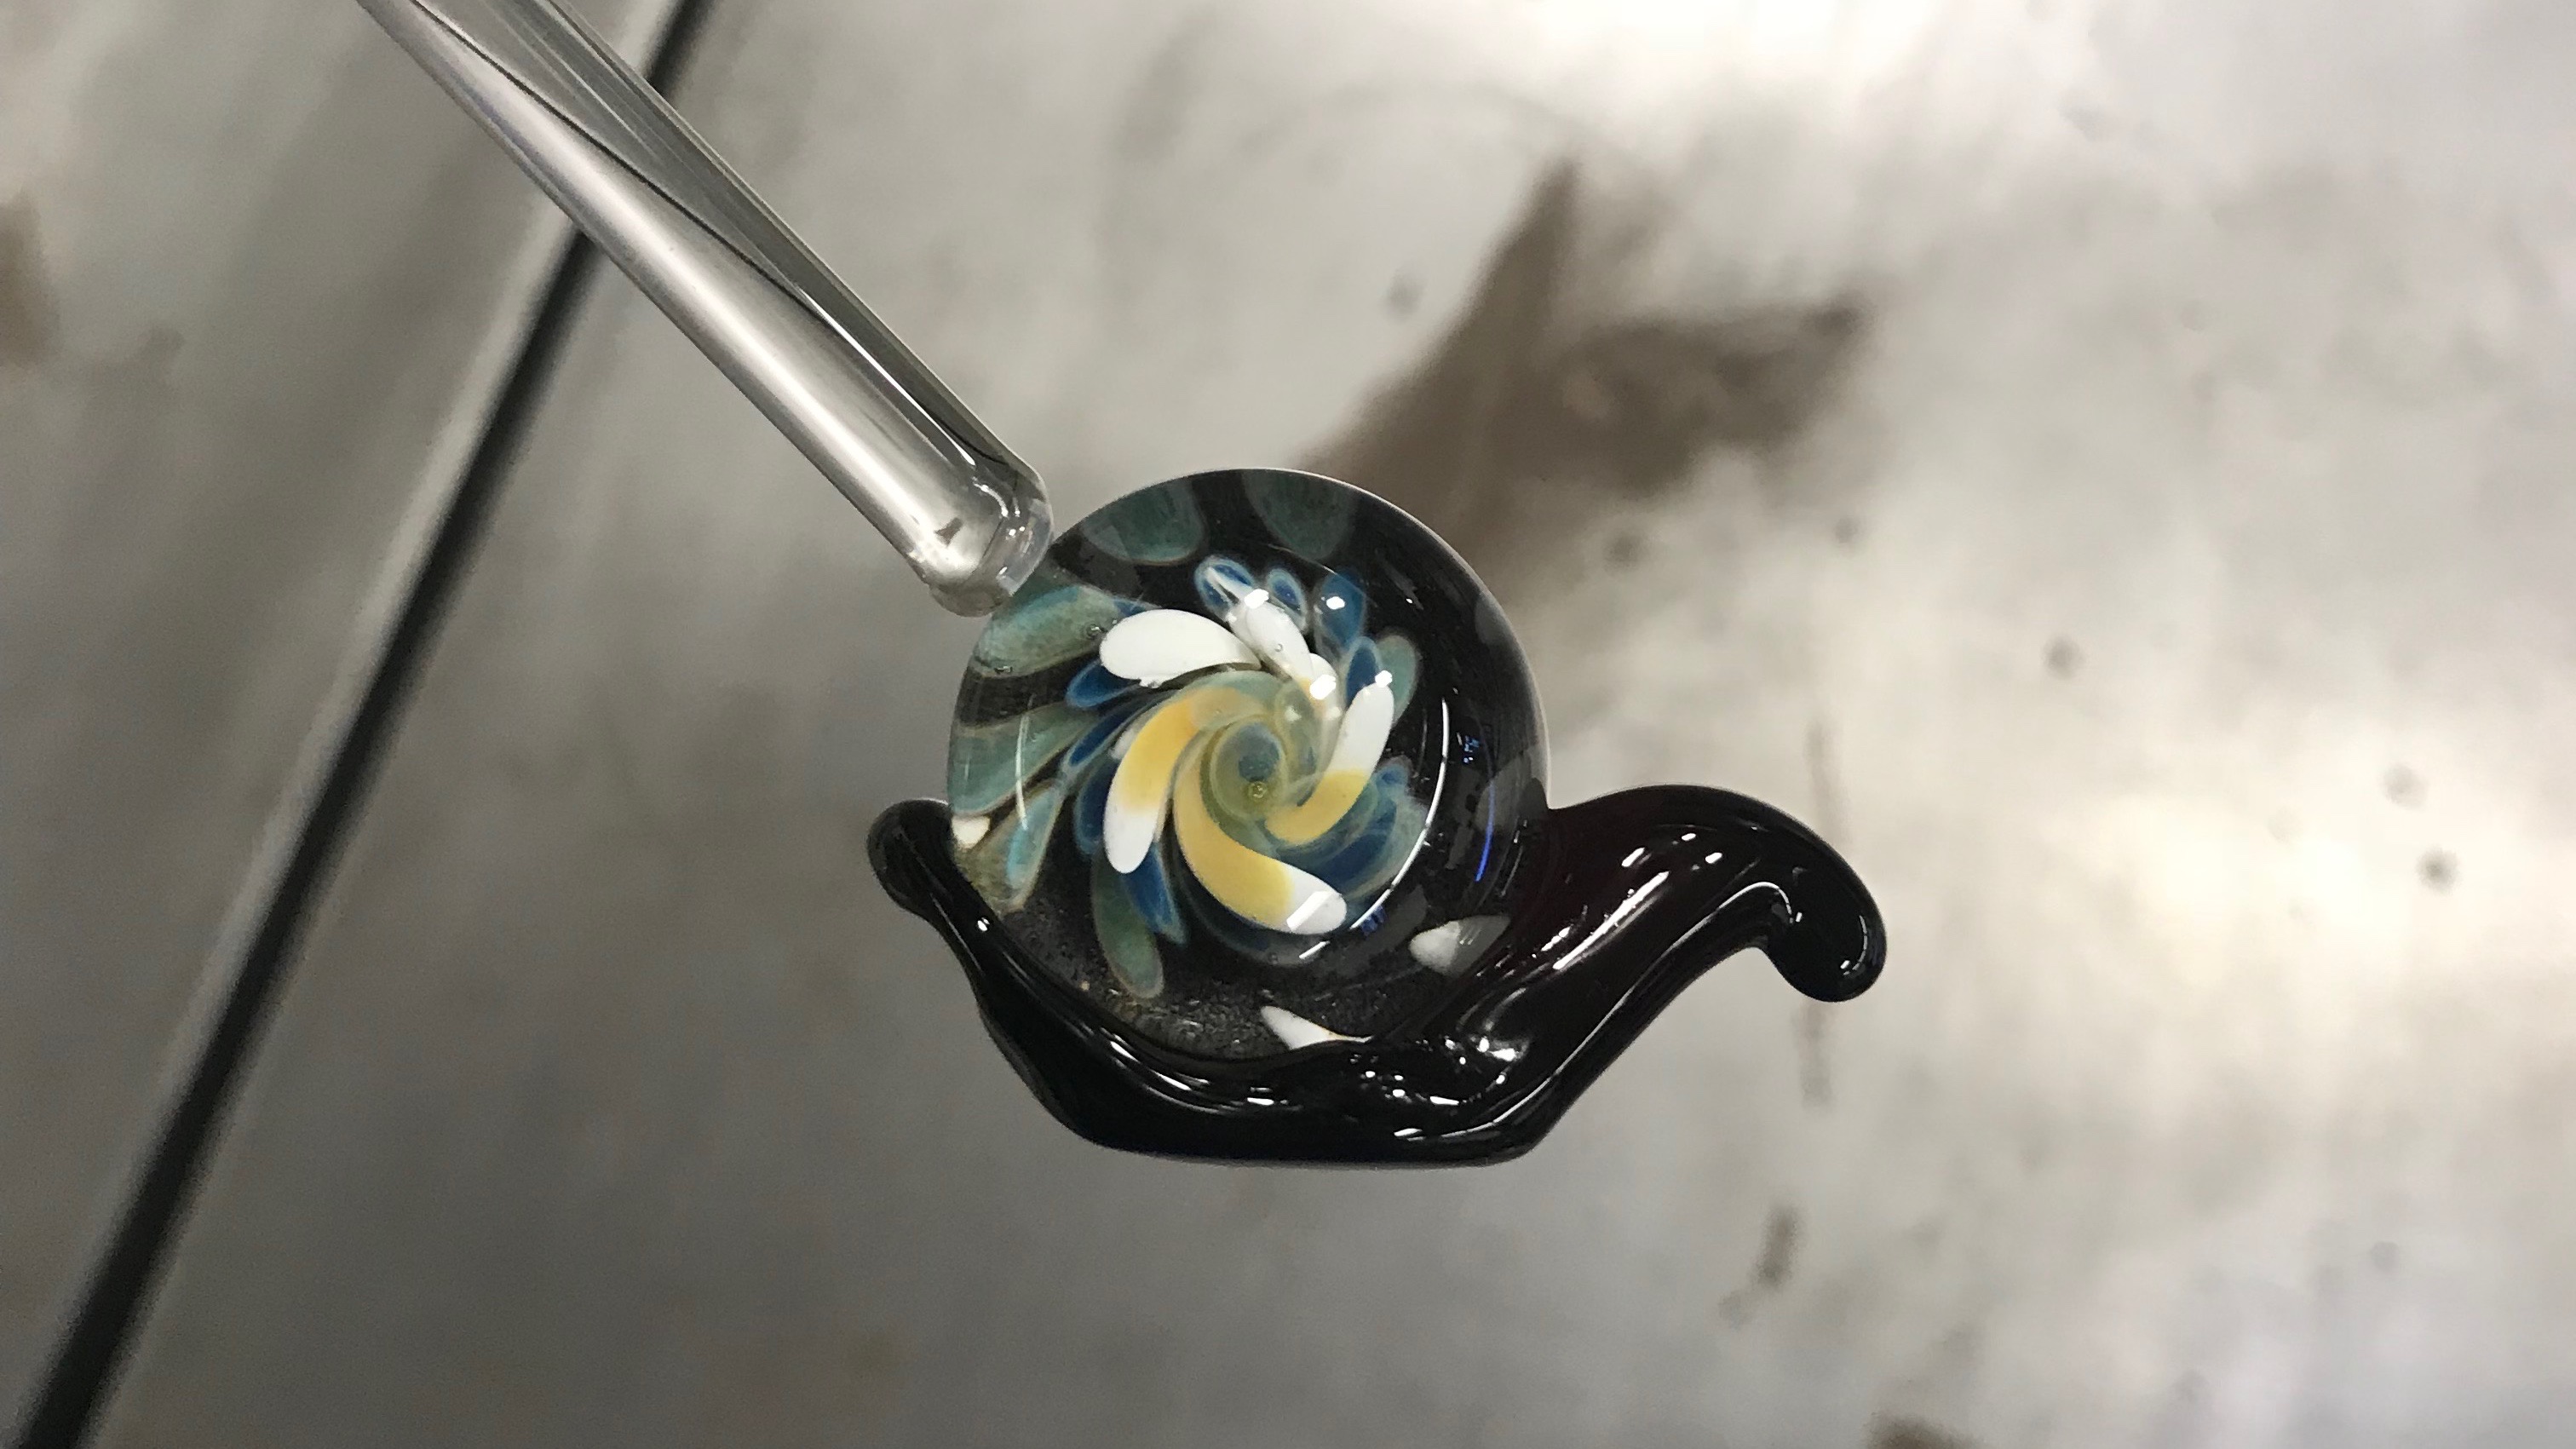
Once I melted in the bump on top, I let the piece cool down a bit and attached a thin clear rod to the rim of the piece.
After this step, I could now turn the implosion into a snail! To do this, I used a black rod of color and attached it to the rim of the piece and flattened one section. This created the body of the snail.
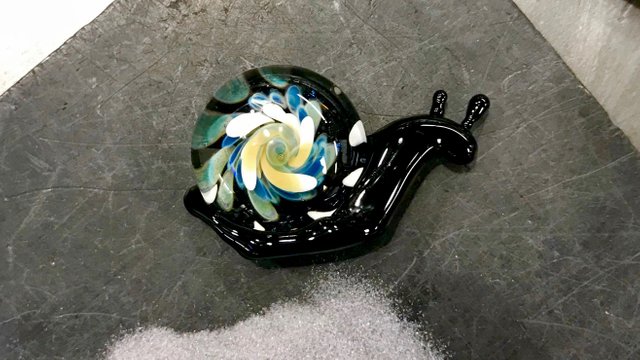
After reheating the bottom of the snail and flattening it until it could stand on its own I added the antennas.
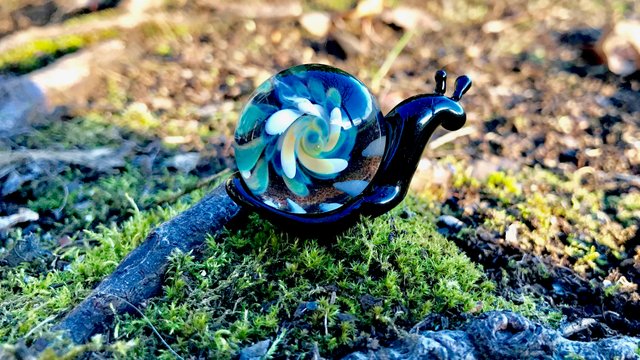
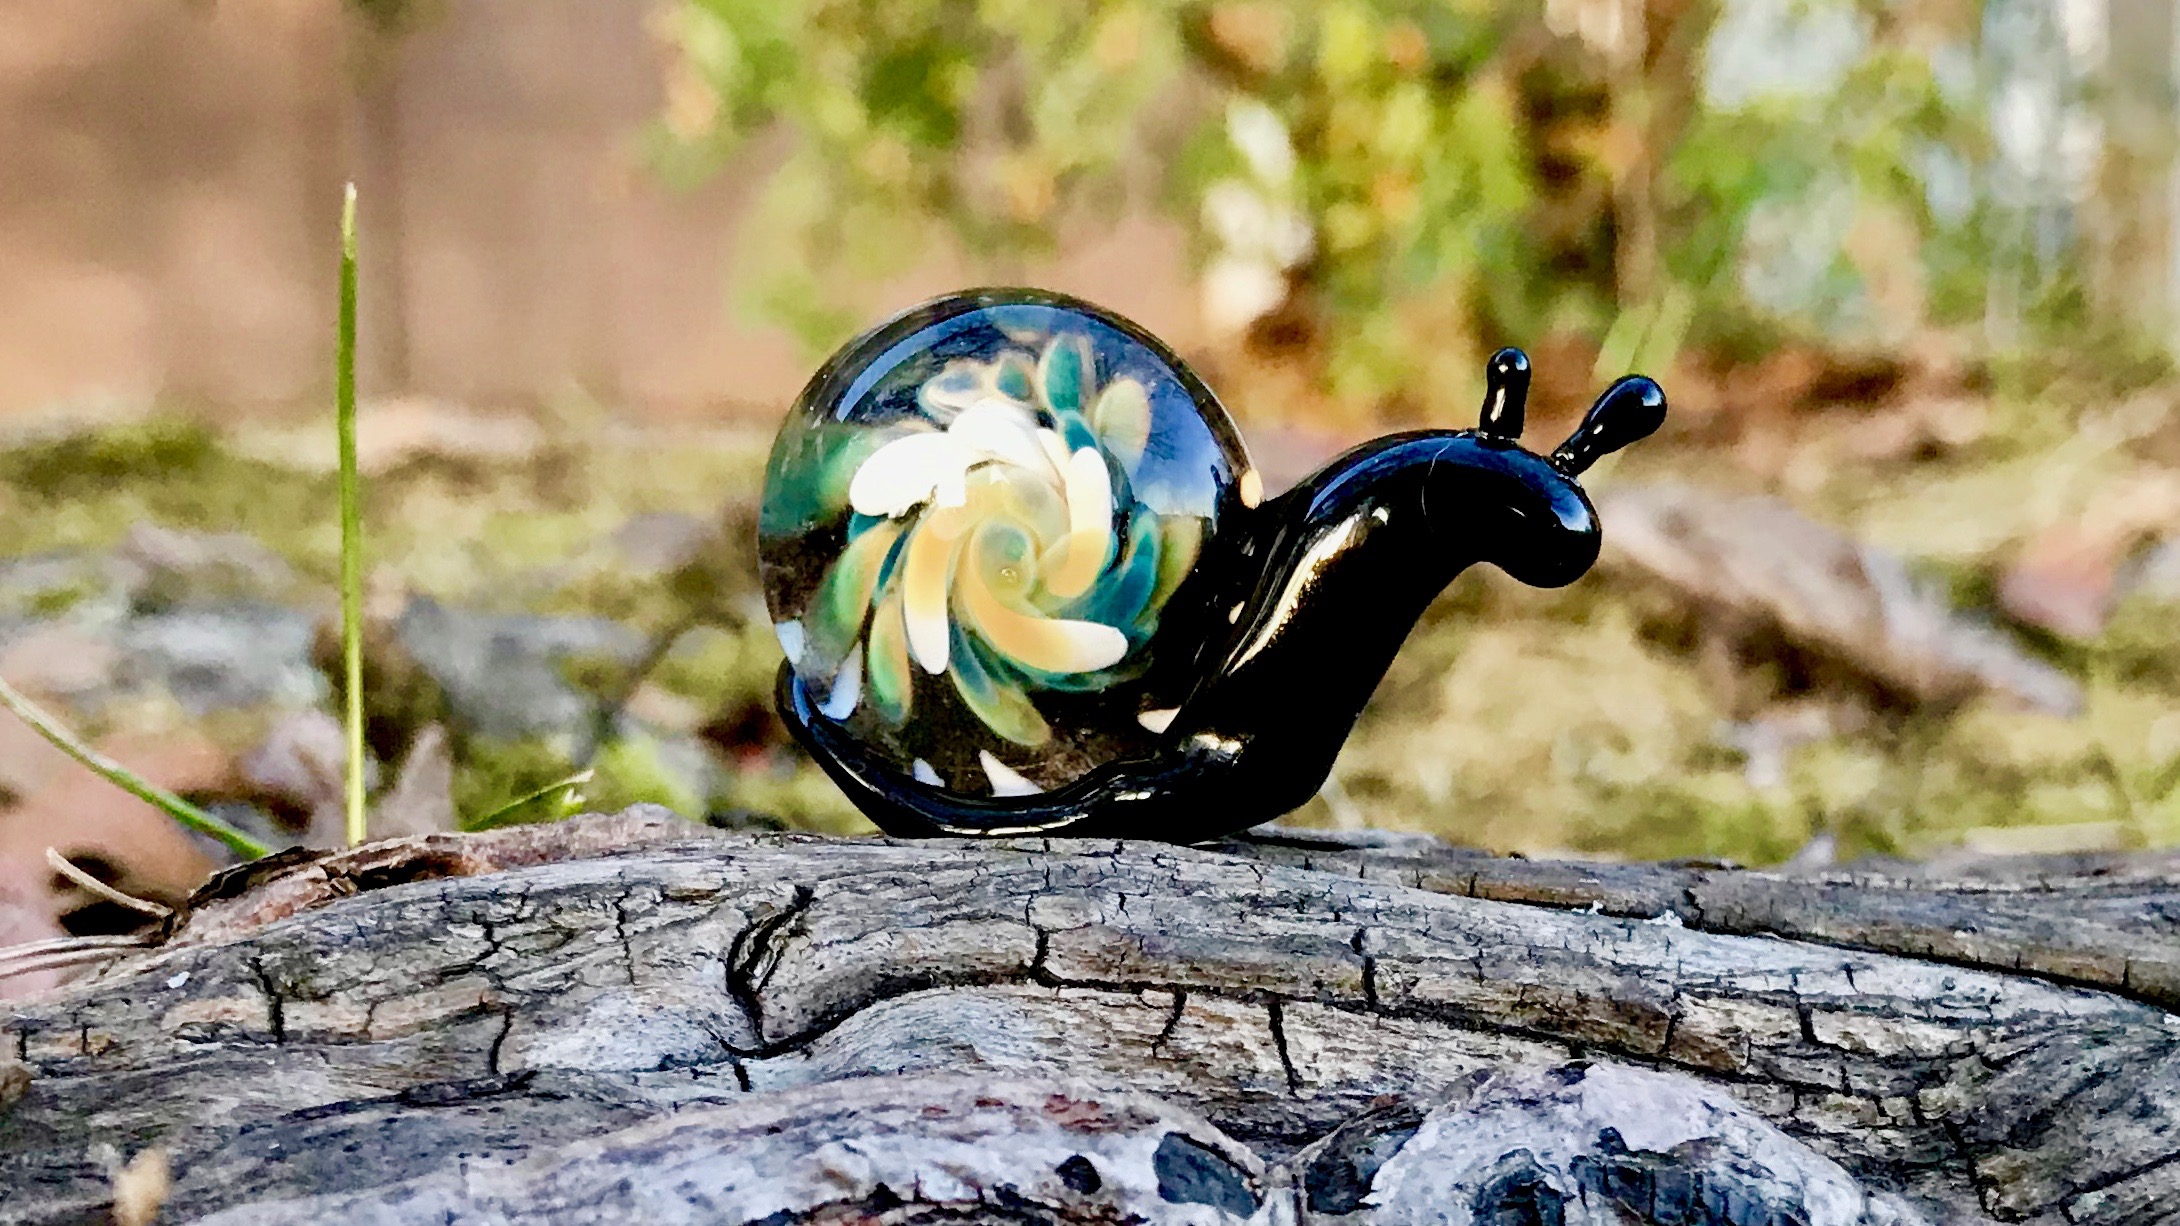
Lord Shelton Out and About
After letting Lord Shelton cool down for 24 hours he was ready to go out and Explore!
Thank you for reading!
Please upvote and follow for more content!
If you'd like to purchase my work please check out my etsy (I'm currently on winter break so I am unable to make sales until January 4th):
https://www.etsy.com/shop/SteveChadwickGlass?ref=pr_shop_more
Really love the choice to go with the dark black background. Looks so cool! Lord Shelton is a badass!!!
Thank you so much! I really appreciate the feedback! And lol I was thinking of doing an introduceyourself for Lord Shelton and perhaps a series of posts of his adventures.
DO IT!!!
Lord Shelton's introductory post is up if you're interested! Thanks for your support!
https://steemit.com/introduceyourself/@spc/meet-lord-shelton
Cool. I included glass making in my bucket list but sadly still doesn't have time to give it a try.
Awesome work :)
This is awesome.