Step By Step Guide To Draw A Wrinkled Realistic Skin
Hello Steemians. Today I am going to show you,how to draw a Wrinkled Realistic Skin. I am not a pro artist but still, I will try my best. I was kind of busy with my blog these days,but now, I am drawing after a long time. If I do any mistake please tell me in the comment section.
HERE IS THE FINAL PICTURE
.jpg)
Used Material
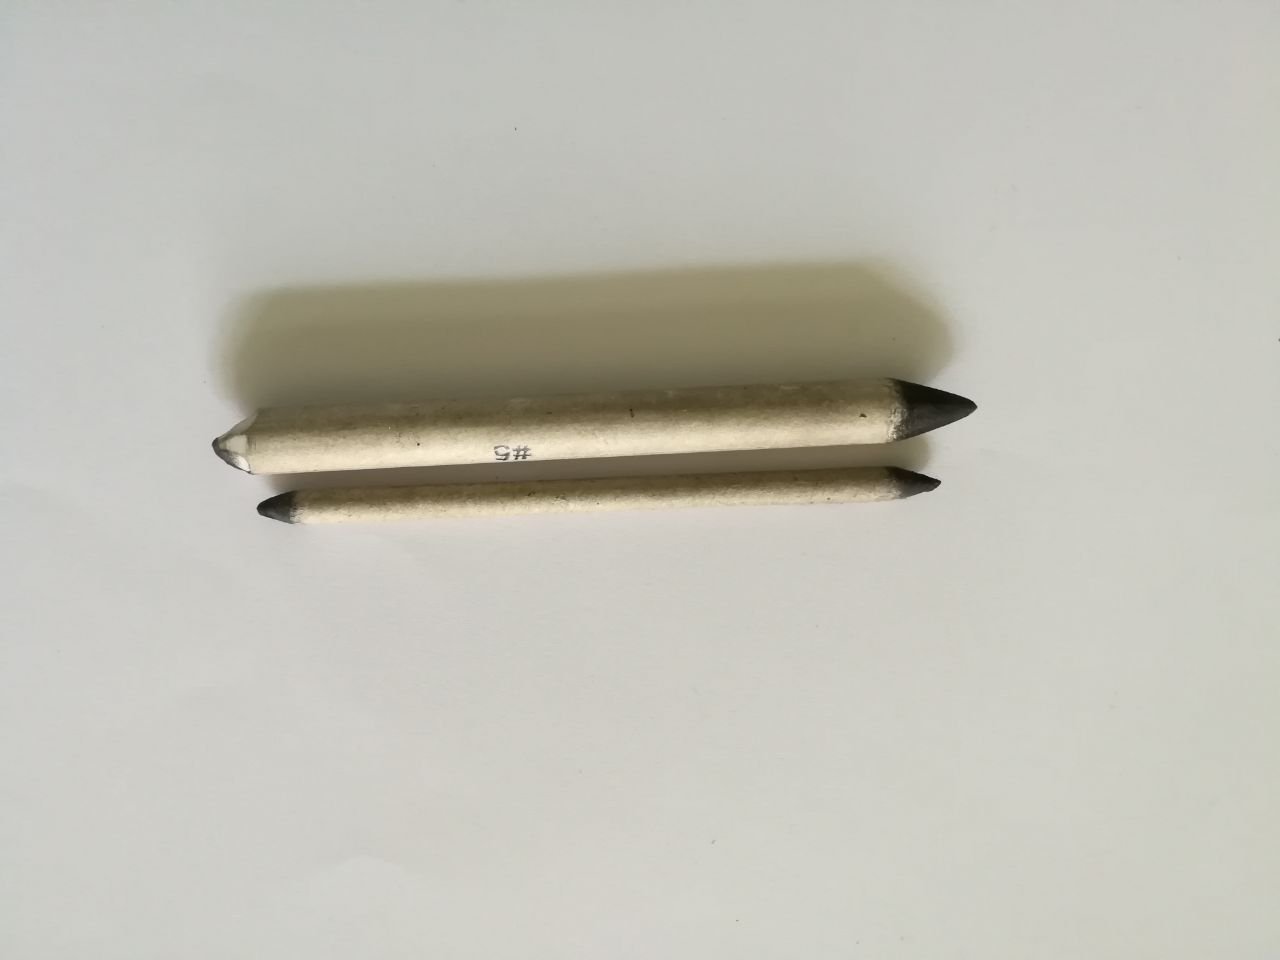
I used charcoal pencil (It is of 3 types- Hard,medium and soft. Softer the charcoal,darker is the color), paper stump (for blending layers of charcoal), Sakura jelly white gel pen (for hair and beard), acrylic color (White and black, mixed in 2:1 ratio, for the background),eraser and paint brushes.


So now, let's move on to the main drawing.
Step 1
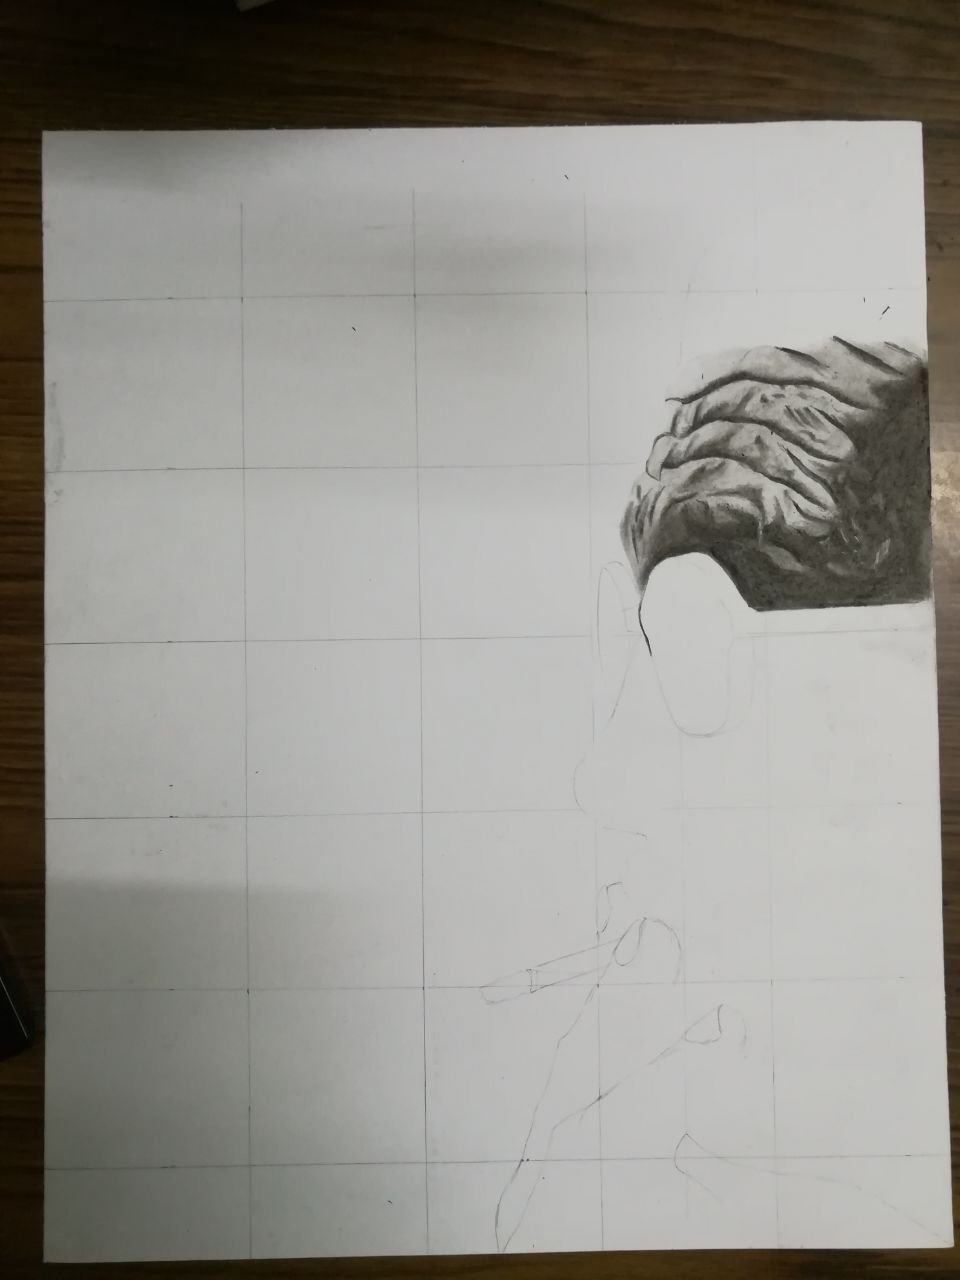
At first let me tell you one thing that if you are a new artist always try to make the outline of the image you want to draw. You should make square boxes on the paper, so that you don't miss the symmetry of the drawing.
So, at first I made square boxes on the paper.
.jpg)
Make sure that the squares are equal
Step 2
Here, I made the outline of the drawing. The outline should be very light and accurate. It will give you flexibility to change the structure, any time you want.

Step 3
In skin drawing,you always need to notice, from where the light is falling on the picture. (It is little odd right?) Well, this is important because you need to darken the opposite side of the 'light illuminated' side. It will create the shadow effect.
As you can see in the final image, the light is falling on hairs,forehead,nose,cigarette and fingers. So we will darken the other parts to show the shadow effect. Of course , the old man's skin has lots of wrinkles and light can't fall inside the wrinkles. So we will darken the wrinkles too.
so let's start.
Here, I have started the detailing. We use hard charcoal pencil to give a layer of charcoal coat on the forehead. Don't make the wrinkles so soon. Try finish the coating first,make it smooth.
After that, use the medium charcoal pencil to make the shadow on the side of the forehead and above the eyes. When it becomes dark, use the soft charcoal pencil to make it perfect.
So shadows are done.Not so tough, Right?
But here comes the difficult part. Now we need to make the wrinkles.
Here, what I did is, I took the soft pencil and made the main lines of the wrinkles. Once it is done, Take a medium pencil and draw the shadows of the forehead wrinkles. You can actually skip this part, but it gives the image a much more realistic view. The sub-wrinkles should be drawn with medium and hard pencils (Whatever does the trick for you. Everybody has a specific drawing style. So don't be afraid to try and explore things.)

Now, we will draw the spectacle, nose and the cheek. Here, I mostly used the hard and the medium charcoal pencils. But the lower part of the nose will require the soft charcoal pencil.
Here, first give it a coat of medium pencil. And then use the soft pencil. It will make it look more blended.
You can use eraser wherever you need to make the coating lighter and smoother.

Here, I have completed the cheek. Finish the detailing with whatever pencils you need. You just need to make it perfect for you to observe. (Medium pencils always do the trick)
Make the shadow and wrinkles of the fingers, the same way we did in the forehead. Just make sure to darken the shadows. :)
I have used sakura jelly white gel pen to make the mustache and beard. Don't make it quick. First make the mustache and the beard. It will give you an idea of how to proceed. After that we will go for the hairs. Remember, The hairs and the beard will give the drawing, a classy look. You definitely want to make it perfect!
All done? Great!
Now, we have to draw the cigarette. You can give the cigarette any look you want.

As you can see, I tried to make some adjustments to the cigarette.
The Final Step
Here, I have mixed the white and black acrylic color in 2:1 ratio for the background. Use a number 10 or number 12 brush to paint the background.
Make the hairs now. Be gentle.
Now, To make the smoke effect of the cigarette, you can use a number 2 brush. Dip the brush in the acrylic white color and then dip it in water. It will make the color light. Then paint the smoke.
Our drawing is ready!
Wow, you're talented. What a beautiful piece of art. Very detailed and realistic.
Thank you so much :)