HIT OR MISS: ArtMaker Calligraphy Masterclass Kit (A Review)
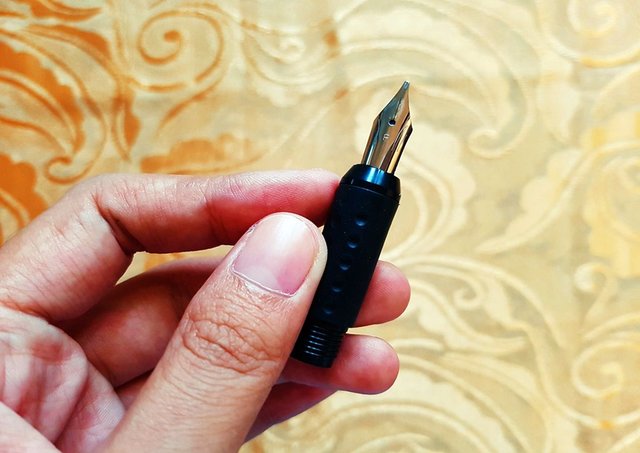
Sample nib from the ArtMaker Calligraphy Masterclass Kit
Haste makes waste
As artists, it is essential for us to obtain the right art supplies in order to create the masterpiece we desire. One thing I learned from my experience in buying art materials is this: research before you buy. By research I mean look for reliable reviews about the product before buying it. Why? First, it helps you have a grasp of how to use the product properly and if it is really worth the money. Second, to save you from trial and error, that is buying and testing products again and again only to be dismayed on the result.That’s why as a sort of guide, I decided to do a review about an art supply I have always wanted to get my hands on: the Artmaker Calligraphy MasterClass Kit
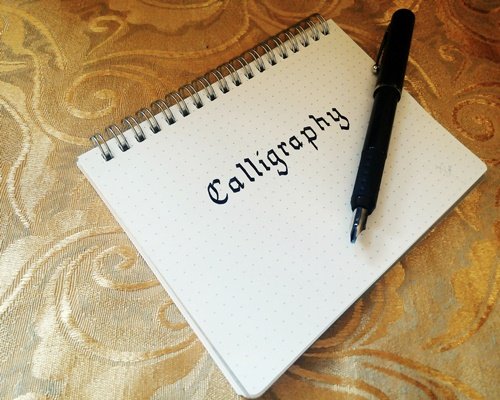
Artmaker Calligraphy MasterClass Kit
Where to buy?
You can find the Kit in local art supply stores; just make sure to specify the Master Class Kit. In the Philippines, the MasterClass Kit can be bought in National Bookstore. You may also find it online through Amazon . The kit costs around 14 USD. There are two kits offered by the company, one with the 64 page instructional book and the other with 48, and I choose to review the latter.
First Impressions
Packaging
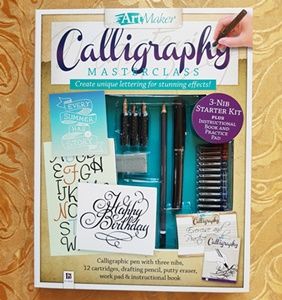
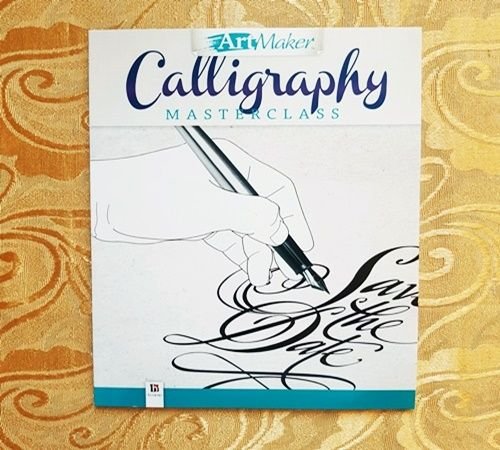
The kit comes in a 255x330 mm box. I must say that the kit is light and is very easy to carry anywhere I desire which I consider as a plus factor. This kit is smaller in packaging size in comparison to the other version of the master class kit which is 356x267 mm. The front also shows a sneak peek of the products found inside.
On the left side, the instructional book together with the pens, nibs, cartridges, pencil and eraser are arranged. On the right, the sketch pad is attached. I like how the cartridges are arranged neatly in the side according to their colors.
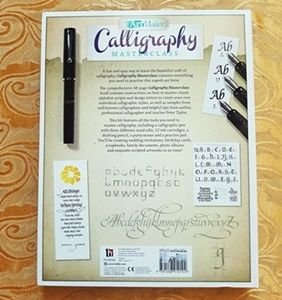
At the back, you may see some of the details about what is inside the kit such as the tools needed to master the art of calligraphy. There are also demos of the artworks taught inside the instructional book.
One thing I observed about the box is that it does not hold the nibs really well. Upon arriving home, the nibs were disarranged so when I opened the box, the nibs were all over the place. But hey it is quite understandable, for its low price you can’t complain. Other than that, the box is pretty sturdy and strong.
What's inside?
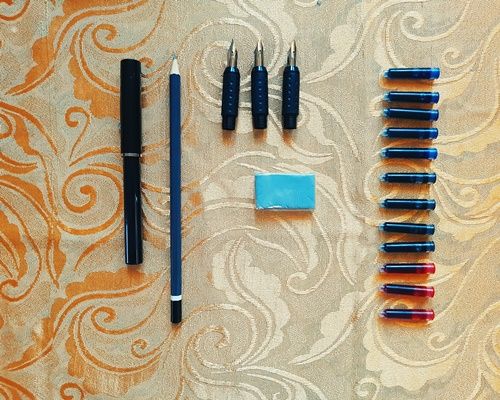
Tools found inside the kit
- Calligraphic pen
- 3 nibs
- 12 cartridges
- Instructional book
- Calligraphy Sketchpad
- Drafting Pencil
- Putty Eraser
Putting the products to test
Calligraphic Pen and Nibs
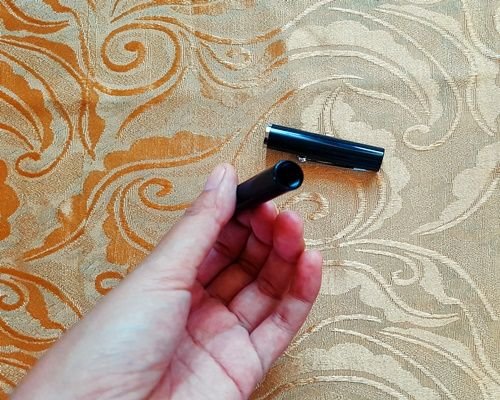
Calligraphic Pen
1 mm nib
1.5 mm nib
2 mm nib
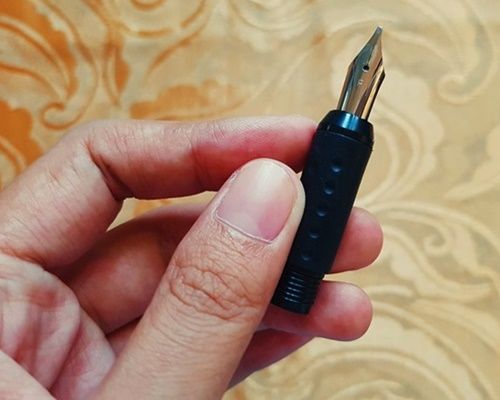
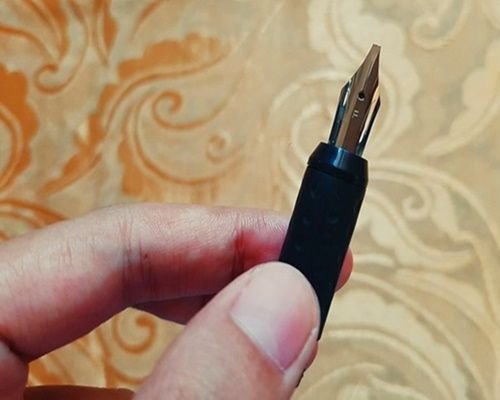
There are 3 nibs for the set and the colors of the ink in the cartridges are blue, black and red. The installation process is an effortless one; I didn’t have a difficult time refilling the cartridge. My first choice among the inks was the black one and I observed that the drying period takes time so I suggest that when you use it, be very careful not to touch the ink while it is still wet not to smudge it. You may leave the ink after writing for about a minute or two.
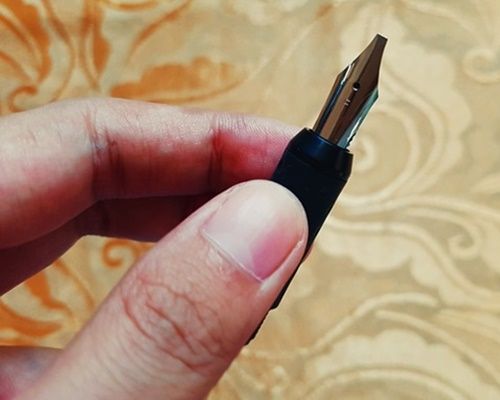
The nibs are not too hard and not too flexible, just right to produce thick and thin strokes. While using the nib, it is advisable not to press very hard not to damage the nib tip, just enough to get the ink out of the nib. Another thing to be considered is that, an angle should be maintained to provide uniformity among letters.
2 mm nib with black ink
For my first trial, I used the 2mm nib with the black ink. I noticed that the ink was really not that black as there are instances wherein the output seems a little bit grayish. As what I've said, the ink takes time to dry so I suggest you should leave it for a few minutes for it not to smudge. Among the 3 nibs I have tried, this nib is the easiest to use because of its large size. The size enables you to emphasize your strokes and execute the lettering easily.
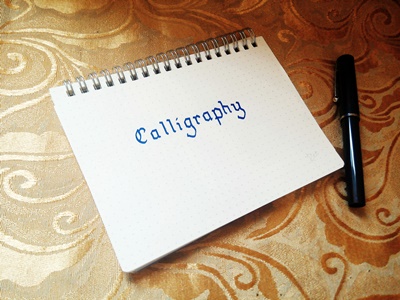
For my second trial, I used the 1.5 mm nib with the blue ink. The blue ink seems more runny than the black ink. I noticed that it causes the ink to blot to the next page too. The 1.5 mm nib size was easy to use but not as easy as the 2 mm size. For the 1.5, I find it a little bit difficult to emphasize the strokes since the size is a little bit smaller.
Another thing that I have observed while I was on my second trial is that the nib is also secured well because after a month has passed, the ink I previously used is still good to go which means that the nib is secured airtight inside the calligraphic pen.
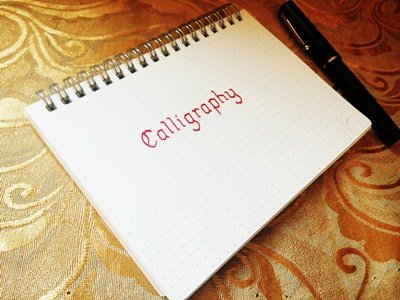
For my third trial, I used the 1 mm nib and red ink. This nib was the most difficult to use for me because of its very small size and I think this nib is not advisable for beginners like me. The red ink is not as runny as that of the blue ink and I love the pigment because it is not too strong and not too light.
For new fountain pen users, it is somehow difficult to control the ink flow and how thick the strokes are we want to produce. But just like other skills to master, we should practice to be excellent in the field we choose.
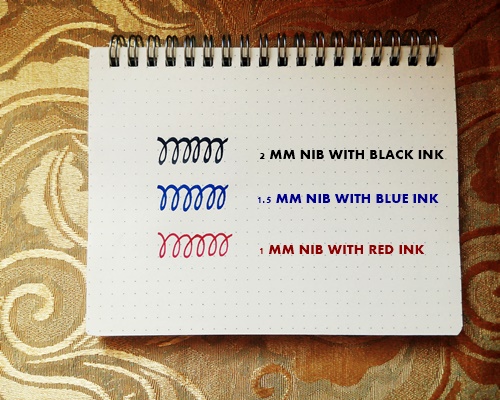
A comparison of the nibs and inks
Among all the nibs, the 2 mm nib is the most preferred since it helps an artist emphasize the strokes and create more beautiful lettering outputs especially when producing Gothic Styles. For the available colors of ink, my favorite one would be the blue because of the hue it produced. Though a bit runny, the output produced is very professional looking. I also noticed that there are 2 hues of blue available. One is a bit lighter than the other. Anyhow, the output of the lettering still depends on the artist's execution.
Calligraphy Sketchpad
Calligraphy Sketchpad
A peek of what's inside the sketchpad
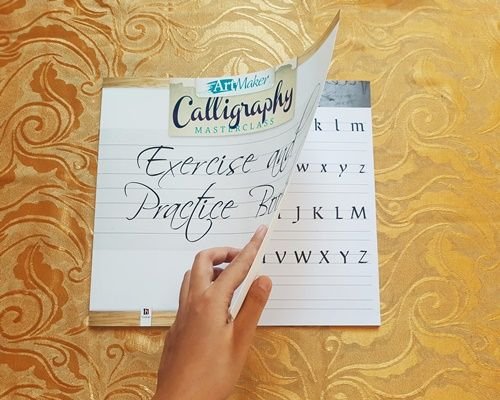
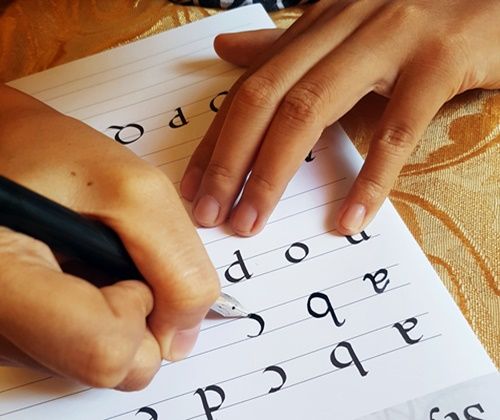
The Calligraphy Sketchpad is a very functional paper to practice on. The size of the pad is just enough in order to provide space for the artist to execute lettering.There are different styles taught in the sketchpad: Foundational Hand, Gothic, Italic, and Uncial. The paper has lines to guide the artist about the letter height and proper proportioning. There is also a size indicator written above which shows which of the three sizes of nib to use. Inside, there are different styles to master and each style, there is a page for the 3 different nibs. I like how the paper is made up of a slightly thick material in order for the ink not to blot as you write on it and I consider that a plus!
Instructional Book
Instructional Book
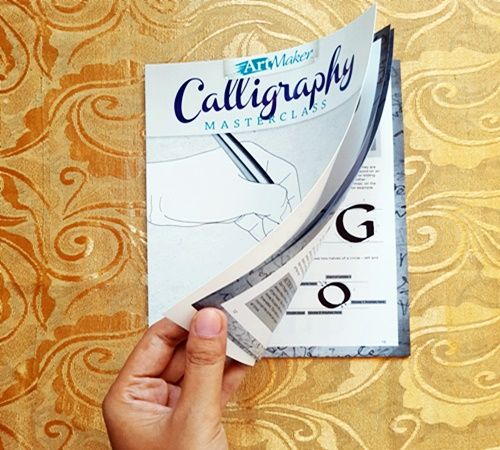
A peak of what's inside the instructional book
It is a 48 page book filled with detailed instructions how to produce the strokes. The instructional book is my favorite item inside the set because it provides a thorough description and step by step process on how to write the letters. Also, there are bonus tips and tricks on how to easily produce the strokes. Another factor that I considered is that it is very easy to carry wherever I go. The material also is made up of a magazine type paper which is not easily torn so double plus! I really love it and it serves as my reference to the different styles. There are different styles taught in the instructional book: Foundational Hand, Gothic, Italic, and Uncial. Among all the items, the instructional book stands out the most and it makes the set a really wise buy!
Pencil and Eraser
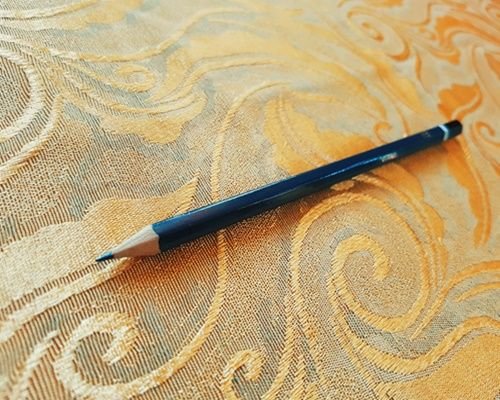
Pencil included in the kit
The pencil and eraser quality is average. The lead from the pencil is not easily broken and as expected from the putty eraser, there is no dust produced. I find these items as extras because for the price of the kit, the instructional book and the nibs are more than enough. I guess the pencil and eraser are included for additional calligraphy tools.
Final Verdict
From my trials and observations, here are my final thoughts about the the ArtMaker Calligraphy Masterclass Kit:
Hits
- Affordable
- The instructional book is very thorough and detailed.
- Strong Nibs
- Easy cartridge replacement
Misses
- Packaging does not hold the nibs well.
- Ink easily blots and long drying period.
Overall, I think that the ArtMaker Calligraphy Masterclass Kit is a wise buy because it is very useful for beginners. The instructional book is an excellent reference for its thorough and well detailed instructions. I also like the fact that there are 3 colors available for the inks of cartridges, in that way there are lots of choices to choose from. Hence, as my rating I will give the ArtMaker Calligraphy Masterclass Kit a 4 out of 5 stars.
Was this review useful to you? Do you have any suggestions to improve my future calligraphy related posts? If so, please leave your comments below!
I am not affiliated with the company that produces the product. The views and opinions expressed in the review are my own.
Word art Is one of my passions I hope to be as good as you are one day. Your calligraphy is beautiful. All tribal eyes on you @reewritesthings. resteeming.
Thank you so much for your words @tribeglobal-love!
Wow Awesome Post. I hope one day I have the time to go through such a masterclass. There is such a beauty in making words and letters look amazing :) and give them that special touch. :) Thanks for the great article... Worth the read even if you are totally not in Calygraphy . God Bless . Peace and Love.
Thank you so much @angelveselinov! I agree, lettering is such a wonderful thing to do. Also, it helps a person focus and relax. <3
congrats @reewritesthings! Ganahan lagi ko makat'on ani ay. ahahha I wonder why I chose engineering when in fact I cannot even properly do some fine yet simple lettering. ugh! Lodi petmalu jd taka dzaeee da. hehehe <3
Thanks nikka! Ge lang practice lang ta arun ma maayo ta na calligraphers aw. Haha mag work out nasad ta arn beauty with talent atong labas ani. Hahahaha. See you soon.
dzaaa. werpa much. hahaha
How to be u po??
This is awesome.
Really, you are talented.
Upvoted and following you
Thank you so much @mrposyble. Glad you liked my works. :)
Congratulations! This post has been upvoted by the communal account, @steemph.cebu by reewritesthings being run at Teenvestors Cebu (Road to Financial Freedom Channel). This service is exclusive to Steemians following the Steemph.cebu trail at Steemauto. Thank you for following Steemph.cebu curation trail!
Don't forget to join Steem PH Discord Server, our Discord Server for Philippines.
I think I'm good with this. Haha. I can say I have minimal talent with art. You made a brilliant piece again @reewritesthings. As what I've said yesterday, Cebu has been a home for quality content writers.
Thanks Jassen for your words and for dropping by. With practice, I know you have the ability to become a great calligraphy artist! ;)
kumusta reewritesthings! :) very nice art supplies. i didn't know so much went into getting them. yay!
im following u and upvoted now.
Thanks @chinito. I'm doing great, how about you? :)