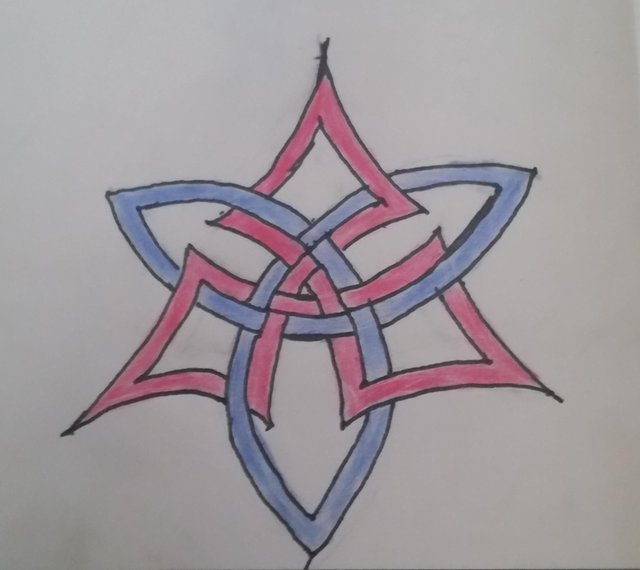
How To Draw: Celtic Tribal Knotwork
Since my highschool days, I've been fascinated with celtic knotwork. This fascination, along with its branches into tribal artwork and graffiti, led me down a long path of enjoying learning the various designs and techniques involved in making decent knotwork. Today, I hope to share a bit of that with you, as well as a few of my own pet peeves.
But first, a bit of what NOT to do. Actually, do what you like, to each their own. But for me, a lot of the more "common" tribal designs have a few flaws that just....strike me the wrong way. They seem so unrefined, with little attention to detail. Let me show you a common example:
This is just a mirrored image. There's only a single point of crossing, and the lines branch too much for it to be interesting. This can work if the design as a whole has a negative image, or depicts something interesting. The next one is only slightly better

It's just a mess of lines. There are a few crossings, but overall it portrays the feeling of a toddler with a sharpie. Let's have a quick look at the most basic knotted design. You probably drew it in high school, at least if you were in school in the 90's.
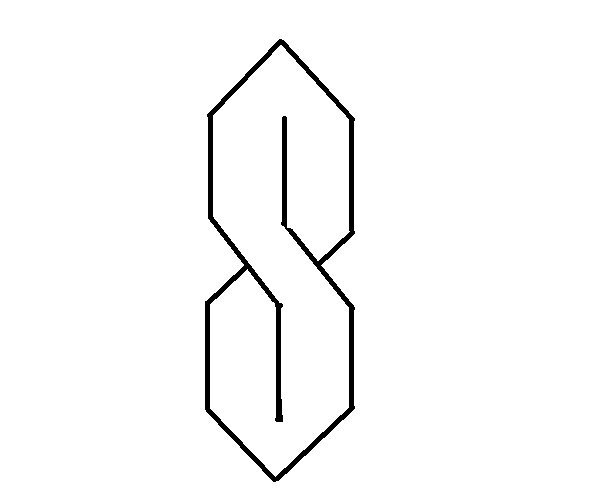
That's right, the Super S is technically a twist, not a knot, since if it were a 3 dimesnsional rope you could pull on it and have yourself a loop. But it's a start, and if you've drawn this, then you can draw celtic knotwork. Let's go one step further and bring out a REAL classic.
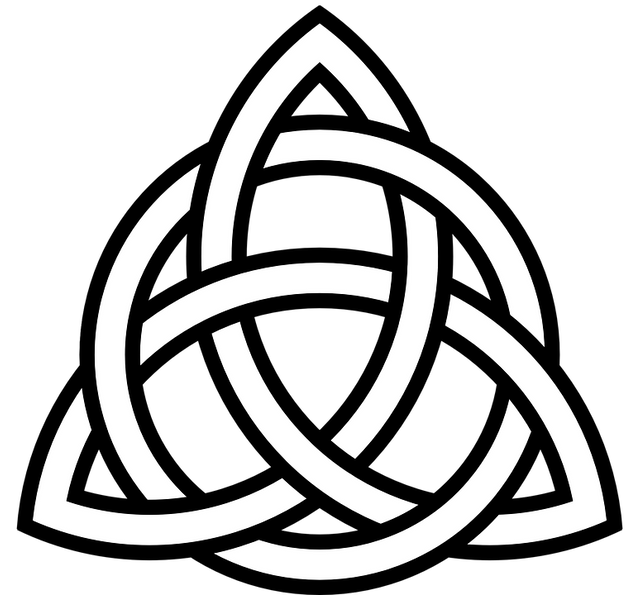
This is the Triquetra, a knotwork design based on a triple vesica piscis, or the intersecting portions of three circles, overlapped. As you can see, it's a single line that follows a pattern, where every segment alternates between going over, then under, every other segment. However these lines are very curved and smooth, and don't look very tribal. Tribal designs usually have more bladed, sharp edges. This can be achieved by making convex curves more concave, like so:
Now you can clearly see the contrast of the two designs. The red line is still properly knotted, but has a sharper, more aggressive style to it, yet is still based on the same design as the triquetra.
Enough! Teach Me To Do IT!
Alright alright, let's get to the real meat and potatoes here. Grab yourself some graph paper, or print of some using this handy free google docs template.
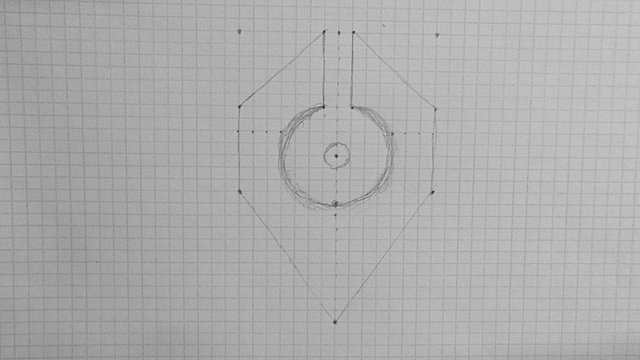
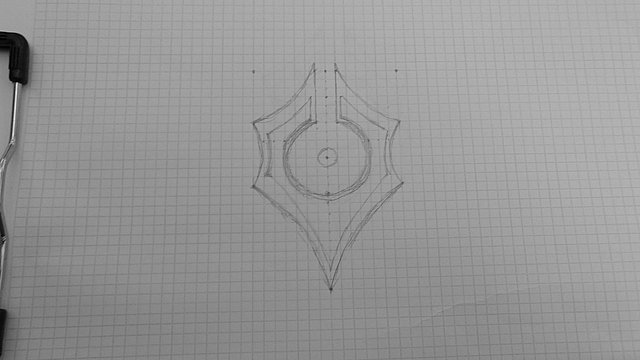
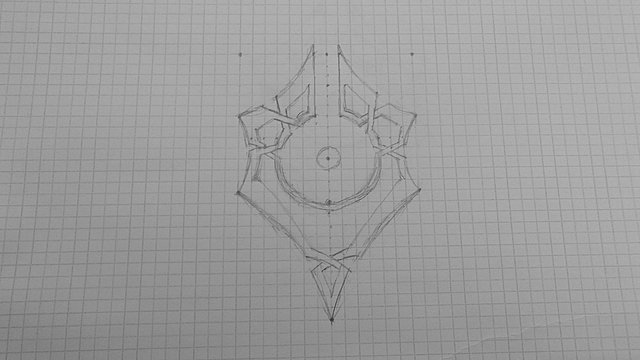
Mark yourself off some reference points. For this design, we will be keeping things simple, and therefore we will use a symmetrical shape, but it wont be perfectly mirrored, because this would destroy the pattern of each line going over, then under. Let's mark off some random points.

The easiest way to draw when you're just starting out is to be a bit random. Let the art guide you. Learn proper knotworking before trying to tackle making some wild-ass dragon or sweet freaking owl.

As cool as a tribal millennium falcon would be (I might have to try that later), let's break this design up a bit. Throw a couple of circles in there to keep it from being too blocky.
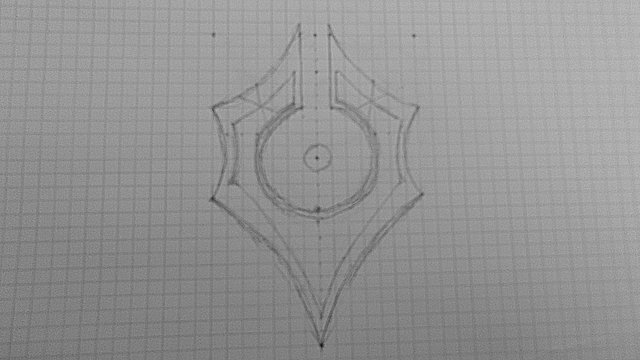
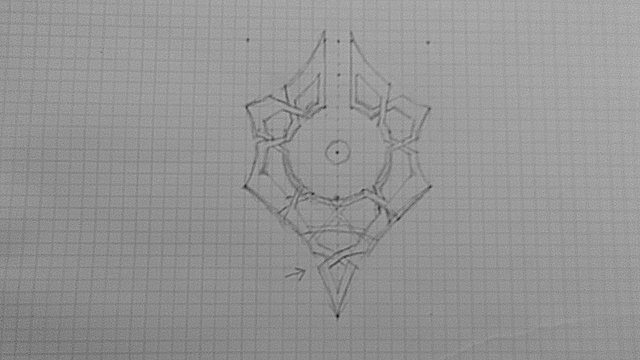
While you're feeling frisky, give this art some curves. Art loves curves. It's also a good idea to start adding an inner line to give you some "rope" to start your knotwork with.
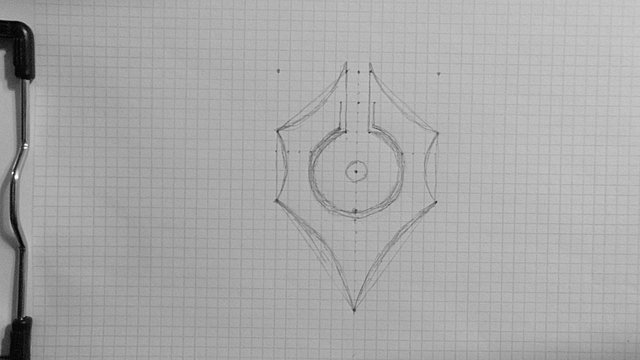
The "rope" can vary in thickness, thinner ropes tend to be easier to knot but can lead to more whitespace. Let's continue drawing the inline until the entire shape is filled. This will give you a rough idea of what the final piece will look like. Now's also a good place to erase any unnecessary guidelines, just to keep the page clean.
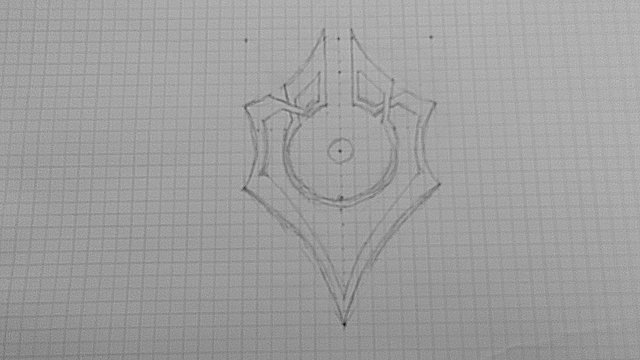
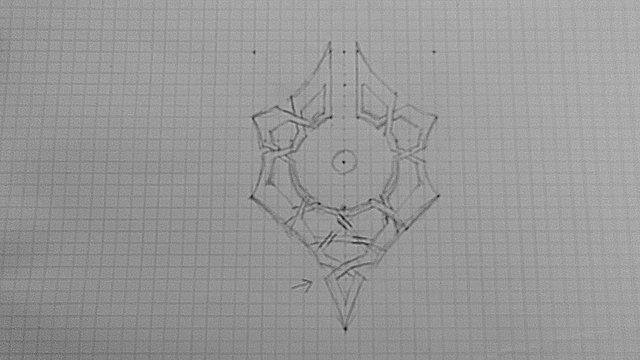
Now the real fun begins. Select a section of your rope where you plan on putting your first "twist". Mark it with an X and do the same to the other side.
Now go ahead and widen the lines around the Xs you just made. One line should be the top line, and the other should go beneath it. If you follow one line and travel to the other end of the page, the line that was underneath last time will be on top on the other side.
Mark off a few more sections, and start to work your way down. As you go, feel free to erase small portions of your original outline that no longer make it into the final cut.
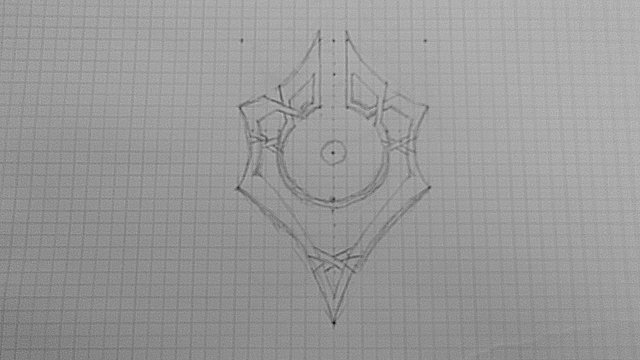
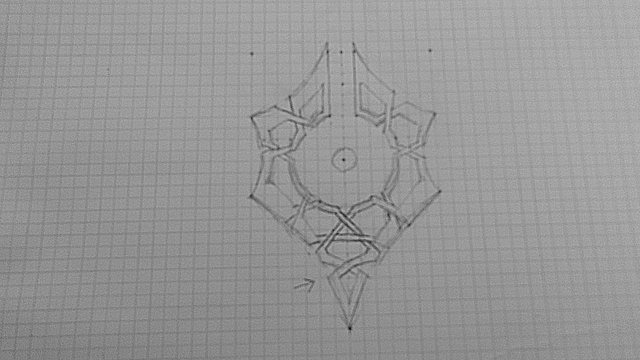
Fill in your newly marked-off sections, and erase again.
This process can repeat as many times as you like, or have room for. But now we're going to do something a bit tricker, we're going to do a three-way cross. Remember the triquetra? We're going to incorporate it into this design. Draw lightly, and ensure that your image remains one line. It's VERY easy to break your image into two separate lines that never join back up.
Ah yes, there WILL be mistakes. In the above images you may have noticed that the southernmost point of this image was knotted incorrectly, causing the same line segment to go under two lines on one side, and over two lines on the other. Luckily, this was caught pretty quickly, and was easy to fix by just adjusting the direction of overlap on the southern tip.
Now, for the three-way cross I'm going to carefully pre-mark the "bridges" to ensure the knotwork is going the right direction and that I haven't broken the line in two.
Once certain the knotwork is correct, fill in the lines and erase any unused outer portions.
Once you're satisfied with your design, start cleaning up your lines, adjusting the width and location to match them up as good as you can, and erase as much of the structure as you can without turning your drawing into a mess of graphite.
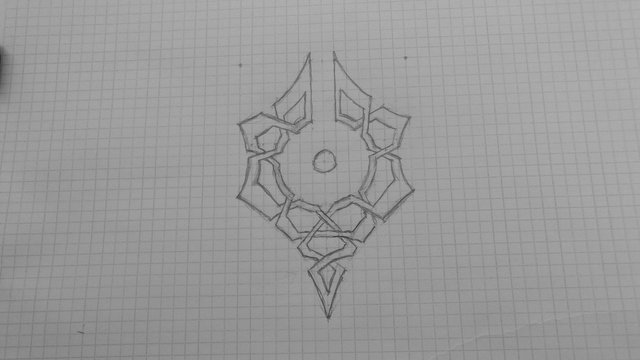
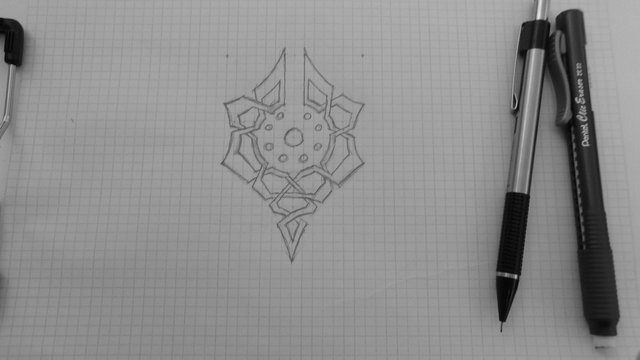
If you still have too much white space, add some small embellishments. Here I just throw a few circles in. These help guide the viewer's eyes around the page and can minimize the impact of small imperfections.
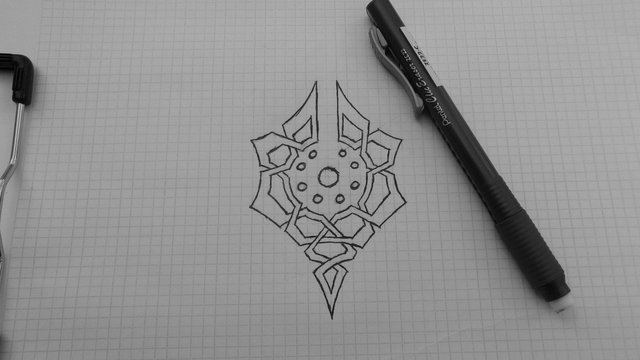
Next, if you really want to make your image pop, take a pen and trace over every line. Be careful to triple check your knotwork beforehand, because this is where things get permanent. I prefer a ball-point pen with a smooth, gel ink. Felt pens can bleed, which really ruin the fine details, and I tend to sketch, even when tracing, which a ball-point is a lot more forgiving with.
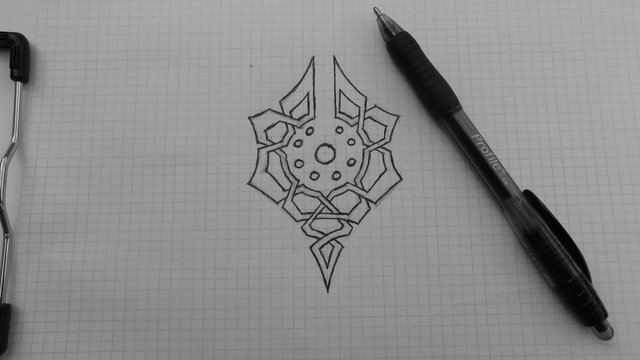
Let the ink dry, and erase ALL of those scratchy pencil marks!
And voila! You're well on your way to making all kinds of sweet tribal designs to cover your entire body with! Add a few oghams and the druids would be proud.
Protips
- Draw LIGHTLY. You'll be erasing quite a bit as you go, so keep a light touch
- Get creative! Try all kinds of random shapes, and varying line widths. Not every design needs to be mirrored.
- Always be checking your knotwork. Catching a portion of the design that is knotted improperly early will save you a ton of work correcting a whole section of chain. It can also help keep your design from splitting into multiple sections when you don't want it to.
- It's actually best to blow off eraser dust, as the oil from your palm can reactivate ink and cause smears.
I hope you enjoyed this little tutorial. A big thanks to @winstonwolfe for salvaging my incredibly blurry photos with his wonderful photoshop skills. Someday, I'll get a proper camera, AND learn how to use it, but for now I apologize for a couple of blurry images in the mix.
amazing. Followed!! UpVoted!!
It will be nice if you could submit your article as answer for my How to Draw? question.
Hey thanks! Fell free to link it if you like!
:)
This is a great step by step! The pics look really good, little to no blur :)
Thanks! All thanks to @winstonwolfe for cleaning up my images, this post was almost lost due to my horrible camera skills XD
Hehe, go team! :D
I have never thought about using google docs to make graphing paper.
Back in the day I used excel templates, but google docs have WAY better graphing paper templates!