We make puppet theater for children (part 1)


To avoid breaks and splits, take wooden bars without knots! Choose carefully or take some extra bars for a case.


Cut the bars with a jigsaw or saw in accordance to the dimensions specified in the chart.
9 pcs = 31 cm, 3 pcs = 66 cm, 6 pc = 120 cm
Grind the prepared bars with a sandpaper!
When the bars are cut and ground, proceed to assembly.
For assembly, you will need a corner ruler so that when you screw the bars together, the corners remain as straight as possible.
• Lay the bars on the floor in accordance with the plan.
• Take the outer corners and screw the bars together with short self-tapping screws
* There are peculiarities of the screwing! For the aelf-tapping screws that are closer to the edge: before they are screwed in, makes a hole on the length of the screw with a thin drill (No. 3) and then screw in the self-tapping screw (otherwise the bar can crack). The same should be done with long self-tapping screws that twist the end!


• When all the frames are twisted together (we have 3 of them now), we begin to twist at the end the lateral screws (long). This is necessary for the strength of the structure. Here we also pre-drill the holes.


Put the ready frames on the floor and mark the place for the hinges; pre-drill the holes for the screws under the hinges, with a thin drill, then attach the loops and fasten them!


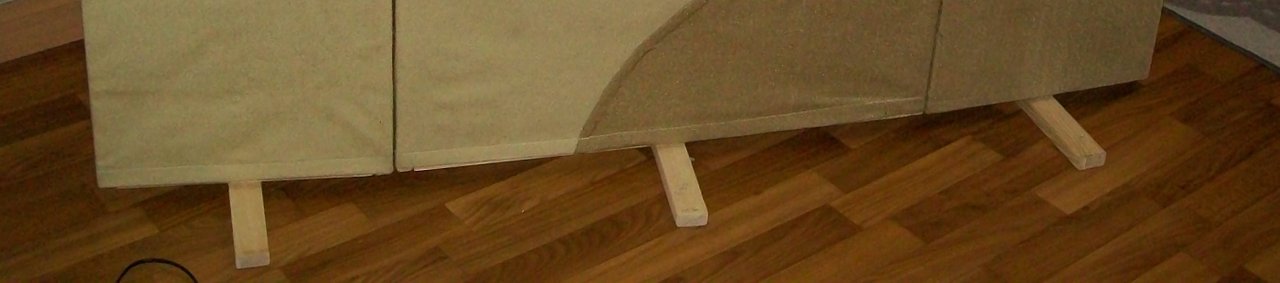
• After assembly, it is necessary to install the supports for each side (3 pieces), see the diagram.
On the lower bars of the frame in the middle with a drill No. 5 we make a through hole for the screws.
Take 3 bars of 31 cm, in the middle with a drill No. 5 we make a through hole for the screws.
On the lower part on one side with a large drill No. 18, make a small groove for the cap of the screw so that it remains on the same level with the bar surface after screwing!
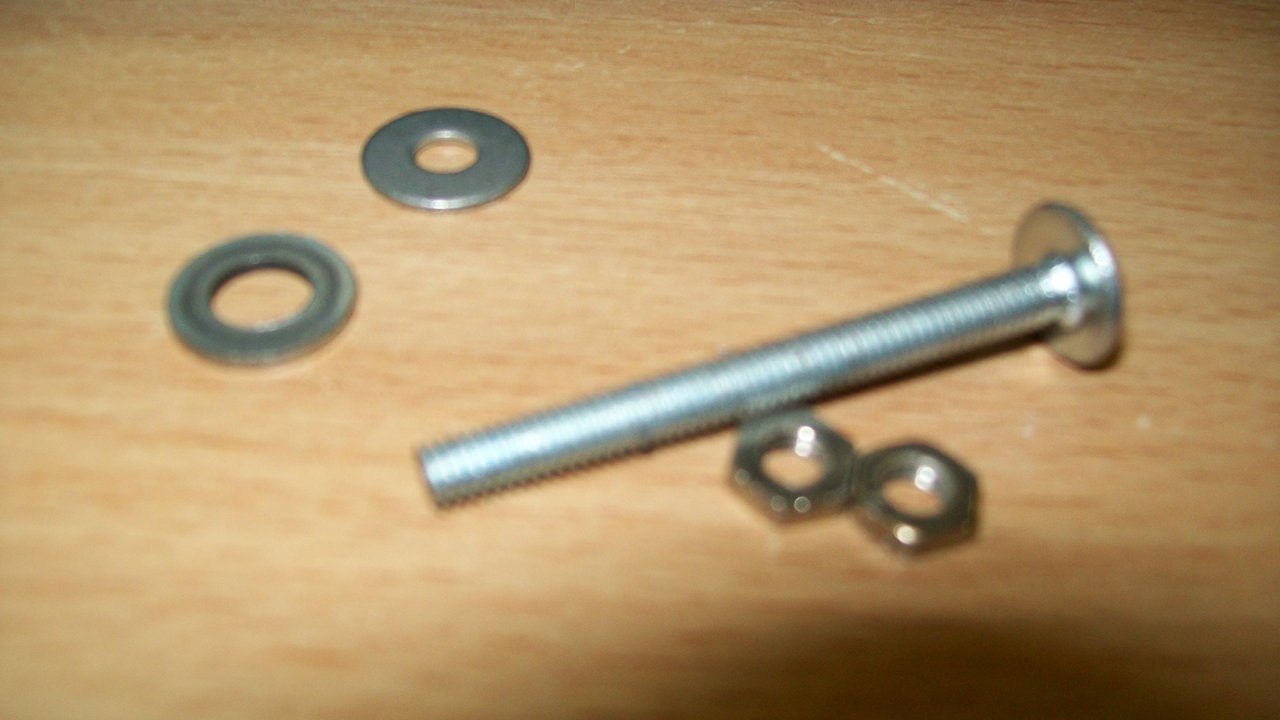

Insert a screw - a spacer - the carcass bar - a spacer – a screw nut – a screw nut (see the assembly diagram) through the lower bar. Do not tighten the screw nuts too tight in order to facilitate the manipulations with the support.


Cover the frame with an acrylic polish (100 ml). Paint the window with an acrylic paint.
At the edges of the window screw 2 self-tapping screws for the curtains and paint them with the white paint.


This completes the assembly of the wooden frame. ))))
.......to be continued ... part 2.
https://steemit.com/@nataliya.farkash
https://twitter.com/NatalineHM?lang=ru
https://www.facebook.com/nfarkash/
https://www.facebook.com/Nataliya.Farkash
https://www.livemaster.ru/topic/1555863-izgotavlivaem-kukolnyj-detskij-teatr?vr=1&inside=0