Get Creative! And Learn this Smudge Tutorial ( A Comprehensive Guide )
If you're browsing and reading the description , I'll suggest you to check out the image on the article :) The thumbnail distorts the image a bit.
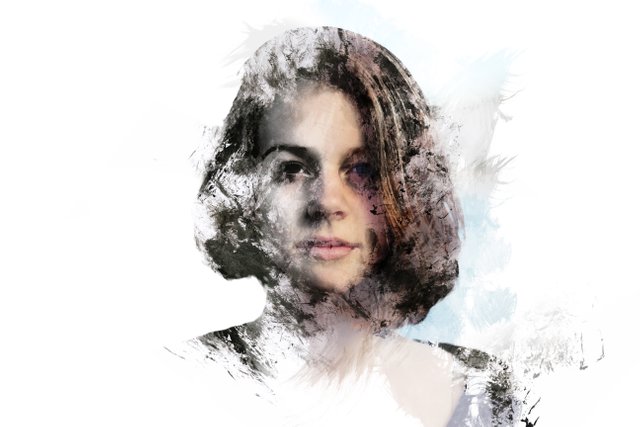
Final Image
Resources Required:
Let's Start!
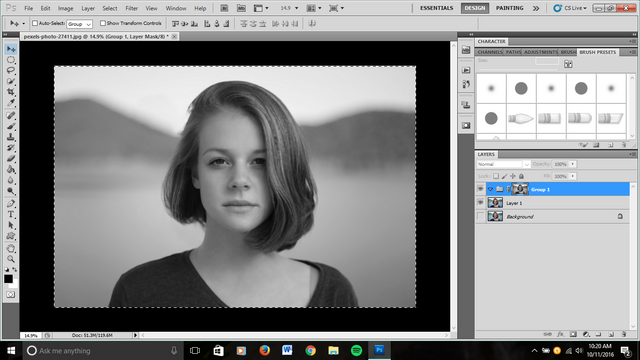
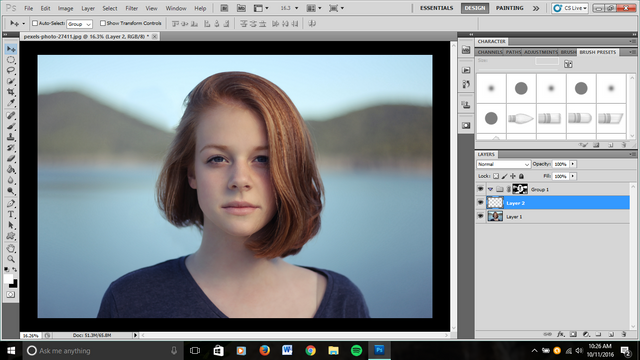
1. Load the image into Photoshop
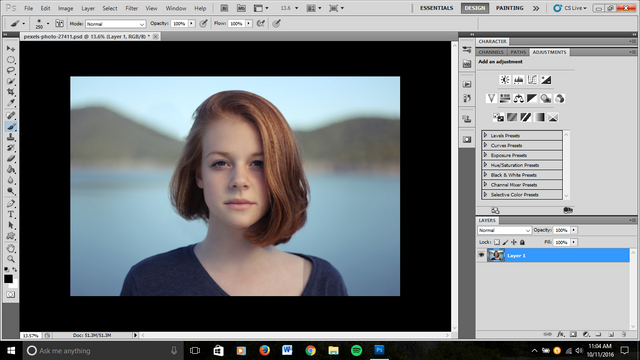
2. Duplicate the layer

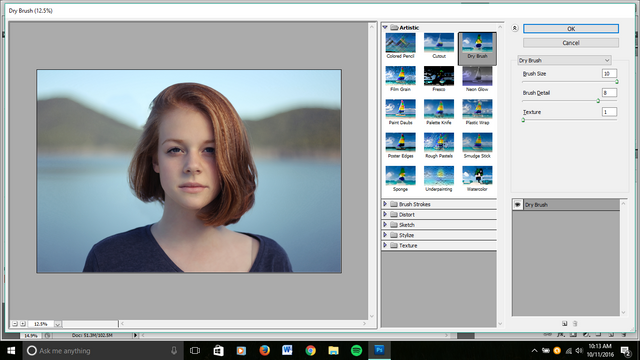
3. Go to Filter - Filter Gallery and Apply the Drush Brush Effect ( Look at my Settings)
4. Create a new group

5.Select the group add a layer mask
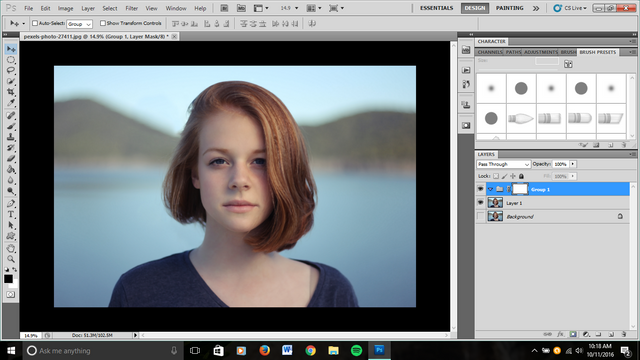
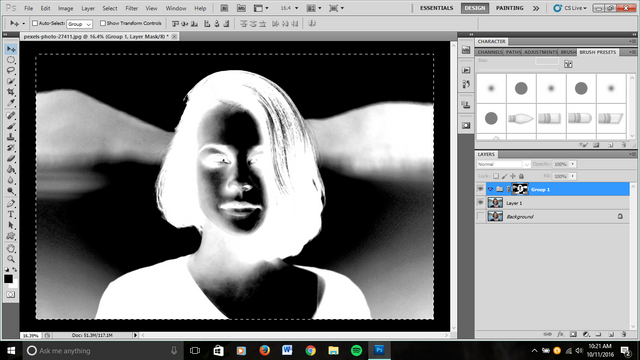
6. Alt-Click the layer mask
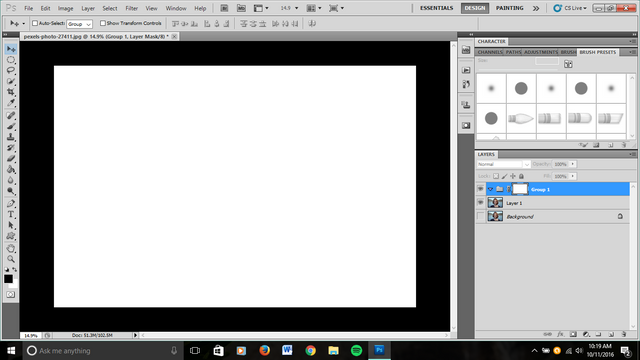
7. You should get the following effect
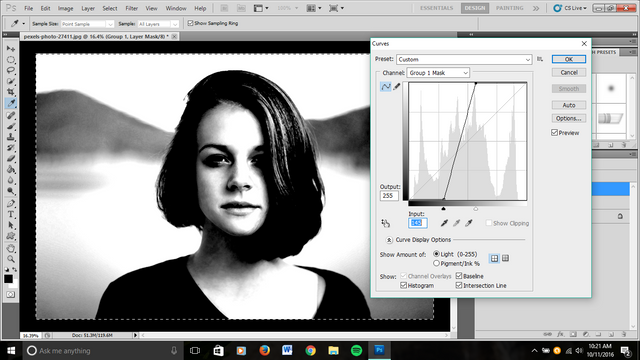
8. Go to adjustments and curves
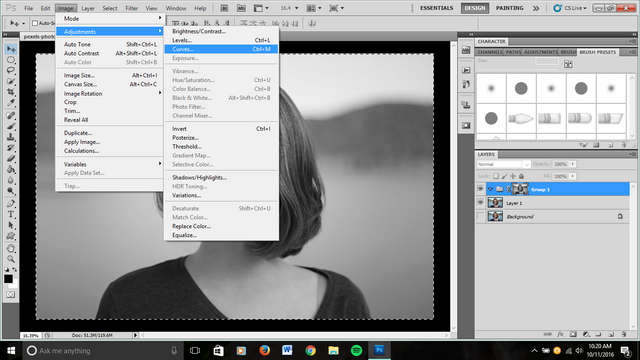
9. Use the following settings.
10. Inverse the layer mask by clicking ctrl-i
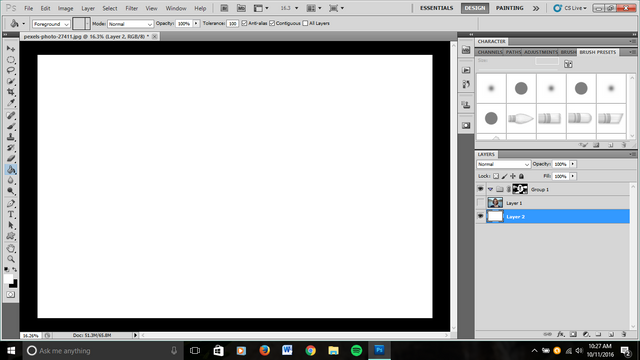
11. Add a new layer
12. Fill the layer with white
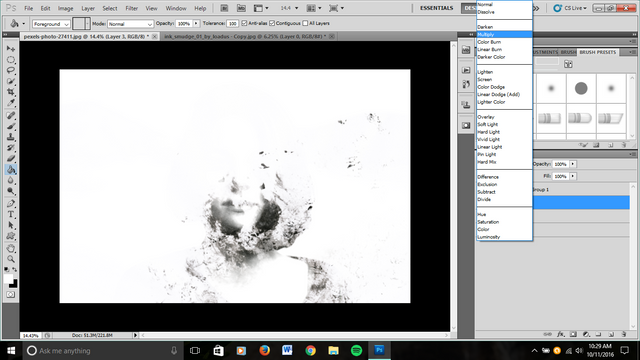
13. Bring the brush image and drop it into the group folder. And change the mode to multiply
14. Change and transform using Ctrl-T
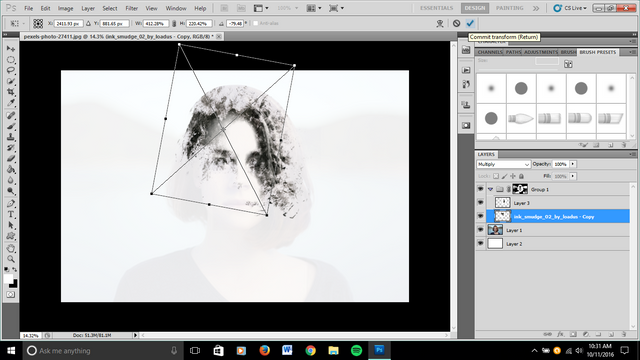
15. Repeat the steps 13 and 14 for the second image.
16. The effect should be something like this
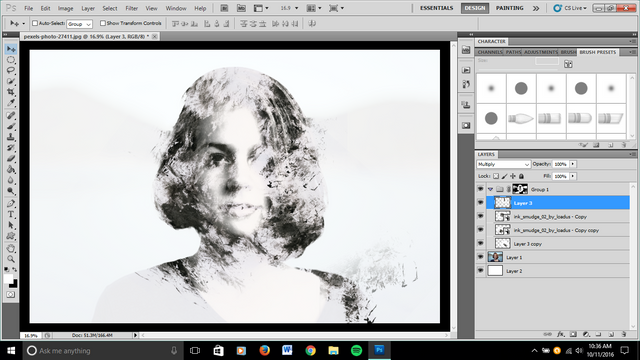
17. Take the main (model) image to the top of the layers and change the mode to multiply. Add a black layer mask to it.
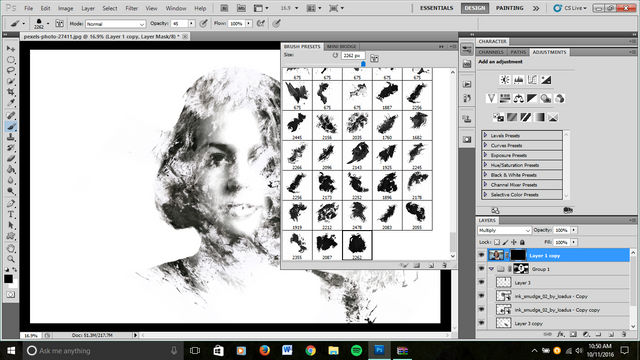
18. Now it's time to add the brushes
Open the zip file and load the brushes
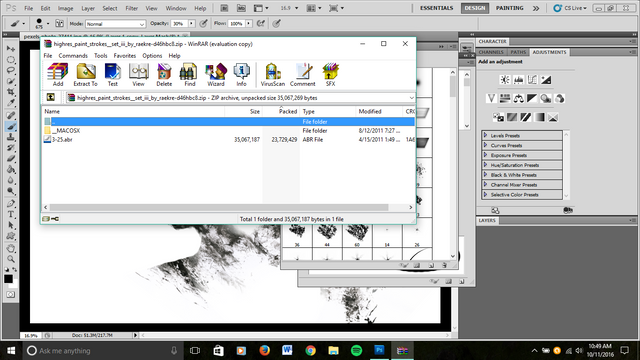
19. Choose any brush you want
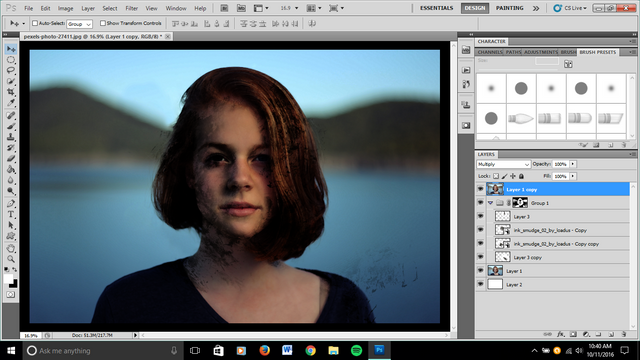
20. Add a layer mask to the model image. Fill it with black and paint with white. To get the following effect
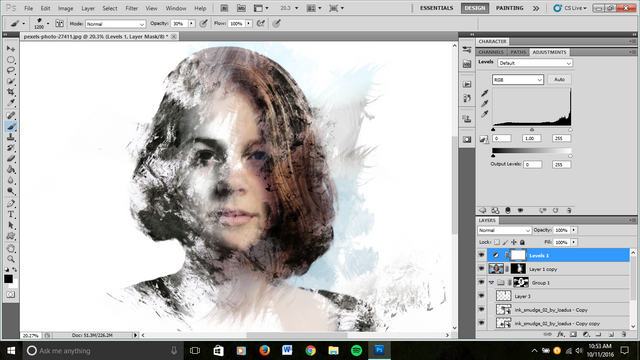
21 I like how it looks now. But it could use some basic adjustments like vibrance and vibrance
Well done!