I explain how to make light rays in photoshop
It is a very easy and quick way to do, obviously can be perfected but the idea is that anyone can do it without twisting so much. I hope you serve them!

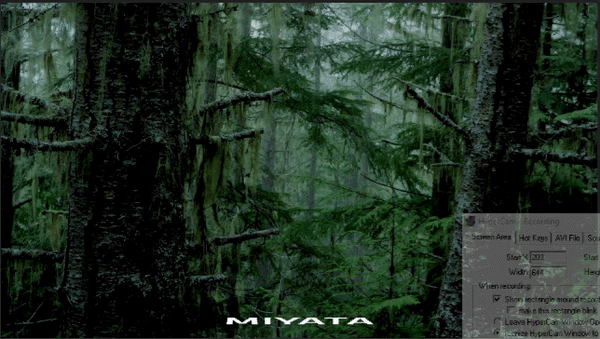
The idea is that we find an image that we can illuminate, although it can be applied to a name or anything else. In this case, to illustrate, a forest is simpler. The color we are going to take is just the color of the background. If they were warm colors we would choose warm colors.

We create a new layer and paint it in black. It will help us to see the light guides later.

We created another new layer, as seen in the previous image.

We hide the "black" layer and place ourselves in the layer that we set in the previous image.

We reduce a little the opacity of the brush with which we are going to make the guides and choose a prudential size, depending on the size of ace of light that we want to do.

We mark without fear the rays of light, this layer after is not going to see, only will serve as a guide. They can be more or less, everything depends on the image and how much we want to put of them.

We create a new layer. In this image we only see by way of example the brush that we are going to use, this type of brush will make the rays look more realistic.

We mark with the brush selected in the previous image the rays, at discretion and taste, we can vary the size of the brush but always following the guides.
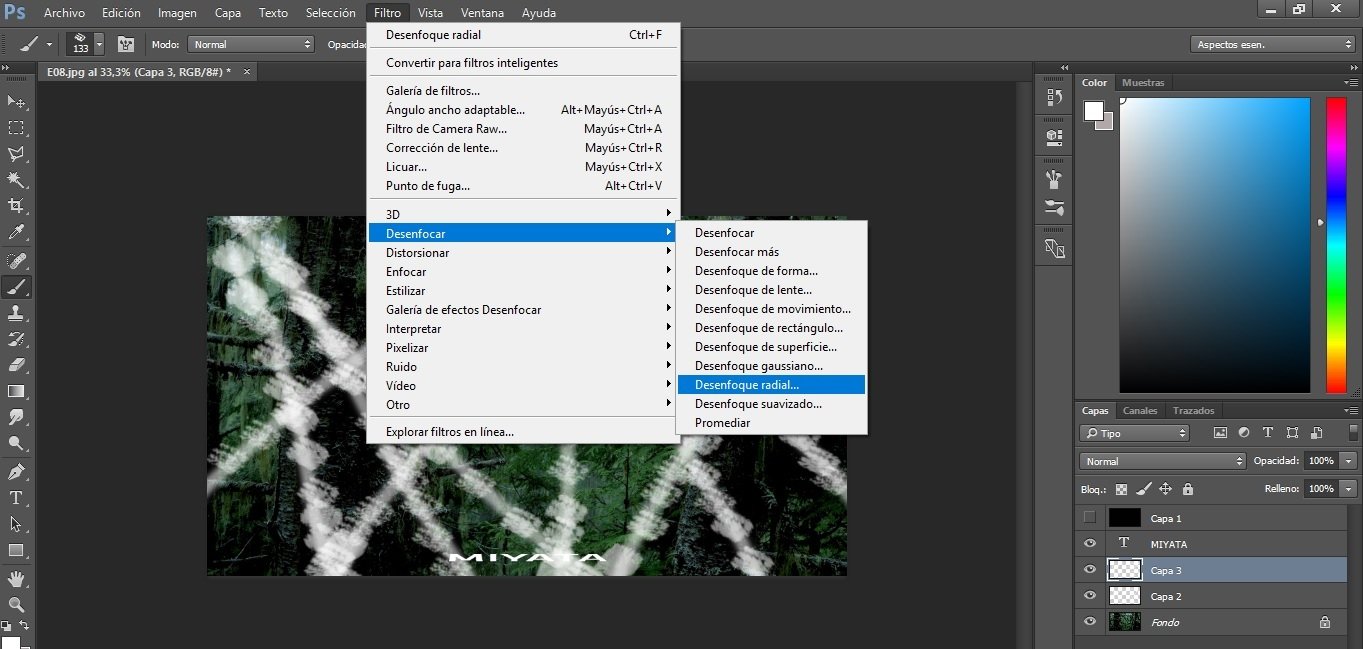
Once we finish marking the rays, we go to Filters> Defocus> Radial Blur
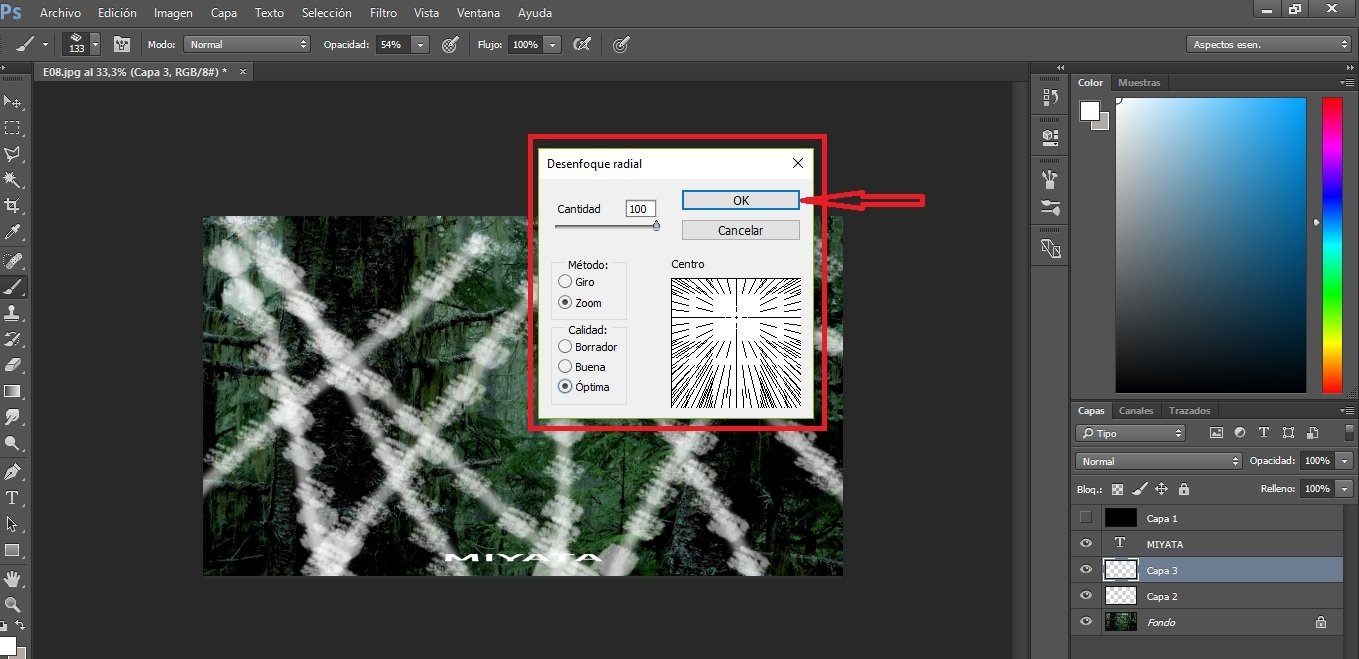
When we click the radial blur we increase the whole amount, we give zoom and optimum or good, which they prefer, practically the same, a little more quality or a little less.

Once we click the image it is this way. We can continue to modify the image and adding smaller, firmer strokes in a new layer as we will see below.
We mark the parts that we think need to finish the ace of light, or only if we want to enhance the lightning a little more.

Now to blur directly we go to Fitro and the radial blur will be directly first.

We click and it will come out something like this.
Once the operation is finished, the image remains this way.

As we see on the right, we can play with the intensity of the opacity of the different layers to intensify or reduce them according to our particular taste.
Here we finally have the before and after of how the image remains.
good tutorial thank for sharing
Thanks @bruzzy :D
This is a very good explanation. Thank you! I have a friend working in Photoshop, but you're more talented than him
Thank you very much, your friend must be very good, I just do it as a hobby
He's not as good as you
Awesome tutorial!
Upvoted and following!
Following you :D
This is a great tutorial. I would advise everyone, if you are trying to do something online your own graphics, webpages and logos help your business a lot and learning this stuff is a great asset to any company.
Thank you for visiting my post :D
Thanks for this tutorial... it will helps me a lot...waiting for your next post..
Thanks! :D
wow. Amazing. i'm a noob at photoshop :D, may be i should try learning it one more time.
Thanks! :D
I've been learning photoshop and this is a great tutorial! Followed you :) I can't wait to see what else you post!
Following :D