A sketchbook. Do it yourself! My job
Hello friends! I want to share my sketchbook, which I did myself! Now I will tell you in detail how to do it. After all, if you are an artist, then you must have a cool sketchbook, where you draw funny drawings!

In addition to drawing, I like to do all sorts of things with my hands. I decided to make a decorative book, similar to the old, than I share with you.
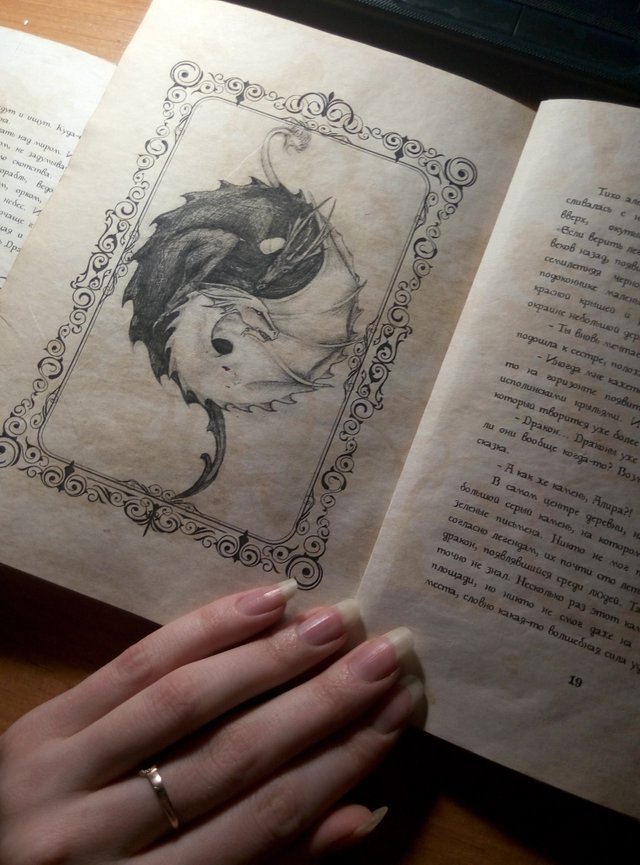
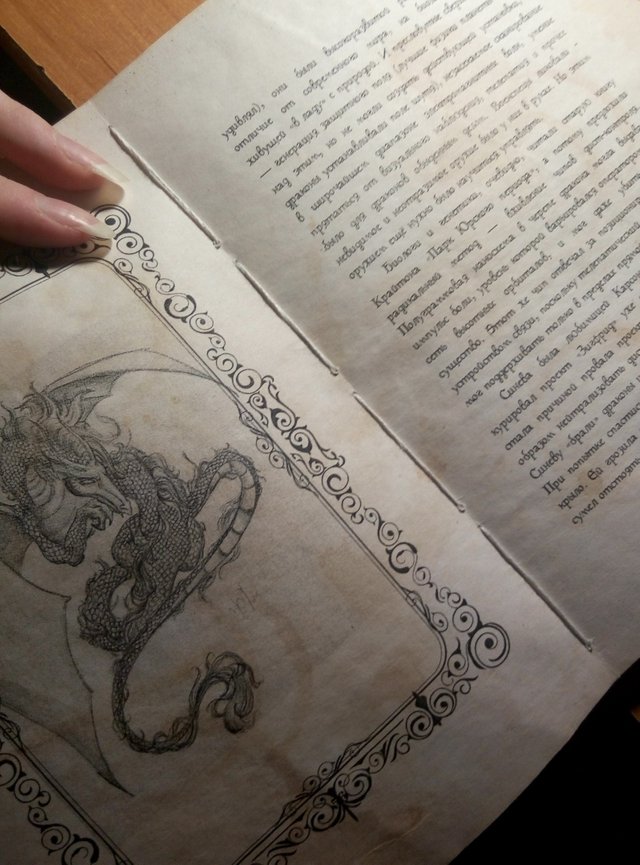
- At first I chose the text and pictures that I want to put in the book. These were stories and art from the Internet. I designed them in a text editor and arranged the text and pictures as I wanted.
- For the kind of old pages, I moistened the sheets in the water with the tea, then dried them and flattened the iron.
- Type the typed text correctly. I used the book binding, which I learned on the Internet. I did a classic book. This means that in each notebook of the book block 16 pages of A5 or 4 A4 pages with text on both sides and bent in half. In the print settings, I chose 2 pages per sheet, and printed them in this order:
16, 1, 14, 3, 12, 5, 10, 7
then turn the paper over and print the following pages:
2, 15, 4 13, 6, 11, 8, 9
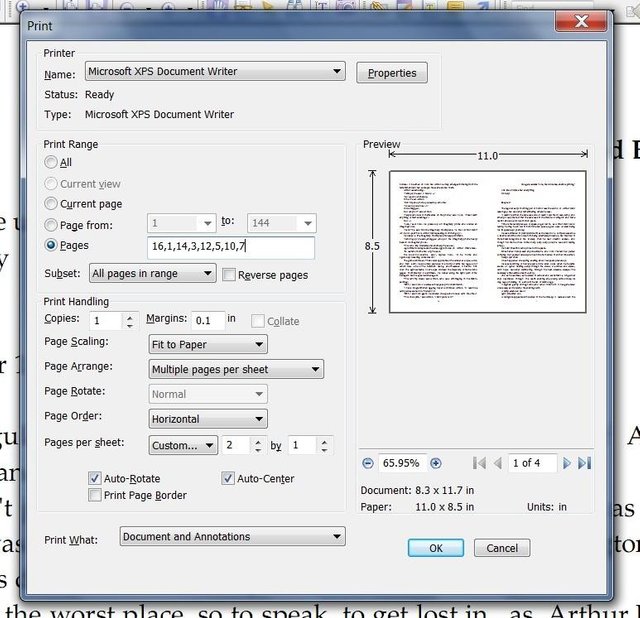
And so on all pages. (Sorry, if I have not clearly explained, there are many articles on the Internet about this)
I got 9 blocks of 16 pages.
- Next, I sewed these blocks. I made holes and sewed threads
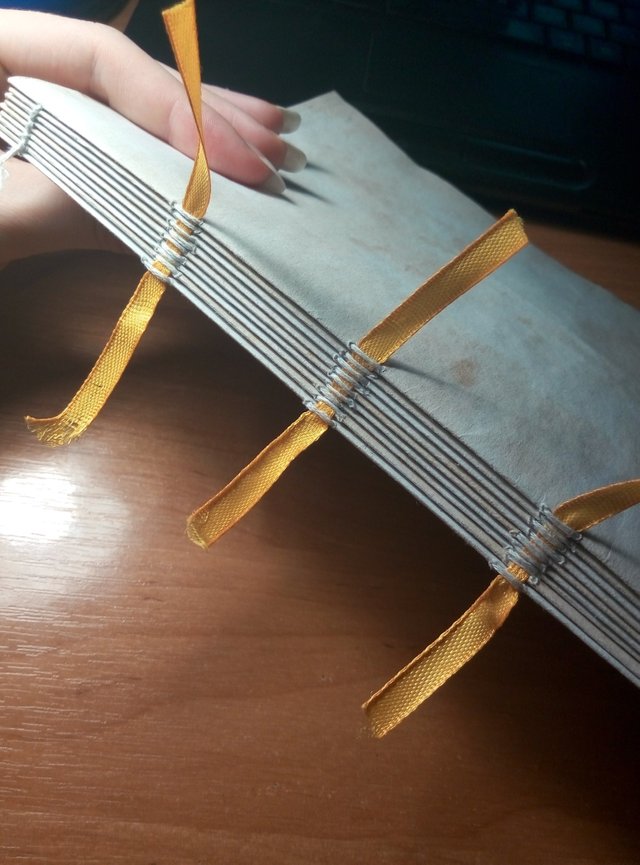
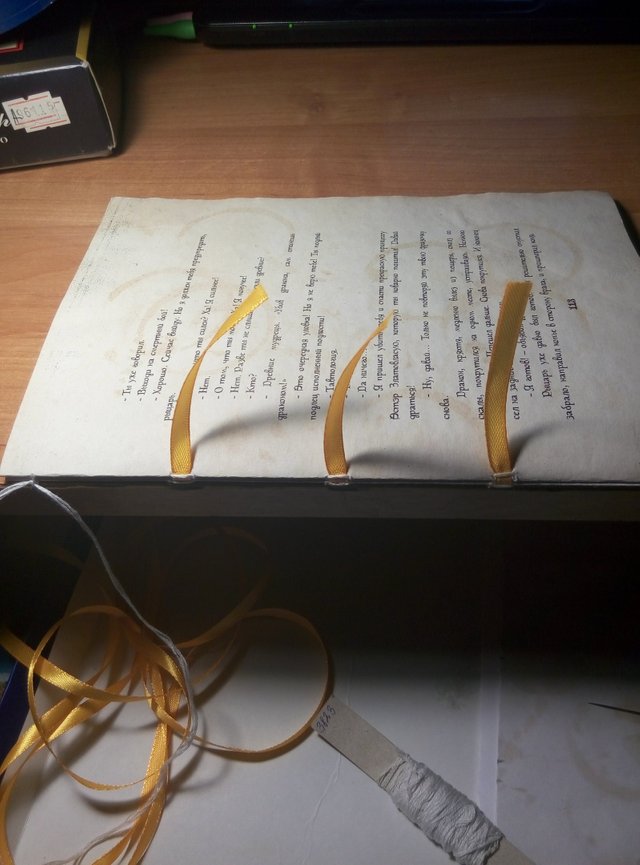
Inside, it looks like this
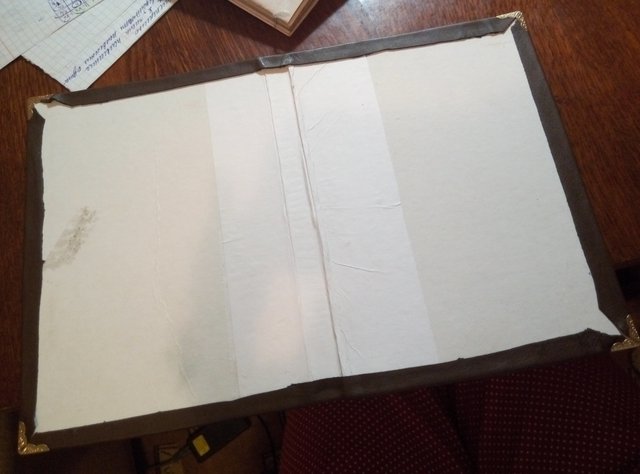
- Next, you need to make a cover. I took 2 thick sheets of cardboard and cut out rectangles a little more pages of the book. Glued them together with a rectangle of paper so that there is room for the thickness of the book. And wrapped the resulting design in a piece of artificial leather. The skin was glued to the cardboard with glue, and metal corners were put on the corners.
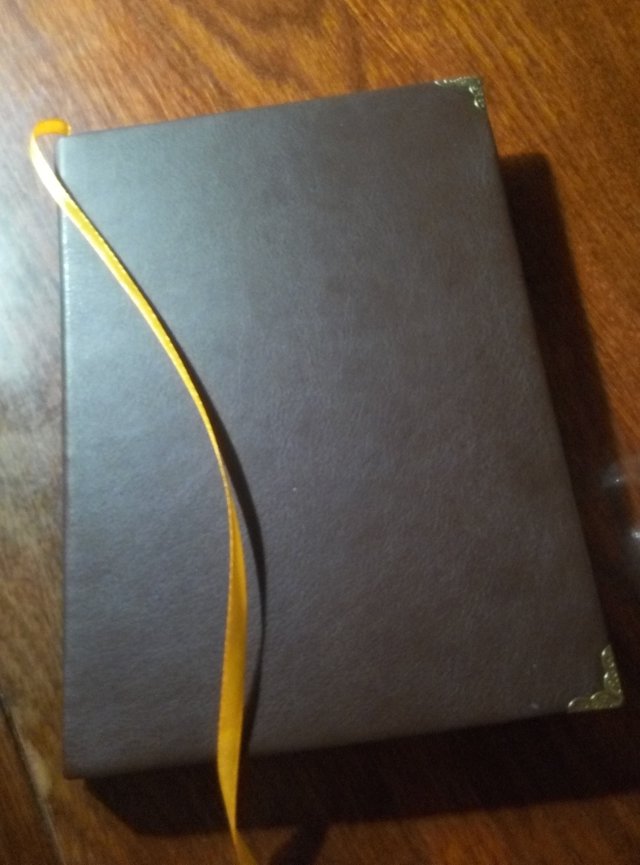
- After that I connected the book and the cover. To do this, I put the book in the cover and pasted the last pages to the cover (never glue the book's spine, only the sheets!). For beauty, you can put a ribbon to bookmark between the cover and the book
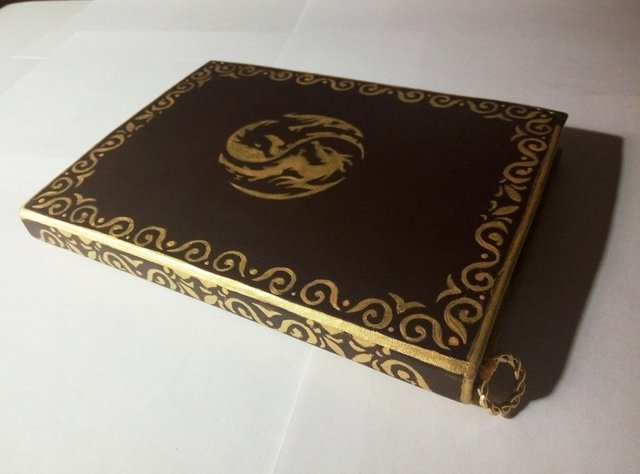
- In the end, I decorated the cover with drawings made with acrylic paints and tied a metal ring to the ribbon....
its a great work ....
thanks
Learned something new from you today )
)
I am also an artist, though am not yet a master but am trying my best. This is one of my drawings in my sketchpad ![IMG-20180424WA0008.jpg(
Thanks for sharing
Upvoted
thanks you
hello |! you did good job ! love it !
Hi) thanks you)
Looks great, and that tea moment with paper really done job great. Will try it with my watercolor papers, I bet it will look great to paint on them @miss.dara.
Many thanks!
Postingan yang bagus dan berguna
you have always had your way with creativity.
this is really nice
Thanks you )
This is one of the coolest posts I have seen in quite a while. Thank you for sharing the experience and process! I will look forward to giving this a try in the near future.
STEEM ON MY FRIEND!
Thank you so much! I tried to describe the creation process in detail.
This is a wonderful piece of art you have created @miss.dara, everything is so simple yet incredibly intricate, it's beautiful ♡
thanks you)
Вау! Классный скетчбук. Спасибо за познавательный пост:)