Had some scraps made a welded pencil holder.
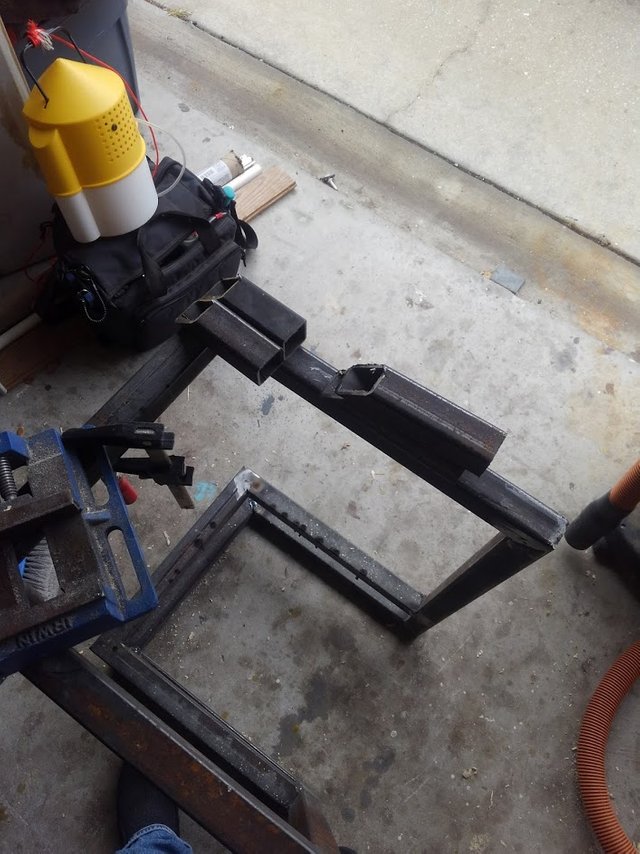
So doing all the miters for the desk I'm building I wound up with allot of shorts that I didn't want to waste.
Most were close enough to just make matching sets out of them.
Before starting I did have to trim burrs and what not clean what mill scale I could of the joint.
Although with stick welding cleaning scale isn't of the most utmost importance.
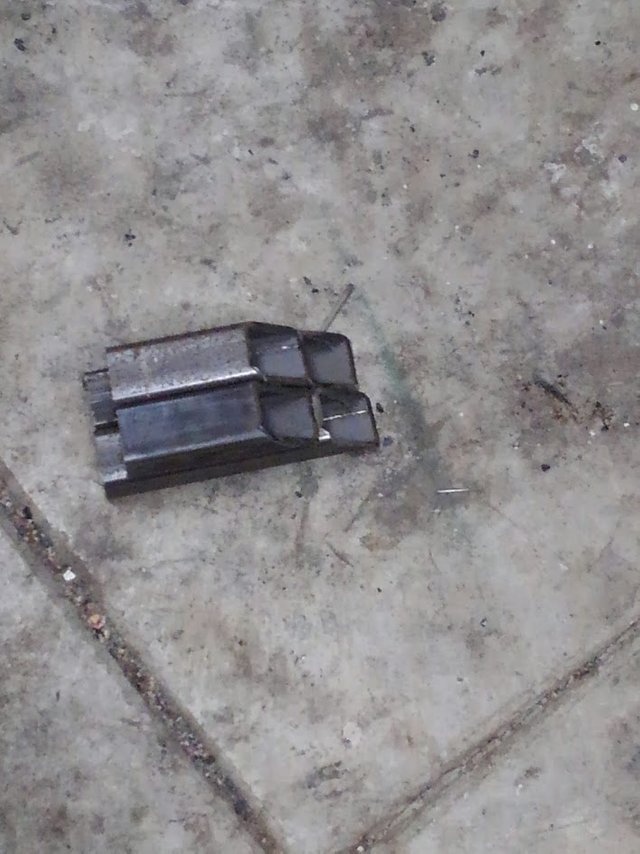
Well I got my 4 pieces of mitered short cutoffs that I wouldn't have used picked out for being close enough that I could simply grind off any excess on the longest pieces once it was together.
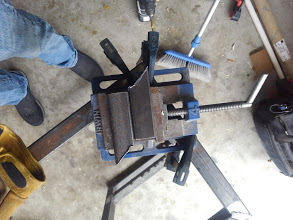
Once the front and the back were matched up side to side I welded them together in a cheap drill press vice I have clamped down to the desk frame I'm making to work at an acceptable height.
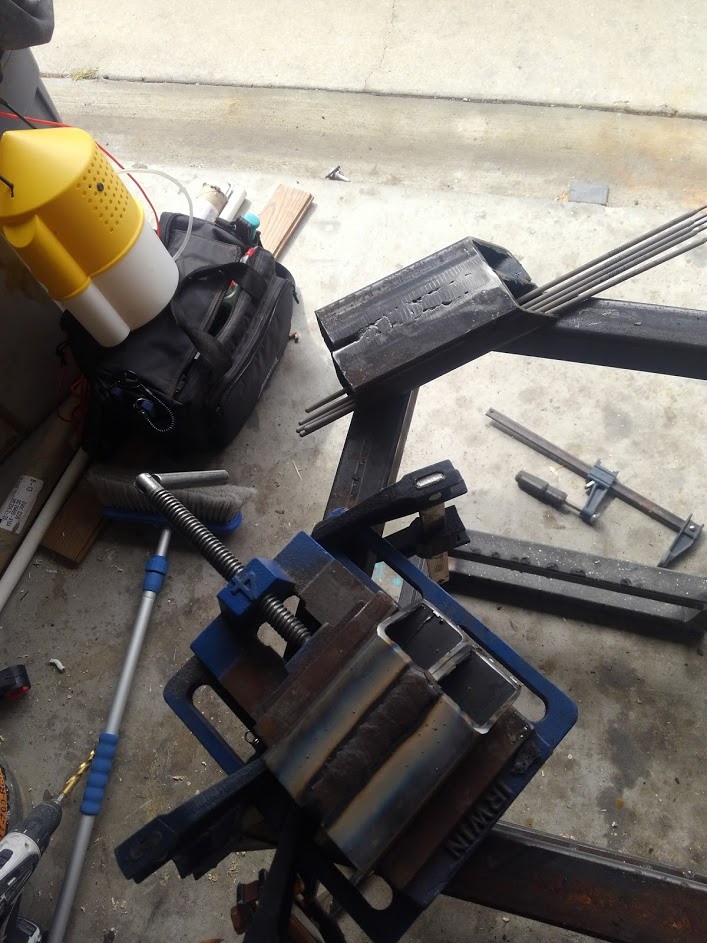
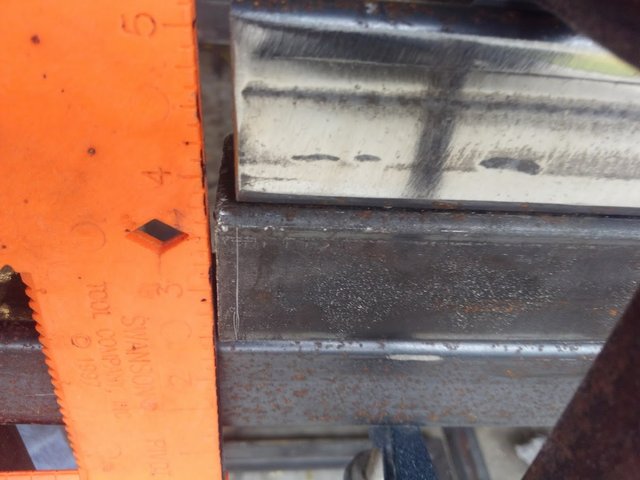
I had previously scribed a line with a tungsten I had laying around on the one piece that would be needing trimmed in the end. I only did this for reference the actually trimming was eyeballed with a ceramic flap disc.
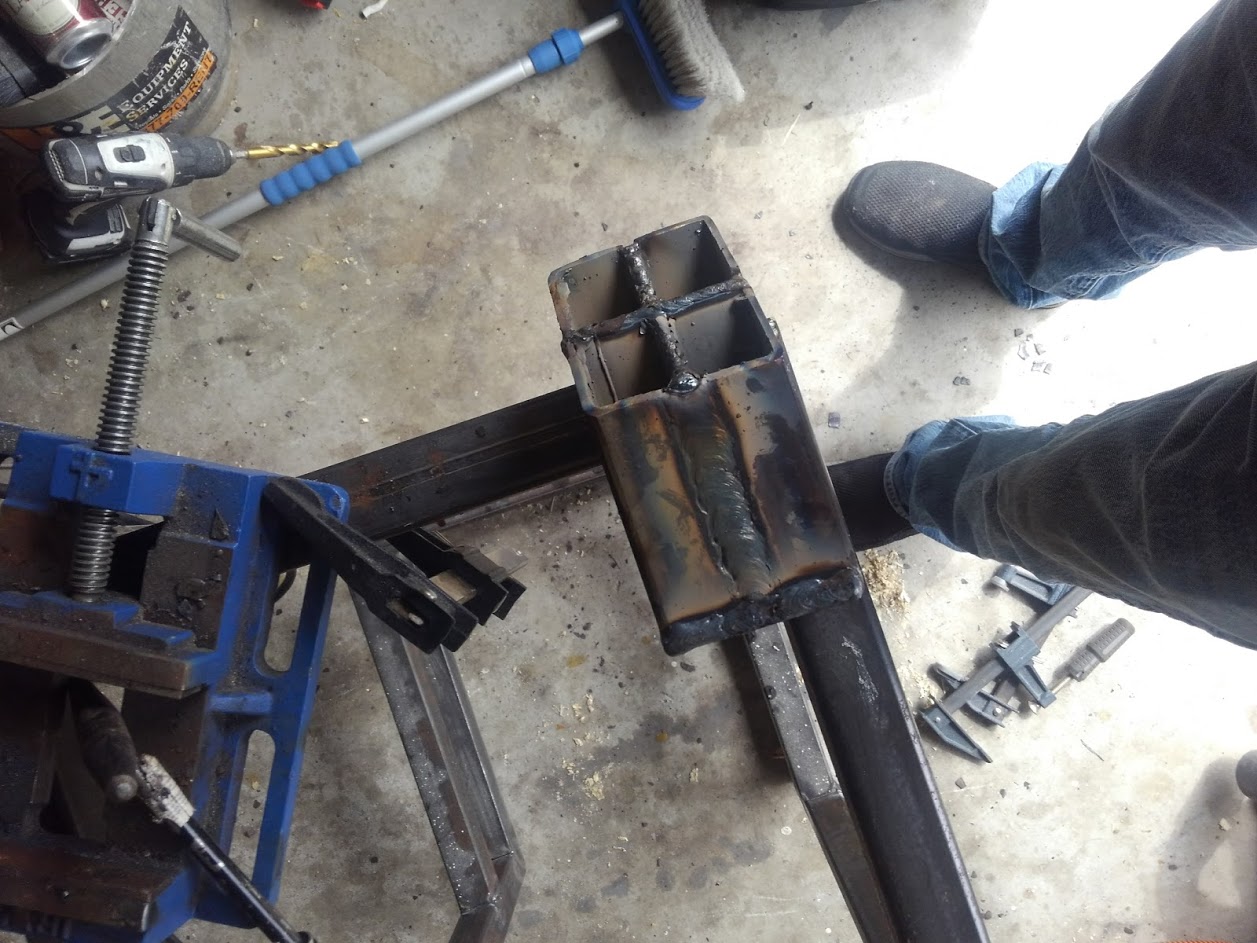
Now that the front two as well as back two pieces were welded together, I took both halves and put them in the vise front and back.
They were a tad out of place being in the vise on the bottom but not on the top so I pulled the top together with an F clamp.
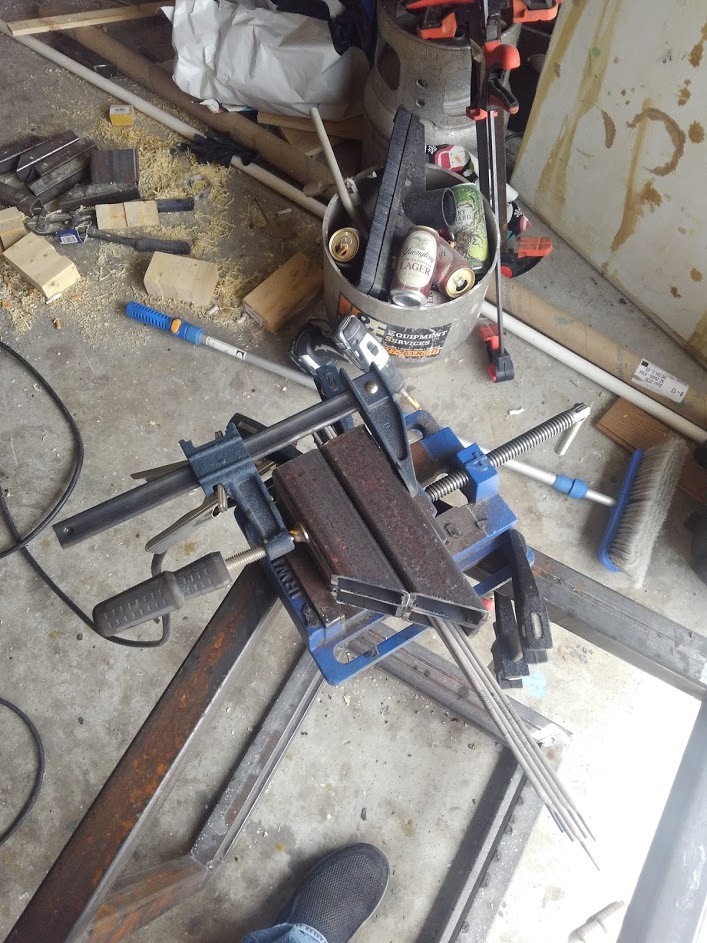
Once together I ground down that one errant piece that was slightly longer, It was important to not attempt to cut it off on the chop saw because the disc would have just walked out the path of least resistance being I was only shaving about 3/16" and would have been a dangerous operation seeing the disc can shatter if abused.
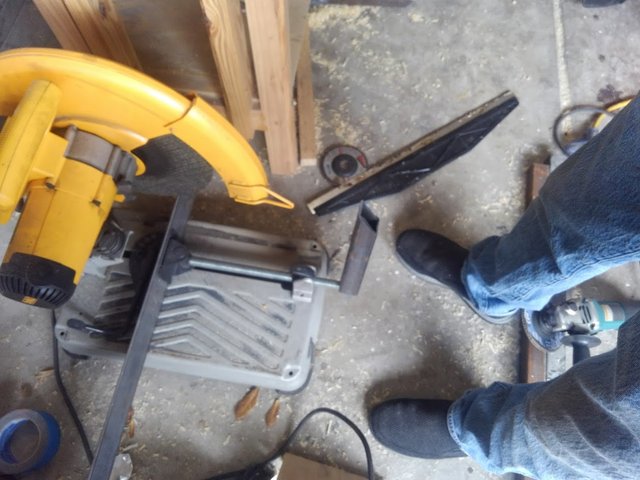
The piece of square tube is to make it easier to take the slop out of the clamp once the chop saw is spooled up and vibrating the clamp loosens up happens under other circumstances on other machines as well.
Speaking of Chop saw, I trimmed a square as close as I could eyeball off of a 3" wide by 3/16 flat bar to use for the bottom cap.
Here it is finished.
Some things I haven't mentioned yet.
Use your safety gear.
Welder was Vulcan Pro Tig 200 from Harbor Frieght
Rods were 3/32 Forney 7018 I preheated them in the job as I was doing It as I don't have an oven.
Initial Amperage was 85 amps DC electrode positive.
Took less than an hour most of that was set up time.
In the end Ill probably just polish it up with a flap disc and throw wax on it but may paint it.
Hello! I find your post valuable for the art community! Thanks for the great post! ARTzone is now following you! ALWAYs follow @artzone and the artzone tag, and support our artists!
Thank you for commenting and stopping by
That's quite a pencil holder! I'd like to get into welding. I tried it in school shop. Not enough to get good at it.
If you wan't to try it depending on where you're at you might be able to find an inverter based dual voltage stick welder for maybe a hundred bucks, typically they go new on amazon for about two hundred.
But my sugestion would be to get the flux core welder from Harbor Freight either when its on sale or when you have a 20% coupon. Granted neither is ideal but if you're just starting either will out pace the operator, and flux core with half decent wire isn't that bad and can weld thin wall and sheet metal which is hard to do with stick, I wouldn't recommend Tig unless you can practice and do it first on someone elses dime.
Honestly I regret not just getting a cheap flux core set-up