My very first attempt at Sugar Lift - A step by step introduction
Hello dear everyone and good evening,
Today I want to share a new printing technique with you all that I was introduced to for the very first time myself today called; Sugar lift!
And yes, we will use actual sugar to make our prints! 😄
This is going to be a long post, but with a lot of pictures so if you think it all gets a bit too technical for your own taste scrolling through the photos will also show you the process. 😉
So let's get started!
This is my finished result which I will be showing the process behind and talk about;

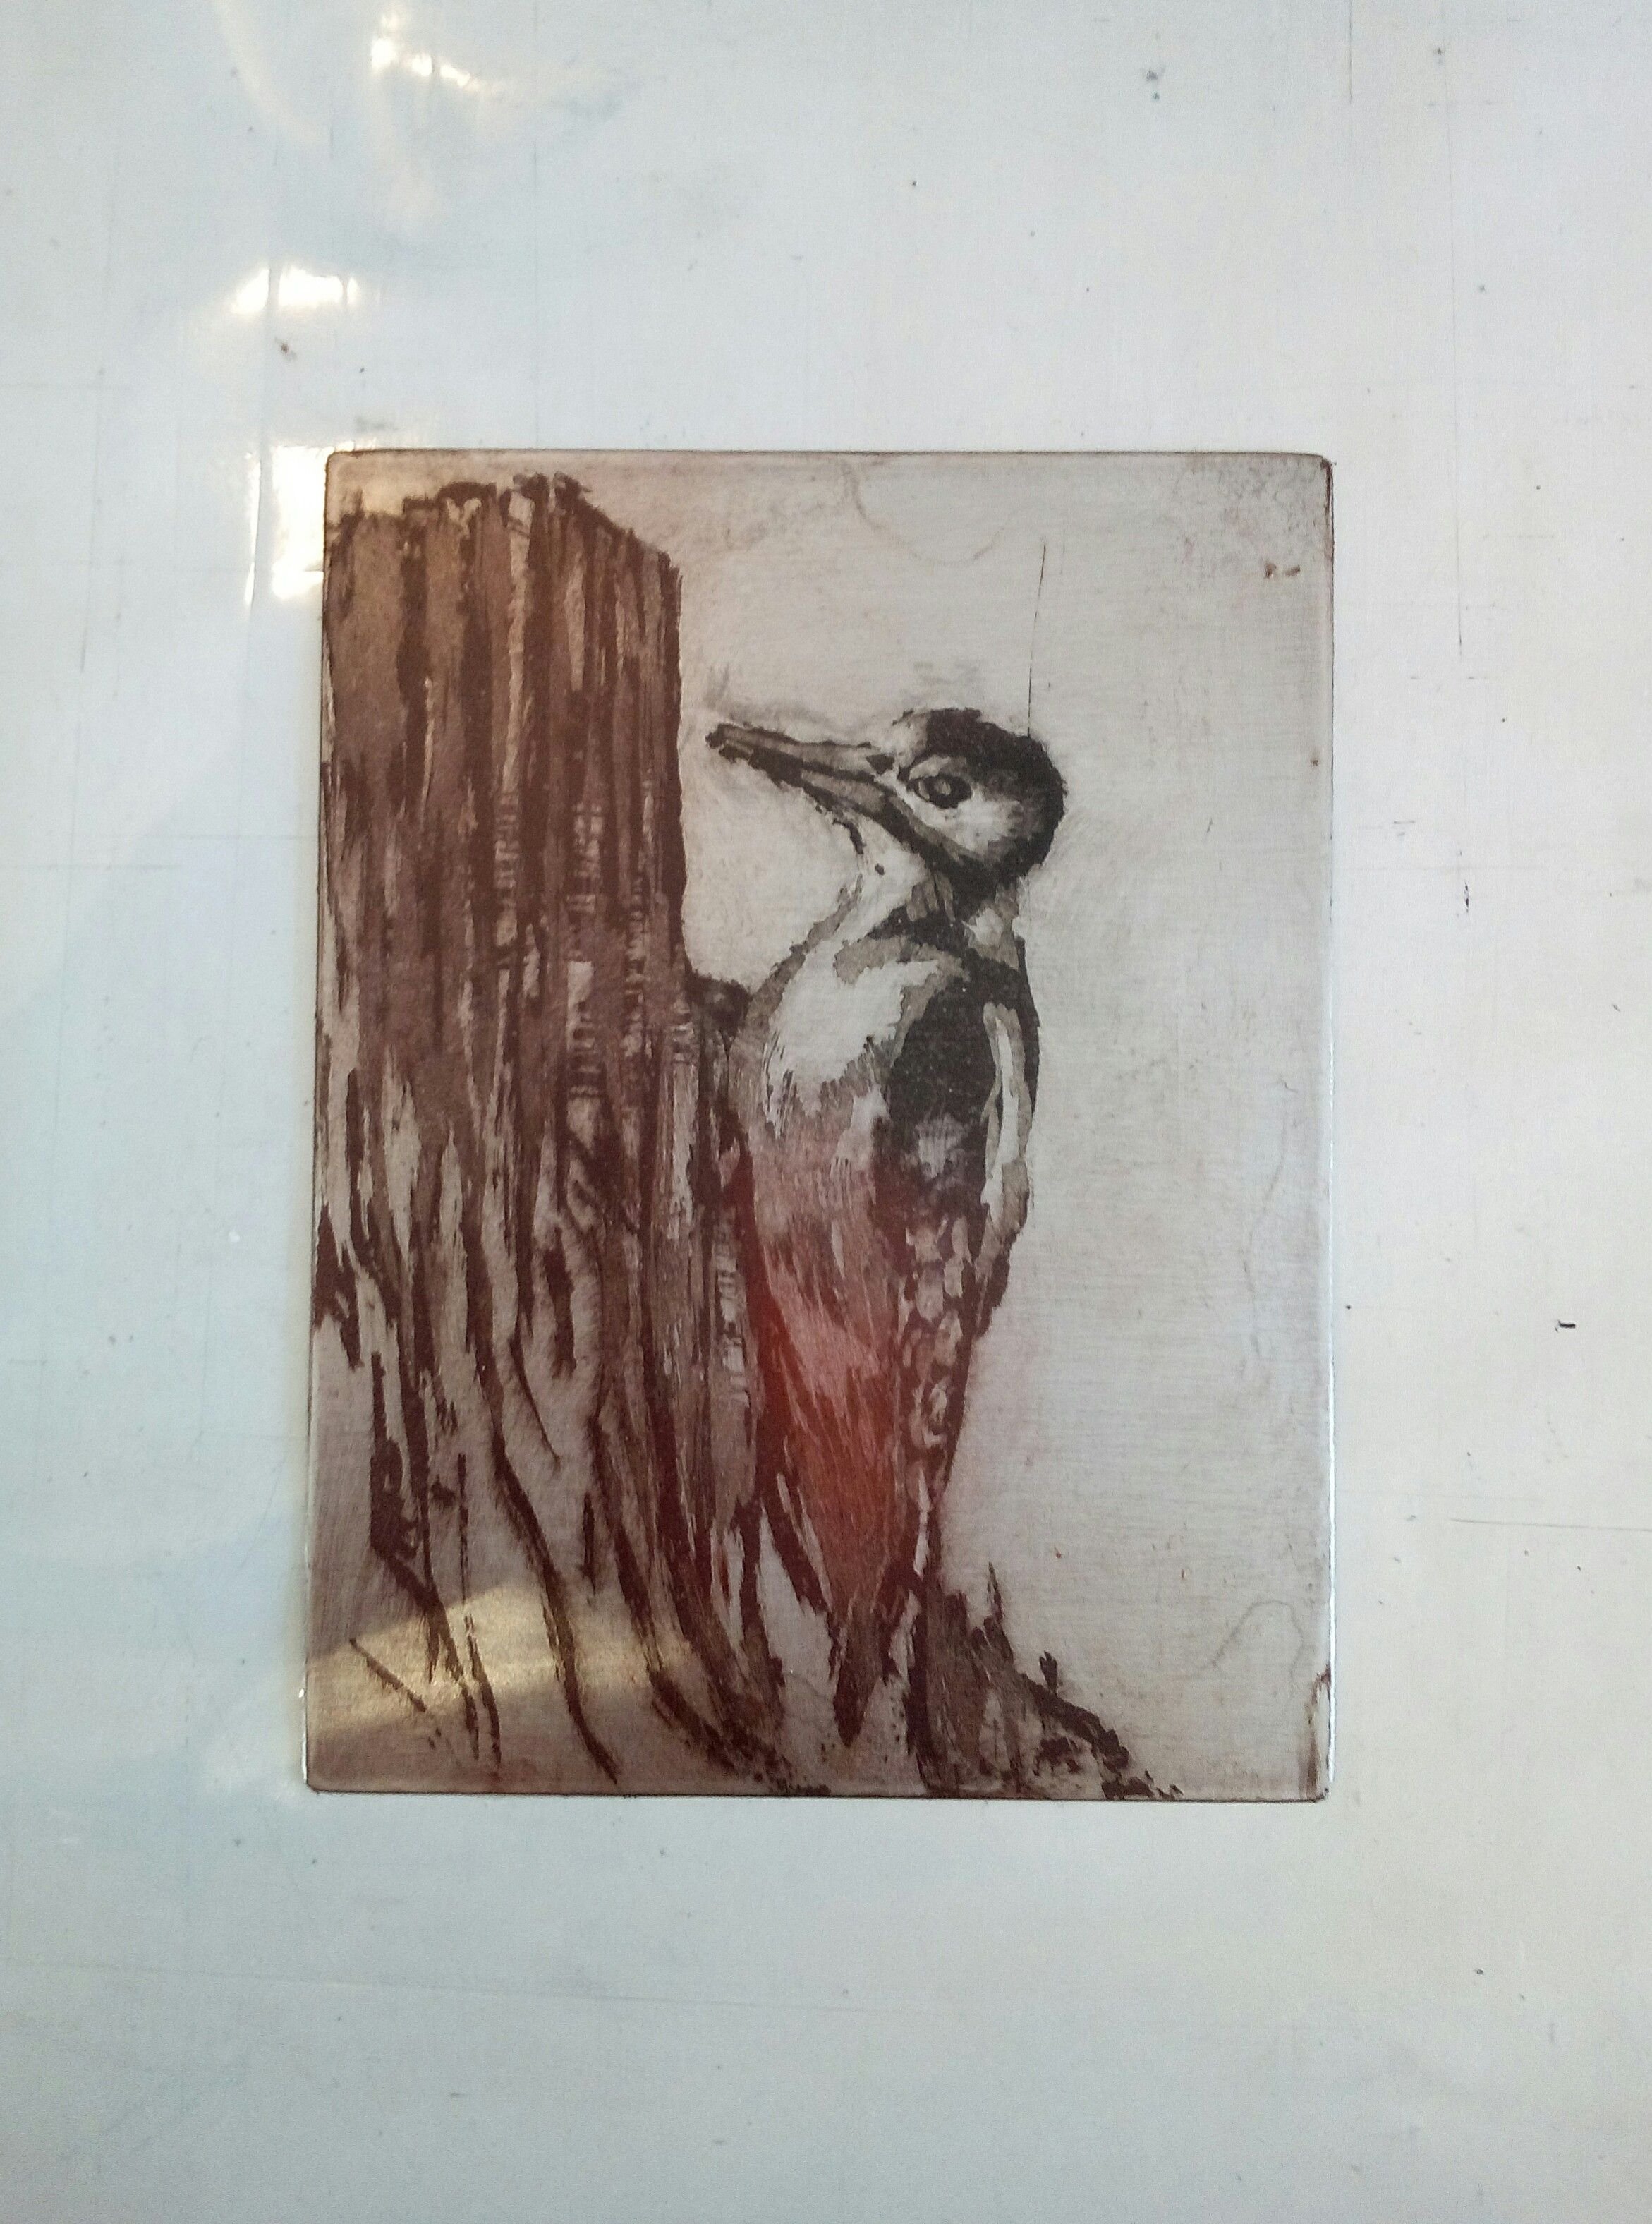
Sugar lift print next to the zink plate which I made the sugar lift on.
So first of all, what you need to make a sugar lift is;
- A zink or copper plate that has been degreased
- Brushes
- Indian ink and fine grained sugar
- Hard ground
- A hair dryer or a hot plate
- A plastic container of warm water
- A container of nitric acid
- Car spray/ paint spray.
Make sure you work in a well ventilated room or outside with the acid and car spray/ paint spray.
Ok, so now that we know what we need let's get started!

Step 1

The first think you want to do is mix your sugar lift solution. You can create it by pouring about 100 ml of hot water into a screw topped jar and continually add sugar until it ceases to dissolve. Then you add a small amount of black Indian ink and stir it well. You want the texture to be smooth and not grainy.
After you have your sugar lift ready you pick your favorite brushes and start to paint your plate with your desired motif.
One thing to keep in mind is that because we are working on de greased plates we don't want to touch the plates as this will prevent our hard ground from attaching itself properly later on.
Step 2

Now it's time to paint! 😄🙏 I had so much fun, but one thing I found challenging was that you should not work with too thin brushes because then they won't give a strong enough mark to resist the acid. Basically, they'll get lost. So strong, clear brush strokes!
This was also quite a spontaneous decision,so the drawing is quite loose and simple. If you are a perfectionist like myself and like details, this is a great exercise in letting go of that! Haha!
Step 3

When your sugar lift is dried ( you can use a hair dryer to speed things up) you will add on a thin, even layer of hard ground.
We put the hard ground on to prevent the acid that we will apply later from biting the plate where we haven't painted our picture.
Use a nice wide and flat brush and simply go over the plate in one direction. Do this as fast as possible, don't go over your plate several times as this can rub off some of the sugar lift.
Then you wait again for your hard ground to dry. You can use the hair dryer, or if you have a fire place, let it dry up while you chill with a cup of tea! 😉😊
Step 4.

Sugar lift covered with hard ground.
Now that your hard ground is dry you want to take your plate and leave it in a container of really nice and hot water. Not boiling, but as hot as your normal tap water can manage.
Leave it there until you see the sugar solution start to melt away. Then take a nice firm brush and softly help removing the sugar lift by rubbing at it in one direction.
Step 5.

Plate after acid treatment. Can you see the different areas of value?
Now you want to dry off your plate with the hair dryer again and let it down in your container of nitric acid for about 30 seconds. Yes, 30 seconds! No more. Then, rains it with cold water and now it's time to spray it with car spray or paint spray!
Lay your plate down on the ground on spray your plate evenly, a quick light layer should do it. The car spray will dry very quickly.
Now you will decide how many values you want in your print. For simplicity, let's start with two.
So this is the basic rules for creating values with a nitric acid bath; the longer you keep your plate in the bath the darker the value will be when you put ink on it. So that means if you want more values than one, you will start by leaving your plate a minute or two for the lighter values and then, four to five minutes for a darker value.
This means I started by leaving my plate for one minute. I then rains the plate in water and dry it with a hairdryer.
To keep your lighter values you will need to put another layer of Hard ground with a brush on the areas where you don't want the acid to bite any more.
After doing that and waiting for your hard ground to dry you will put the plate back the acid, this time for 5 minutes.
Wasn't the plate, and then you are ready for inking and printing!! 😄
Step 6

Now it's time to mix up your ink or if you use ready made that us also fine. Then go about it like normal, drag it on with a piece of cardboard and rub the ink off with tarletain until it's just in the desired areas.
Then, it's time for printing!! 🙏😄


I really like the painterly results of this print form, but it does take a lot of time and has a lot of stages. I will definitely work more with Sugar lift to get better and share my results as I do. 😊
What do you think?
I hope you are all having a wonderful day!
🙏❤🖌
Awesome
It really feels good to post the truth.
Let's get something better in front of you.
Thank you.
Thank you for your comment! :)
Wow, you are really going into serious printing work. This looks great and process is bit longer. Working with acid is also tricky staff. See you are lifting paper from printing with hand, try to make small clamps from some harder paper. Tt's nice tool so the paper won't get dirty with hands.
Thank you so much for your comment @jungwatercolor! It really is quite tricky! Heheh. Thank you for that tip! I didn't think of that, but now I will definitely.ake a couple of clamps! :)
love this process, the telling of it and your result! so great to see such a well put together post. great work!
Thank you so much @natureofbeing! 😊🙏
Steem is so great in situations like these!
It helps me remember the process myself whilst being able to share it with others! A big win/ win!
Thank you again! ❤
I agree completely and have the same experience!