Introducing a new printing technique - Chine-collé!
Hi all,
Today I want to share with you another printing technique I've been testing out and have come to love!
It's chine-collé time!
This technique is when you take a pice of Japanese paper or linen and color it with different inks or dyes to be a part of your final print. Usually this technique is used in order to create backgrounds. I was lucky enough today to get a few sheets of pre-colored Japanese paper to try out on one of my drypoint prints!
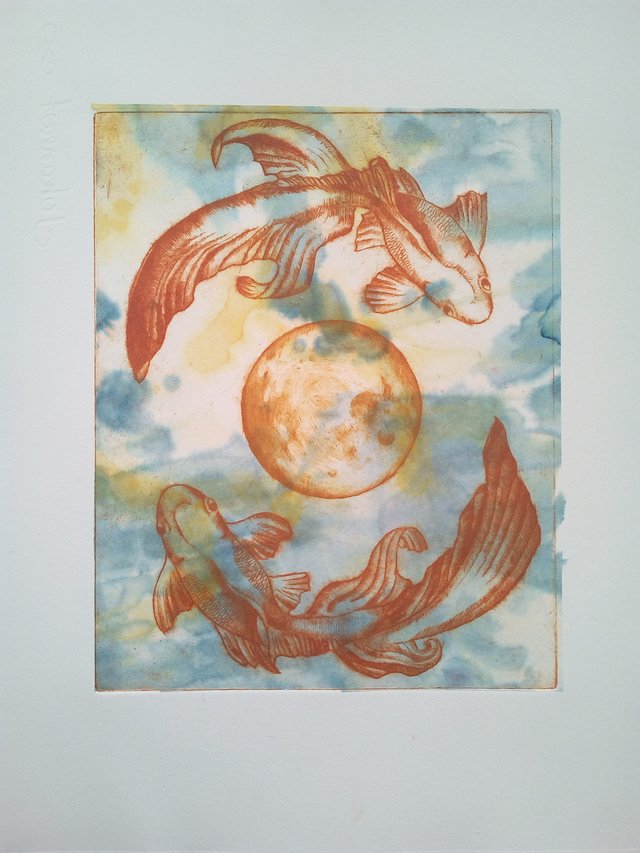
Drypoint print with chine-collé technique.
The chine-collé is actually the last thing you do right before printing so the first thing you need to do is prepare your plate.
.. Well, the very first thing you want to do if your like me and make your ink from scratch is to get that done. 😉
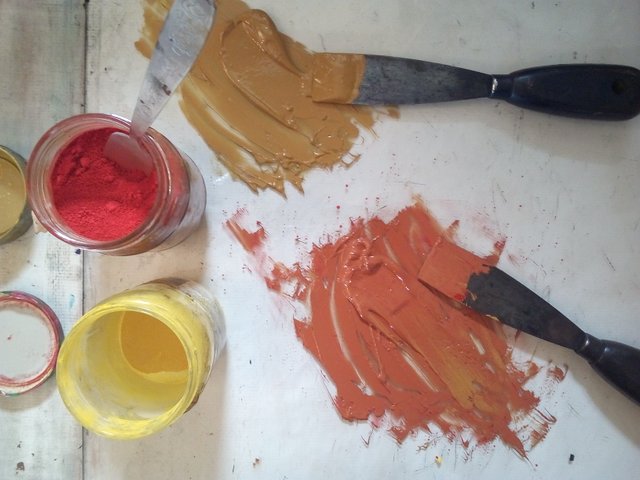
Yellow and red pigment as powder and mixed up with fatty oil and additional pigments.
With this print because I wanted to use two colors I used a slightly different way of applying the ink. Being in Portugal ( the land of cork) I was informed that using old or new wine bottle corks is a great way of controlling the different colors. And after trying it I can confirm, that yes, it is!
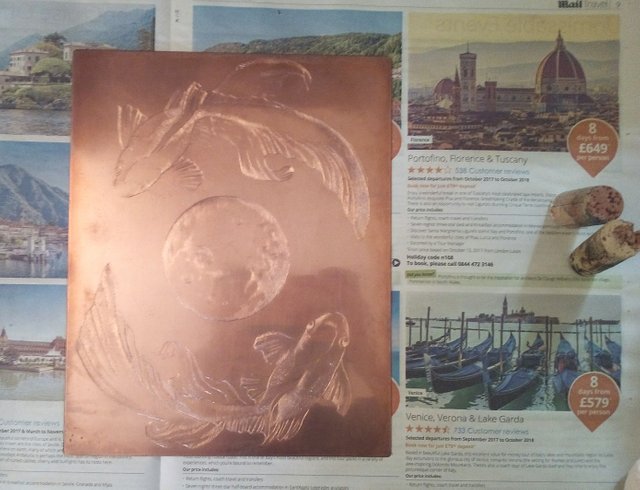
Plate before inking and two corks for applying ink.
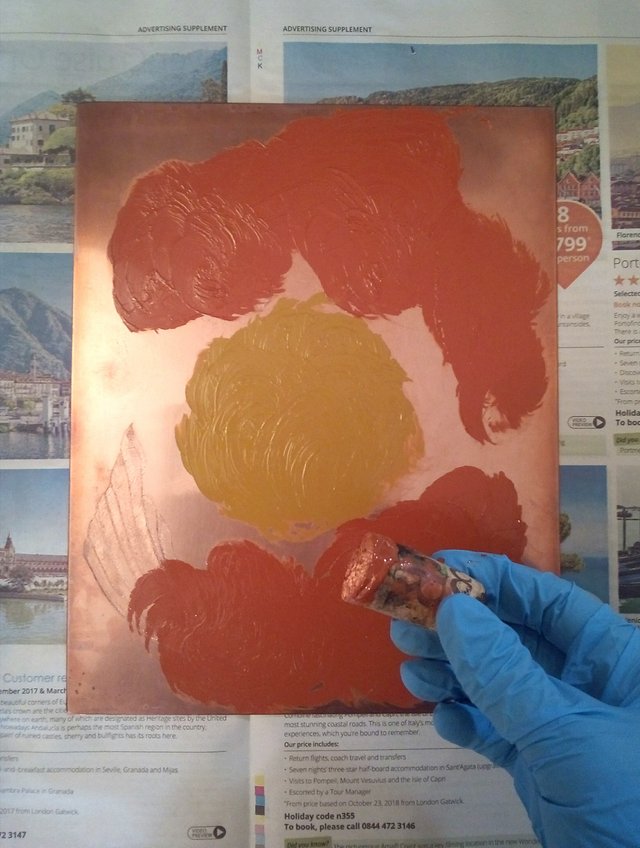
Applying inn with cork.
To apply the ink I simply dip the cork in the ink and then use circular movements to get the ink into the engravings of the plate.
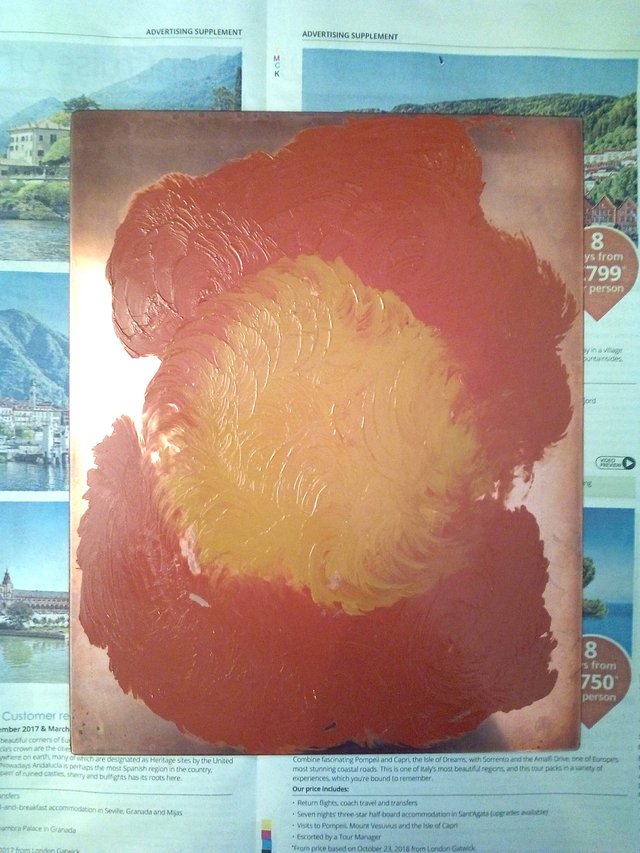
After covering the engravings with ink with the cork I use two balls of tarlaton, one for the yellow and one for the orange, to get the excessive ink off.
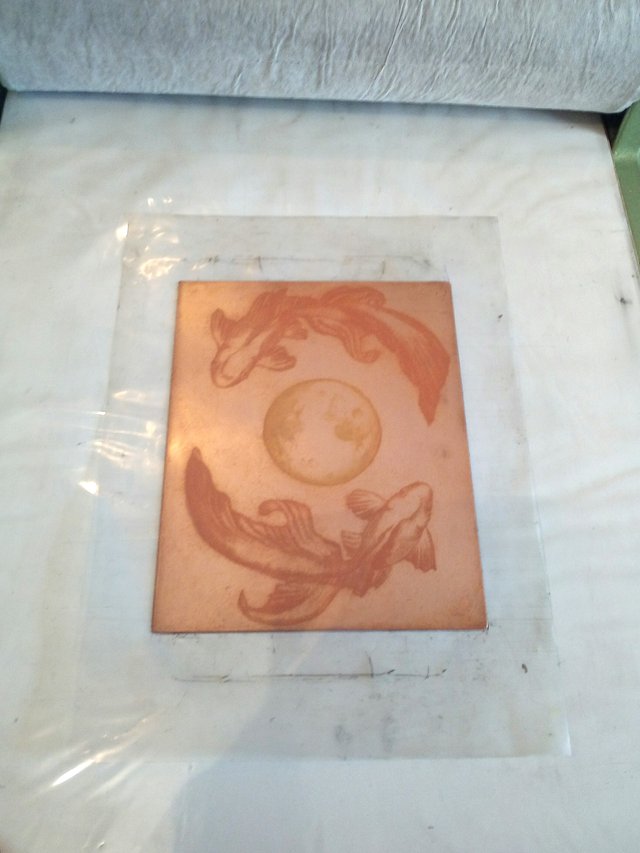
Plate ready for inking.
Now! It's time to apply the chine-collé!
You want to cut a piece of your colored Japanese paper so that's a bit bigger than your plate. Then you want to spray it with a bit of water to make it wet all over and all the way through. Put it between some newspaper and press lightly to get the excessive water out. You want your paper to be damp, not wet.
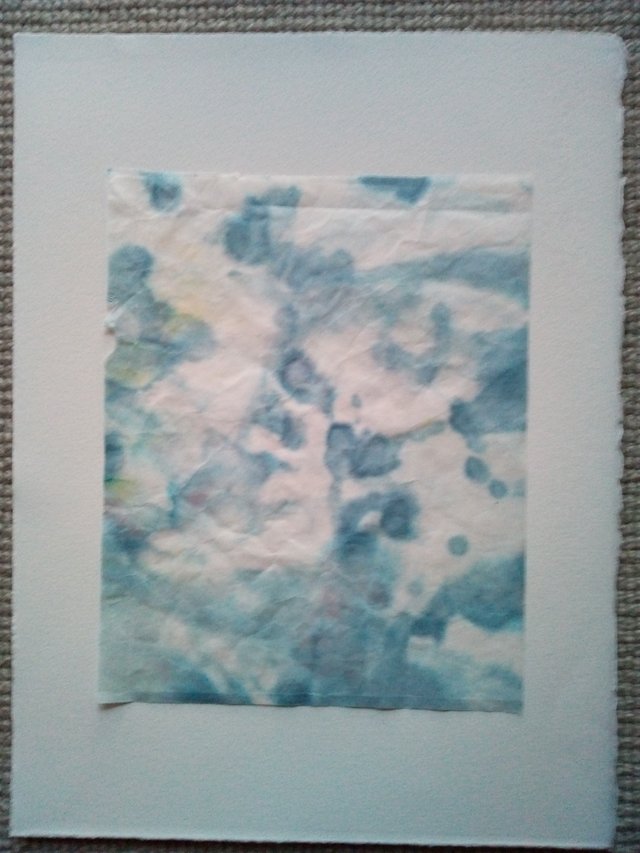
Over you can see the cut piece of chine-collé paper on top of the paper I'm going to print on. This is just to show the colors if the paper as it is so thin it's practically see through.
When your paper is damp you put it on a new piece of newspaper. Now you want to spray it with a light layer of glue like Photo Mount.
After you've sprayed it now comes the tricky part! You want to pick up your chine-collé paper super carefully not for it to stick together or stick to badly to your hands. Put it ontop of your inked up plate with the glued side up and make sure it covers your plate.
The final part is putting your damp regular paper ontop of your chine-collé covered plate and then run it through the press!
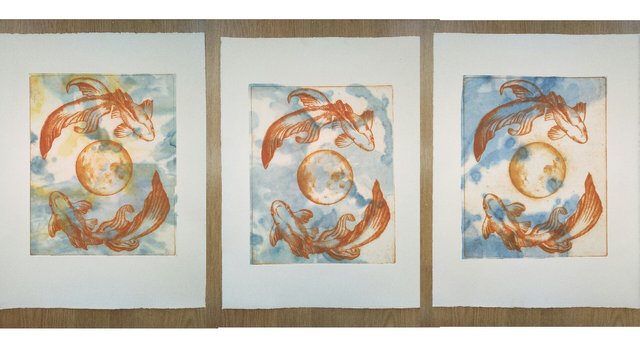
Chine-collé variations...
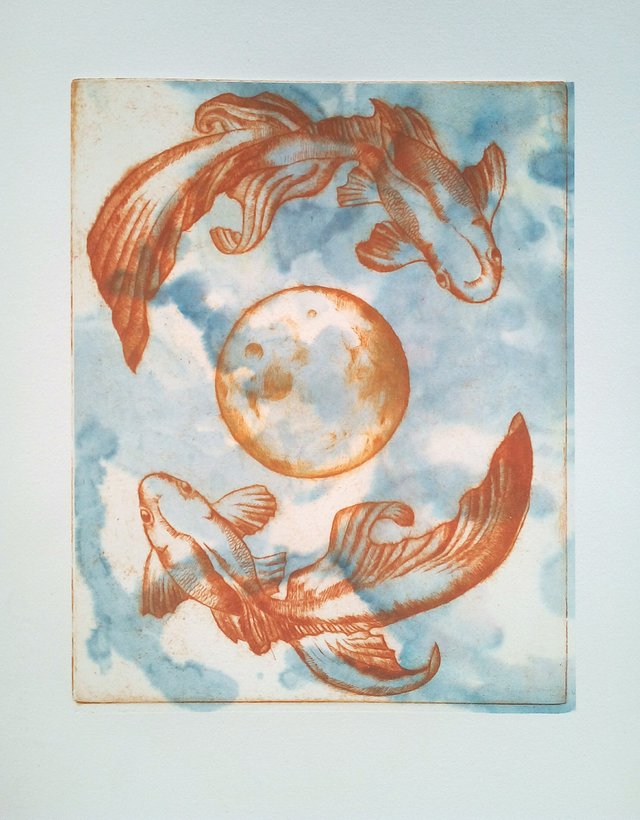
And that's it!
What do you think?
I think this technique really adds another layer to the print and is a great way to add some more color. 😊
I hope you are having a wonderful and creative day!
❤
Thank you so much to share with us the interesting printing technique!
My pleasure @trueart! :)
So sorry to see this so late @mayasky. This looks like another step in your printing future, and to admit this kind of printing, adding details with this paper is beautiful. Looks like this was missing part :)