A step by step photo shoot of how I make my underpaintings.
Hello and good Saturday!
Today I started a new portrait and decided to take some photos of my process as I painted.
Underpainting in the makings.
As this was my first day I started with stage one of my process called The Under Painting!
Let's go!
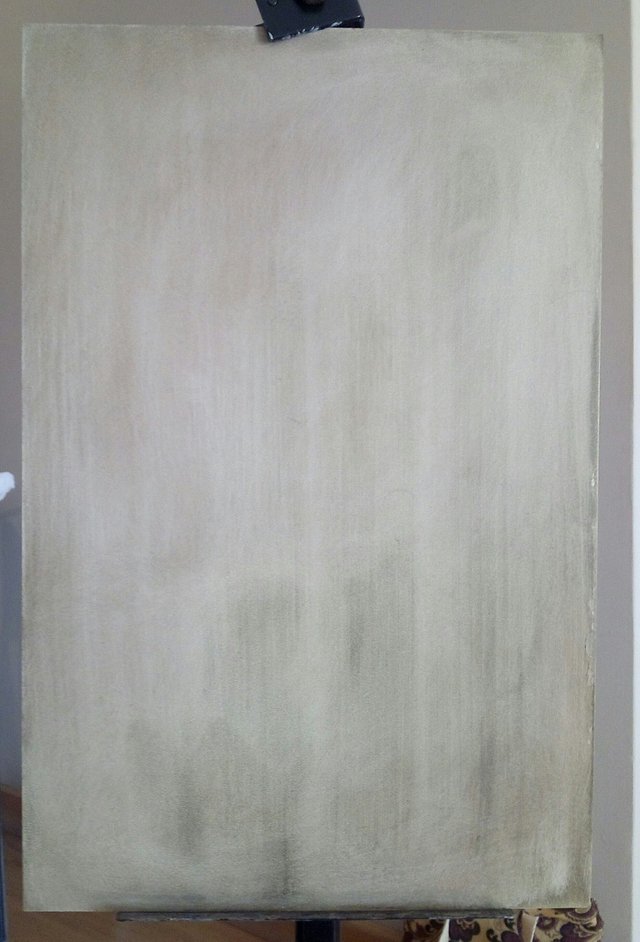
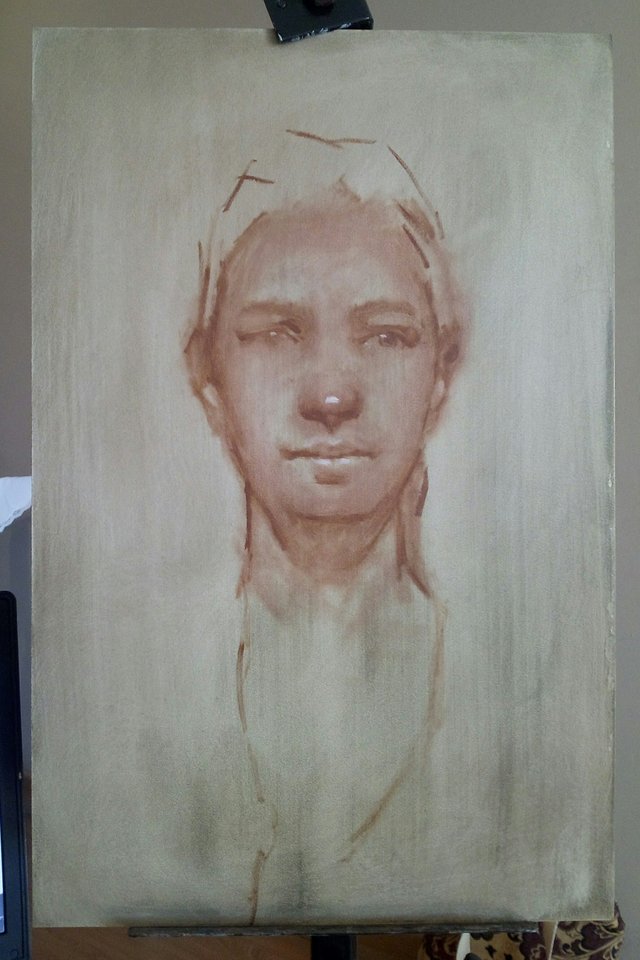
This is my panel that I am painting on after I put an imprimatura on it. Today I used acrylics to lay down the first layer of value to soften the white of the panel. Usually I use oil paint with turpentine, but that takes a while longer to dry and I prefer to work with a dry layer of imprimatura when I start my under painting.

My strokes of paint are very generic and are just to feel out the biggest proportions.
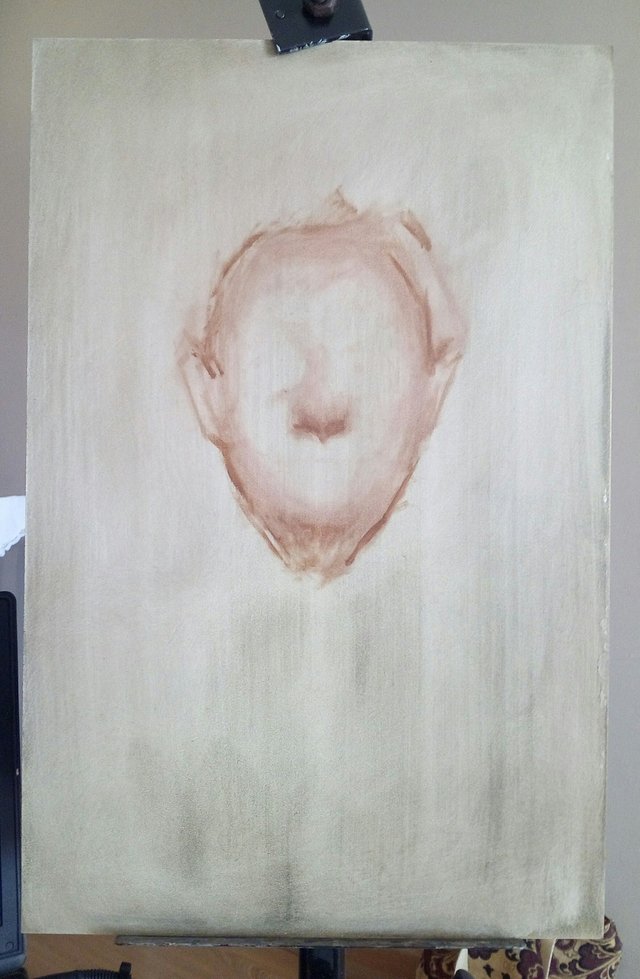
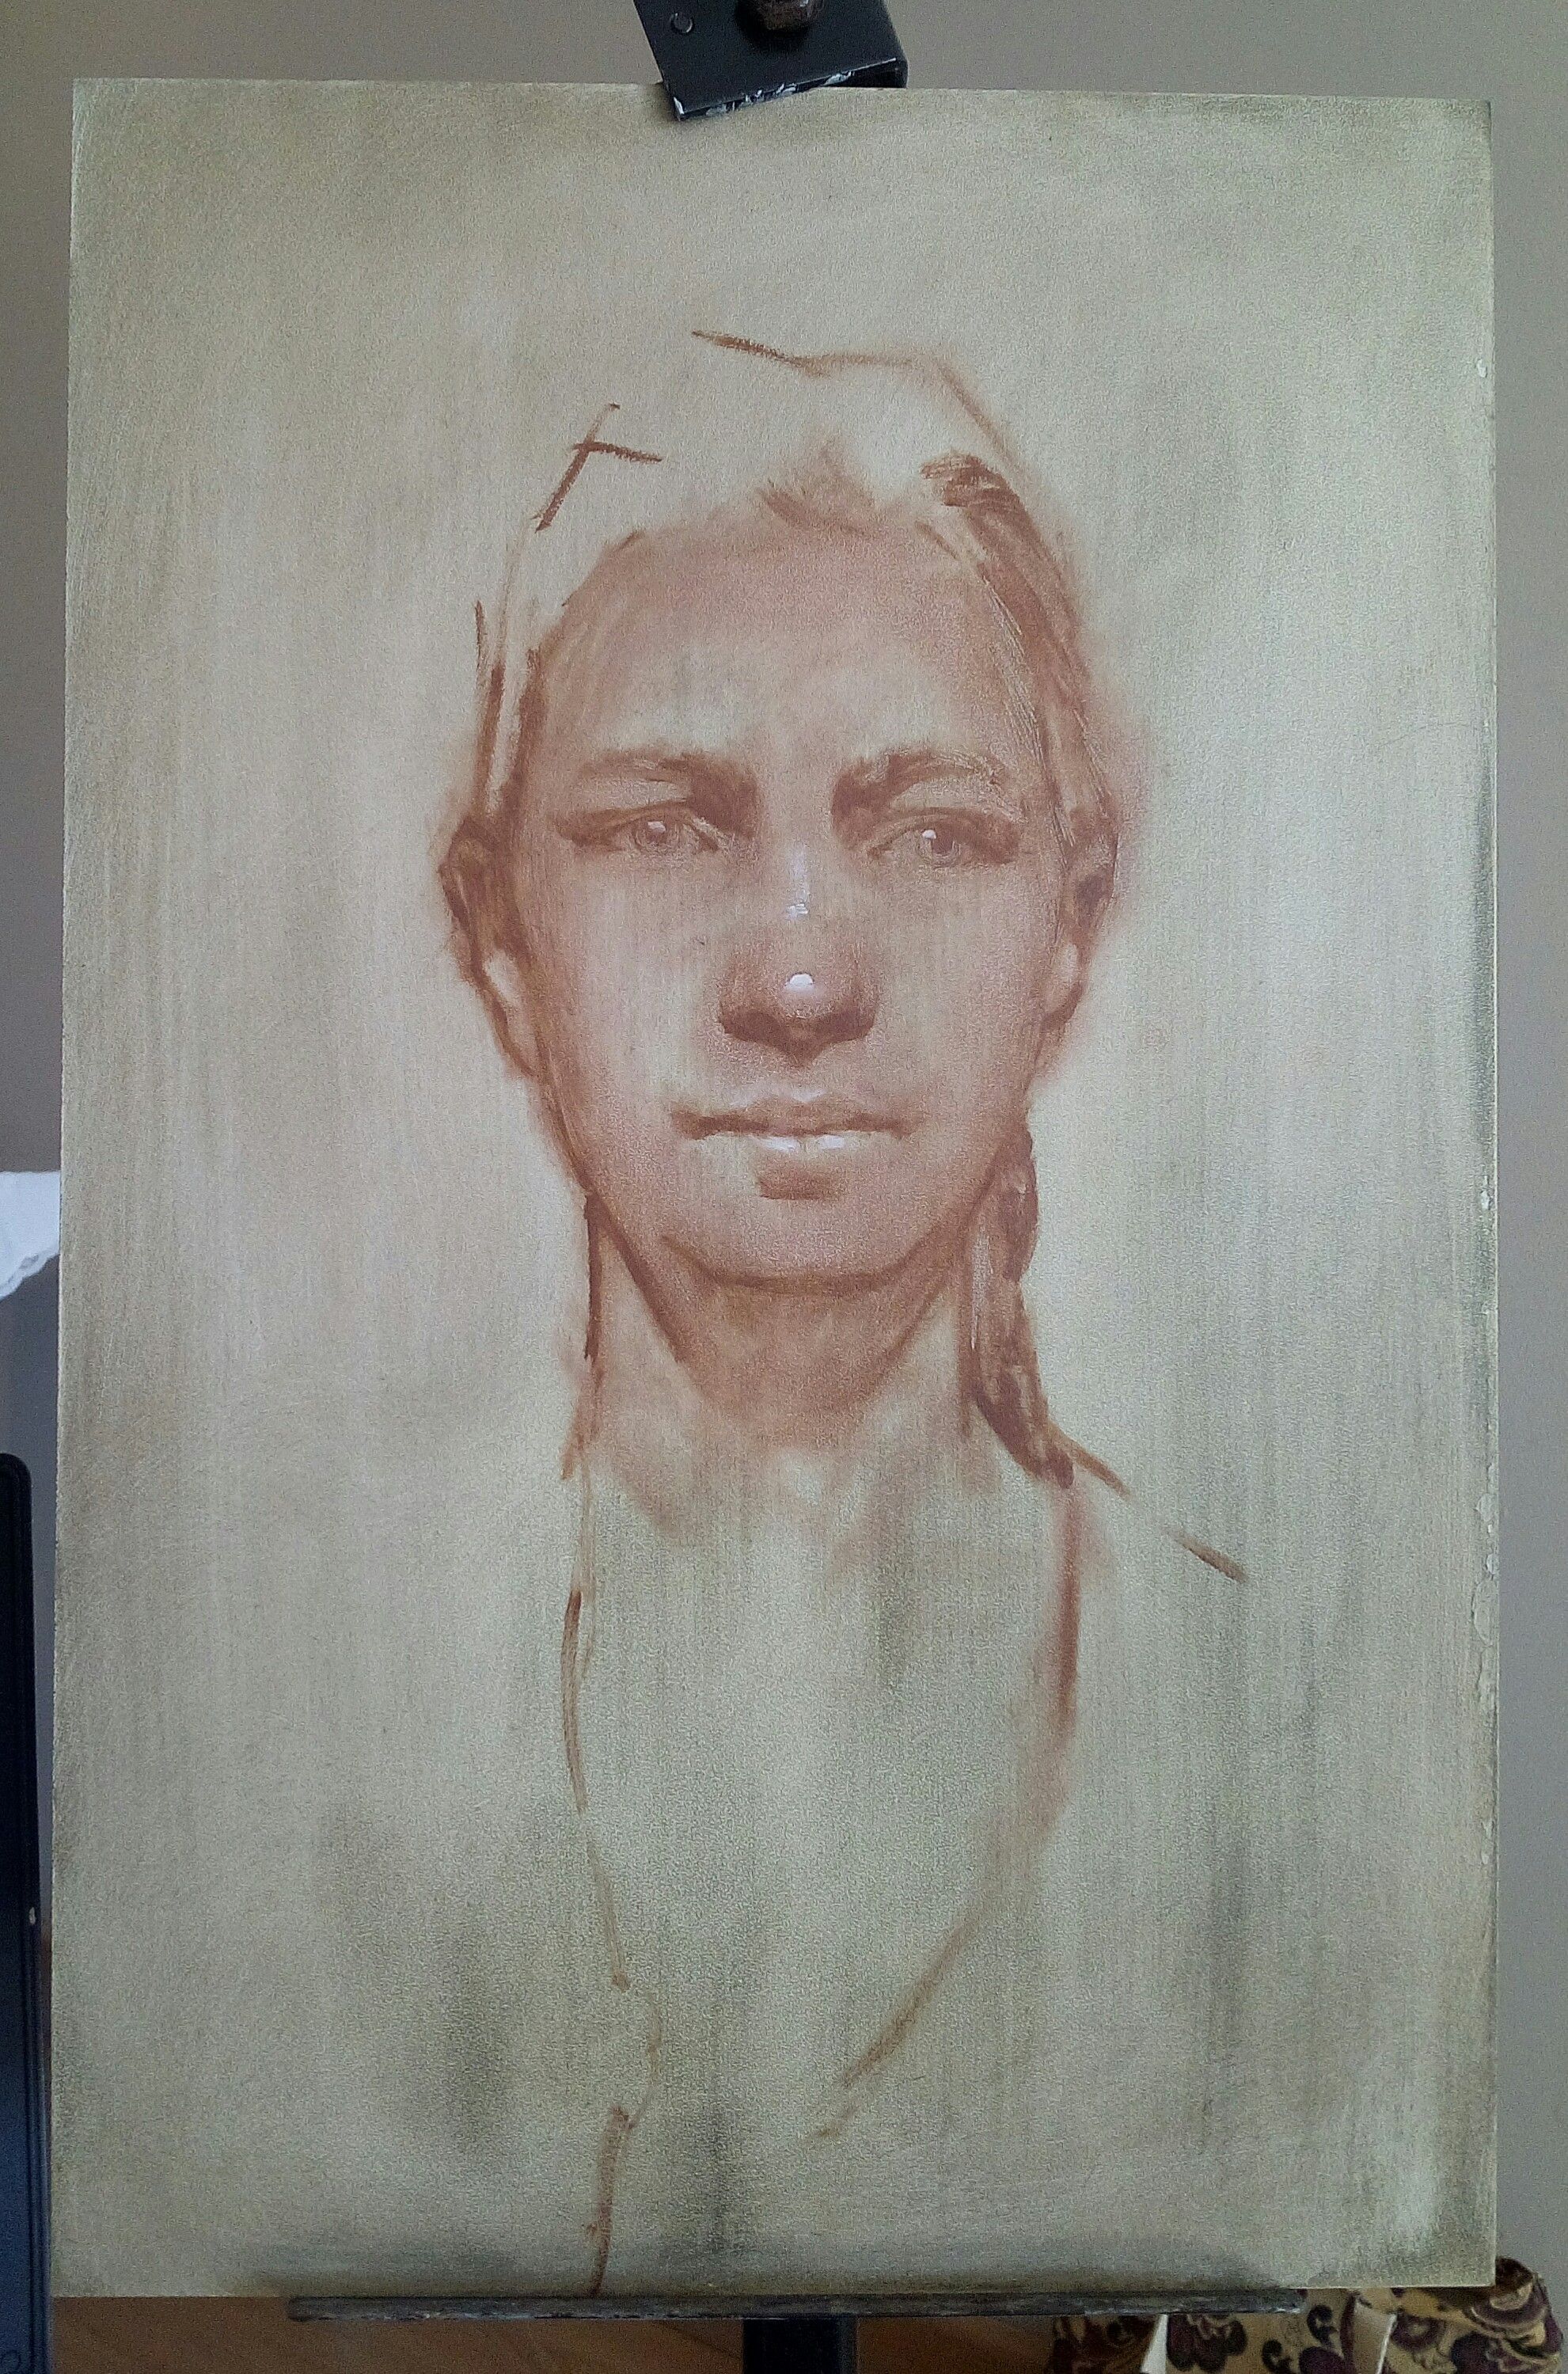
Still working very general but starting to give myself some reference points.
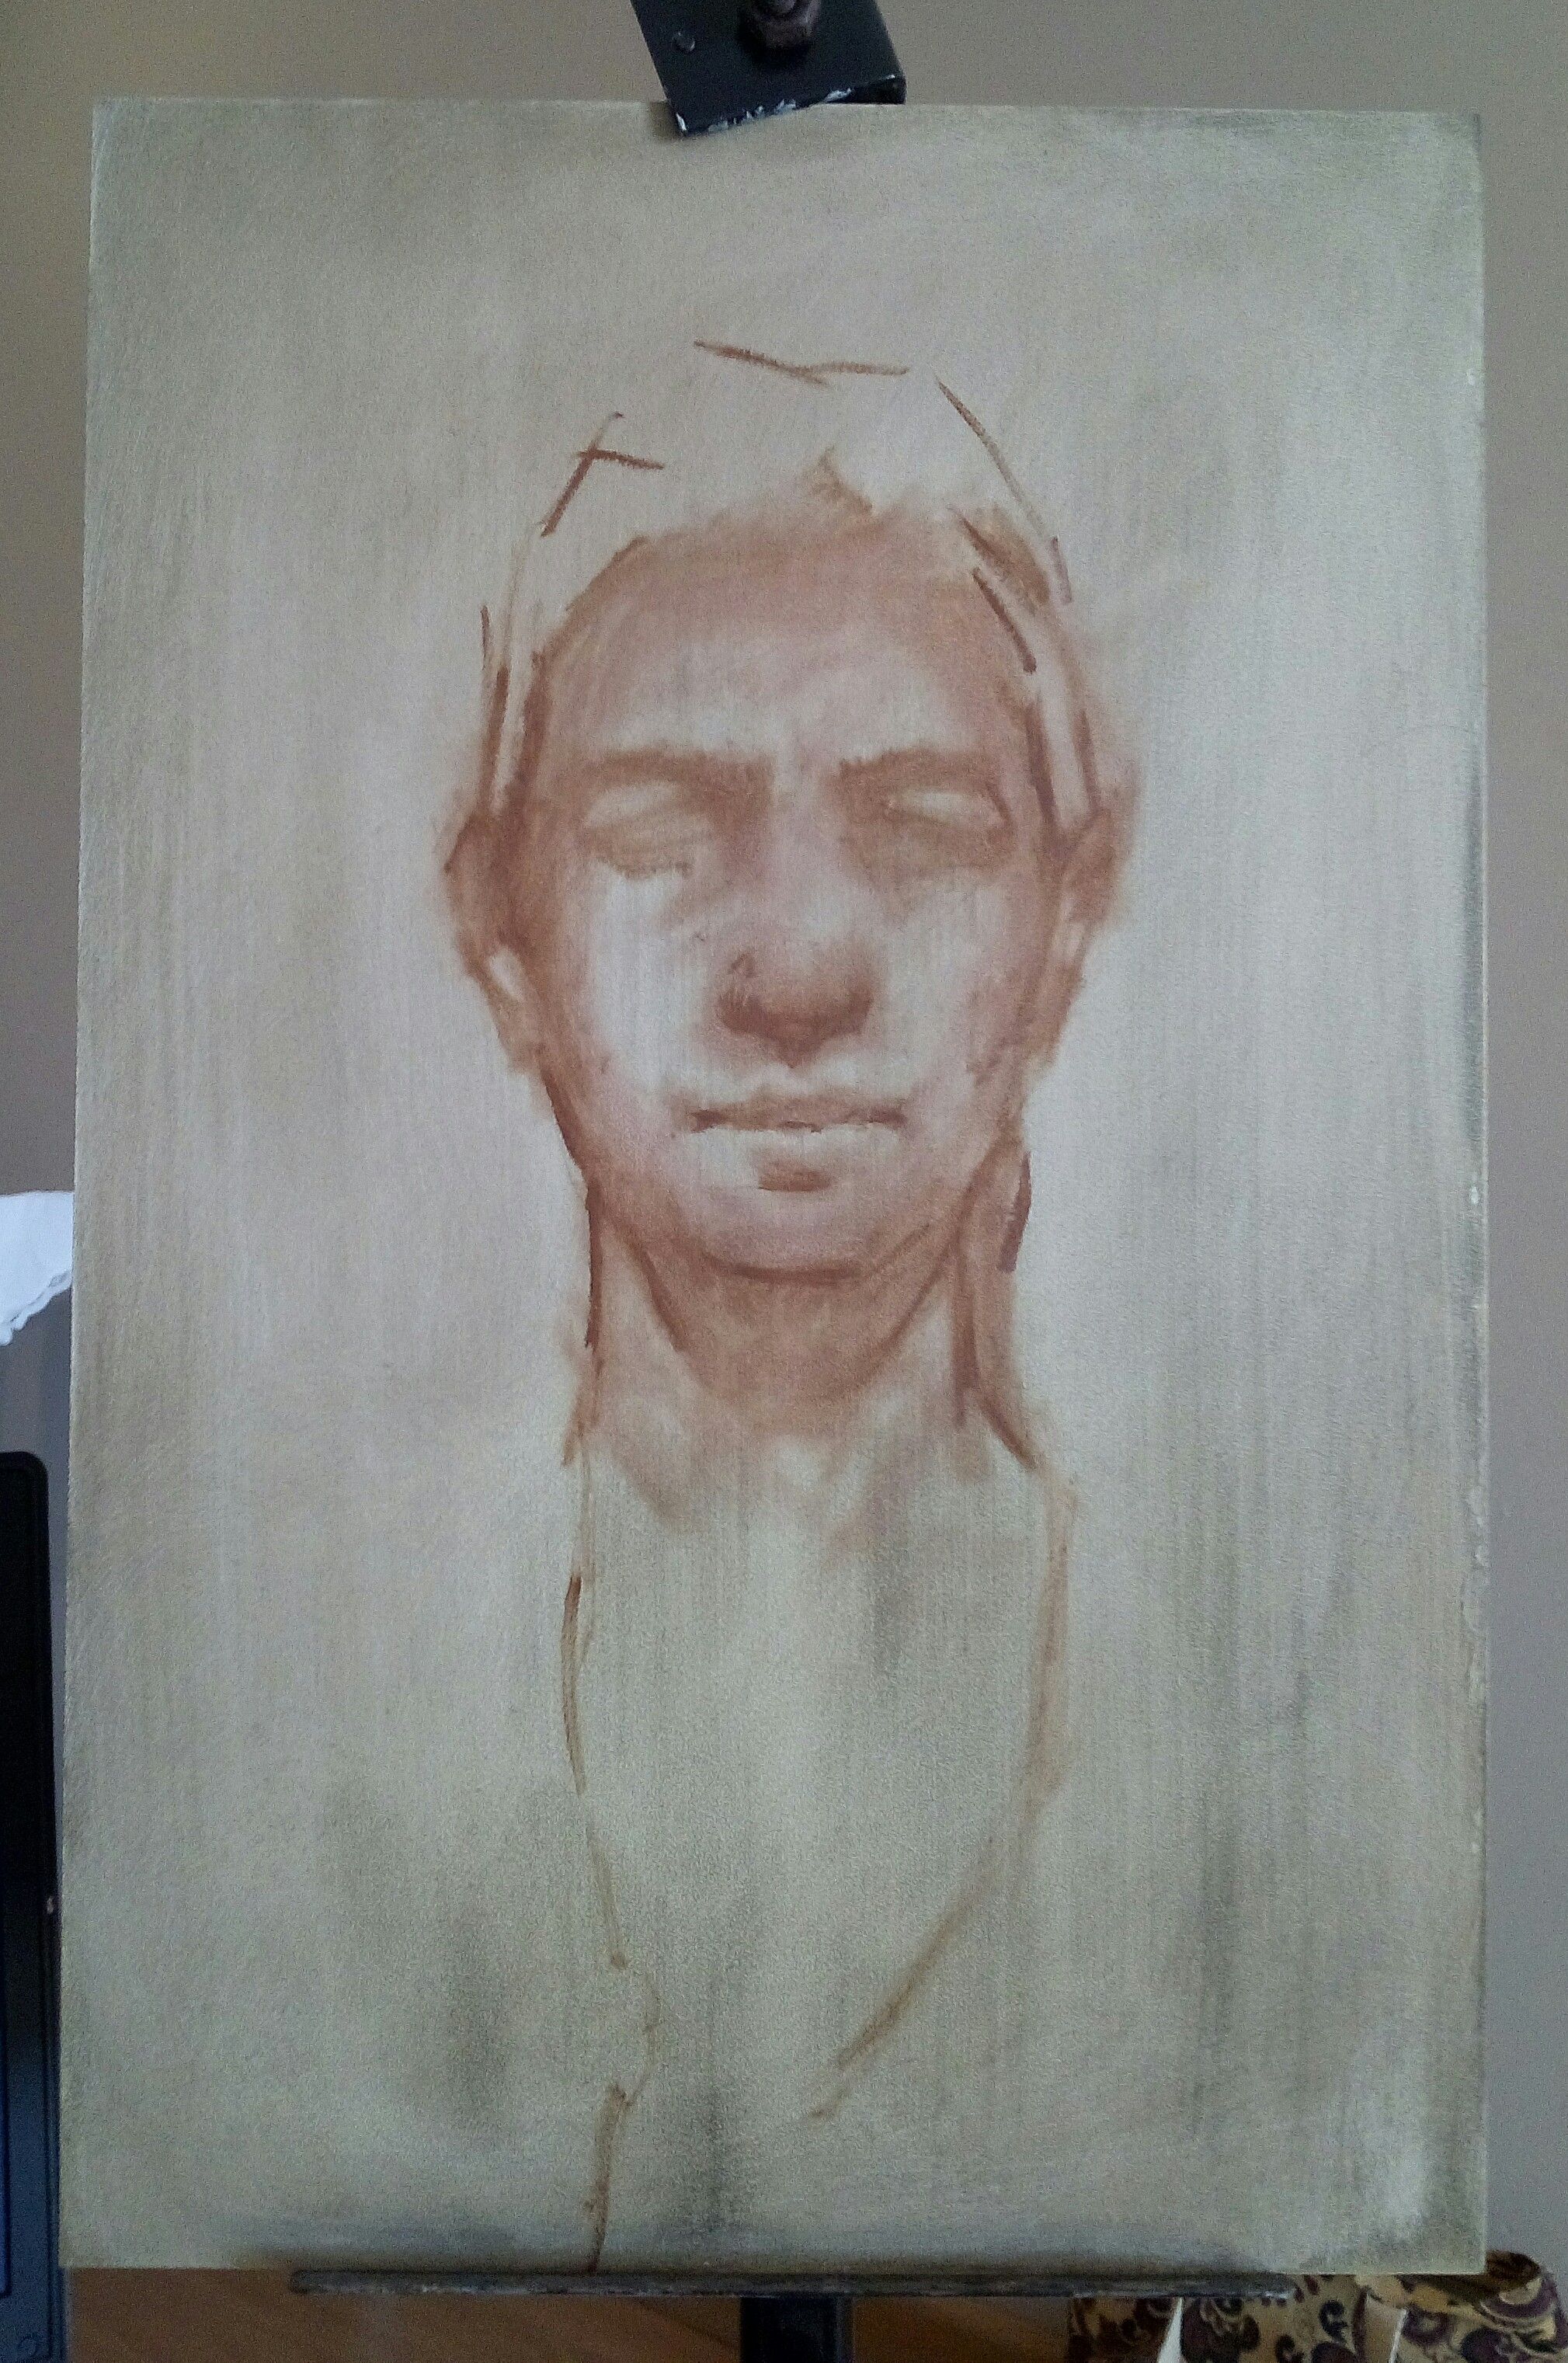
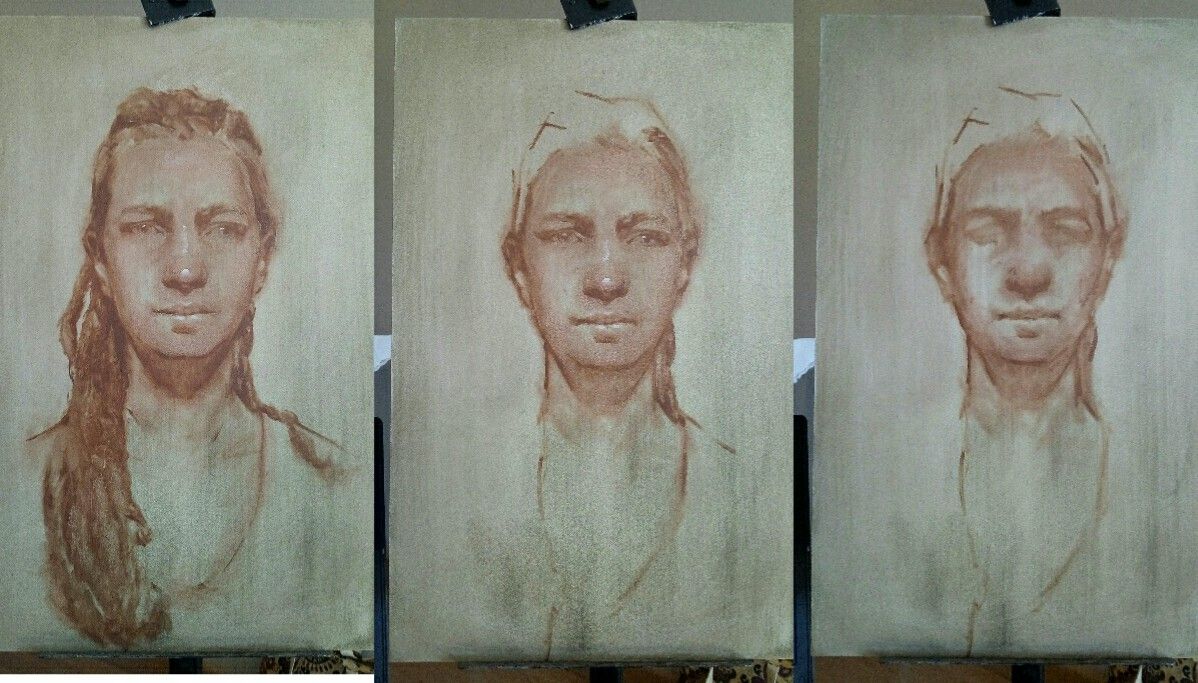
Here I am developing more of the features an subtleties in the face. With my underpaintings I usually work with very dry paint, meaning I never use a lot of medium to make the paint looser and more runny. So far I have just worked with dry brushes to put on and remove paint.
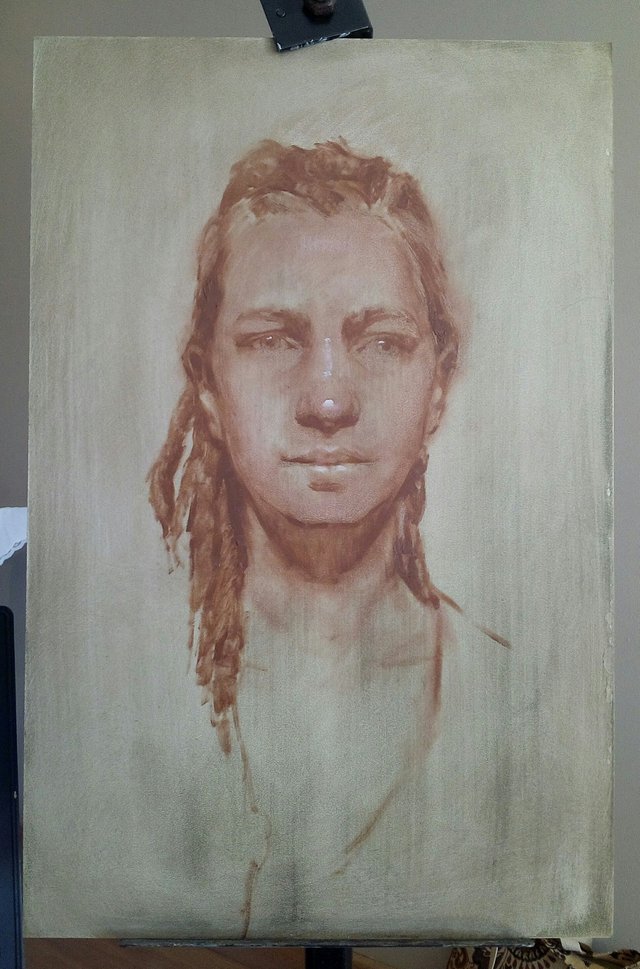
Here I have introduced a little white to get a feel for the light intensity and values so far in my underpainting. I also think it helps me get more of a sense of form.
At this point I am really starting to digging into the form. If you see from the previous stage you can see the eyes changed a lot. This model has very light blue eyes so I felt lightening them in value even at this early stage really helped me achieve more of a recognition.
Now I am adding the hair. My model has these great dreads which I will try to have a lot of the underpainting show through in the final painting. It can add cool effects and is something worth thinking about in these initial stages.
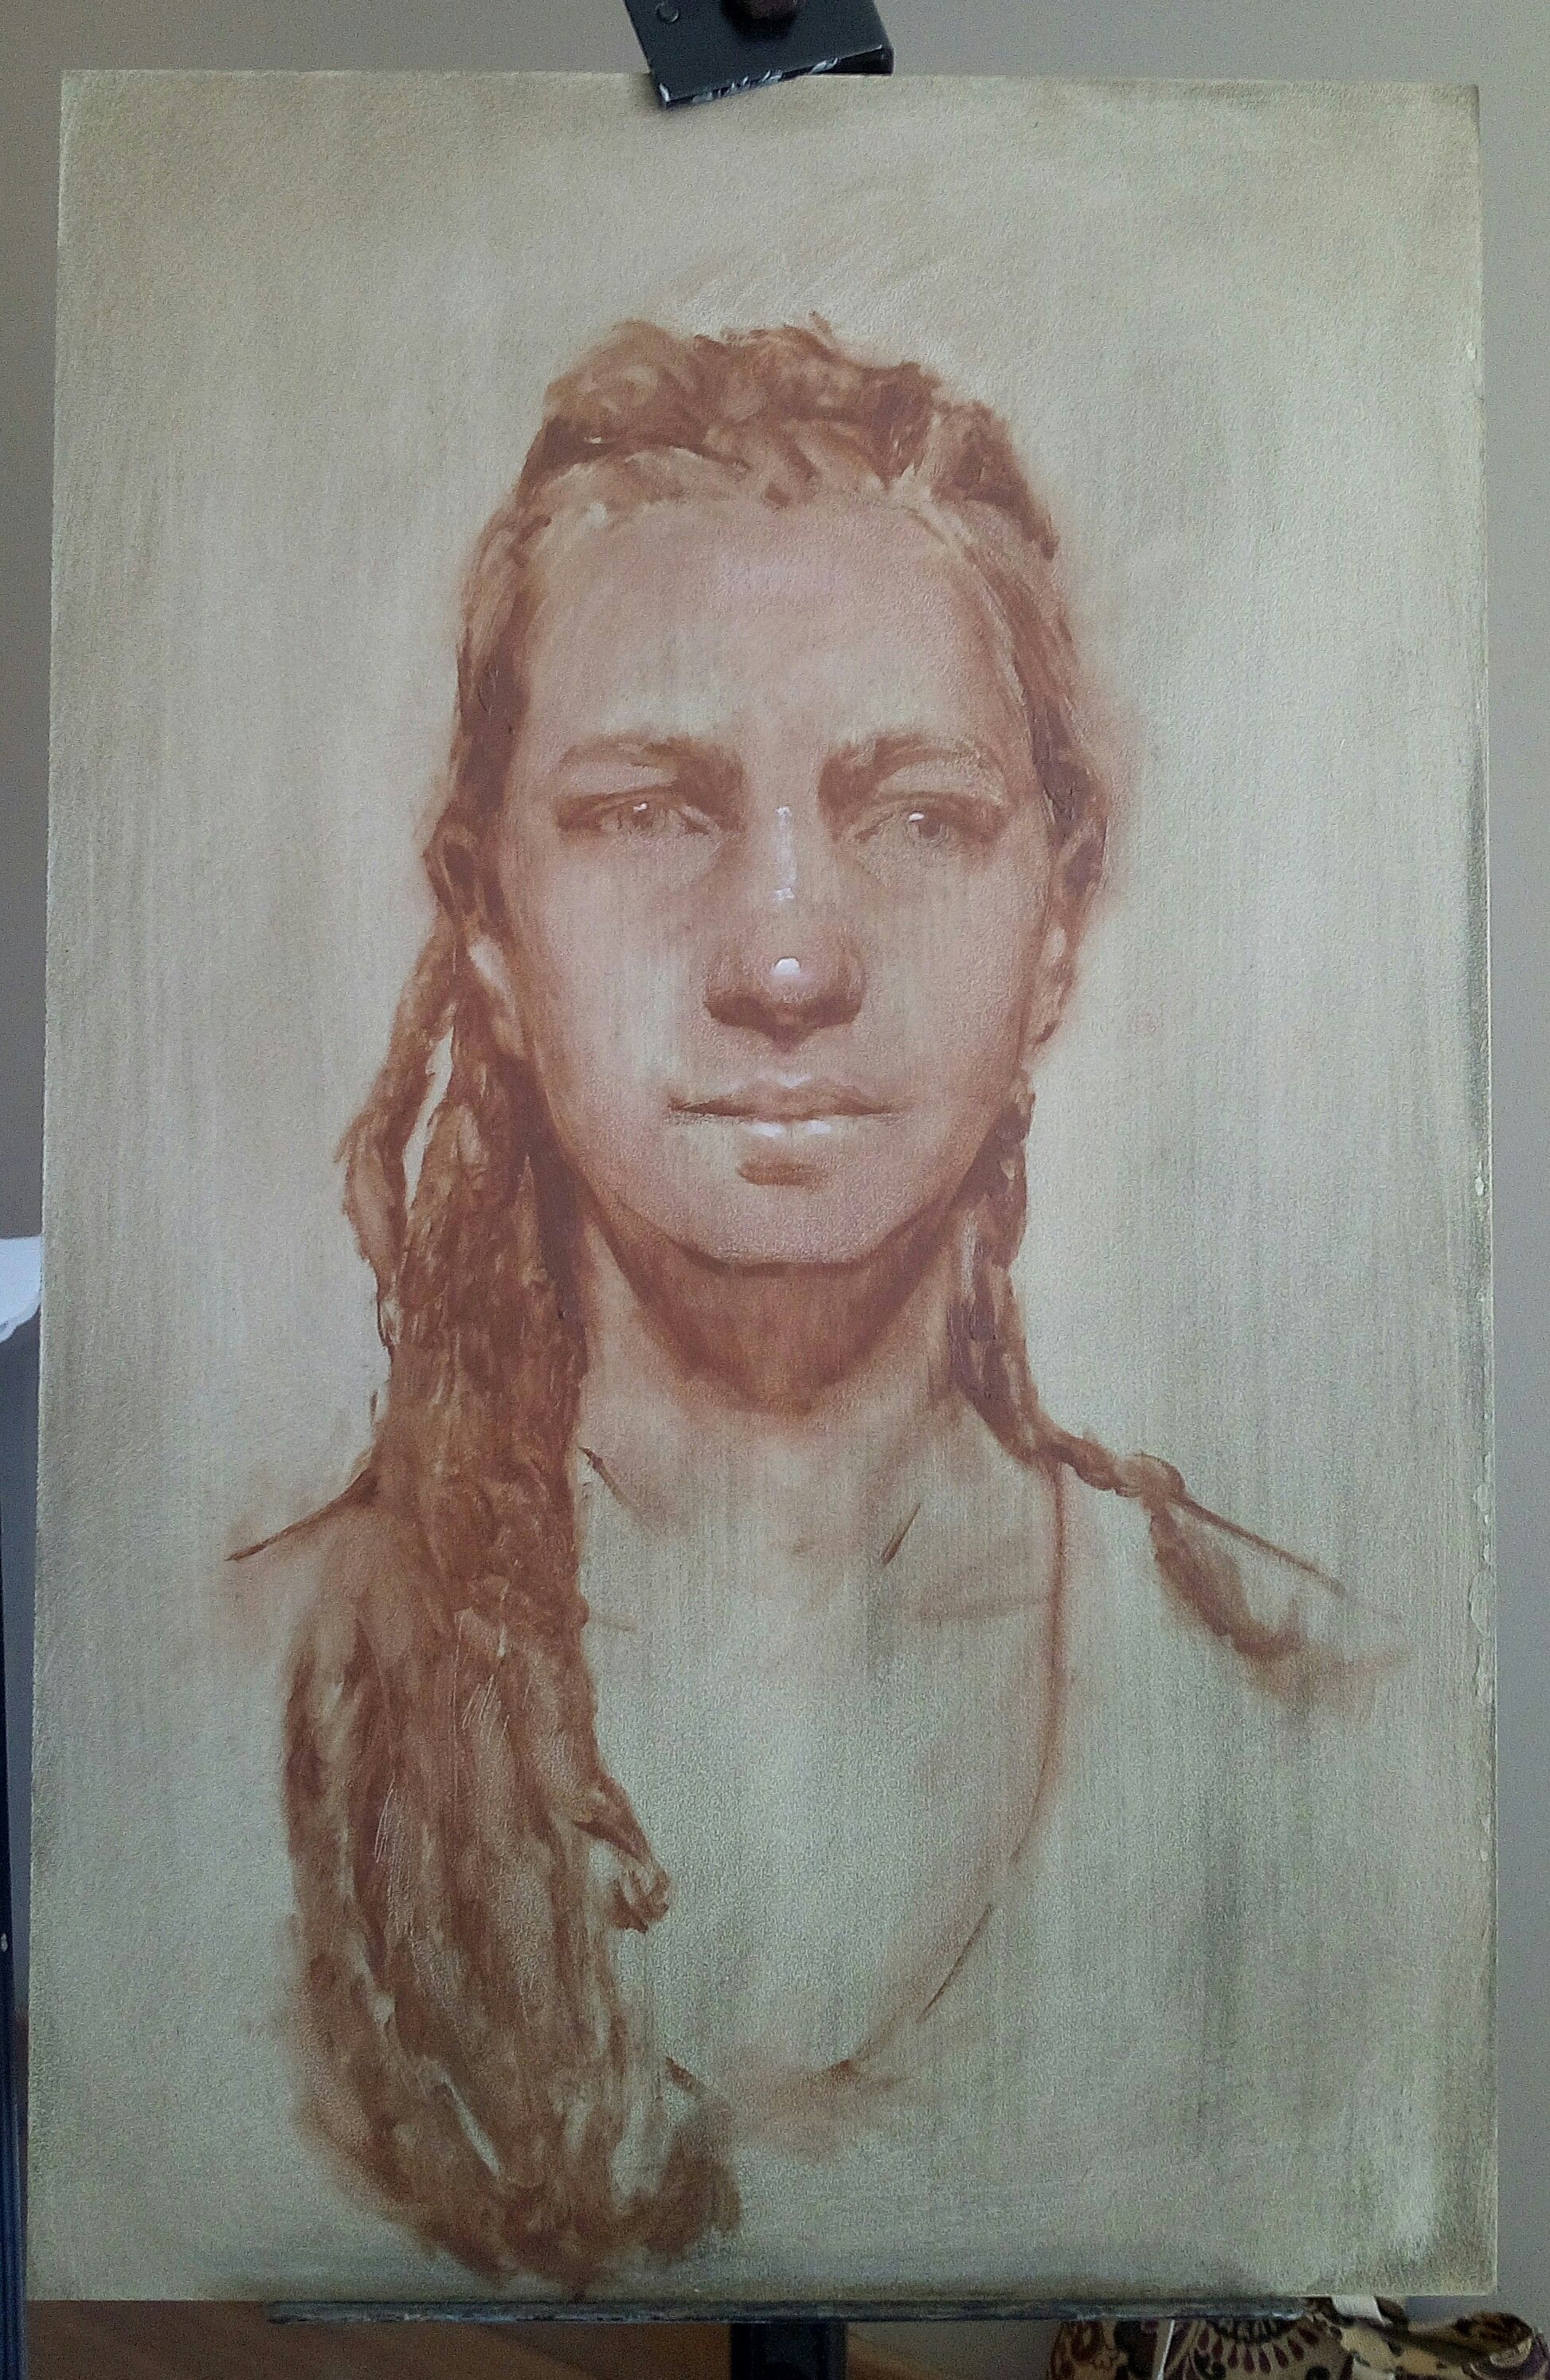
And there you have it!!
Underpainting done!
This took me a couple of hours and I will leave the painting to dry for a couple of days before I lay down the next layer.
I haven't been painting with my oil paints in forever and it felt good to get back into it!
Let's see what happens with this one, hopefully it will turn out good!
I hope you are all having a wonderful weekend.
😊🙏❤✨🖌
@mayasky wish too the great weekend with full of happiness <3
you put a magic in this portrait <3 anxiously waiting for the final painting
how many days would it take ?
Thank you so much sweet @samriamelissa! 😊🙏 It should take about a week 🖌😊 🌸
Wow amazing art work .
I love to learn art work . I am also a artist but I like to make decoration pieces with recycle material .
Your this step by step work give me a good lesson for making good another art work.
Thank you so much dear.
Its my first comment here. Want to see your next post.
Following , resteem and upvote
Thank you very much for all your support @sairakiyani! I appreciate it! 😊 I will visit your blog! ❤
My pleasure
Dear Artist @mayasky ! This post has been resteemed and upvoted from FineArtNow account ! See you soon ! Take a look at our latest posts : To Honor Old Masters , Thanks
Thank you! 😊🙏
Beautiful, I love the way you painted the eyes in particular, although she the lady in the image seemed to be worried a bit but that expression of the eyes conveyed a message... Very well done, love it!... followed and resteemed . Looking forward to the final painting...Cheers!
Thank you so much @mers, for your comment and compliments! :D I appreciate it!
Great post @mayasky, can't wait to see the next part :)
Thank you so much @adamfryda-art! :) Next part should be coming soon ;)
Thank for the explication in steps
well done !
My pleasure @missqueen!! 🙏
Thank you for sharing such great post and wonderful portrait.
My pleasure, @trueart! :) Thank you for commenting! :D
I like this a lot - can’t wait to see the next stages
Thank you!! 🙏😄 Next stages coming soon! 😊
I love beautiful art. so realistic. I congratulate the depth and sadness in the eyes very well drawn
Thank you so much! 😄🙏🖌✨
It´s always interesting for an artist to see step-by-step how other artists work. Thank you for sharing!
I agree @sigrid.nepelius! :) My pleasure, thank you for commenting! :)