8" x 10" Original Acrylic Portrait--BEFORE and AFTER (Step 3)
Happy Friday! Today, I'm going to show you the next step in my portrait-- a commissioned acrylic painting, based off a freehand sketch of a photo.
It's going to be a slow process, so bear with me. It's just like the old polaroid days, where the image slowly develops. :)
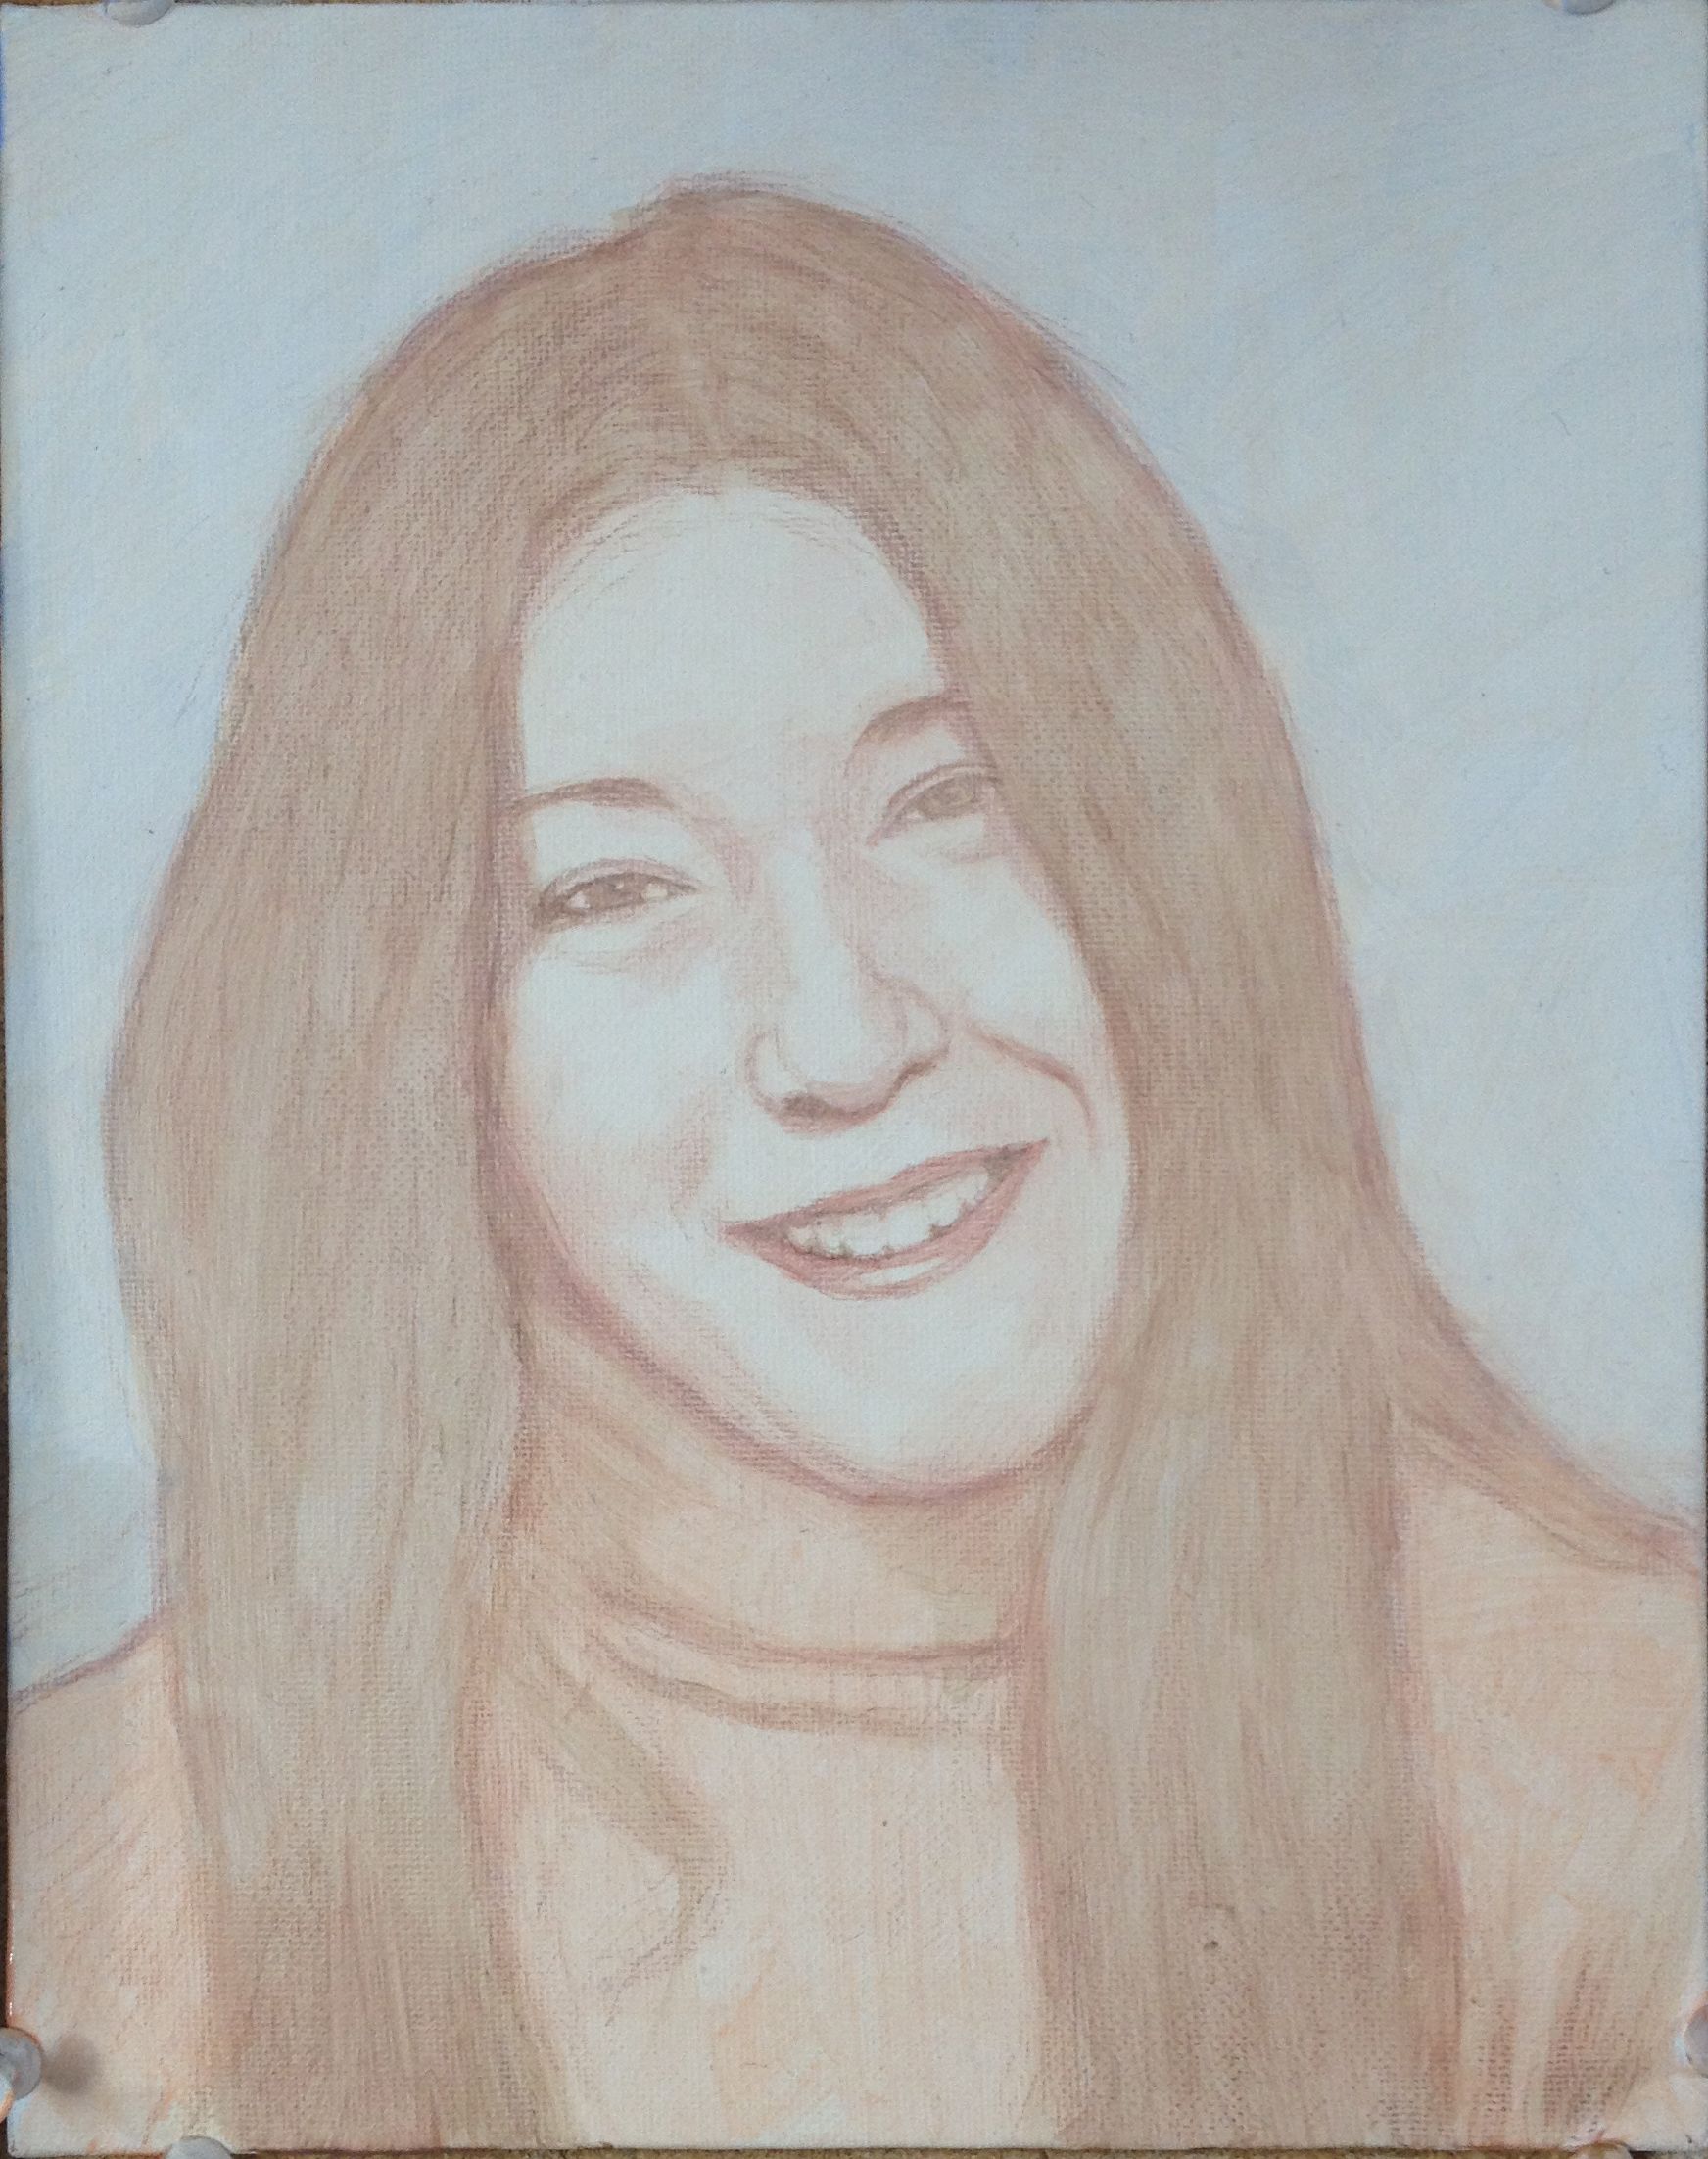
Before: (Step 2)
And now with more layers...
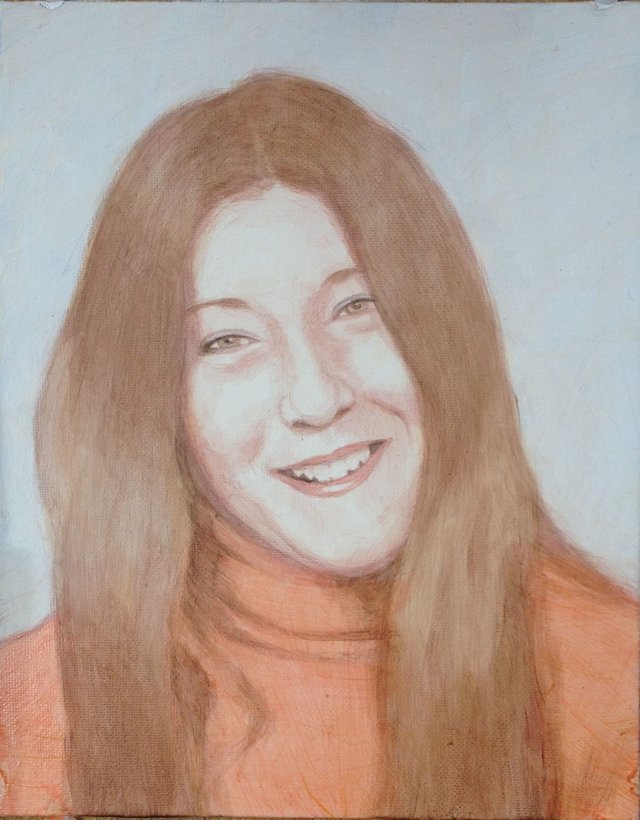
After (Step 3: Building Up Color and Value Shapes)
I used translucent glazes of raw umber dark, burnt sienna and alizarine crimson to deepen her hair color, while at the same time, leaving areas open for cooler colors to go in. So, basically, I just didn't paint in those areas. Blocking in these values is so important too, for giving hair the three-dimensional depth and form it ought to have.
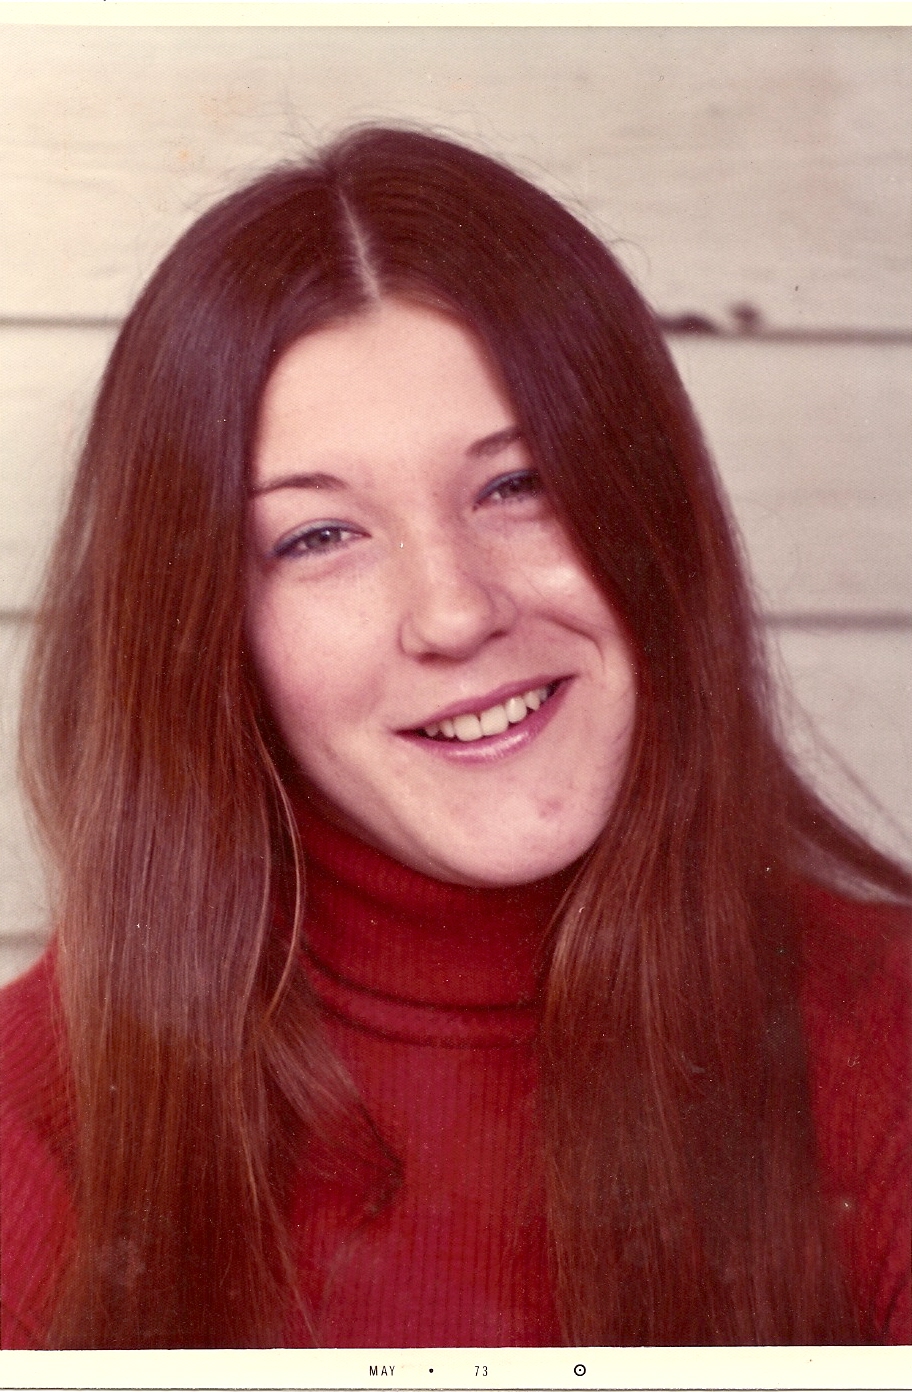
I noticed in the reference photo that a cooler light source must be illuminating parts of it--most likely outdoor light, so I wanted to capture that. It adds variety and interest, and also integrates the cooler tones of the background back into the subject for color unity.
For her face, I used raw umber dark, alizarine crimson and raw sienna. It's the perfect combination for a skin tone, but it won't work in all situations.
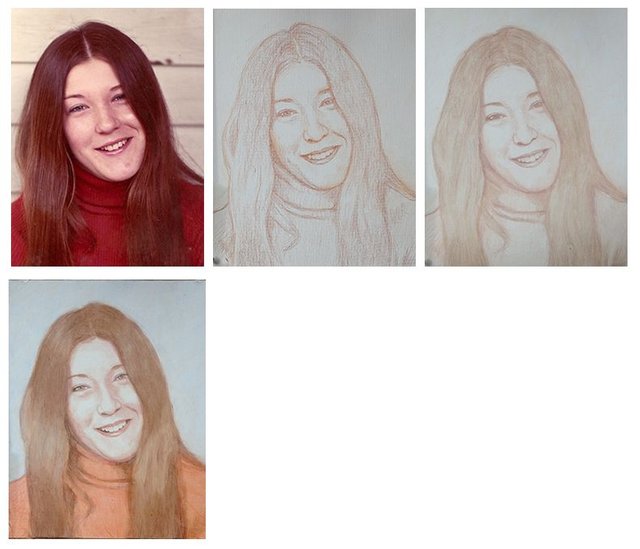
The Development of this Portrait So Far
Reference photo | Step 1: Sketch | Step 2: Initial Value Block-In| Step 3: Building up Color and Value Shapes
Alright, that's it for now. Let me know what you think. Hope you found this interesting and helpful!
All the best,
If you like this post, please comment, upvote, follow me ( @mattphilleo ) and resteem. I post regularly on art, tips on painting and drawing, and encouraging thoughts. You are helping me to do art full-time and support a family. Thank you so much!--Matt
See more of my artwork at: MattPhilleo.com


Hi LOVE YOUR POST MAN!!! LIKE MY POST TOO!!!!! HERE IS THE LINK: https://steemit.com/bots/@abusereports/last-minute-upvote-list-2018-05-02