Adventures of a DIY Glassblower: The Kiln!
One of the biggest costs when getting started glassblowing is in a kiln, for a lampworker anyway. Lampworking is just the term to refer to glassblowers that work with a torch instead of a furnace and crucible. When I first got into glassblowing, I was immediately discouraged because of the cost, especially the cost of a kiln. Entry level, for something small you're looking at a thousand dollars at least, several thousand if you ever intend to make large pieces. One summer day, several years ago, a local glassblower told me to google tool box kiln, and my outlook was forever changed.
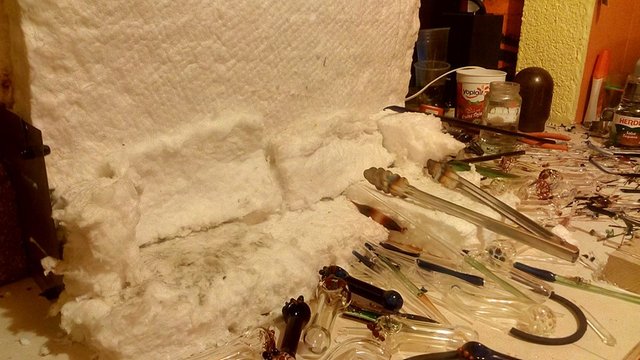
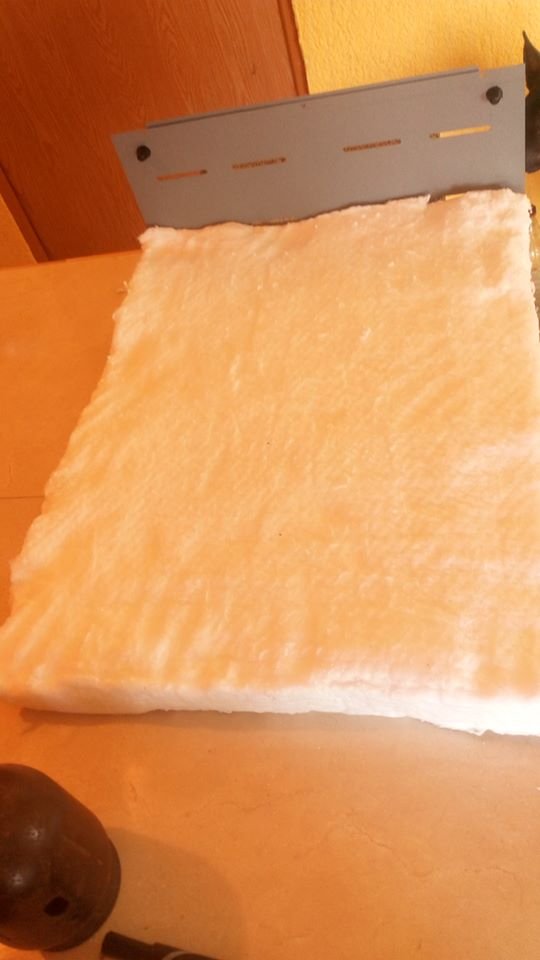
Turns out, with the right materials, creativity and a little know how, you can make your own kiln for a fraction of the cost. What she told me to google was just one of many plans for building your own kiln for annealing your glass. There's also the mailbox kiln out there and lots of other variations people have come up with. This has always been my plan, which is why we invested a good part of our starting funds into a big roll of fiber frax, a specialized insulation material.
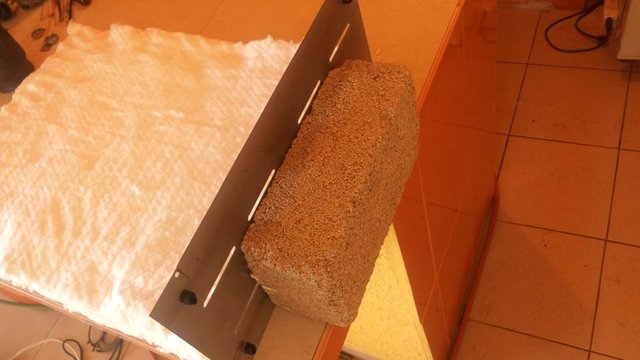
All you need other than that is: a heating element (from either an electric stove or dryer), firebricks for the bottom if you don't want the frax dust, a case (either a mailbox, toolbox...special built fabricated box from the local herreria), and wiring to put it all together. There's probably some things I'm missing, as we've honestly done a very simplistic version here. A quick google search for anyone interested will do the trick, I'll just share our build here.
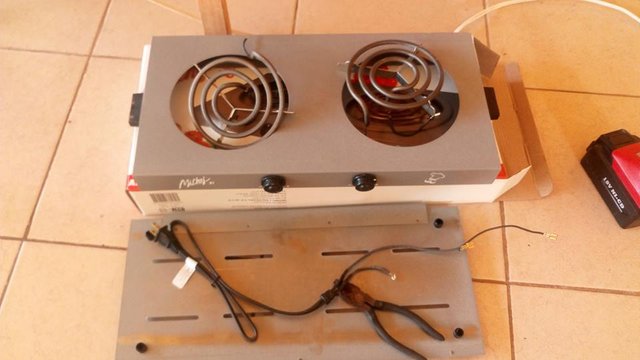
We are on our third burner at this point, as the kiln building has been an adventure and a learning experience. The first one lasted a good while, but was cheap and eventually failed for several reasons. We installed another one, which failed pretty soon after. Finally, John invested in this bad boy, making a much larger kiln now possible. He disassembled it, paying attention to what wires go where for later.
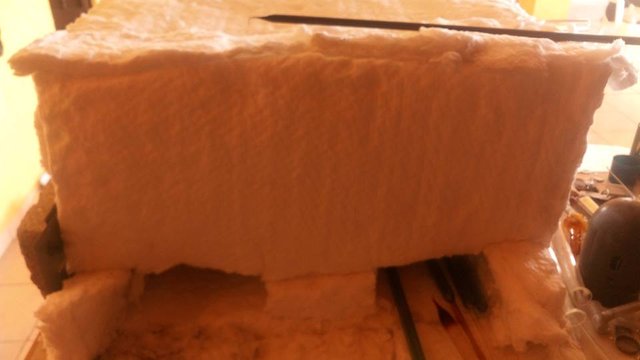
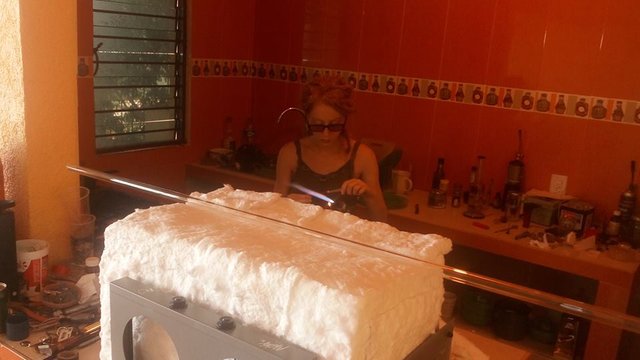
Fiber frax is a highly insulative material made from spun ceramic fibers. Think fiberglass, but ceramic instead of glass. It's pretty dense and can be pretty irritating to the skin during the build. Using the kiln seems to be no problem, but John was covered in dust by the end of the day building this kiln.
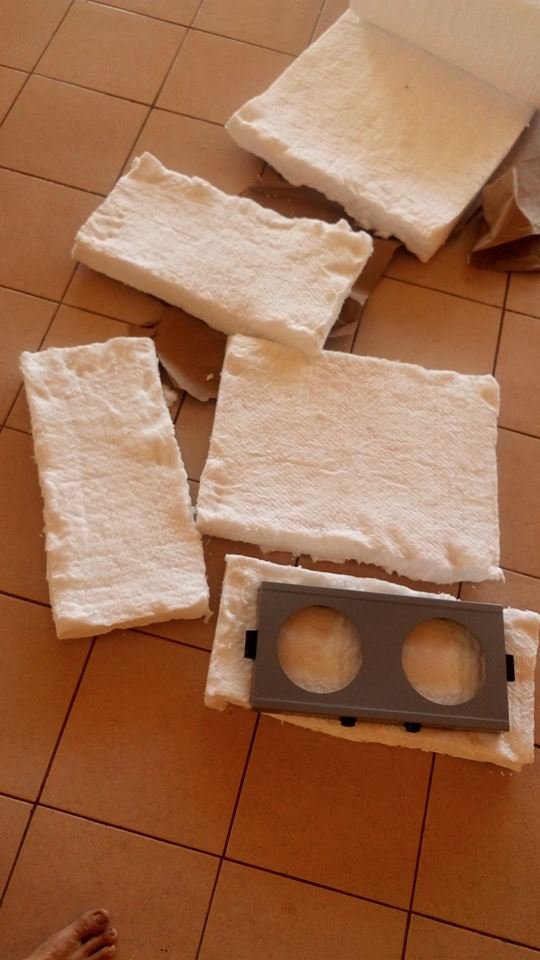
The nice thing about building your own stove is that you call the shots on the size. Things to consider are whether or not you can reach the back with a pair of tongs, as that opening gets pretty hot when the kiln is going. Ours is just nearly too deep for our tongs, making putting pipes in the very back a bit of a task. Sometimes it's easy, sometimes the pipe just doesn't want to sit where you want it to. Do a drawing, determine what size pieces you'll need and measure repeatedly before you cut. Fiber frax is expensive, try not to waste it.
John started to assemble it, starting with the base. From here, he added walls, a top, and a support for that top. The whole thing is held together currently by surface tension and gravity, and it honestly works pretty well despite it's appearances.
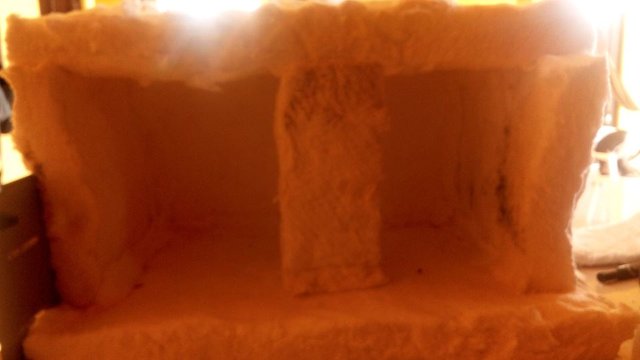
Here you can see the support he put in for the roof of it. It somewhat slumps in the middle, so this was pretty necessary.
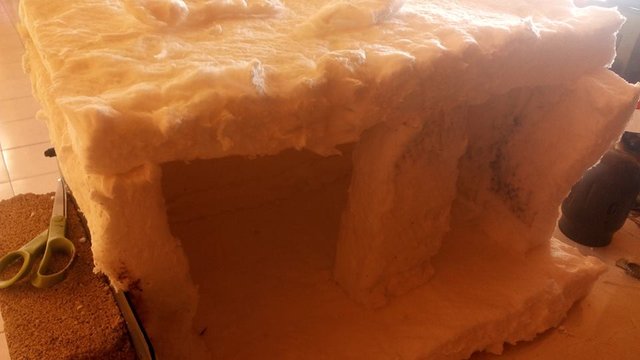
Add the front panel, cutting small pieces here and there to make things fit better, or to support things.
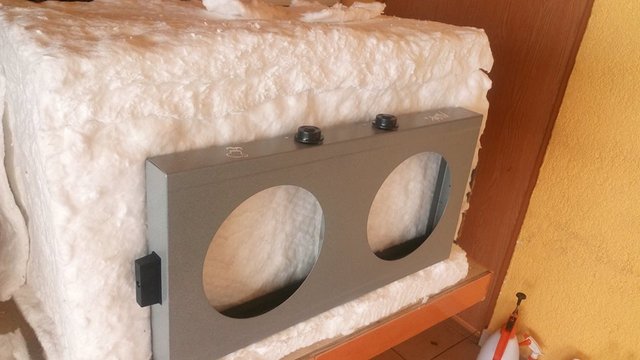
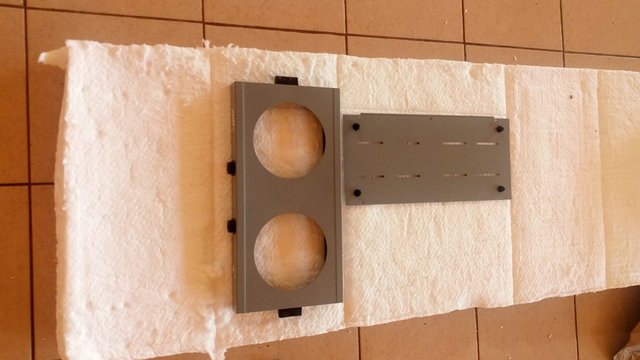
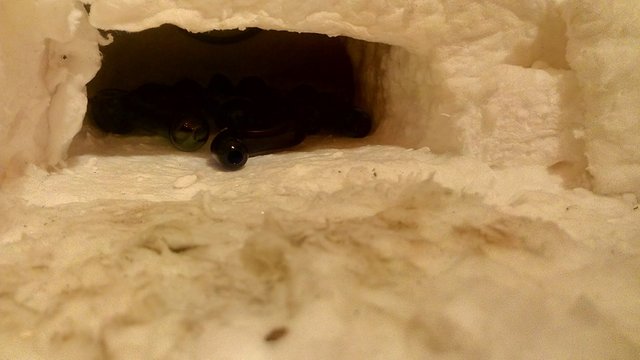
This stove happened to have a sturdy metal case, making it easy to use for our purposes. All that's left is to mount the coils, feed the wires through the frax and out the back.
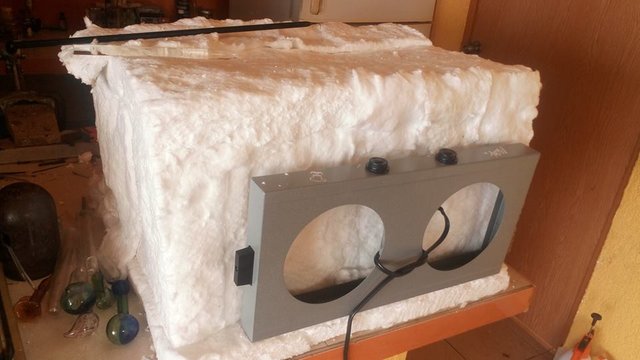
Once the wires were connected, it was time for the test fire. It immediately seemed like it was going to work, and it did. So far, this seems to be the best build yet, regardless of the fact that it's more than doubled in size to my last one.
I've been using it for days and it has made a huge difference. It works really well and seems to show no signs of failing. Within a few weeks, we should have a metal box built for it so we can transport it, which will be nice. Then it will go from a shack of a kiln (that functions damn well) to a big boy kiln.
We're going to add a digital controller, probably building one of those too if we can find the materials here. Buying the digital controller is about 420 dollars online, although I think you can get kits for 50 or less to build your own. Even with that bought controller, that makes my kiln (which is giant) less than 500 dollars. When the tiny entry level glass kilns go for more than a thousand dollars, this is a huge deal in terms of cost. It makes this whole thing much more possible.
I was told when I got into this 5 years ago (officially into it, as in had torch time. I've always been interested in glass) that I'd need to spend several thousand dollars, at a minimum, to get started. It was said by my mentor at the time, almost with an air of snootiness. Like, you must spend the money because I spent the money. He would probably gape at how we've managed to pull this off so far. I've had a lot of fun with our DIY glass learning experiences. It's making me into a versatile glassblower, one that doesn't need fancy tools or equipment to get shit done.
Very interesting post. Thank you for sharing.
Now that is skill and art.