My step by step process of Guitar illustration. Original art
I’d like to introduce you to the process of one of my first guitar illustrations. I’ve noticed not many musicians have personalized art on their instruments, and I think it’s a beautiful way to show some extra uniqueness and personality with ones music.
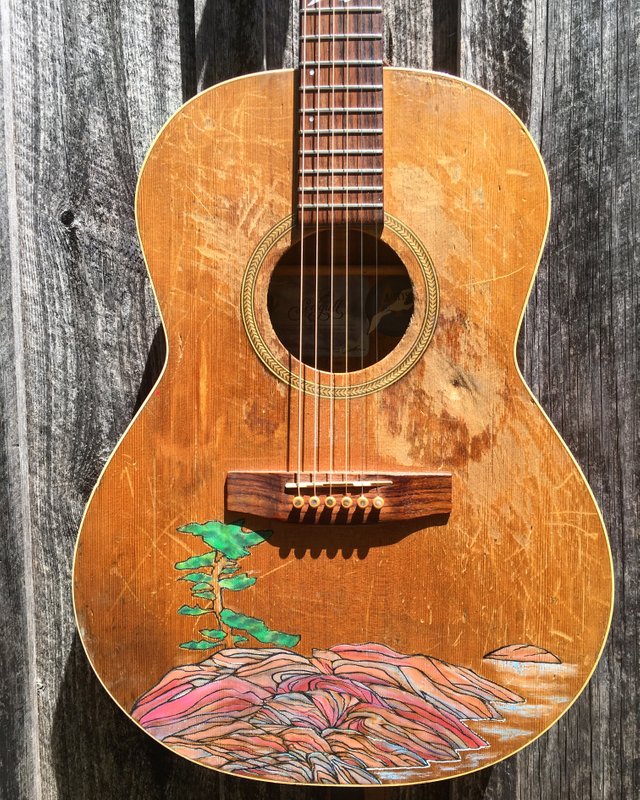
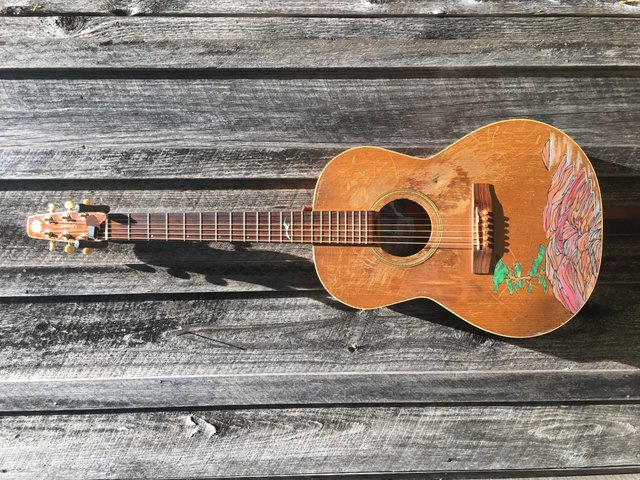
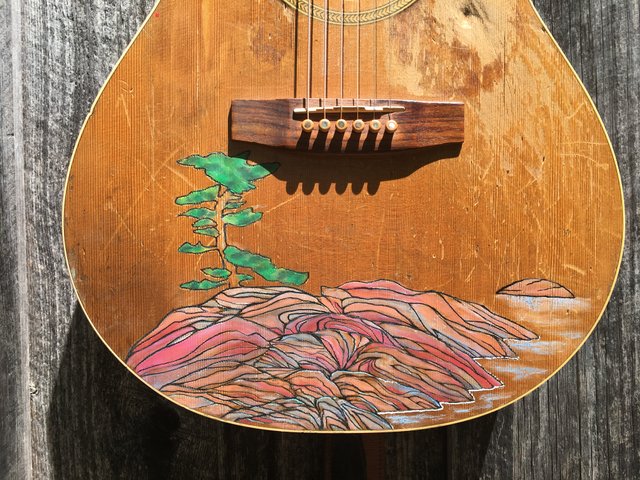
This guitar is coveted by its owner as their go-to guitar. He said that if his house was burning down this would be the one thing he would grab above all else. He has spent a lot of times playing it up north in Canada, along the Georgian Bay, so I decided to create the iconic rock scenes from that area. The fact that this guitar is a bit beat up and worn adds to the rustic charm in my opinion.
I started by tracing the outline of the image, and making deep grooves in to the wood with a pencil. I then sanded off the varnish within the image, and traced it with acrylic black pen.
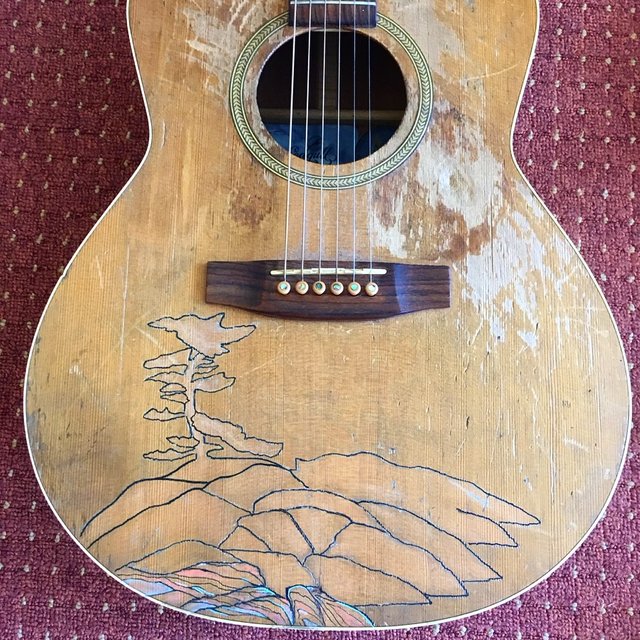
I then added the details with a diner black pen, and used shades of more acrylic colour paint to fill in the rocks. I decided to leave some of the original wood showing through to make it a bit more subtle and natural, and in this way even if the paint fades it will work well with the look of the guitar.
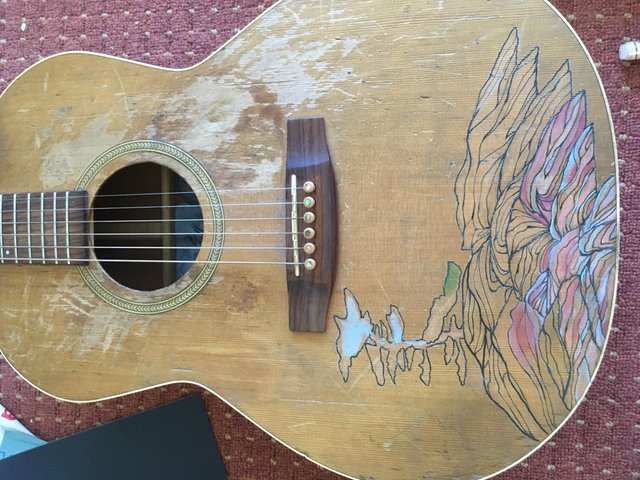
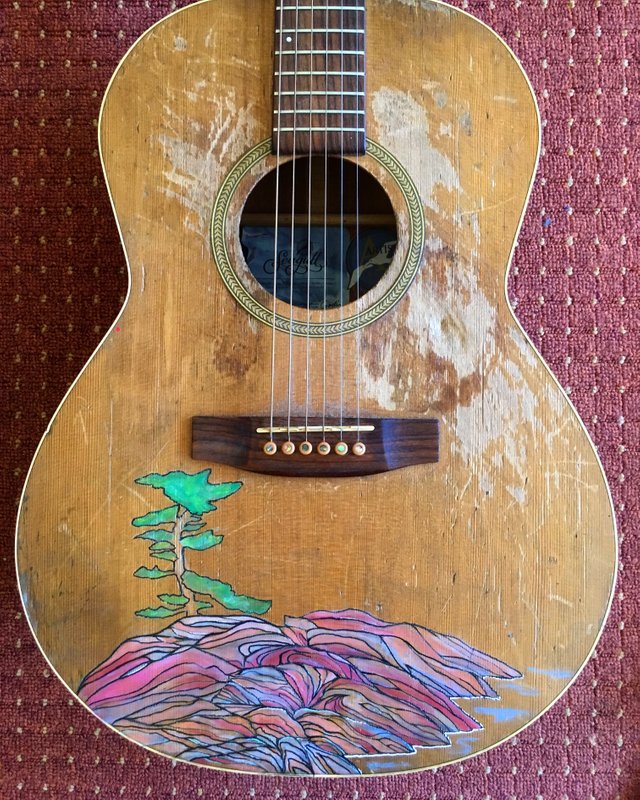
A few hours later of filling the details in its finished. It’s recommended to spray over guitar art with a varnish spray, but this client wanted to keep the matte, natural look. The fact that I made the deep grooves in the wood ensures the image will stay permanently.
The final product!
This is absolutely gorgeous!! I would have been so nervous to be modifying someone else's instrument. You did such a beautiful job keeping with the character! Looking forward to seeing more instrument art from you!
Thank you so much! I was nervous as well, but going over everything with pencil first helped. I might be doing a keyboard commission soon and will share. Cheers :)
Sick! Thought you might be doing the whole front....or wait will you?