Jamie Quilts a Cactus
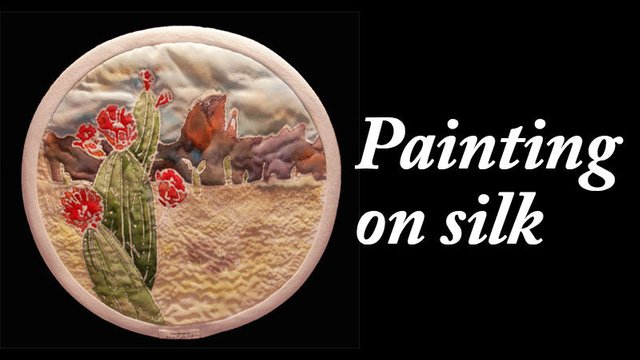
Painting on silk is sort of like painting with watercolors, because the moment you touch the paint to the silk, it “wicks” the color on to the surface very fast, and immediately runs ALL over the place, fanning out into spider webs. This was my first attempt painting on silk, instead of cotton. It was both frustrating and fun! I ended up making this into a mini quilted painting. The silk square I bought was only about 12 inches in diameter, so it was manageable in an embroidery hoop.
Steps that I took:
- Make sure cloth is 100% raw silk
- Buy special fabric dye kit (see description below)
- Find embroidery hoop to hold the fabric tight and smooth
- Choose reference photo / image
- Use the clear resist material to draw your image on silk
- Wait for resist to dry completely (doesn’t take very long at all)
- Paint your image using dyes and paintbrush
- Wait for everything to dry
- Heat-set the dried dye with steam
- Gently hand wash the silk to remove the resist material
- At this point, you could display the art as-is, perhaps putting it back in the embroidery hoop or a different frame
--OR-- - You can go all out like I did, and create something else with your piece of silk, like a pillow or wall-hanging. I basted three layers of fabric together and made a mini quit, using hand-quilting stitches all over it, and then put a tiny cotton quilt binding on the edges (....a LABOR OF LOVE but very rewarding!)
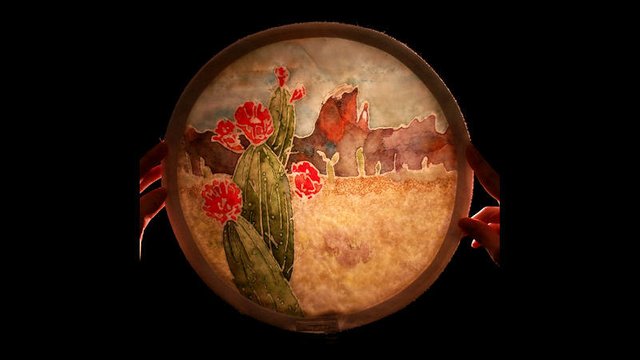
After I was done making this into a mini quilt, I noticed that since the silk was so sheer, it was very much like a work of stained-glass. The light came through the silk in a very interesting way, so we photographed it with back-lighting to emphasize the interesting quality of the stitching and colors.
More Details:
I needed to use special paint, which is really a fabric dye and NOT a type of paint. I purchased a silk paint kit by Jacquard, which included several bottles of dye: black, cyan, magenta and yellow. It also contained a bottle of clear gutta resist.
I had never heard of “gutta” before and found it funny that I kept craving “Gouda” whenever I read the bottle. (Silly!)
The gutta is like a gelatin-type masking substance, and it acts as a “resist” so that the paint (dye) has a border to stop the color from soaking into the silk wherever you put the masking substance. Then you wash the gutta out once your dyes have been set in place permanently.
If you’ve ever used a wax crayon to mark on easter eggs before dying them, or used white elmer’s glue on white paper to create white designs on the paper, you’ll know what I mean! Oooh, now I really want to go paint something RIGHT NOW. (Must finish writing post first…)
After it was painted I waited at least an entire day for the dye to dry, because I’m persickity. I then followed the instructions in the kit, which indicated to steam the silk with an iron, in order to make sure the dye was properly set.
When the fabric was dry from hand-washing it, I sandwiched three layers together (silk, cotton batting, silk) and basted them together to make a quilt sandwich, and put it back into the embroidery hoop. Since I wanted to embellish the fabric with embroidery stitching, I took the time to practice with a needle and embroidery thread, which took about 10 hours. I did tiny french knots in the sand, and a basic running stitch around the white borders, where the gutta resist kept the silk completely white.
I’ve recently learned how to bind the edges properly on quilts and such…so this one was my first attempt at a completely circular object. It turns out perfectly if you remember to cut the fabric on the bias!
As usual, I neglected to take detail UP CLOSE photos of the stitching. Apologies for that. Lesson learned!

