TUTORIAL for COLORING - Colored Pencil for Dummies
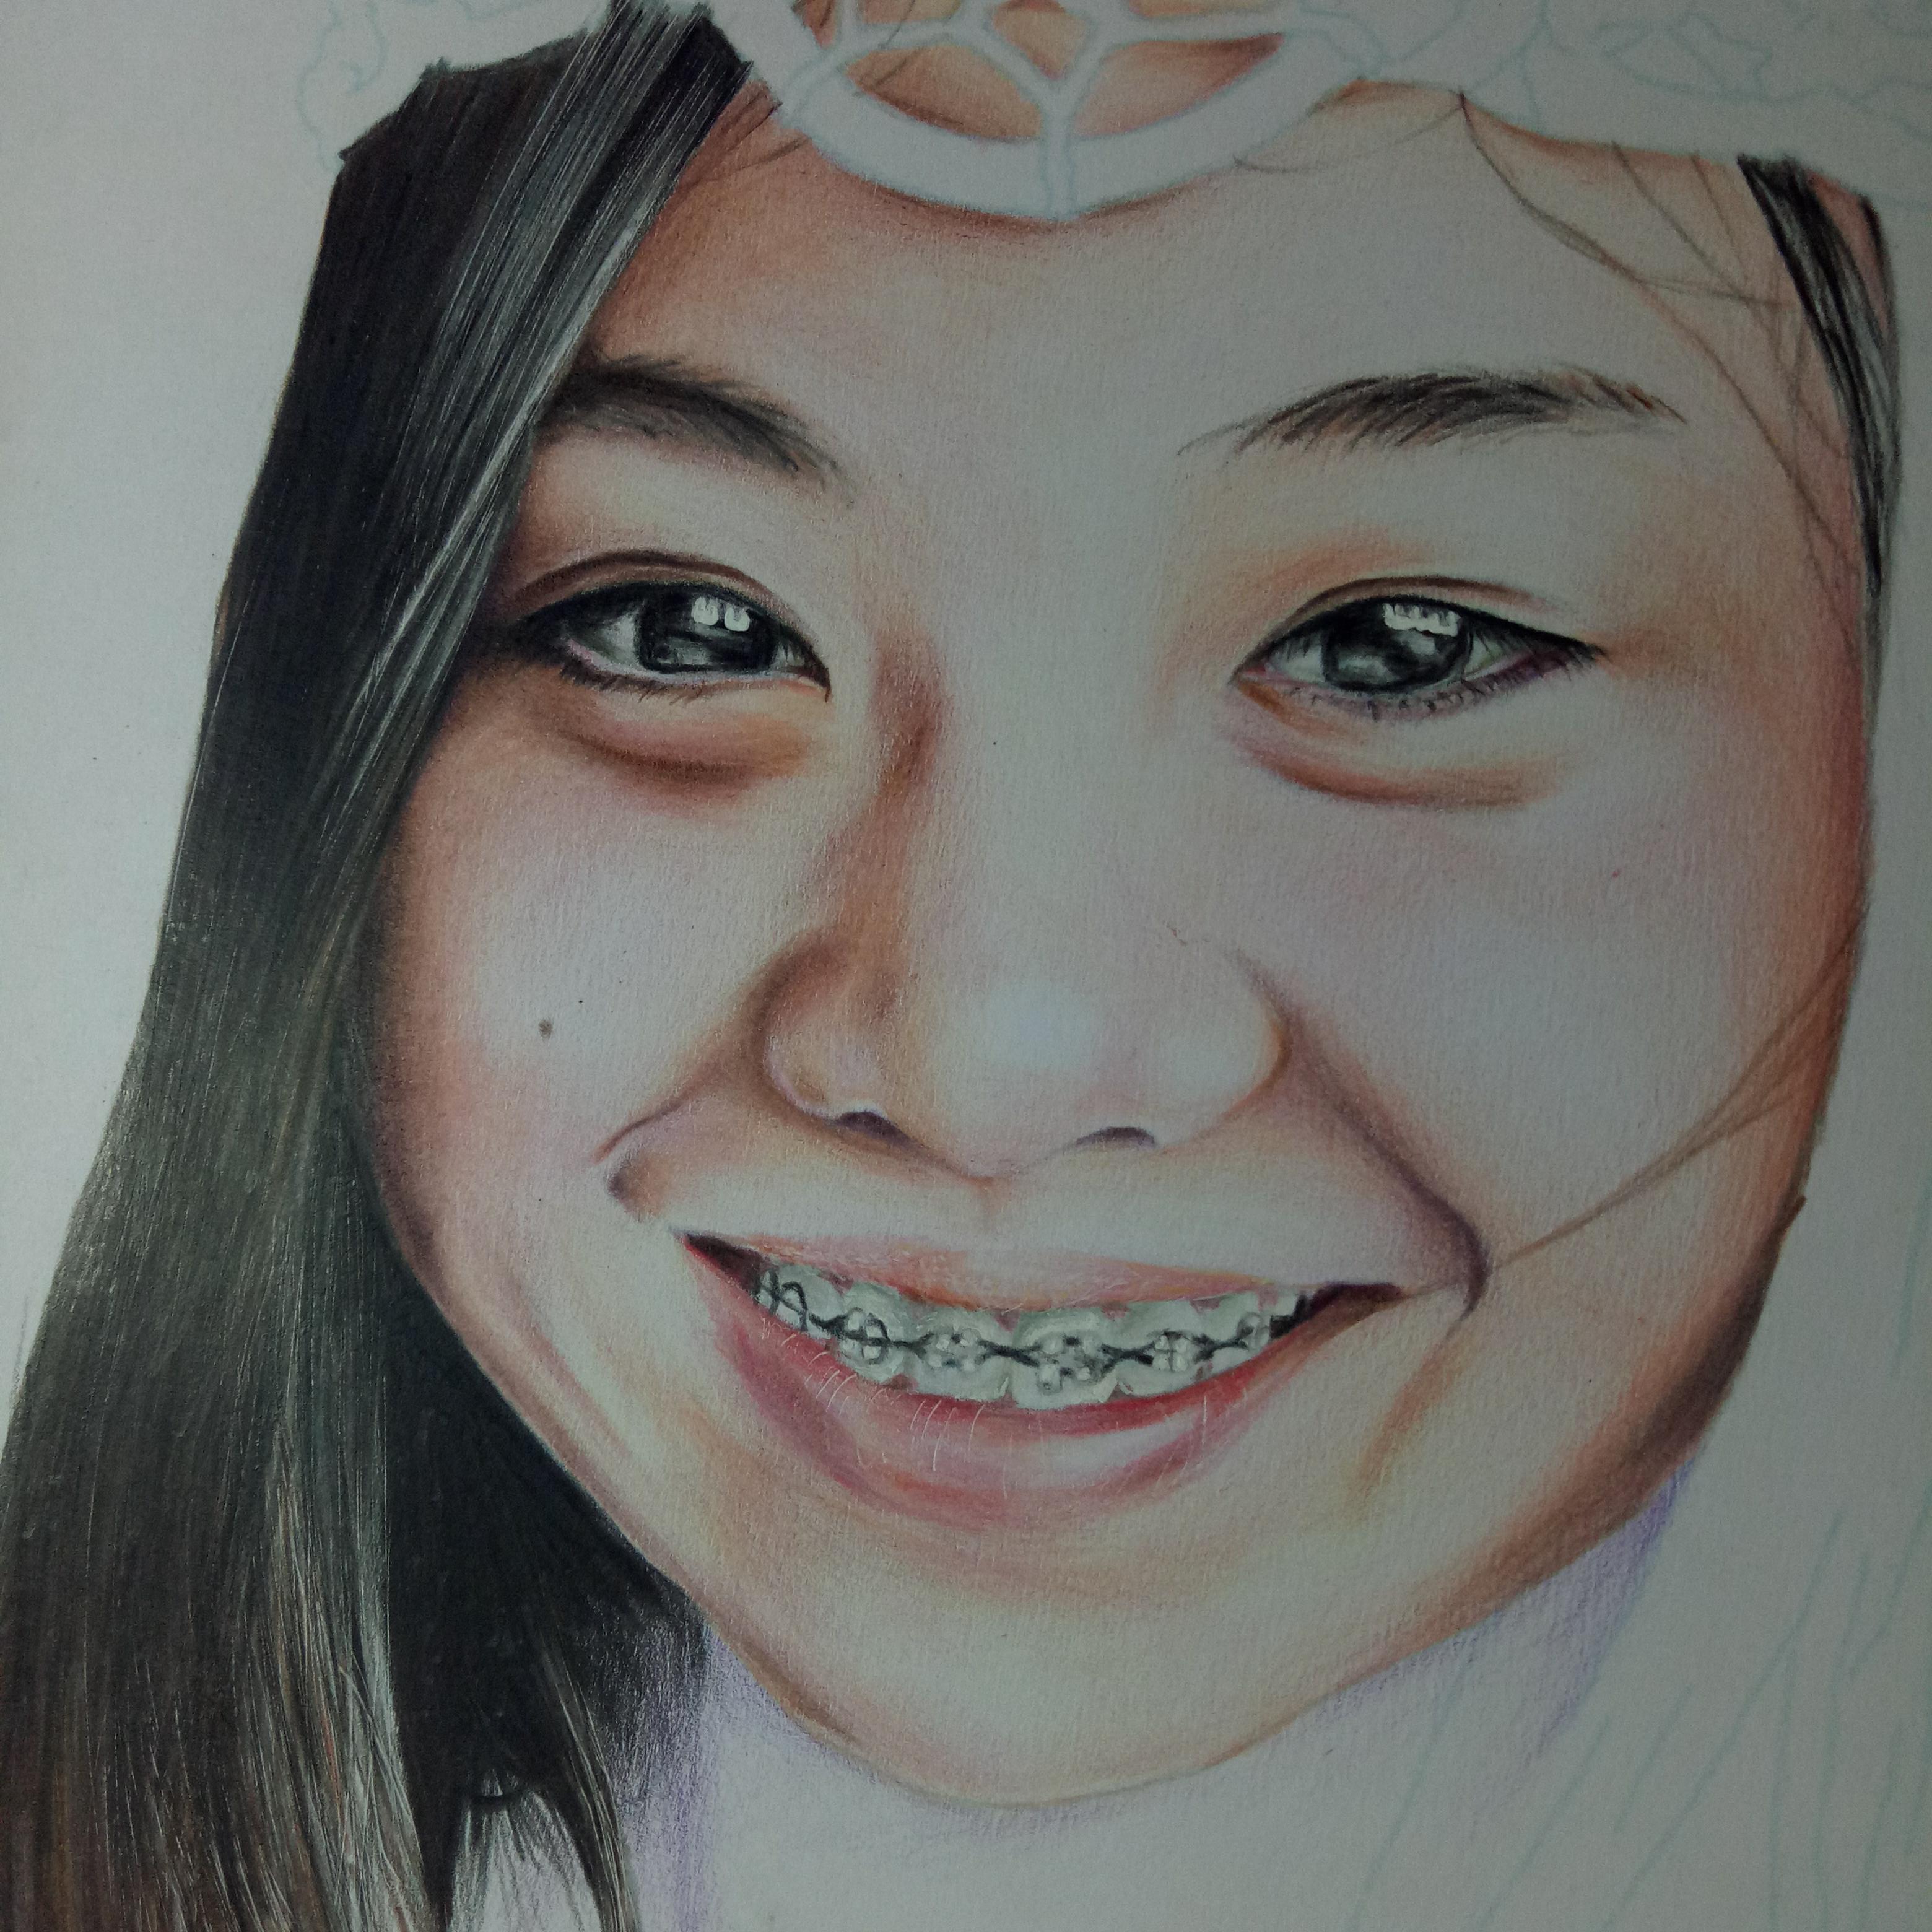
Hey there! Are you tired of your mediocre drawing skills? Do you follow art pages and wish that you could draw just like them? Do you want to improve your art from stickman...
to THIS?!
If so, then you're in luck! I'm here to teach you the basics of coloring, specifically using colored pencils.
When we were in kindergarten, we all had our fair share of coloring activities. We were taught to use 1 color per object. The sun is yellow, the tree trunk is brown, the leaves and grass are green, and the sky and sea is blue. BUT, if you're still coloring that way, you're missing out on the wonderful world of COLOR BLENDING.
Ok then, let's start with the basics of color blending. We already know that red + blue = violet, blue + yellow = green, and yellow + red = orange. Today, I'm going to demonstrate what happens when you mix certain colors.
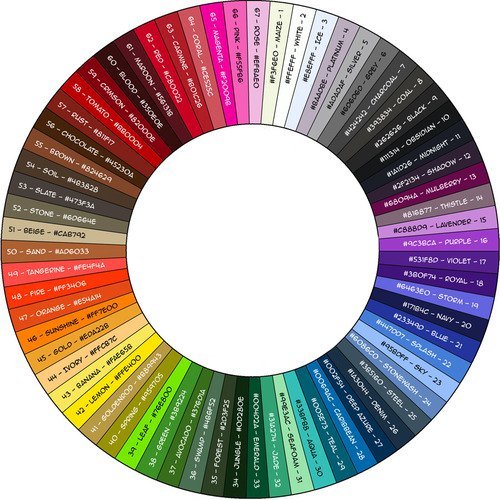
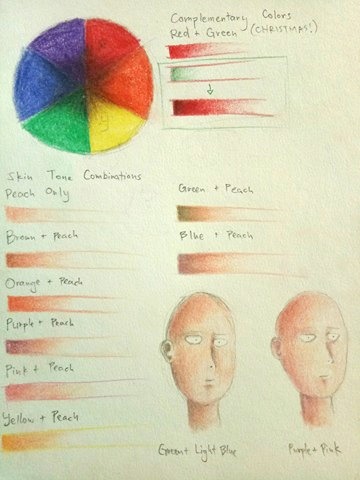
First, we need a guide that will help us in choosing colors. For that, we have the COLOR WHEEL~~~
oh no... this is too complicated.
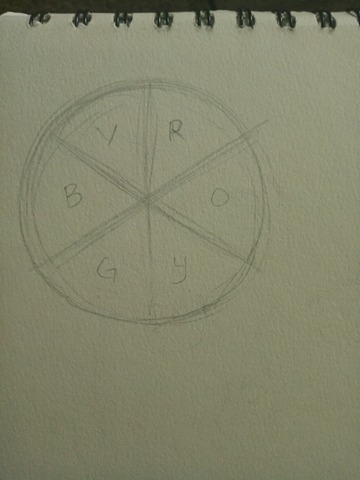
Don't worry! we can simplify the color wheel into just 6 colors.
If you can notice, the simplified color wheel contains the colors of the rainbow (excluding indigo). So, how can the color wheel help us? You'll just have to wait to find out. Grab your colored pencils, and let's start the lesson.
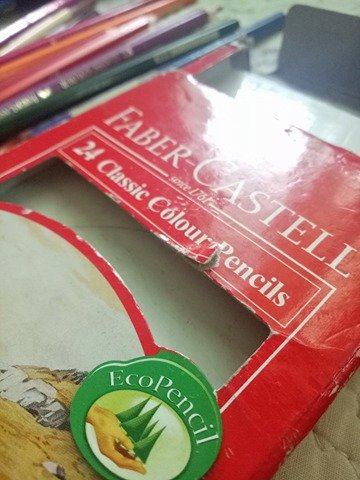
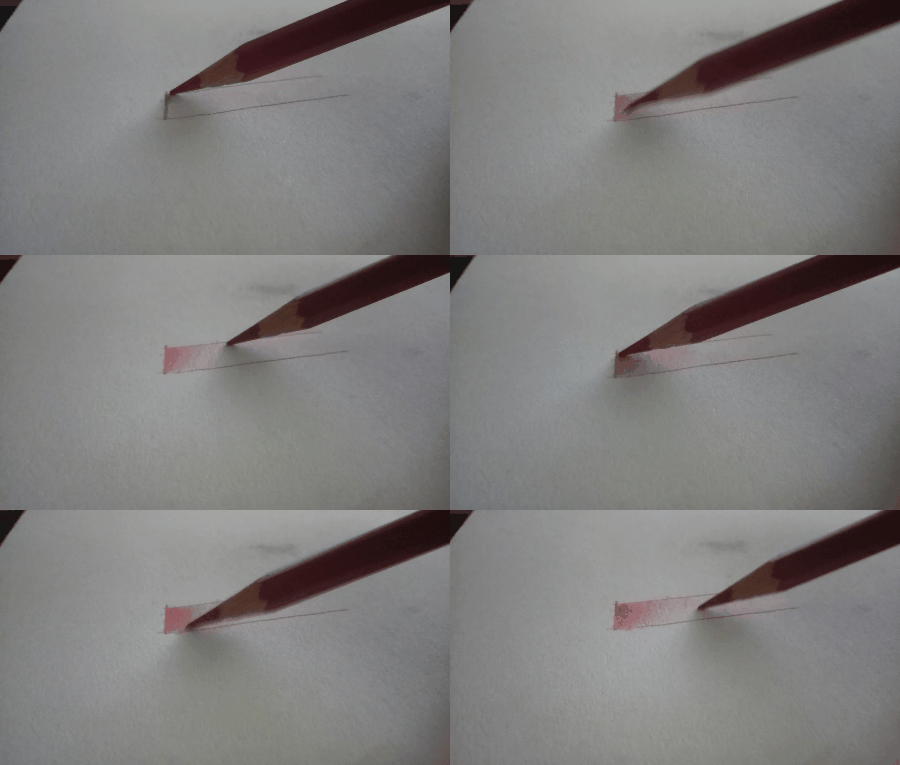
I'm using the Faber Castell Classic Colored Pencils. What you want to do first is to sharpen your pencils as sharp as you can. You want it to be sharp enough to poke someone's eye out. Next, we're going to practice coloring from light to dark
Practice making it blend from light to dark wherein you won't be able to see the individual hatched lines. Now this is where the fun starts.
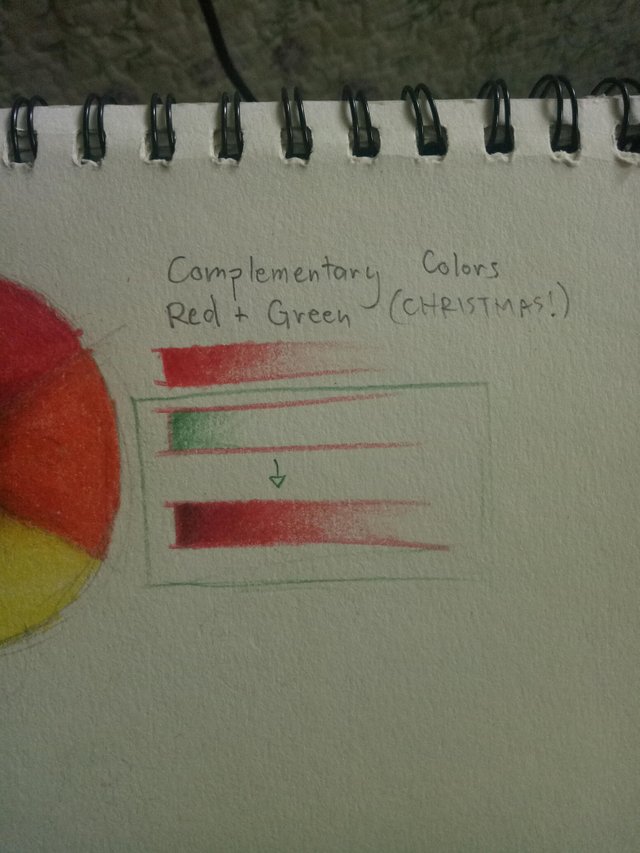
Look at the color wheel. Now, group together the colors on the opposite sides. These are what we call complementary colors. These colors are important when we want to create darker shades of colors. So, I'm going to choose red and green (CHRISTMAS!).
By adding that little green shade, it created a darker shade of red. It also works vice versa. If you want a darker green, just add a little hint of red in the beginning. This is much better than using black to create shadows for objects.
There's still more to color blending. By mixing different colors, you can create a plethora of shades. Take a look at 20 shades of gray.
The best way to explain this is through different combinations you can do to create skin tone. You can mix anything with peach to create skin tone. Here is a list below.
Using the technique we used earlier to create darker shades of red, we were able to create 7 more shades of peach. If you have a photo reference, you need to understand how colors mix together in order to pick the right shade of skin tone. If you aim for photorealism, skin tone is dependent on the lighting, race, and also the climate. But we'll stick to the basics so forget about photorealism for now.
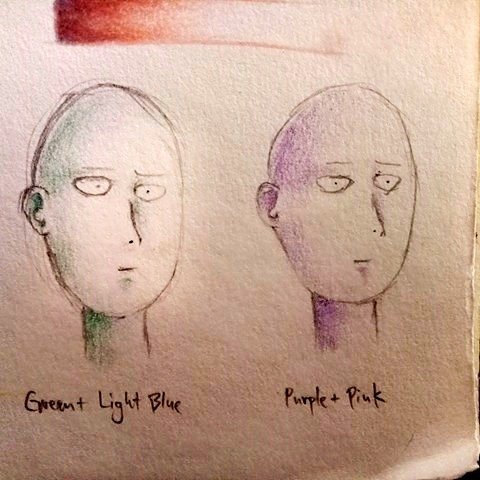
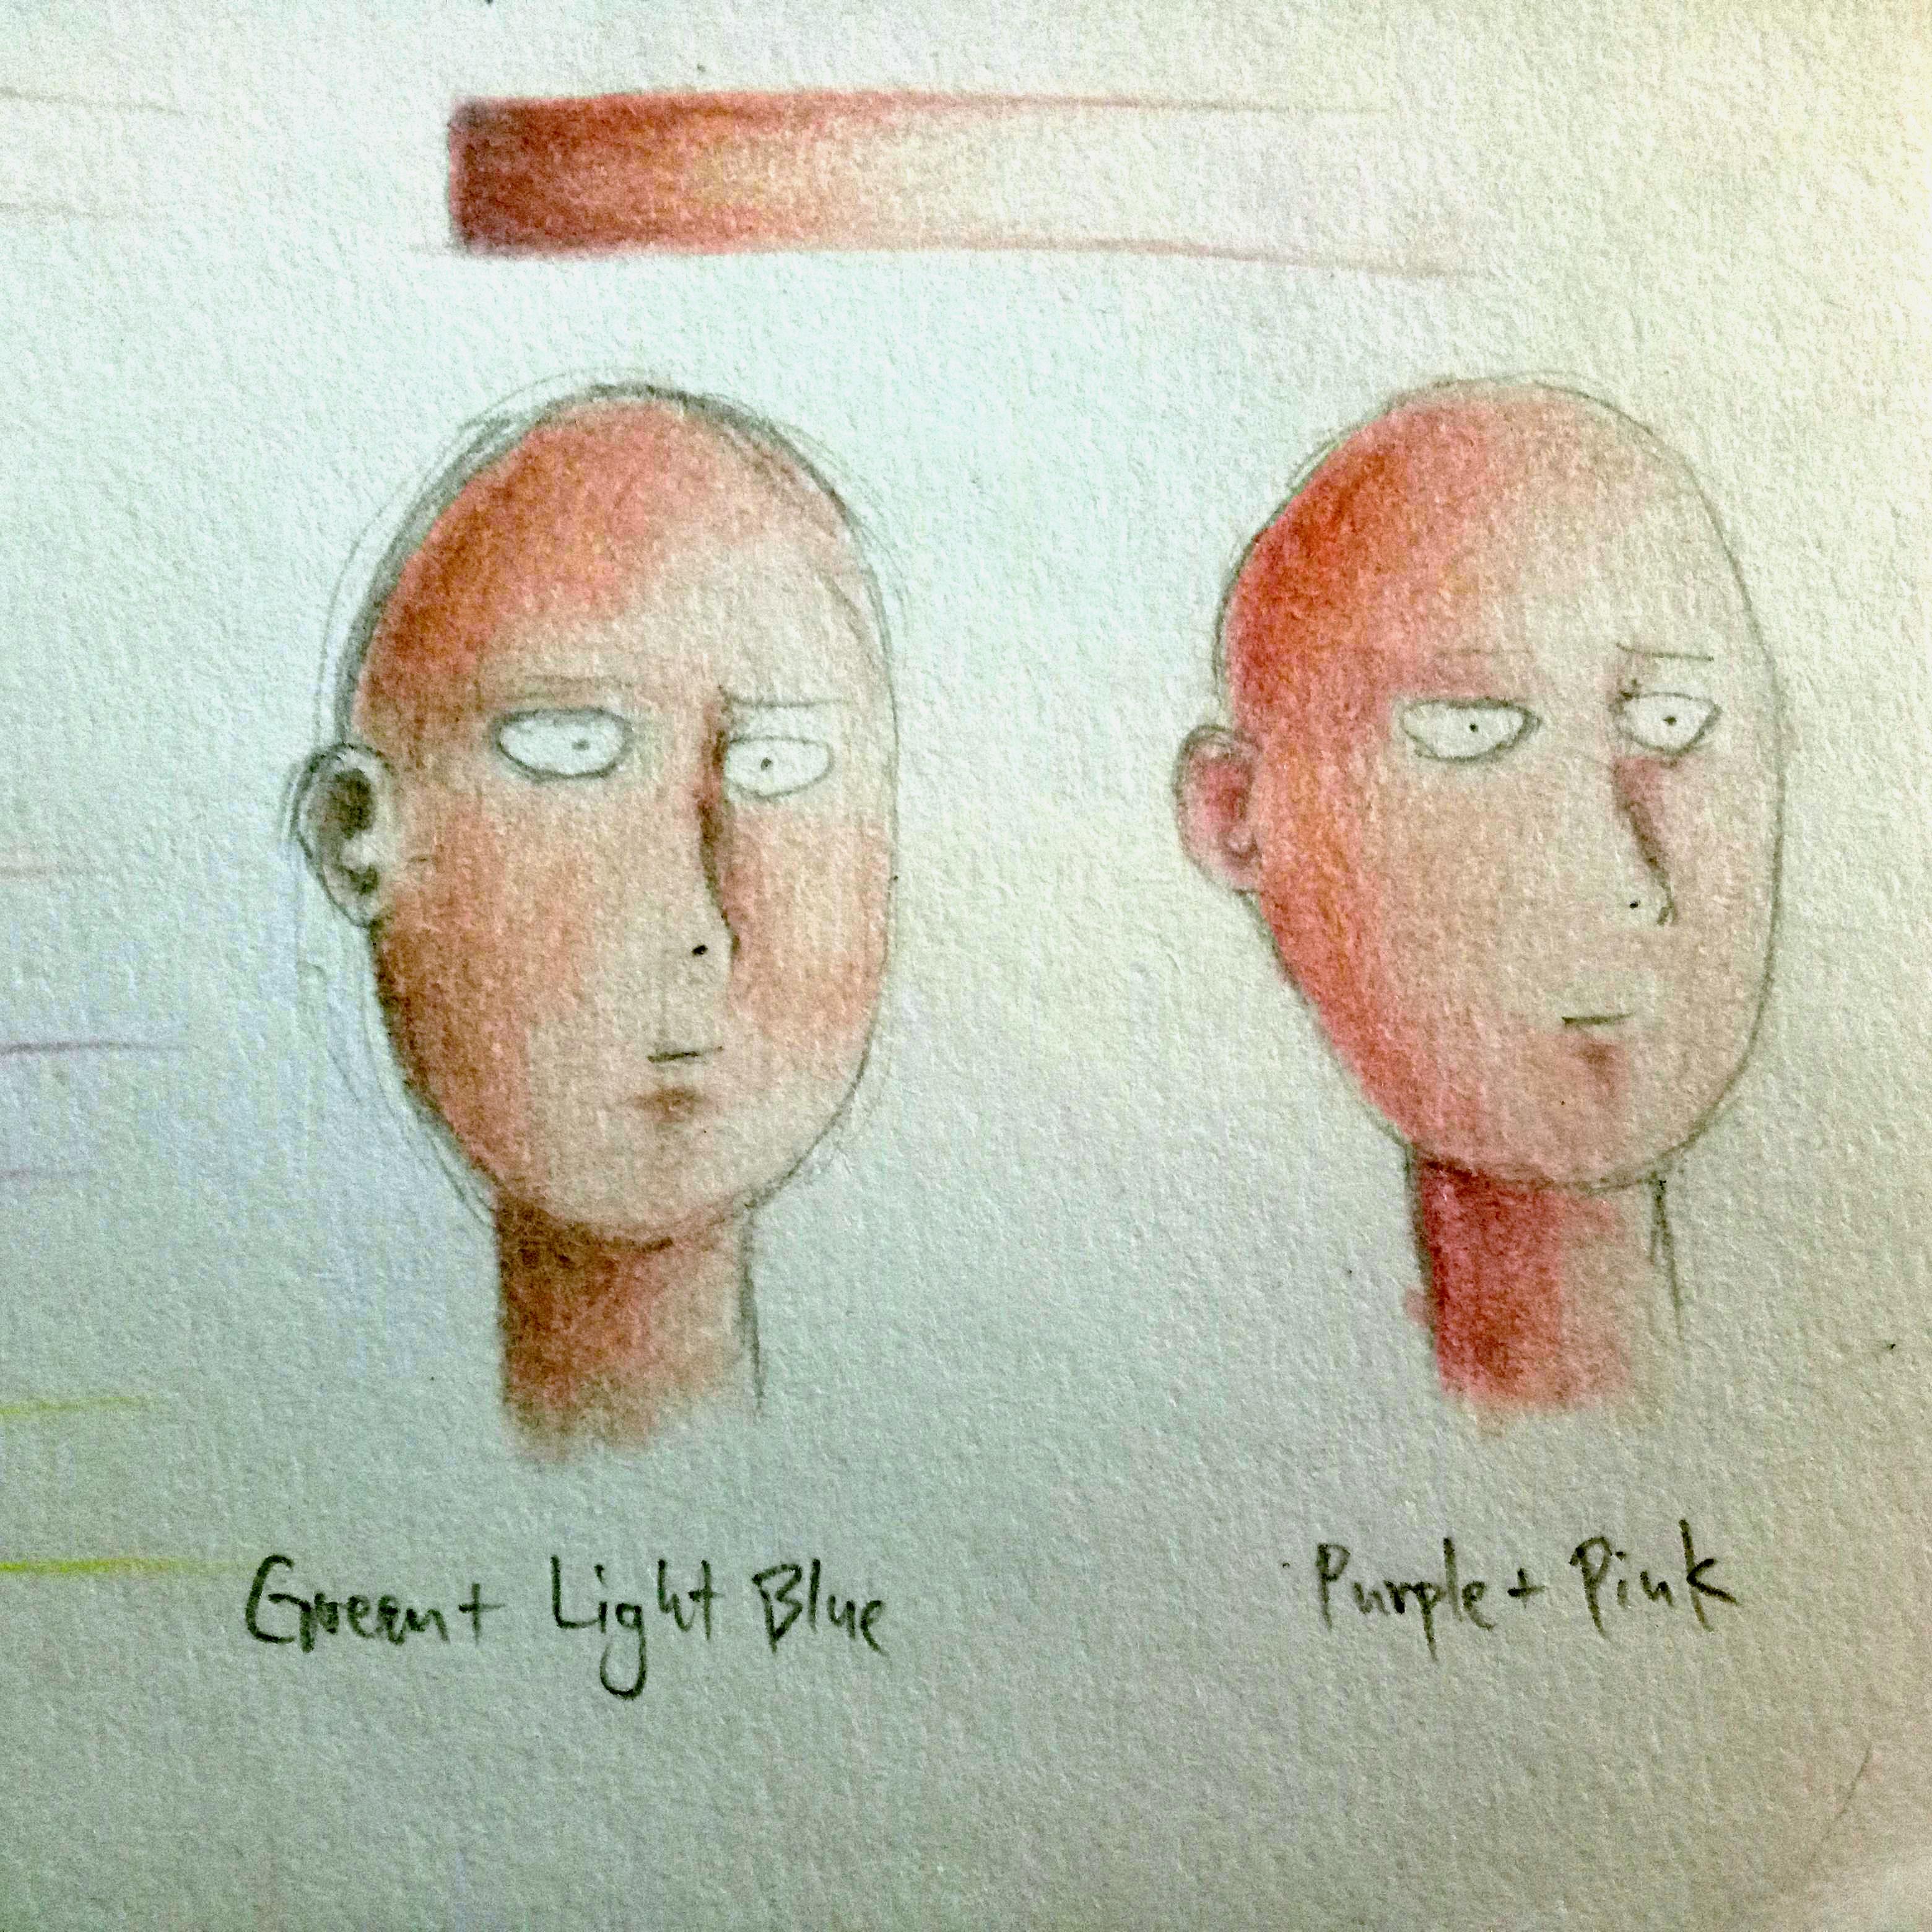
I'm going to prove to you that you can create darker shades of skin tone without using brown. So I have here 2 Saitama heads. For the first one, I colored the dark areas with green and then blended it with light blue. For the second one, I colored the dark areas with Purple, and the blended it with light pink.
Protip - when color blending, try to make your strokes as light as possible. Sometimes, colors will not blend if you create heavy strokes.
Now, I will add peach, and watch the magic happen~
BOOM! You can try mixing any color with peach to create skin tone. Just remember that more layers of color make it harder to blend. Coloring as lightly as you can will help in blending more colors.
An important tip for color blending - do not let others dictate what colors you need to blend. You must understand how colors mix together in order to effectively choose the correct colors. I see this as a problem in beginner artists here in the Philippines. "Use only peach, yellow and brown for skin tone" or "You should use pink, peach, and brown". I mean it works, but the art becomes monotonous. If every artist uses the same color scheme, It just makes your art less special.
Experiment mixing colors. It will help you create much richer and vivid colors
That's all for this tutorial. This technique might not be used by others, but this is how I color. I actually made this for a friend of mine who wanted to learn coloring using colored pencils. Since I was making a tutorial, I thought that I might as well share it here on steemit. I still haven't shared much of my art, but I posted some of it on my introductory post. Check that out if you want to see it.
PART 2 of this tutorial will come out tomorrow. I will be showing you step by step my process in coloring. It will be an in-depth explanation compared to this one. If you're a fan of Megumin from KonoSuba, then watch out for that. Also, I'm terribly sorry for the low res photos. I'll try to take all photos in the morning to avoid bad lighting haha.
If you have any questions, leave a comment below. I'll be sure to entertain them. Please support by following, upvoting, and resteeming if you want to see more from me. Thank you for reading :)
Hi @i-karlll nice and a helpful tutorial you've got here.I love the presentation. Thanks for sharing. Well, well, I think despite you taking your shots in the night and they appearing a little blurry as explained, you were still able to adequately communicate the message in the tutorial perfectly.
Resteemed. I must say too, welcome to steemit. Checked your introductory post too and was impressed at your personality, so, I give you a follow too.
Cheers... @dorth
Wow thanks. I'm really glad you liked it :) Thanks for the resteem and follow. Those compliments just helped me boost my self confidence haha.
You have been quite engaging too, so it's pretty cool you're getting a following and feedbacks.
Awesome! Definitely can be very helpful! I prefer to use watercolors but I know some people can do amazing things with colored pencils !
Oh hey thanks :) It's nice to see fellow artists here in steemit. I've tried watercolor before, but I find it hard to control liquid mediums haha.
I followed you by the way. I also want to see your art :)
Thanks! I followed you too! Yea you have to get used to it, and it’s always hard to switch to a different medium at first :D
Wow. This post is super quality in format, content and presentation. Keep up the good work @i-karlll.
Resteemed.
Thanks for the resteem :) I'll probably make a few more tutorials
Thanks for sharing, I will stick to your very useful advices!
Why, thank you! I'm glad it was useful to you :)