How I Draw Miya A Character Hero Of Mobile Legend Game (Bilingual)
Dear Steemians!
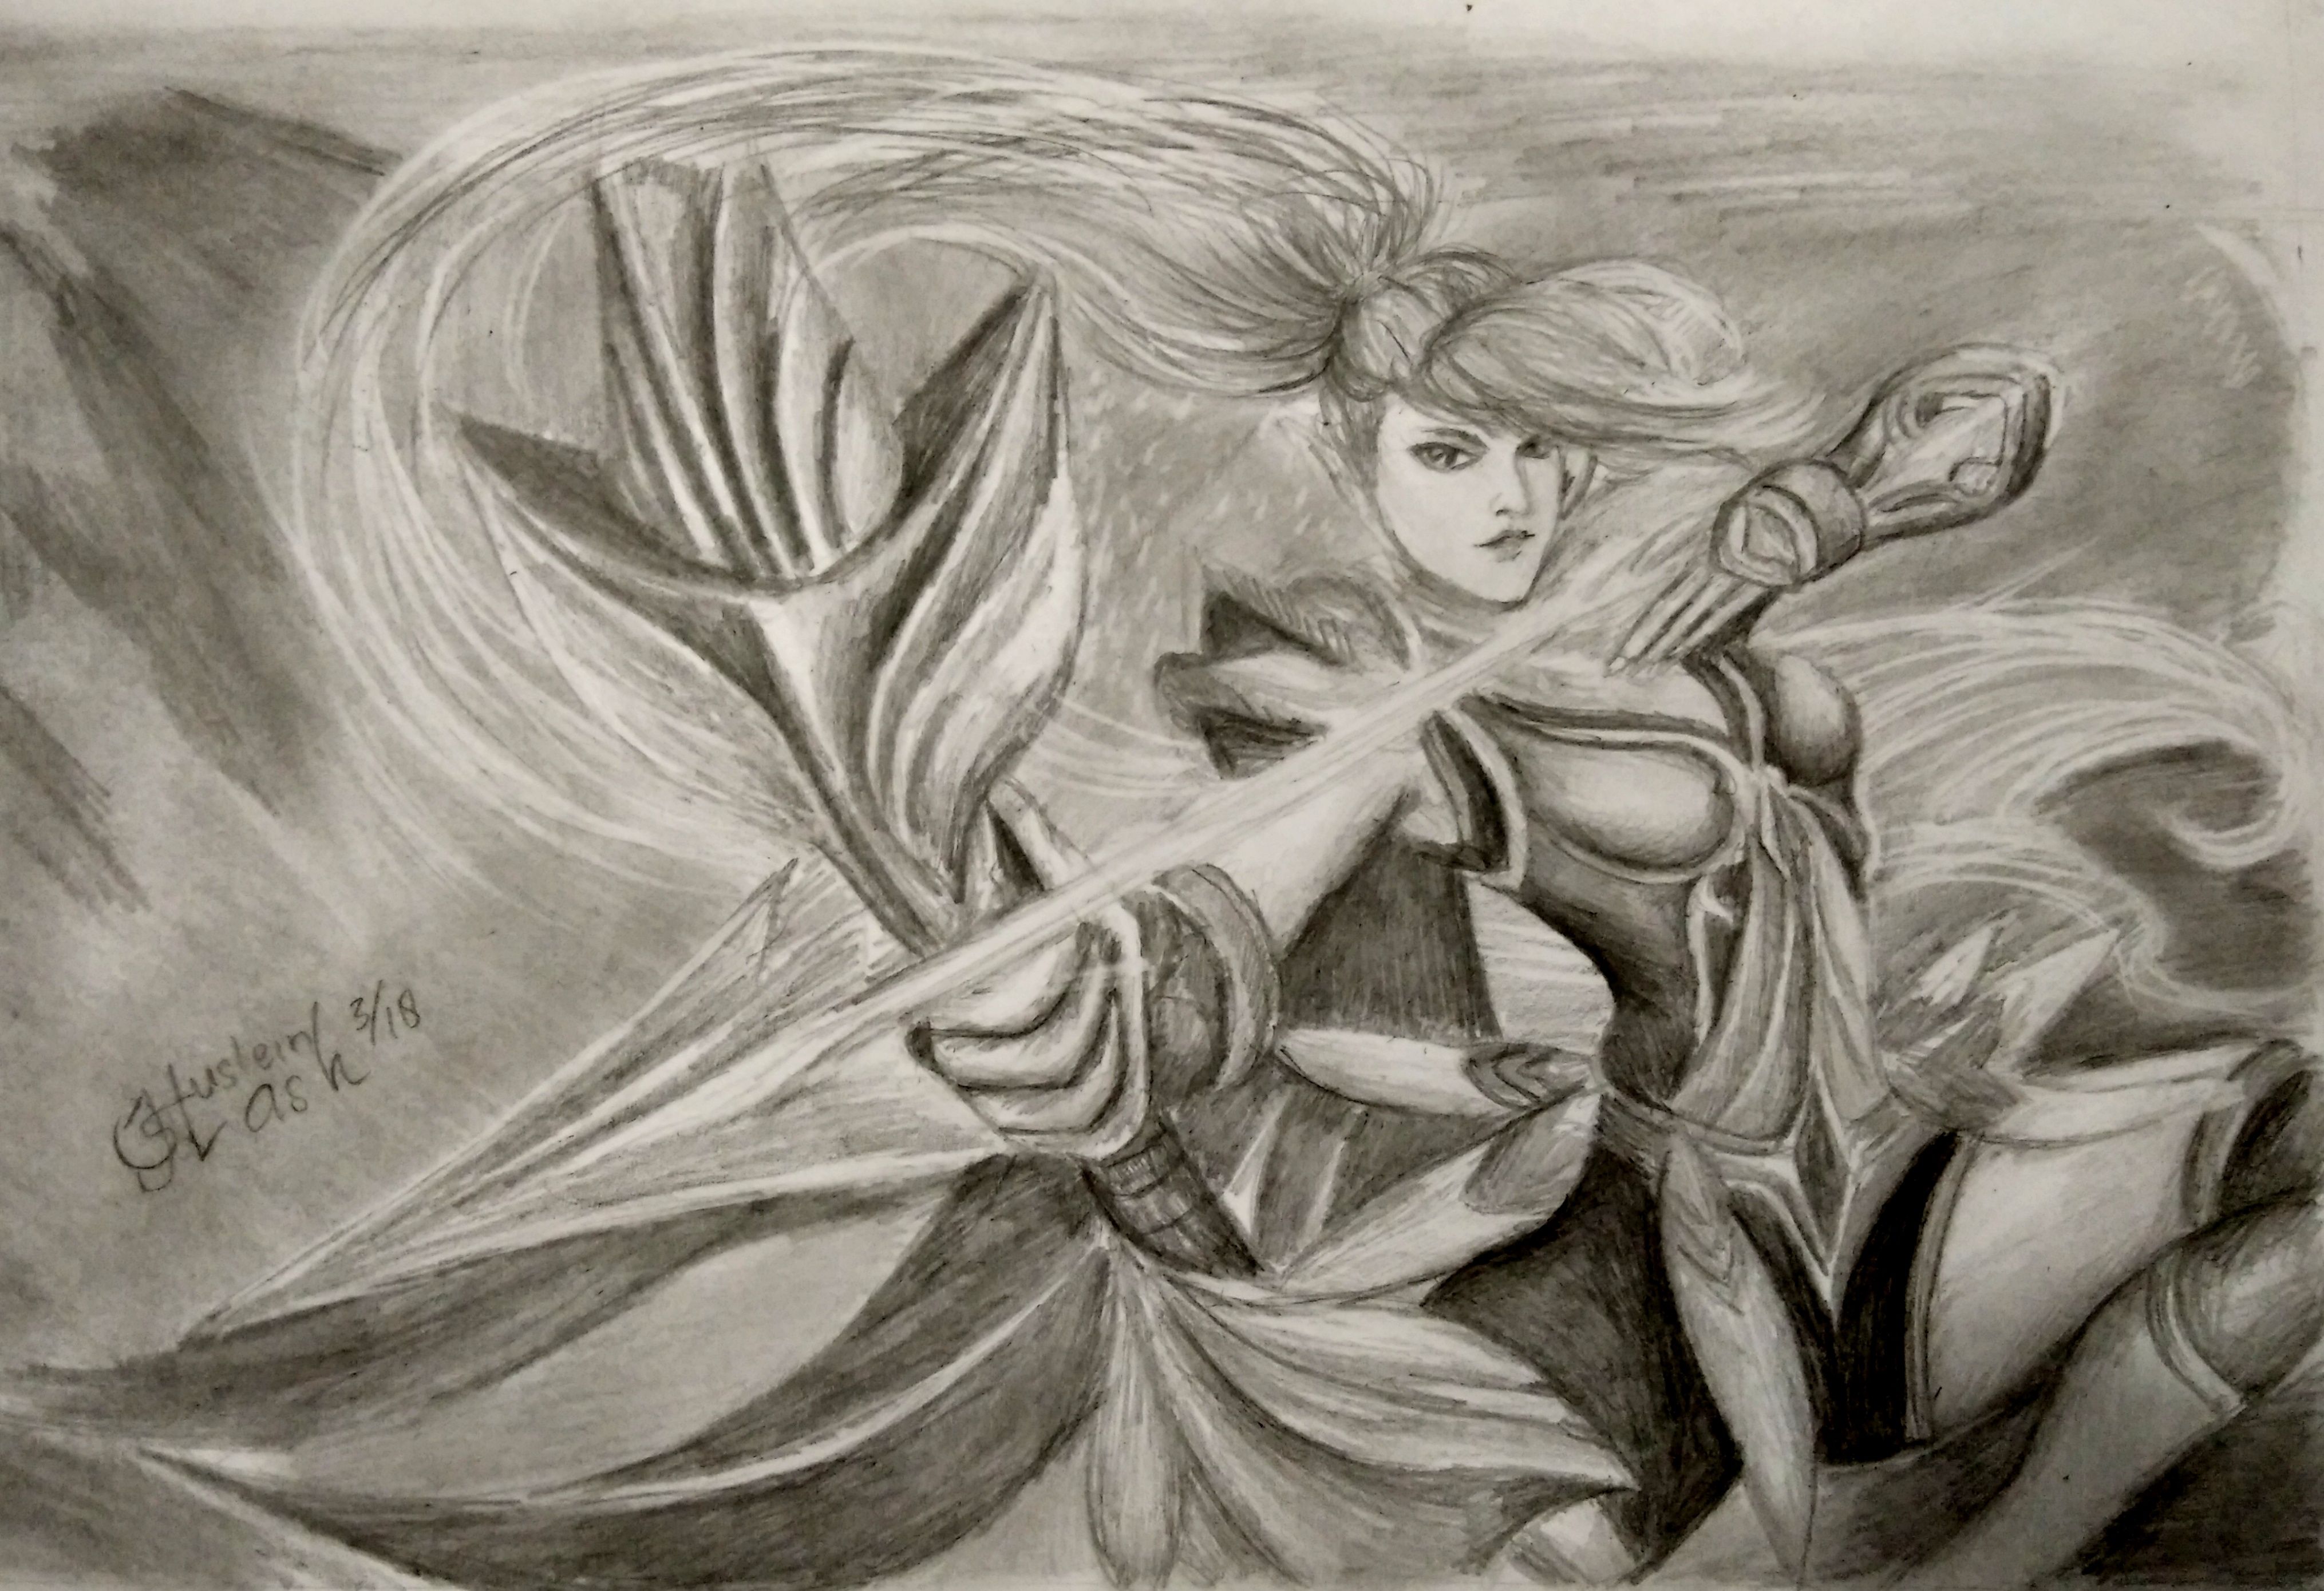
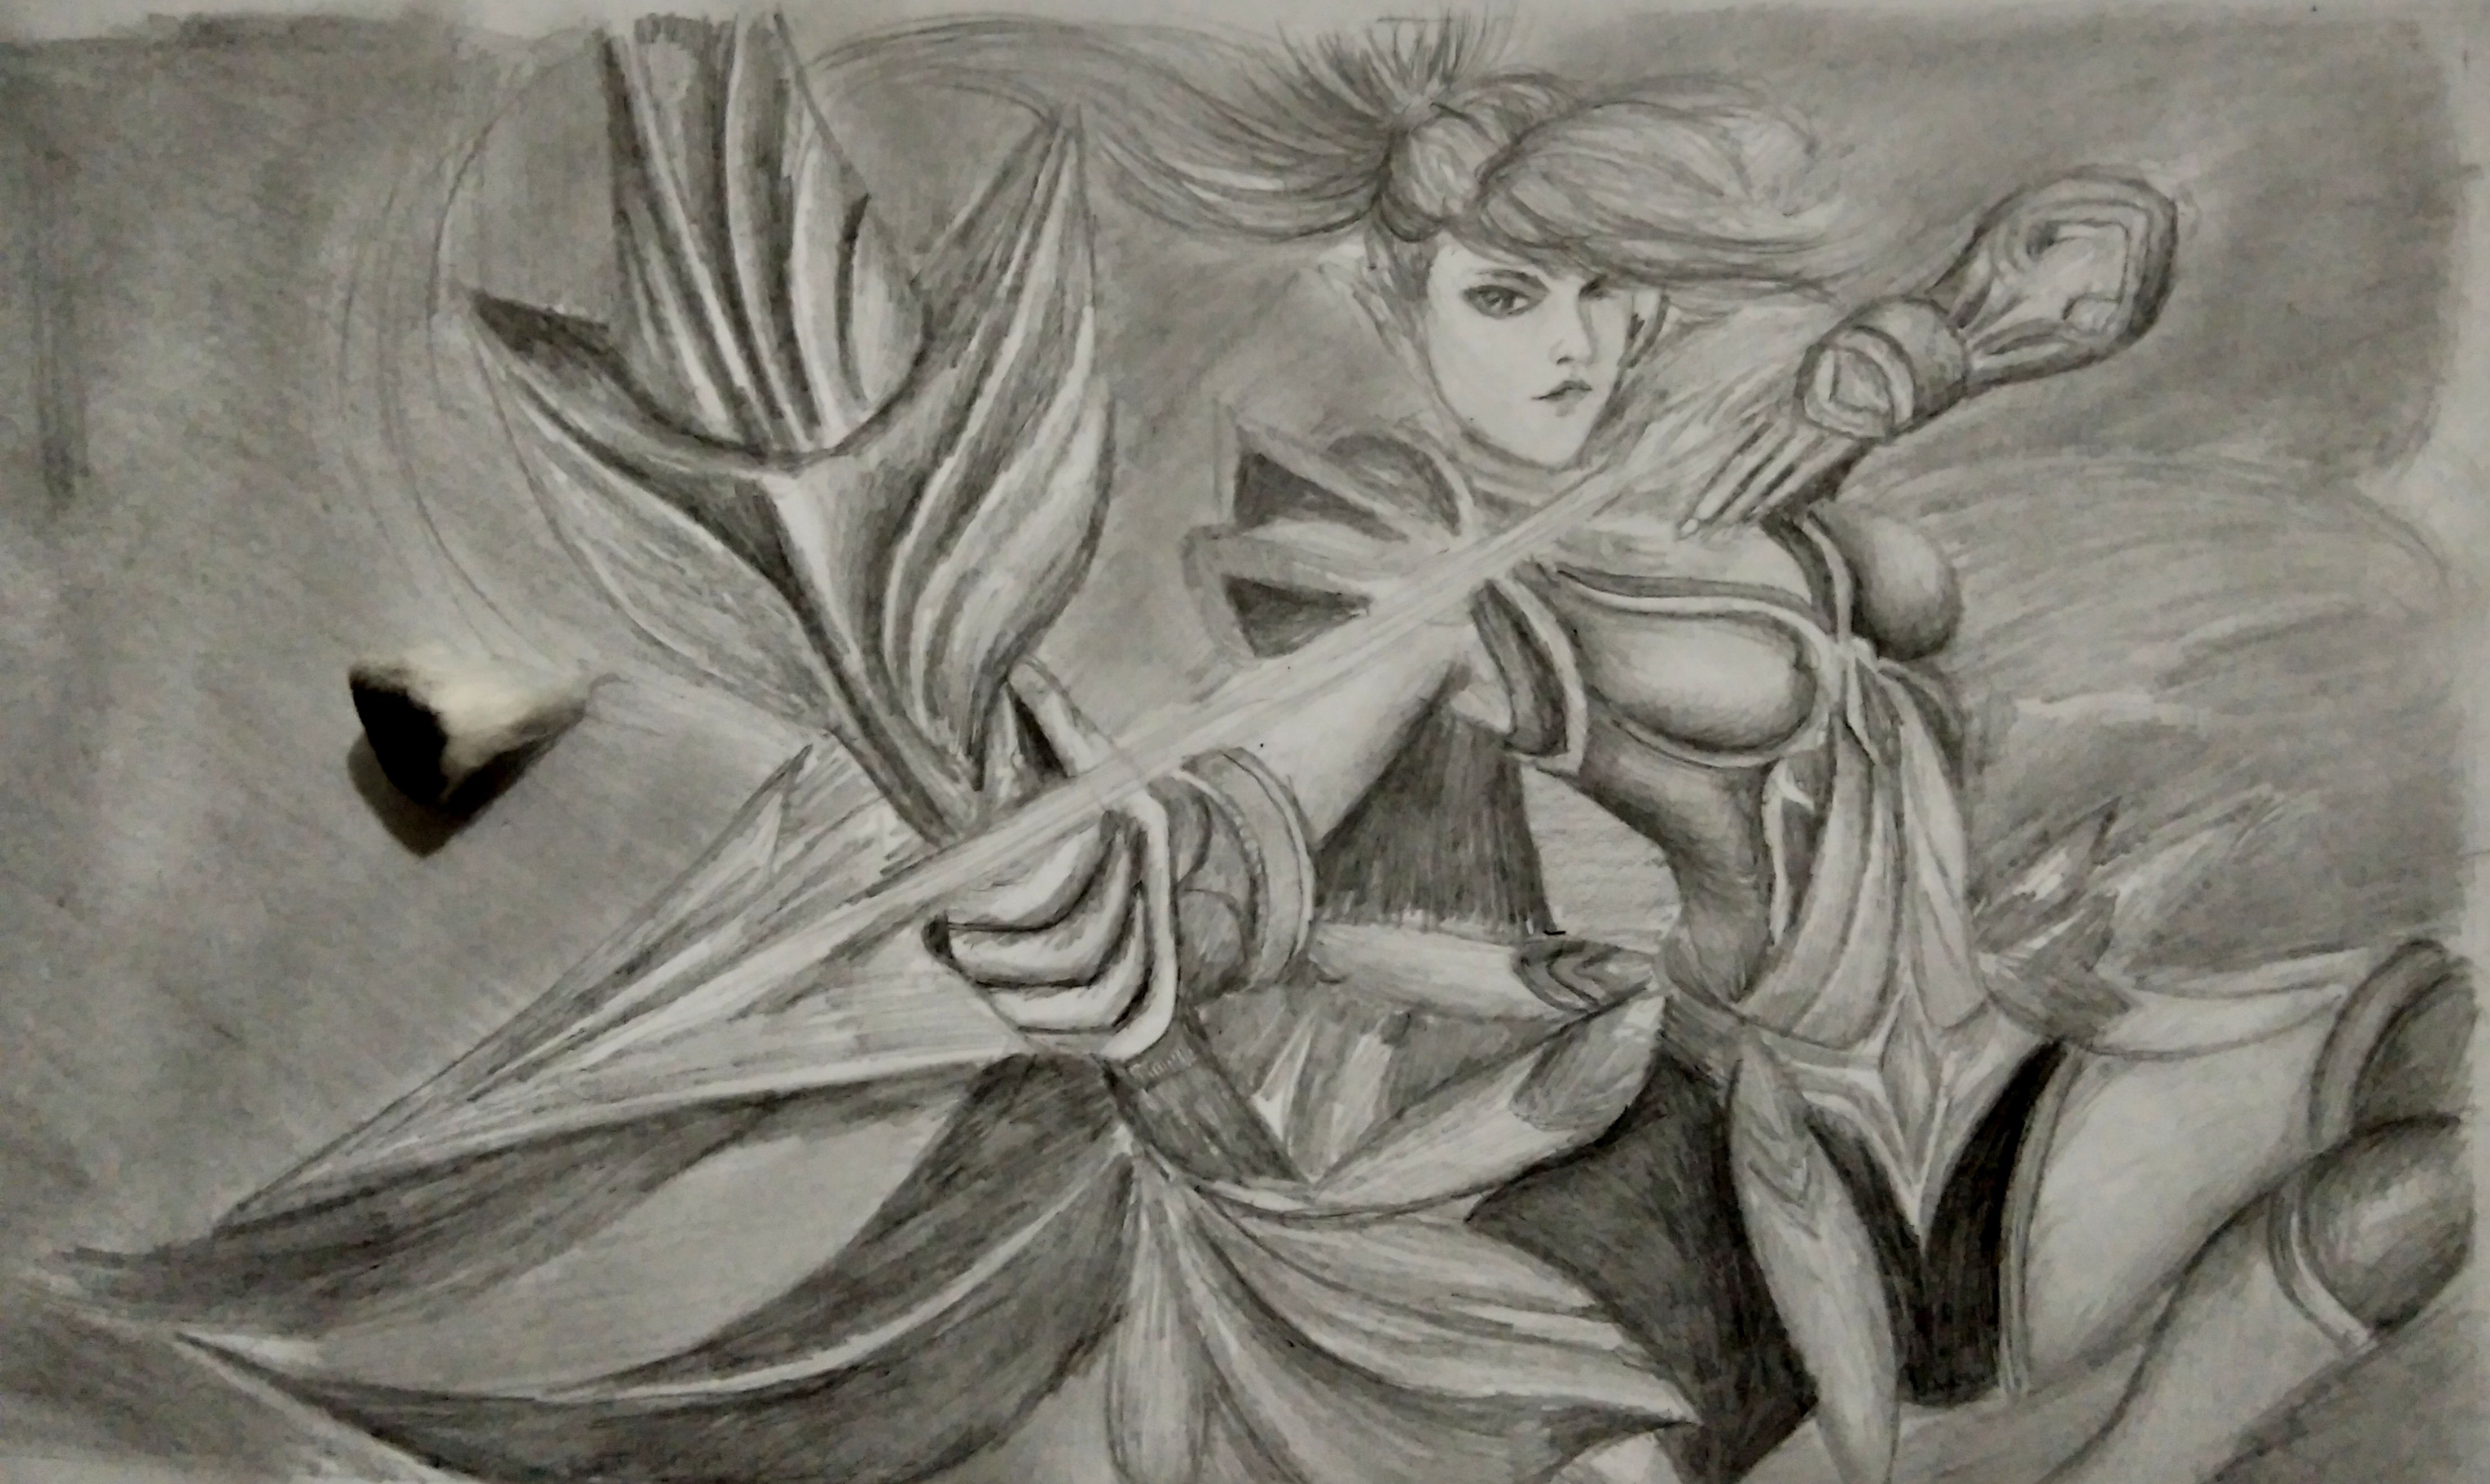
Finally, I can finish a drawing character Miya in Mobile Legend game after spending two days. It was not a full two days but just about 10 hours in my free time. I drew it slowly on purpose for maximum results and the person who requested will be satisfied with the results I have made. It was the first time I draw a character in game. I do not really like to play games for fear of addiction and wasting my time, the game that I played just the games of stimulation and puzzle to improve my thinking ability. Though the Mobile Legend game is one of the most popular games now in Indonesia but still I'm not interested to try. I drew this just because of my friend's request, I am very happy to get this drawing offer and this is also as my practice in drawing animation.
Do want to know how I drew it?
Yeah, Akhirnya saya bisa menyelesaikan gambar karakter Miya dalam mobile legend ini selama dua hari. Ini bukan berarti full dua hari tetapi sekitar 10 jam di waktu luangku. Saya sengaja membuatnya pelan pelan agar hasilnya maksimal dan orang yang meminta merasa puas dengan hasil yang sudah saya buat. Ini pertama kalinya saya menggambar karakter game. Saya memang tidak terlalu suka bermain game karena takut ketagihan dan lupa waktu, game yang saya mainkan pun cuma game stimulasi dan teka teki untuk meningkatkan kemampuan berpikir. Padahal game mobile legend adalah salah satu game terpopuler sekarang di Indonesia tapi tetap saja saya tidak tertarik. Saya menggambar ini hanya karena permintaan teman saya, saya sangat senang mendapat tawaran gambar ini dan ini juga sebagai latihan saya dalam menggambar animasi.
Mau tau bagaimana proses saya menggambar?
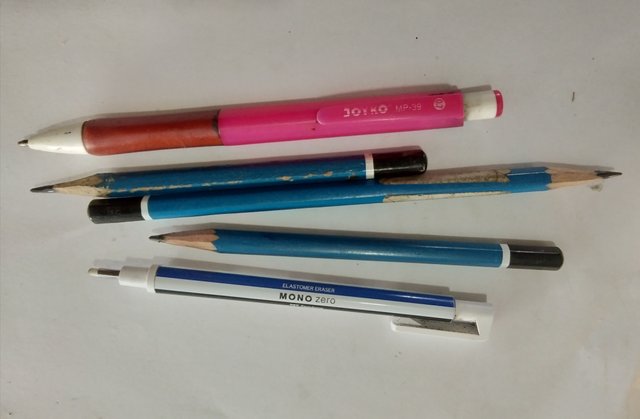
I drew this character on A4 paper sized by using staedtler graphite pencils 2B, 3B, 4B, mechanical pencil and mono-zero eraser.
Saya menggambar karakter ini di kertas ukuran A4 dengan menggunakan pensil grafit staedtler 2B, 3B, 4B, pensil mekanik dan mono-zero eraser.
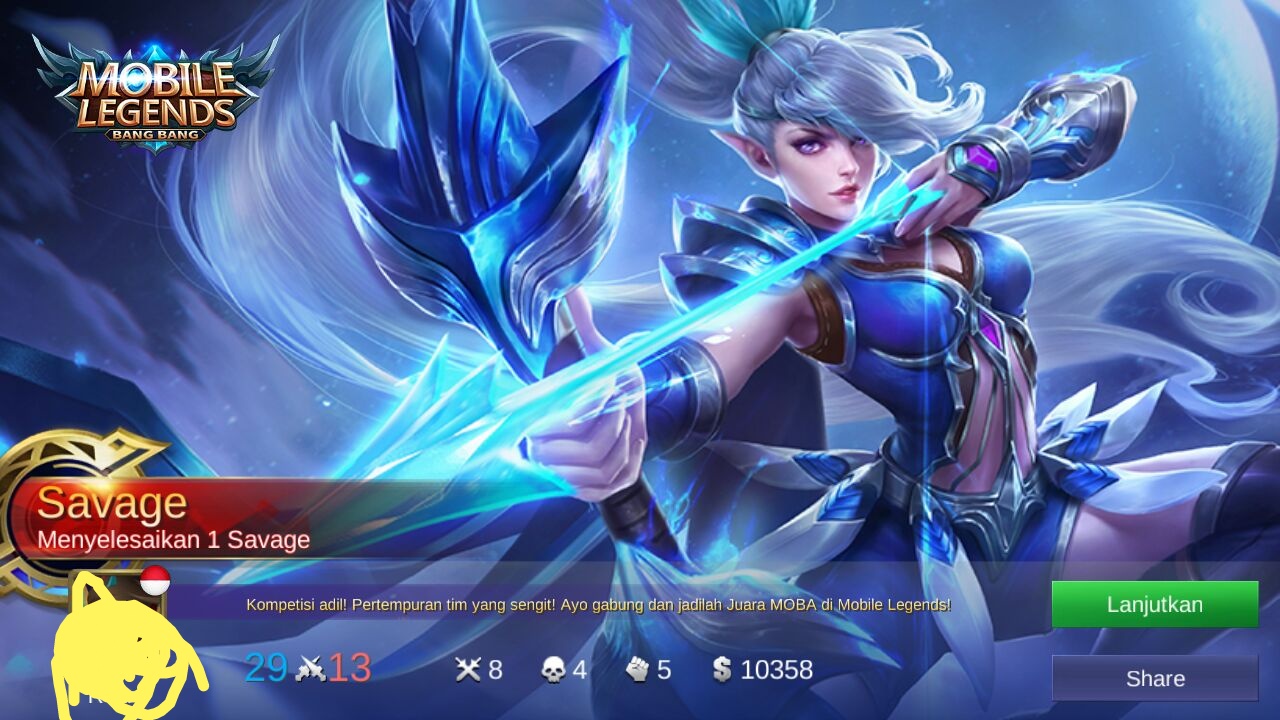
By looking at the image reference, I drew it step by step such as sketching, shading and finishing.
Dengan melihat gambar referensi, saya menggambarnya secara bertahap, dari sketsa, shading dan finishing.
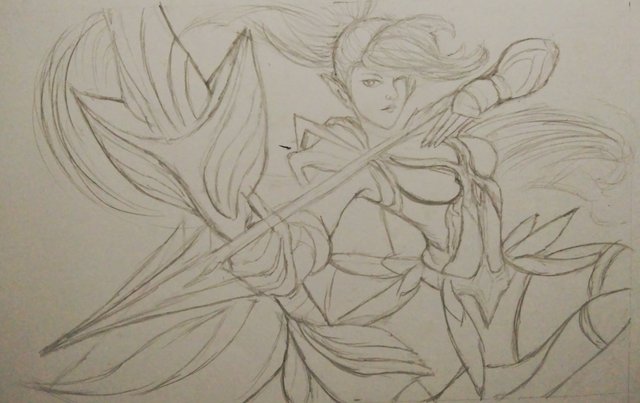
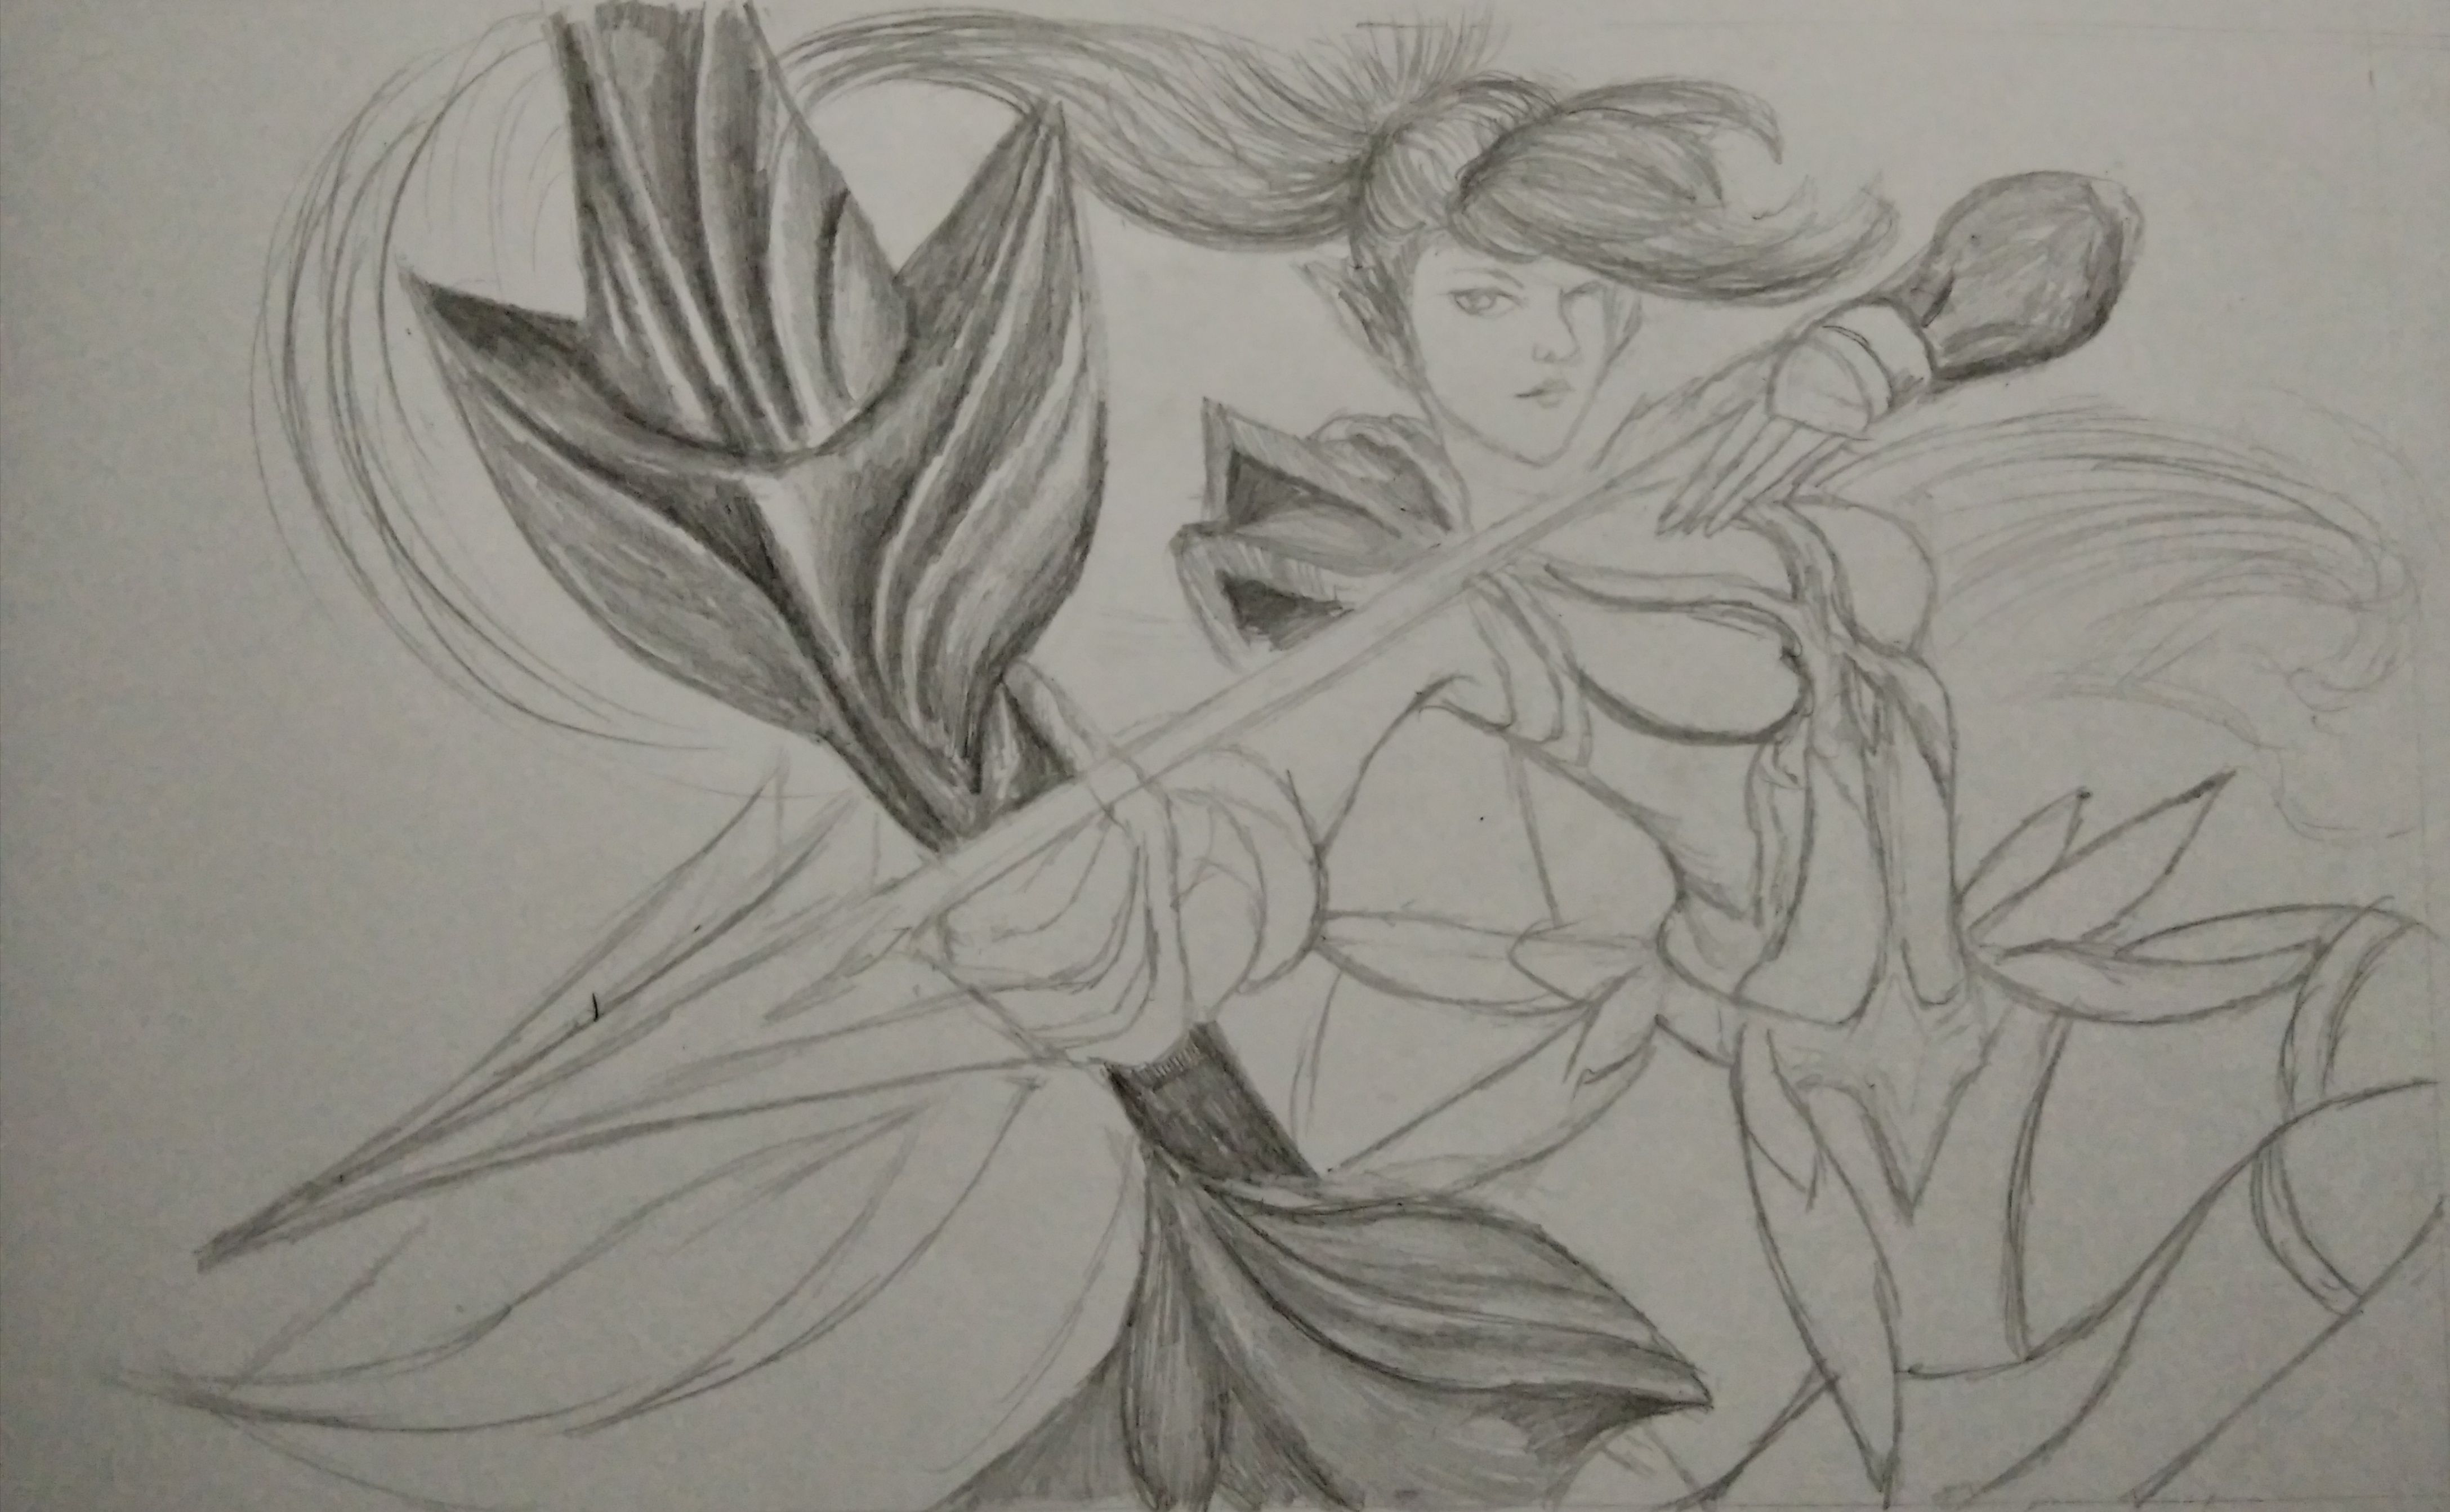
Sketching
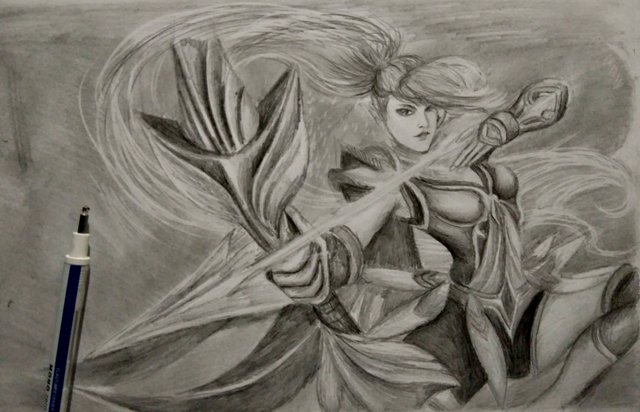
I made a sketch with mechanical pencil by looking image reference detailly and determine the scale and proportions of image. I like it so much to sketching used mechanical pencil because the line is clearer and does not need to push too strong. Besides the mechanical pencil is great for hand exercises and patience exercises. As we know that the mechanical pencil is very easily broken. Many people who do not normally hold a mechanical pencil will have trouble because of frequent broken when lined up. Therefore it is necessary practice to be able to used it easily that is by way without excessive emphasis.
Saya membuat sketsa dengan pensil mekanik dengan memperhatikan gambar referensi secara detail dan menentukan skala dan proporsi gambar. Saya sangat suka membuat sketsa dengan pensil mekanik karena lebih jelas garisnya dan tidak perlu menekan terlalu kuat. Selain itu pensil mekanik sangat bagus untuk latihan ketangkasan tangan dan kesabaran. Sebagaimana yang kita tahu bahwa pensil mekanik itu sangat mudah patah. Banyak orang yang tidak biasa memegang pensil mekanik pasti akan kesulitan karena seringnya patah saat menggaris. Oleh karena itu perlu latihan untuk bisa memakainya dengan mudah yaitu dengan cara tanpa penekanan yang berlebihan.
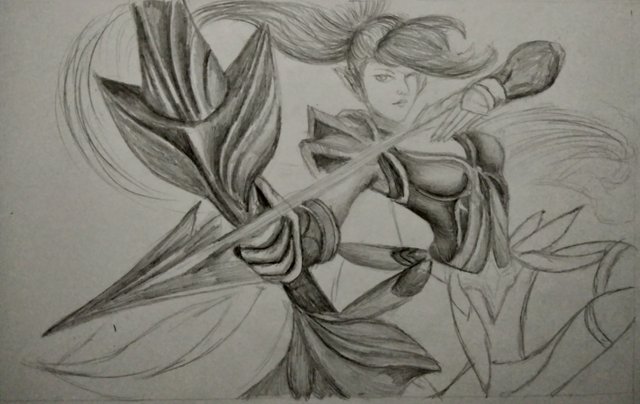
Shading
In the shading step, I used 3B and 4B pencils in the darkest areas. I started from the left of his bow and then his hair. Usually I starting to draw from the left, so it does not get dirty easily and this technique is very good as well as reading from top left to right.
Pada tahap arsiran, saya menggunakan pensil 3B dan 4B pada area yang paling gelap. Saya memulainya dari sebelah kiri yaitu busurnya kemudian rambutnya. Saya biasanya mengarsir dari sebelah kiri supaya tidak mudah kotor dan teknik ini sangat bagus sama halnya dengan membaca dari atas kiri ke kanan.
Next, I shaded her costumes from the top to bottom carefully to look realism.
Selanjutnya saya arsir kostum dari atas sampai bawah secara hati-hati untuk tampak realis.
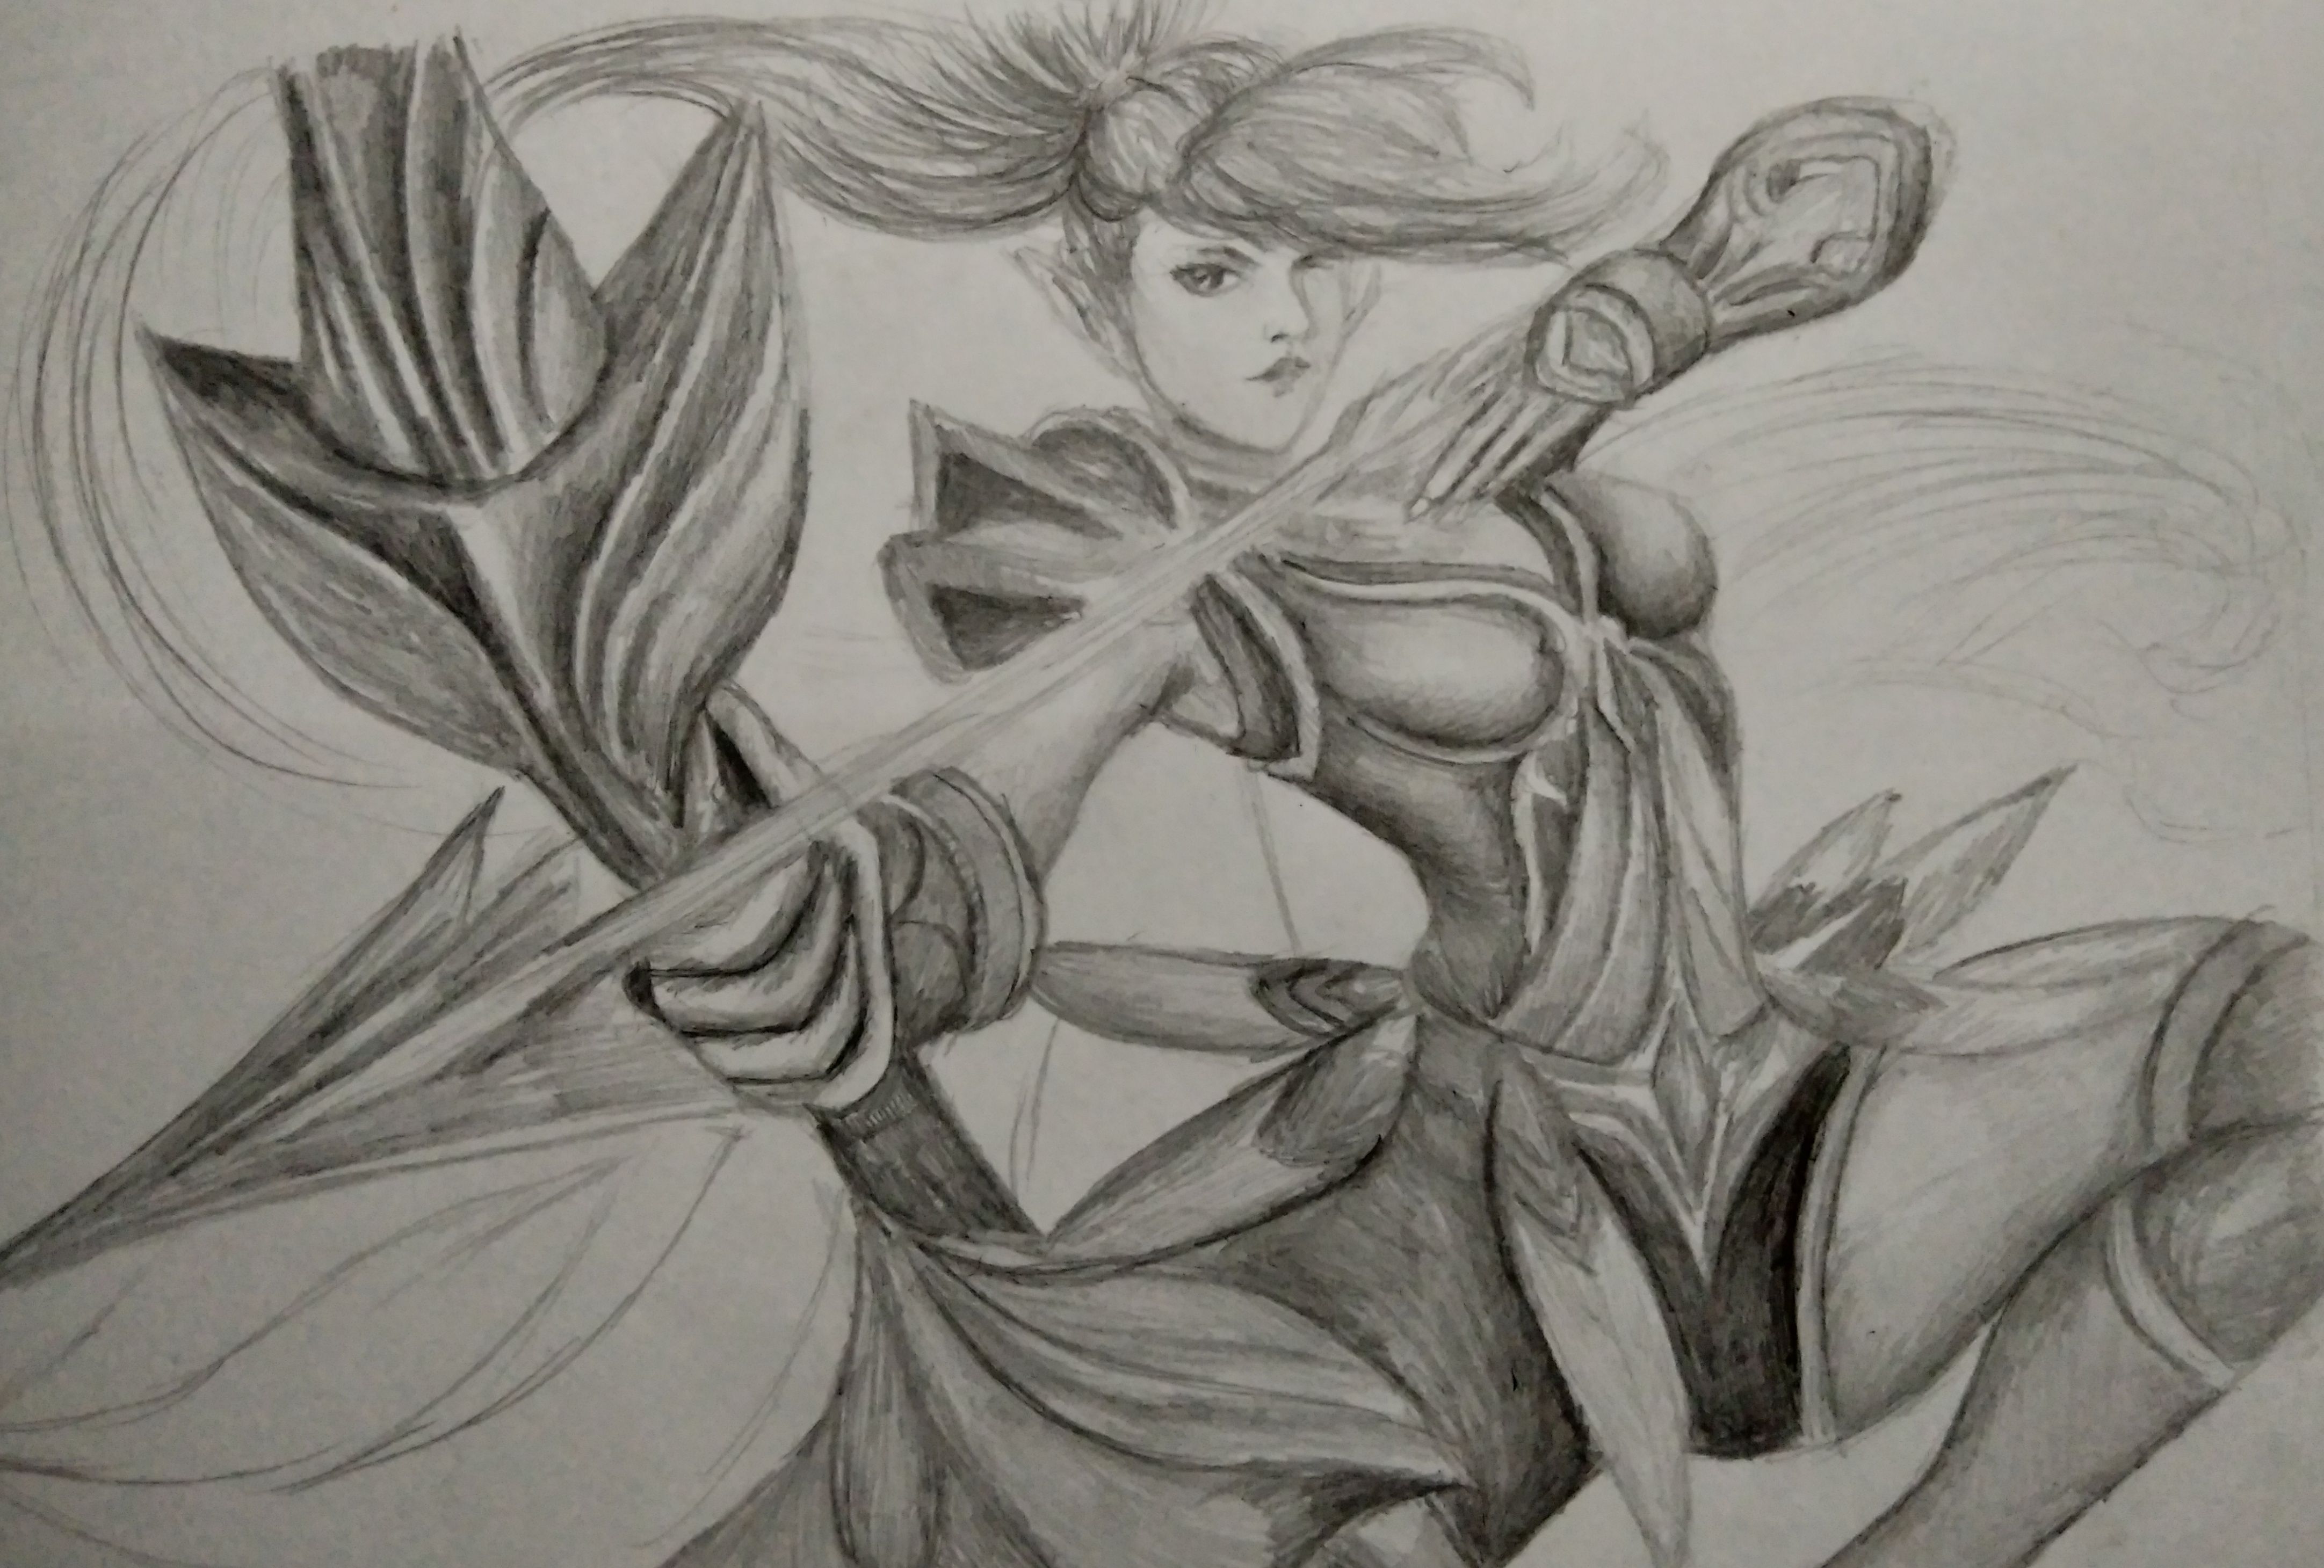
And then, I made the background by blocking and blending it with cotton to be more evenly distributed.
Kemudian saya membuat background dengan membloking dan menduselnya kapas agar lebih merata.
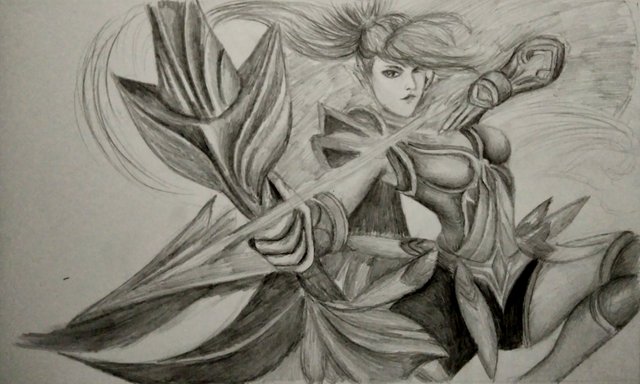
Finishing
The final step is finishing. In this process I made the effect using mono-zero eraser. This eraser is very effective in realistic drawing because it is smaller and we can use it like holding a pencil.
Tahap terakhir ialah finishing. Pada proses ini saya membuat efeknya dengan menggunakan mono-zero eraser. Penghapus ini sangat efektif dalam menggambar realis karna lebih kecil dan kita bisa menggunakanya seperti memegang pensil.
That's all my process of making it. Thanks for visiting my blog and hopefully you like my work and got inspired. I'm happy if you want to try it like I did. If you interested with this post, upvote, resteem and leave your comment.
Begitulah semua proses bagaimana pembuatannya. Terima kasih banyak sudah mengunjungi blog saya dan berharap kalian menyukai karyaku dan terinspirasi olehnya. Saya akan sangat senang lagi bila kamu ingin mencobanya juga seperti saya. Jika tertarik dengan postingan ini, silahkan upvote, resteem dan komen.
Join Steemfollower to get upvote back for upvote. It's free, simple, and easy to find all contents that you may what to upvote and get your own content to be seen by other users and possibly upvote. But you must upvote at least 5 post that you like everyday, automatically our related post will be displayed.
Regard @huslein.slash
#thealliance
Saya suka gambarnya dan pengen seperti itu dan sekarang saya mulai, belajar untuk bisa membuat gambar yang bagus
Makasih bnyk fendy, siapa aja bisa kok tpi butuh proses. Intinya terus latihan, latihan dan latihan. Nanti akan dapat celahnya sendiri dengan cara kita sendiri.
Makasih atas dorongannya, saya sudah mengerti apa yang di maksud
This post has been voted on from MSP3K courtesy of @isaria from the Minnow Support Project ( @minnowsupport ).
Bots Information:
Join the P.A.L. Discord | Check out MSPSteem | Listen to MSP-Waves
Gunakan tag Indonesia di awal atau kedua bro
Iya makasih bg, biasanya emng gtu sih saya buat.
Beautiful!!!
Now I want to do some pencil drawing! ;)
Thank you so much, I'm glad you enjoy it and inspired
Hello friend. You can win 3.5 SBD Pencil Drawing Contest.Check the latest post at @smartworld for detail info. Good luck and welcome from our community.Follow @smartworld and #smartworld tag, and support our artists
GREAT BRO !!! https://steemit.com/busy/@dgvictor/logan-or-wolverine-or-jimmy
Great work, keep it coming.
Hey thank you so much
Congratulations! This post has been upvoted from the communal account, @minnowsupport, by huslein slash from the Minnow Support Project. It's a witness project run by aggroed, ausbitbank, teamsteem, theprophet0, someguy123, neoxian, followbtcnews, and netuoso. The goal is to help Steemit grow by supporting Minnows. Please find us at the Peace, Abundance, and Liberty Network (PALnet) Discord Channel. It's a completely public and open space to all members of the Steemit community who voluntarily choose to be there.
If you would like to delegate to the Minnow Support Project you can do so by clicking on the following links: 50SP, 100SP, 250SP, 500SP, 1000SP, 5000SP.
Be sure to leave at least 50SP undelegated on your account.
You've received an upvote from @slothicorn! Click Here to Learn More
(@ghulammujtaba)
Thank you so much for your support. I've read the rules and I will make my introduce to slothicorn immediately also I will add my cryto address in the result of my arts.