How to Draw a Nose
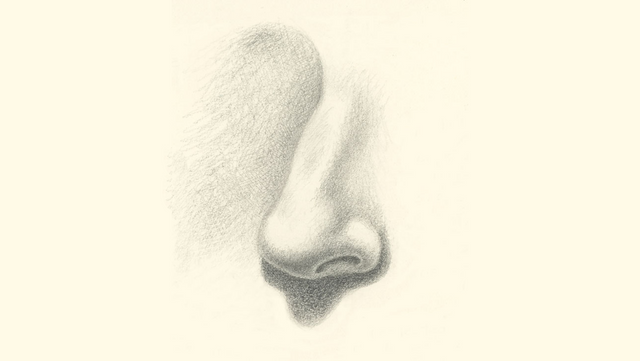
Your nose knows that you don’t know how to draw it. You won’t be able to fool everyone for long unless you have a penchant for trickery.
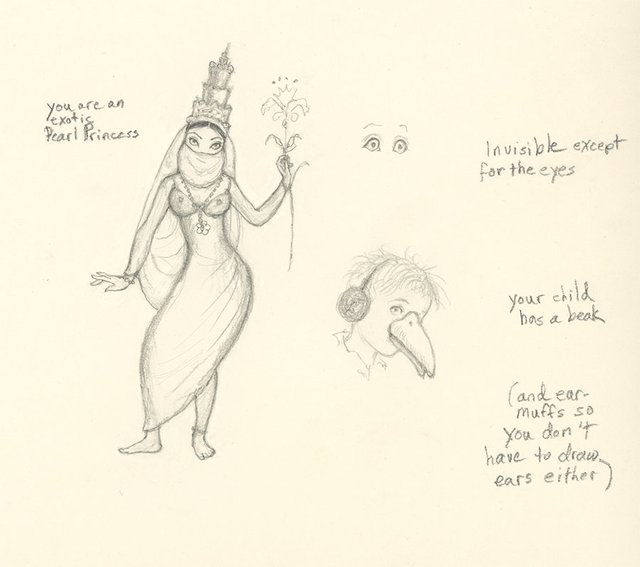
Do you want to draw bird people your whole life? I must have - I found one of my sketches from when I was 10. Few things are worse than having to draw a human nose.
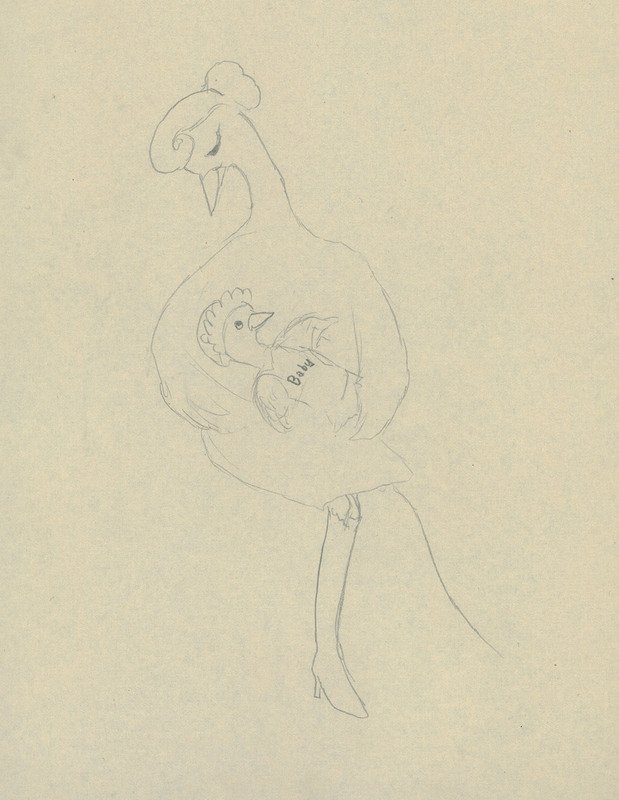
No one can be a credible artist if they cannot render certain anatomical features, particularly when it comes to the face. Humans are hard-wired to identify faces. We seek community.
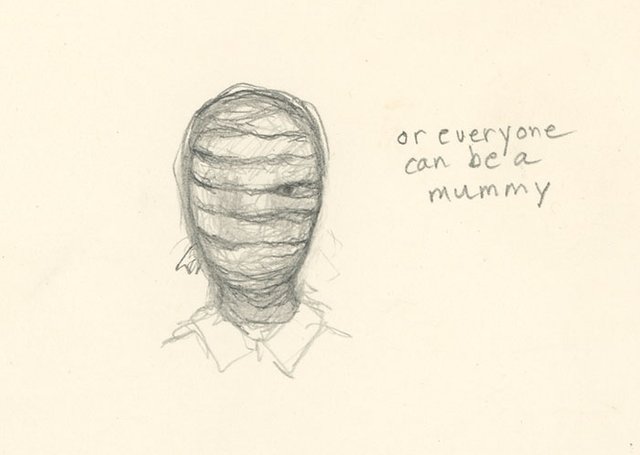
It’s disconcerting when they are hidden from view because so much personality and even identity is captured in the shape of one’s nose - we need to be able to recognize each other.
The nose is another form that can be tackled if the patterns of light and shadow are memorized.
Remember the order:
- Highlight
- Halftone
- Form shadow
*Core shadow
*Reflected light
*Cast shadow
In drawing a nose, these rules of order apply.
The nose is a mass of nasal bones at its top, which descend into flappy cartilage and fatty wings that jut out on each side, housing the nostrils. All pieces fit together, once again, like a puzzle. It’s miraculous.
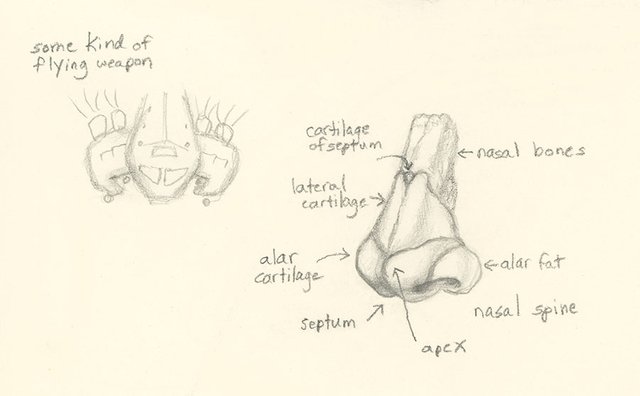
Noses, like ears, are unique. Whatever the shape, their shadow patterns behave consistently as light hits them. The nose projects out from the face, creating cast shadows with infrequent exception.
The nostril openings spread out under the tip of the nose. Often drawn as two black holes, they are entrances into the respiratory system. Their shapes may be complex, but it’s possible to simplify them as crescent-like discs of dark shadows. Light does not often hit them from below.
The cartilage gives the shape of the lower nose.
The nose’s creases and divisions are treated similar to any object being subjected to a light source.
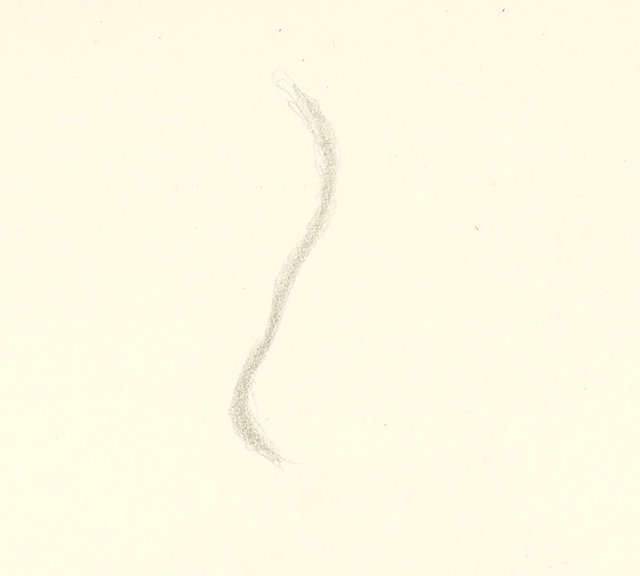
I begin with a simple curve of value - not a line. This curve establishes the general shape.
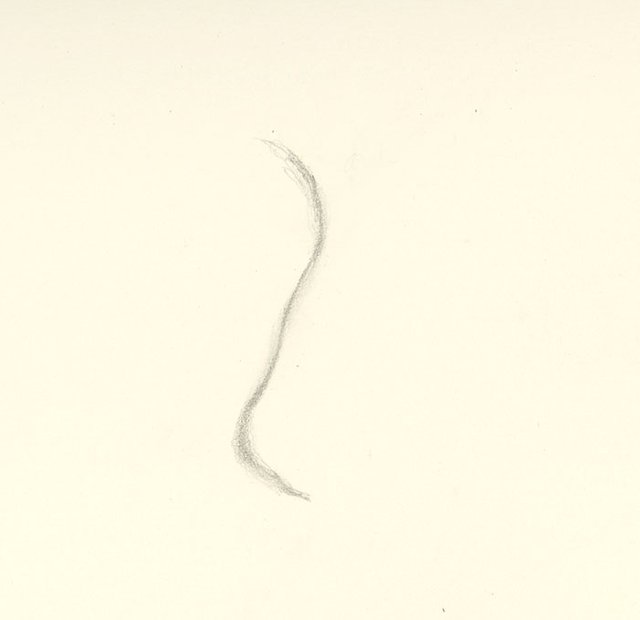
I bulk up some of the initial pencil strokes to add volume to the shape.
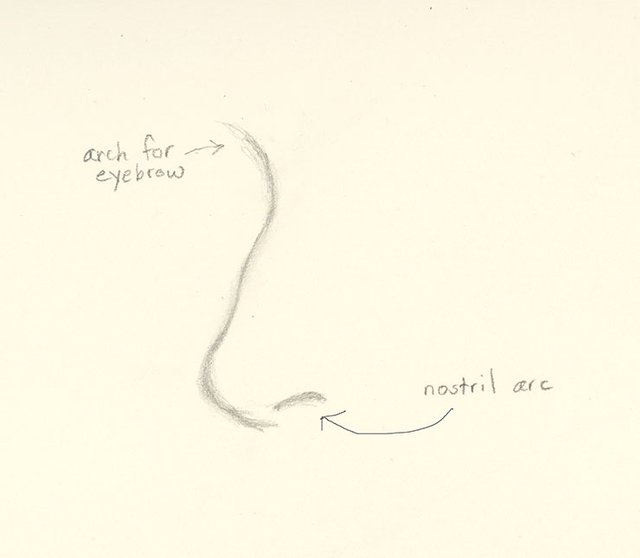
The nostril arc is filled in with a medium value of grey. I will darken it later. The beginning of the brow bone arches up, becoming the right eyebrow.
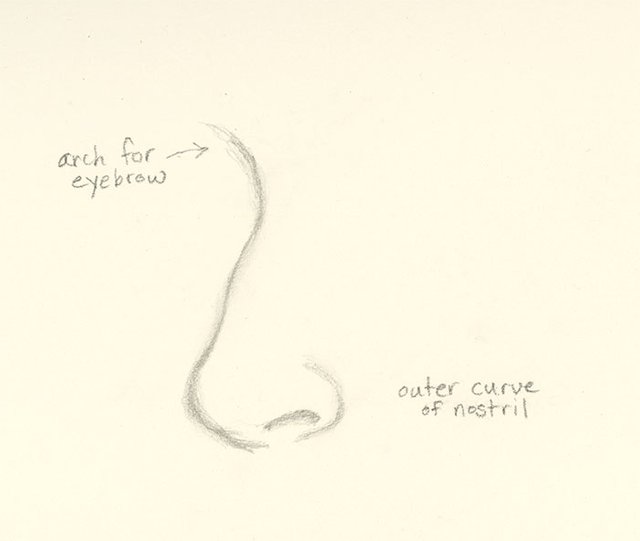
Here I add the outer curve of the left nostril's wing.
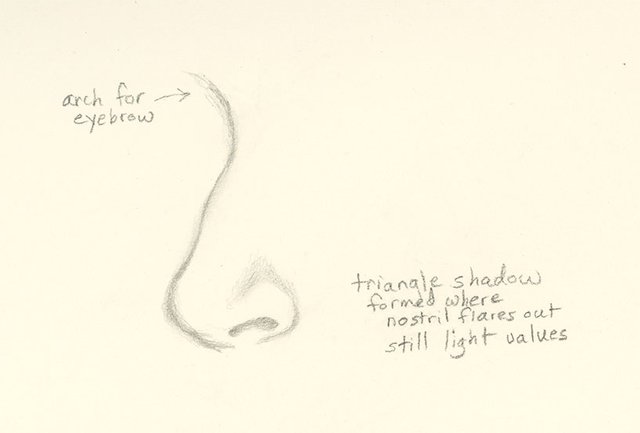
Along the top side of the nostril wing is a triangular shaped depression. By introducing this shape early, I will save myself a lot of work later, when plotting more complicated turns.
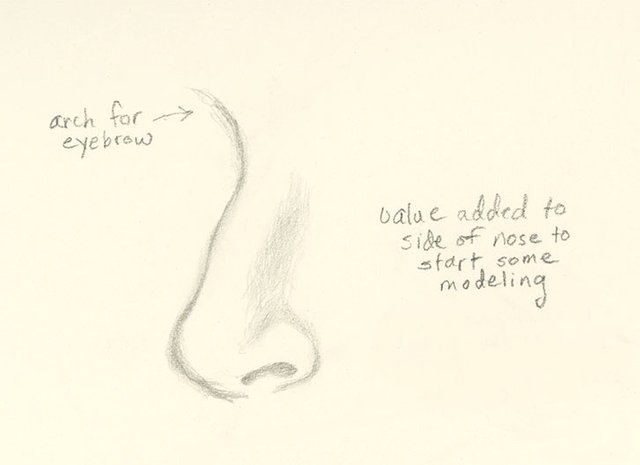
If you run your finger down along each side of your nose, you will notice that it curves down to your cheek. To suggest this change of direction, add some value to your drawing in this area.
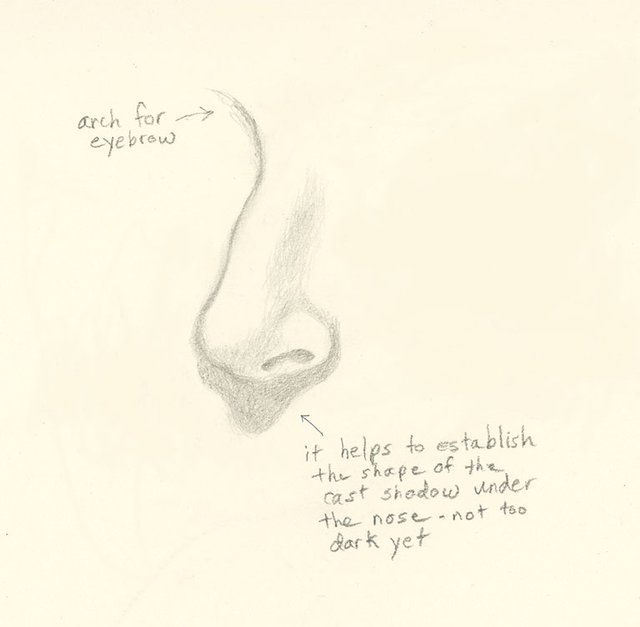
I add form shadow to the tip to show where the nose begins to turn away from the light. In my lessons on eyes and ears, I discussed drawing the shapes of the shadows rather than concentrating on the form itself. The nose is another example; by rendering the shadow cast by the nose, the shape of the tip is revealed. In this drawing, the light comes from above.
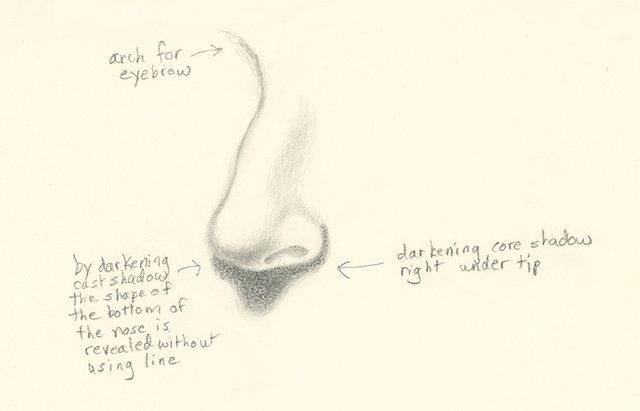
Darkening the initial change in value adds contrast.
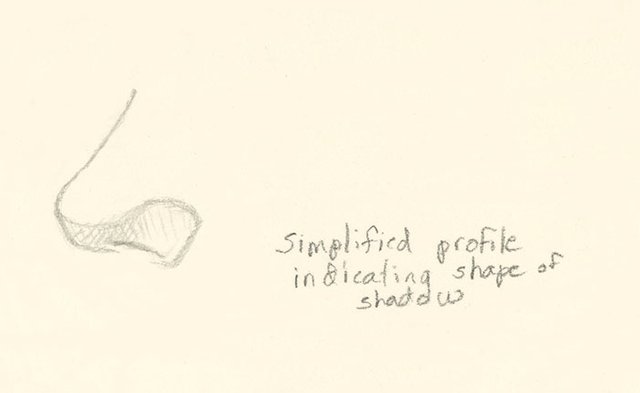
Here is a simplified view demonstrating how to block in shadow on the nose where it curves under. This figure also shows the swell of the nostril wing.
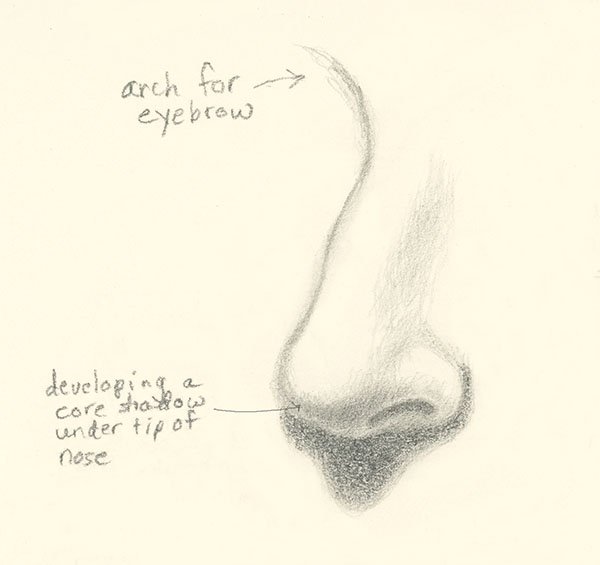
Now I begin to darken the core shadow as the tip of the nose shifts away from the light source above.
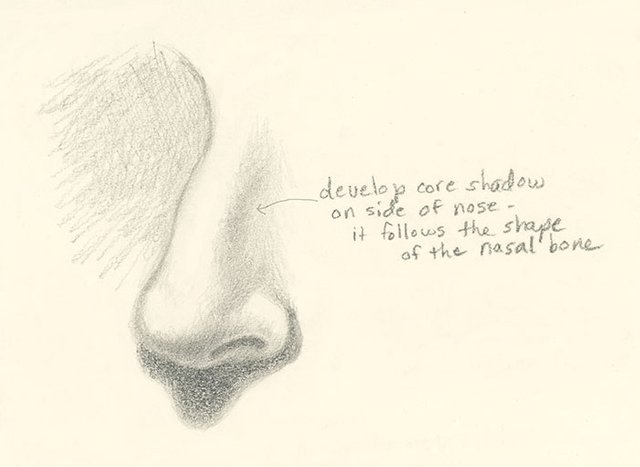
I add a slightly lighter core shadow along the edge of the nose. You can see it taking its final form, especially after adding a tone to the background. Now the lighter areas really come forward.
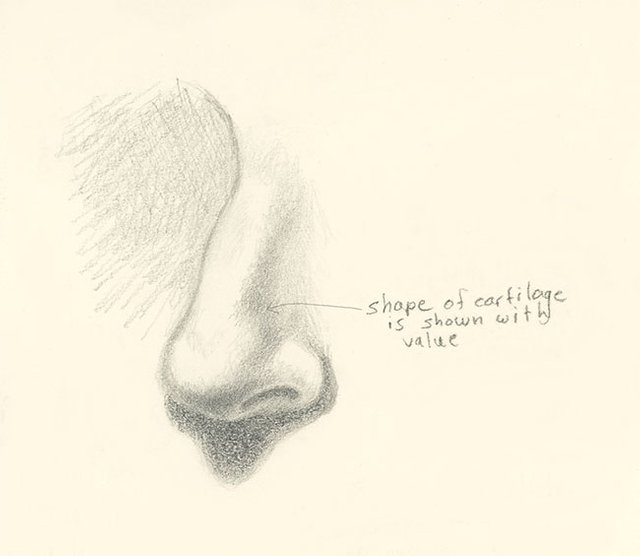
I use shading to chisel the shape of the nose's cartilage right above the tip. Everyone's nose is a different shape. If you pay attention to these sorts of details, when you draw someone (should you decide to), he or she will be impressed by the likeness you captured.
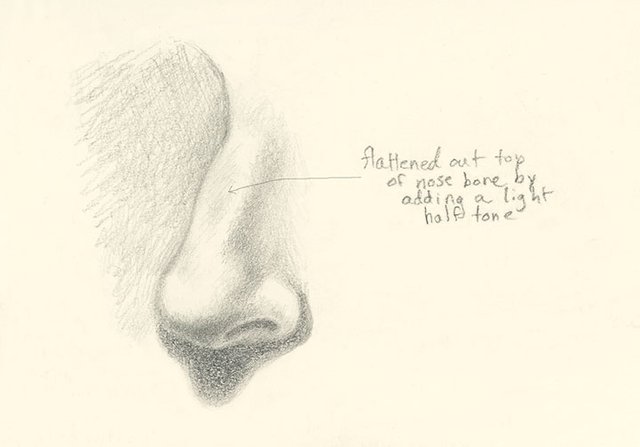
I darken the top ridge of the nose just a little to give the illusion of bone and cartilage coming together beneath the skin. Light advances, darkness recedes.
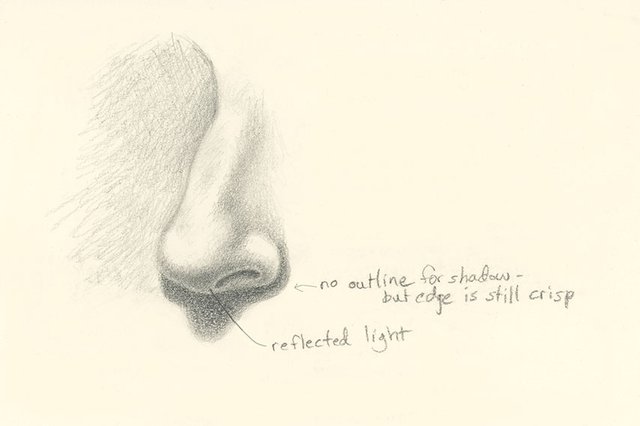
I darken the core shadows and check on the reflected light along the rim of the nostrils. You want the reflected light to be darker than the halftone. Your eye will read values like a map and put the form into a 3D rendering. The slightest variations in value make all the difference.
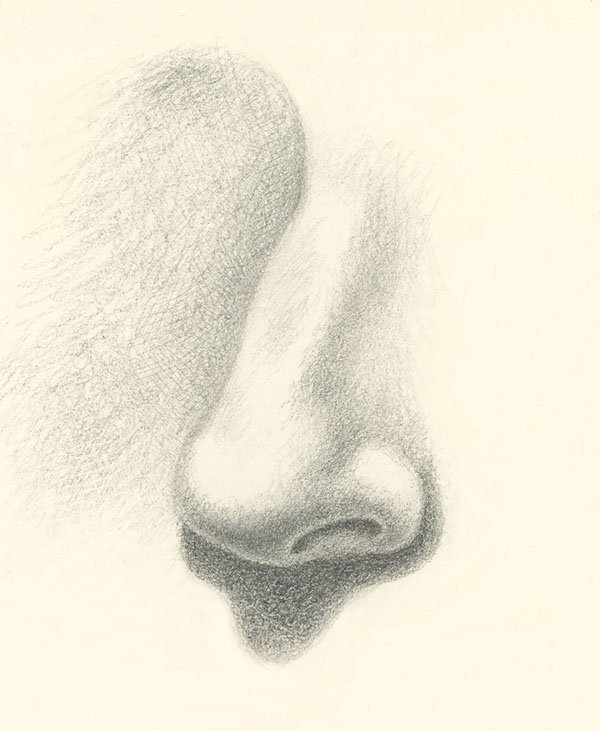
And here is the nose, finished.
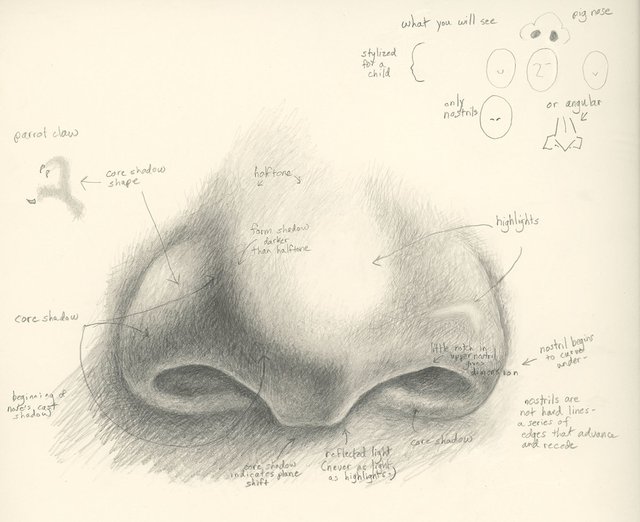
And a view from the front.
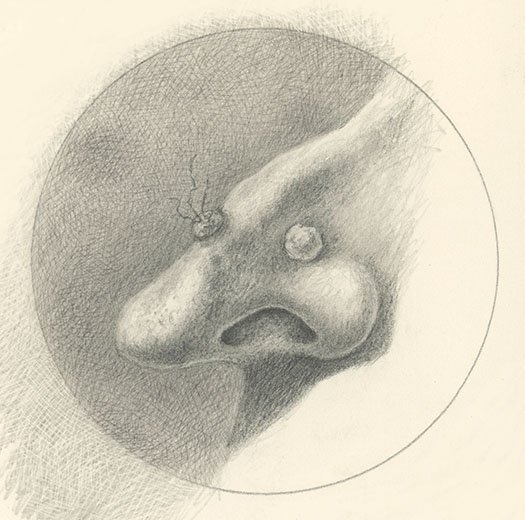
Drawings © Johanna Westerman 2016 for this steemit tutorial
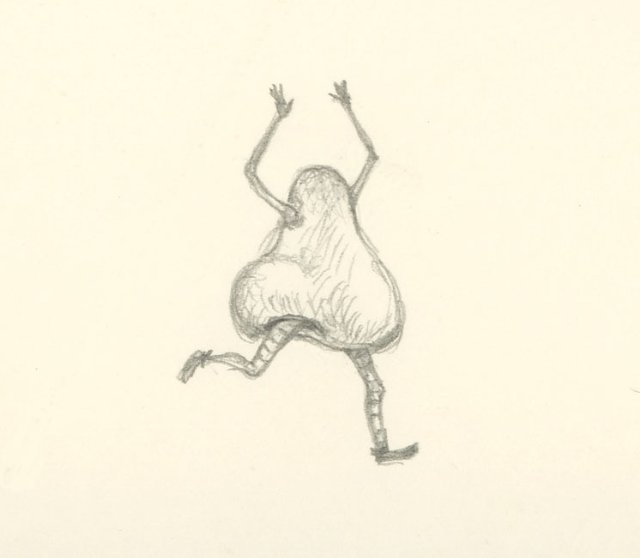
The up close one with the big nostrils, that's the nose I pick.
What do you think of this approach?
https://steemit.com/comic/@rednetkjh/how-to-draw-nose
Wow, there is so much detail in this post! I can see this being a book someday! Great job.
Thanks, Eric. Intriguing idea -
We can say, you have a keen nose for this article!
We can say that, yes @french.fyde. I smelled work all day long. ;)
Brill your really good, I wish I could draw, even with your instructions my nose would not look like that, I am hopeless at drawing.
Thanks, @karenb54. Take it one step at a time and practice. Nothing is hopeless -
My daughter loves to draw, this will really help her
I hope so. Let me know what she thinks!
That witch nose though lol too funny
:)
To draw a nose I always found to be the most complicated part. But why?
@steempowerwhale, it is a series of complicated bumps and ridges. It looks different from all angles, too. The side view is easier for me - the shapes are more easily defined.
Great guide for one of the hardest parts to draw. Breaking it down into segments really works. Thanks!
Thanks, @tinyhomeliving. I'm glad you found it helpful.
Thank you so much for these tutorials! I've always had problems drawing noses xD
let me guess, your next post is "How to Draw a Mouth"? then we can have a face! hooray!
You guessed right, @deanliu