Henna in the woods
A while back I started experimenting with animation and rigging in Blender. Making a simple scene with a Faun like creature walking in a wooded landscape. 3D modelling is incredibly timeconsuming and you really need to know what you are doing , and do it in the right order. Especially when it comes to rigging and animation of characters. If some of you do not know what rigging is, it is the coupling of a skeletal structure to a skin-mesh / character. I hope to post a lot more tutorials on this subject in the future , but other people have done so as well and you can find really good tutorial on e.g. youtube.
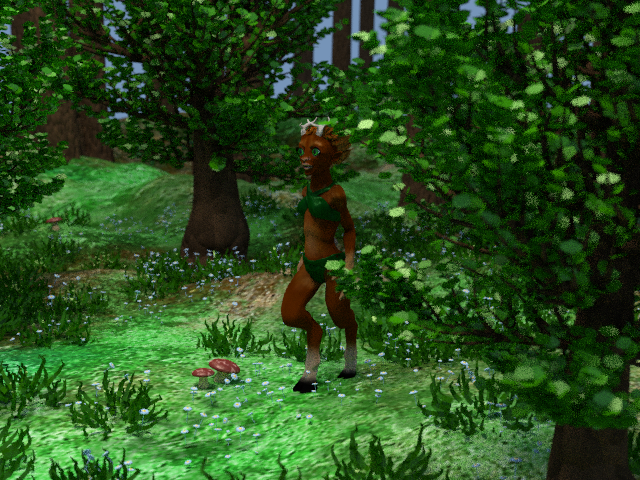
I started out by spending an enormous amount of time designing modelling rigging and animating the character in the scene. She is called Henna (because she is a forest spirit wearing antlers and female , I decided to give her a name close to Herne the hunter, but female). I will be doing a separate post about her and how she was made later on. for now you will have to make do with the scene building.
First I start by setting the scene . usually this is just a flat area with som kind of texture on it :
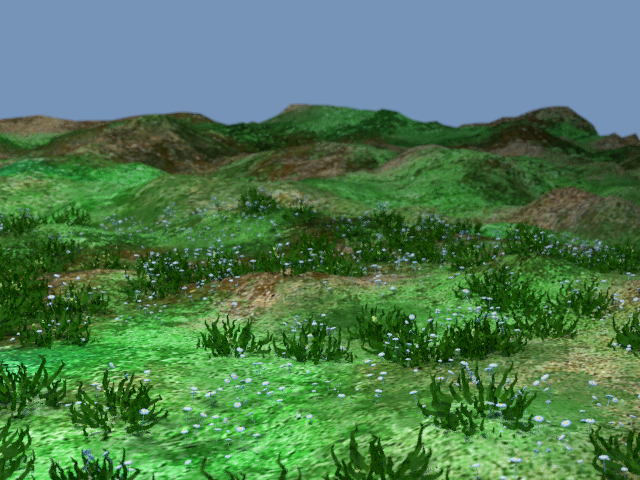
this is then covered in a couple of particle systems. one is a hair particle system (i.e. the same basig structure that is used for making hair and fur) but rather clumped together and somewhat sparse. this gives the grassy plants that you can see above. I then make another one, where i have modelled a small flower head and i use that as the particle. I add in a little randomness to the size and rotation but not a lot. This gives the nice sprinkling of flowers. they are in fact floating a bit over the ground with no stalks but since the stalks would be very thin it doesnt show.
next up is mushrooms:
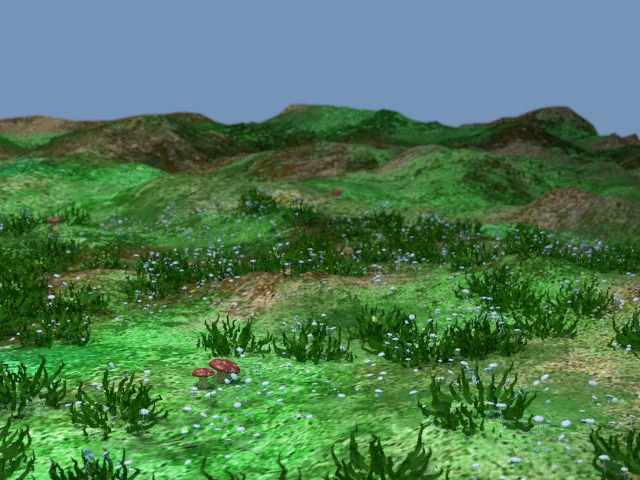
It could also be stones or other object that you want a few of but not an even distribution. these are modelled and copied out by hand.
Then comes trees, first just trunks. These help with obscuring the background and give a better idea of depth.
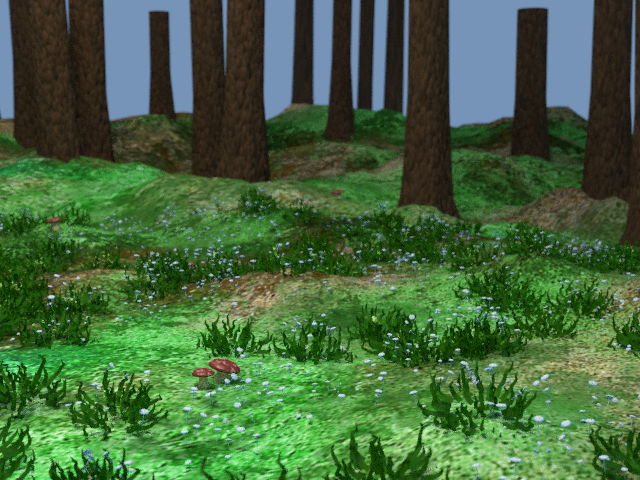
and then leaves:
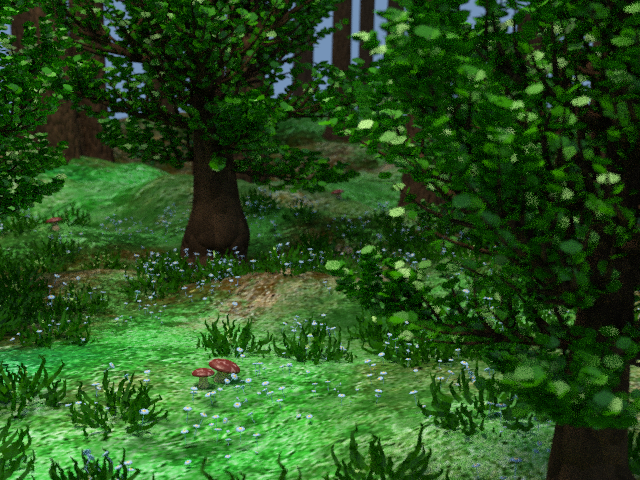
the leaves are also made using particle systems. a nice feature is that the particle systems can be left idle so they wont move. the you can add effects afterwards to make it look like there is a bit of wind.
the final part of the landscape is to add some king of backdrop (often this would actually be the first step but in this case I enden up doing a very simple version in the end) what i did here was to basically add a selective blur which increase with distance from the camera, also known as just fog or haze :-) This can be done easily because Blender has inbuild functionality for this. Here you can see how it all comes together:
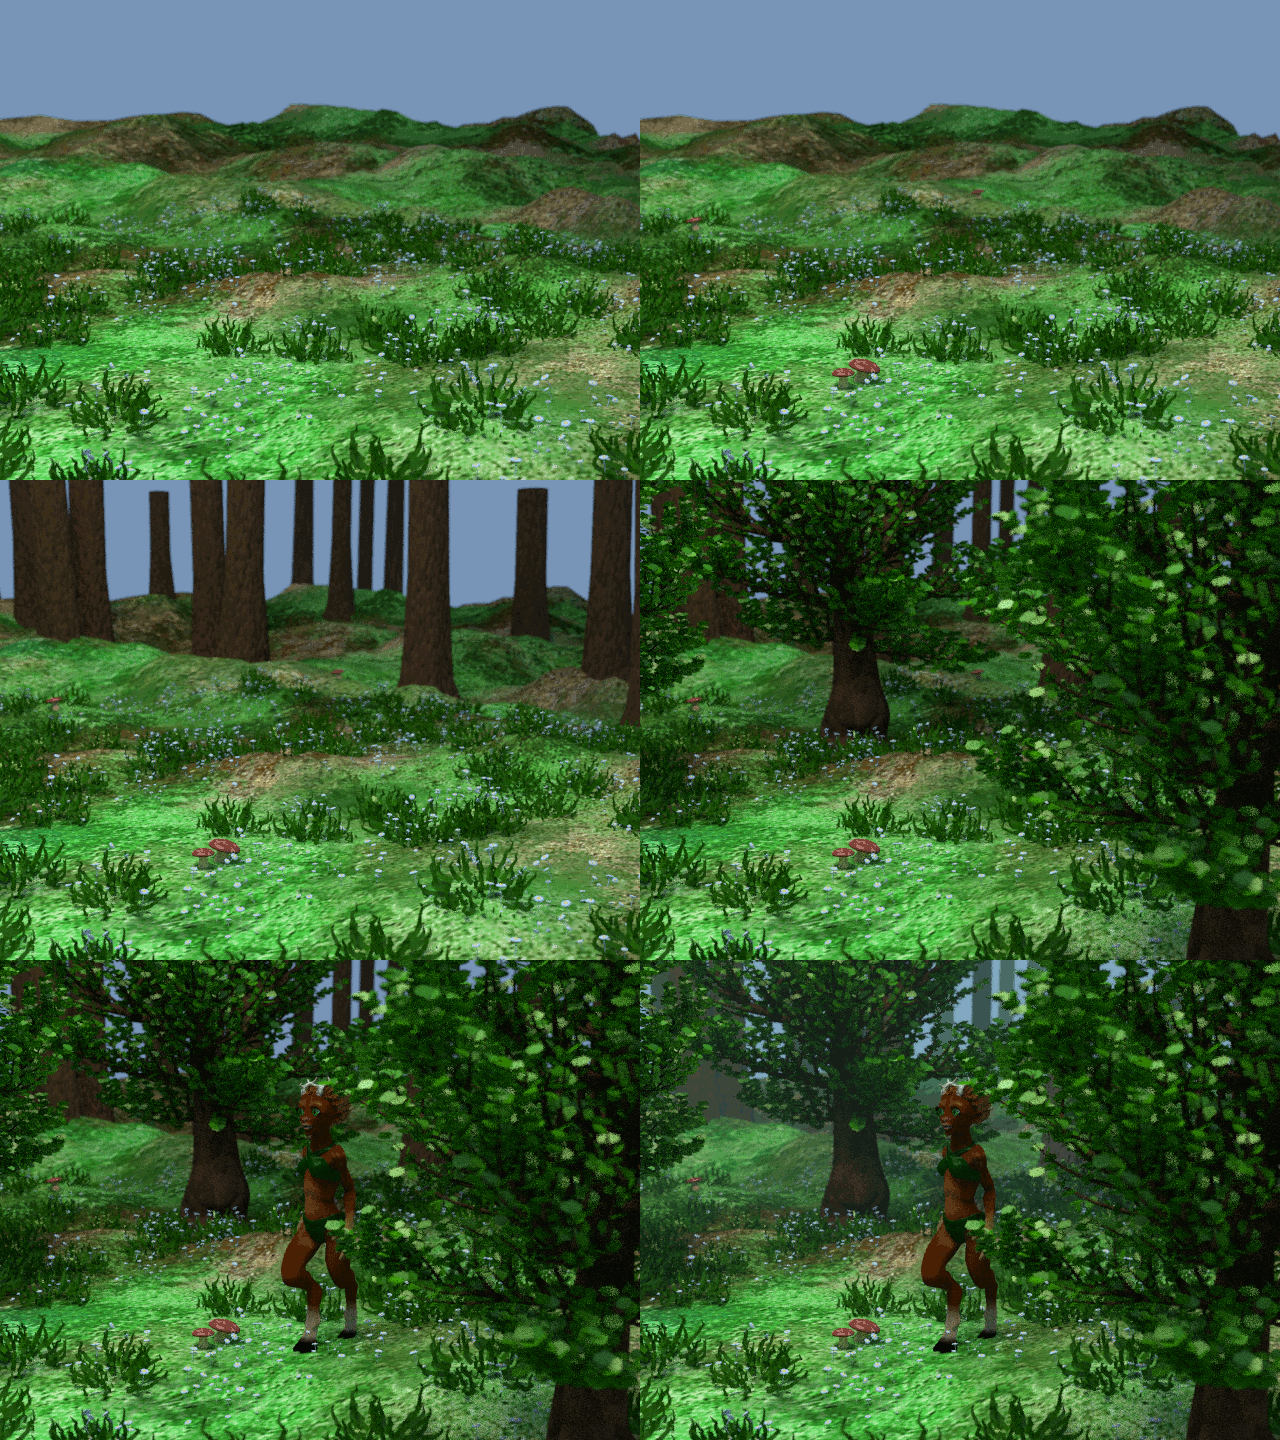
That concludes the scene/background. Now I only need to add the character and let her walk through the landscape, but that will get its own post later. I hope you enjoyed this little (and admittedly very shallow) look into my scene building workflow. The most important part is that every layer need to be covered. If any of the steps are left out , it very easily becomes dull or loose the suspension of disbelief.