Draw Art - Luffy, Ace and Sabo
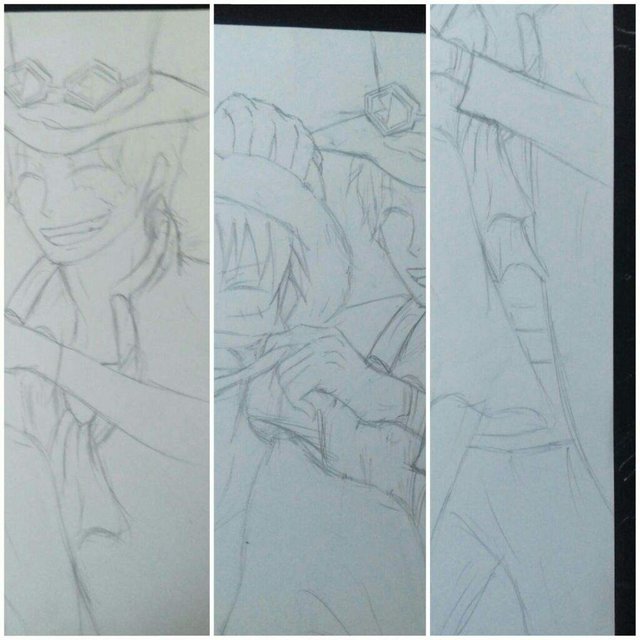
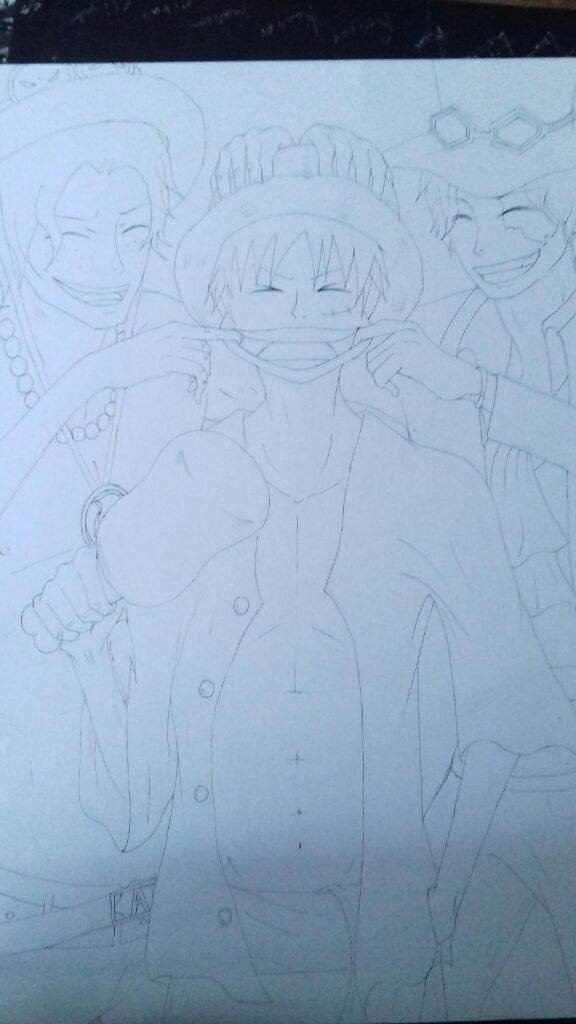
Hey everyone! It's Bek and this time I've decided to draw Luffy, Ace and Sabo from One Piece! Well, let's get to it then.I started by roughly placing in head shapes for the three, to give me a drafted idea of where each character would be placed. I had decided for Luffy to be in the centre, Ace to be on he's right and Sabo on he's left.
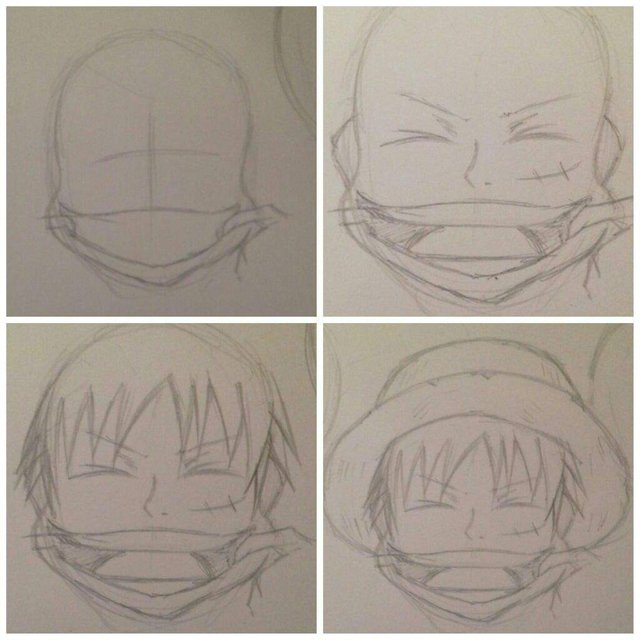
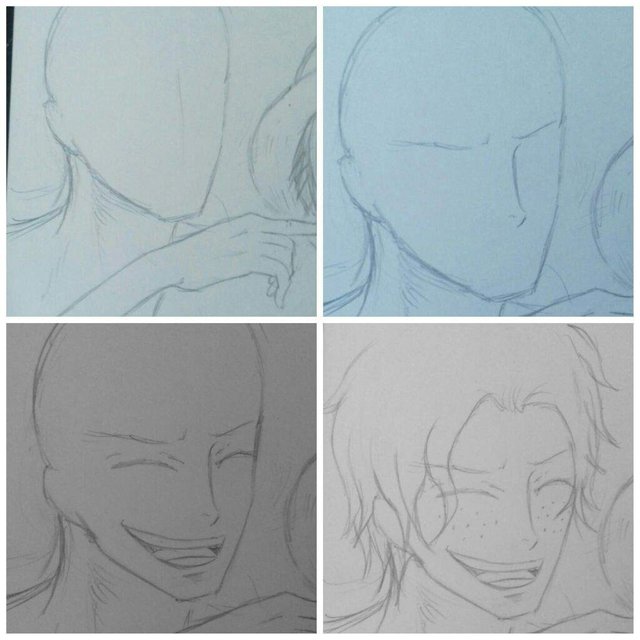
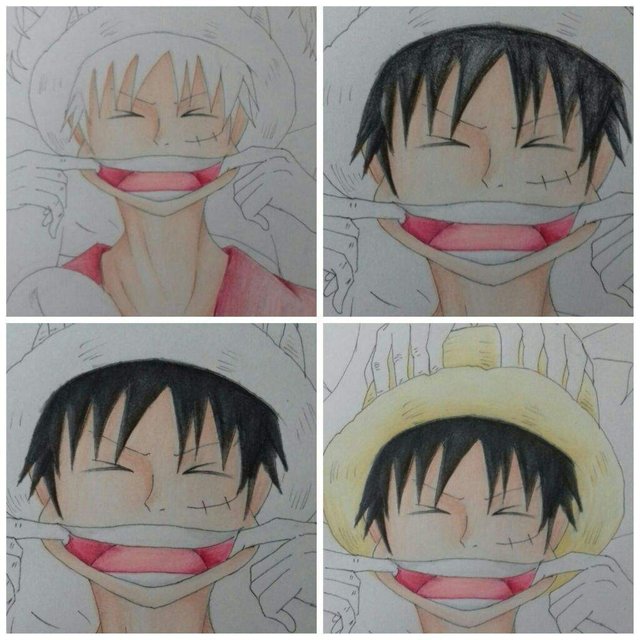
I then began with Luffy, shaping his head so that the bottom half was stretched out either side, as Ace and Sabo would be pulling at both corners of he's mouth to which I sketched in their fingers to represent that for the time being. I then began adding in the facial features, drawing in his teeth and tongue, lining up his nose with his chin and sketching in his squinting eyes. It took a little time for me to get him to look like he was joyful and not in pain.
I then drew in the scar on his face and began to add in his hair, which was fairly easy to do as it is of simple shape all around his head, though I only really drew in his fringe as I left space for his hat. Starting from left to right, I starting to sketch thick strands, working along his forehead, making sure to keep the strands at a consistent length so that it will maintain it's shaggy appearance. Lastly, I starting to sketch his hat in in a rough oval manner, adding in small details such as lines and such to represent it's straw appearance.
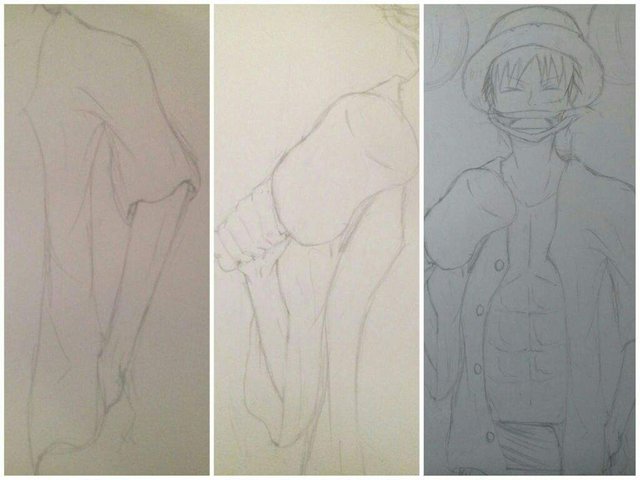
Drawing in his neck, I began to move down and sketch in his shoulders working down each arm, with his left hand resting on his hip and his right hand holding some meat. Along the process of sketching his arms, I added detail such as his shirt and sleeves. I then added detail to his torso, drawing in his chest and abs working down to his sash and shorts. I added details such as creases to the material along with the buttons to his shirt.
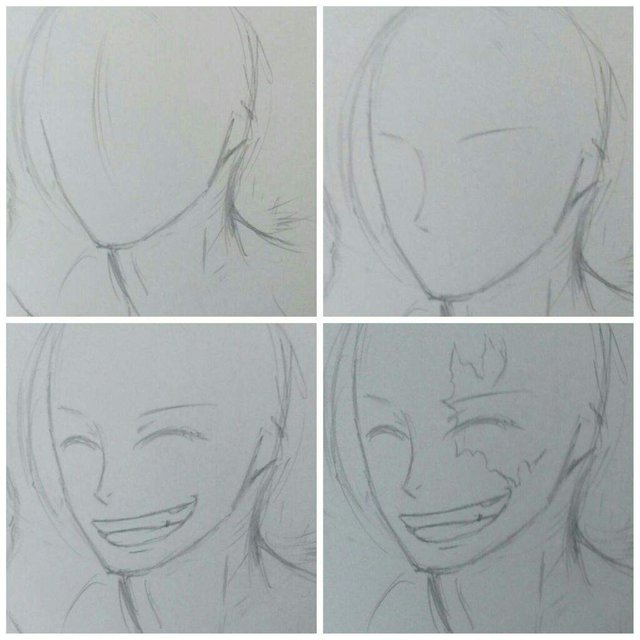
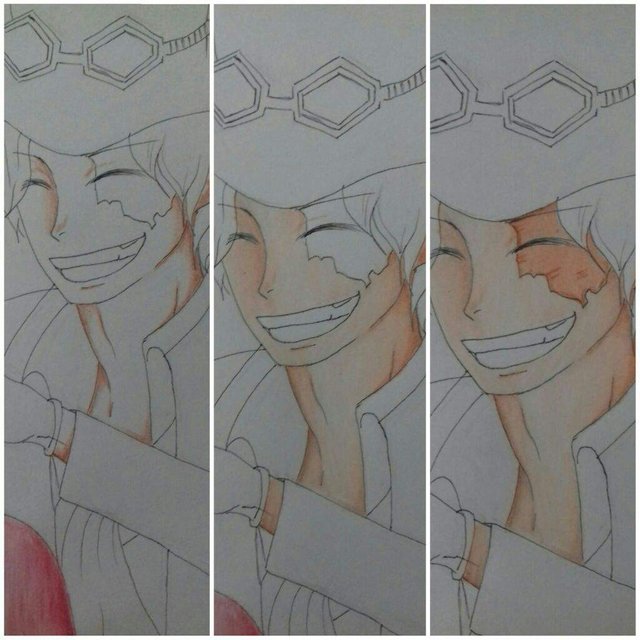
With Luffy sketched out, I moved on to Sabo, shaping his face, neck and chin until satisfied. I then started to draw in his facial features, starting with his ear, nose and eyebrows as a guide for his eyes and mouth. Much like Luffy, I quickly sketched in his eyes that are squinting and for his mouth I drew it out roughly up to the end of his eye. I then started to add in his teeth as I wanted his smile to be closed. Lastly I added his scar over his left eye.
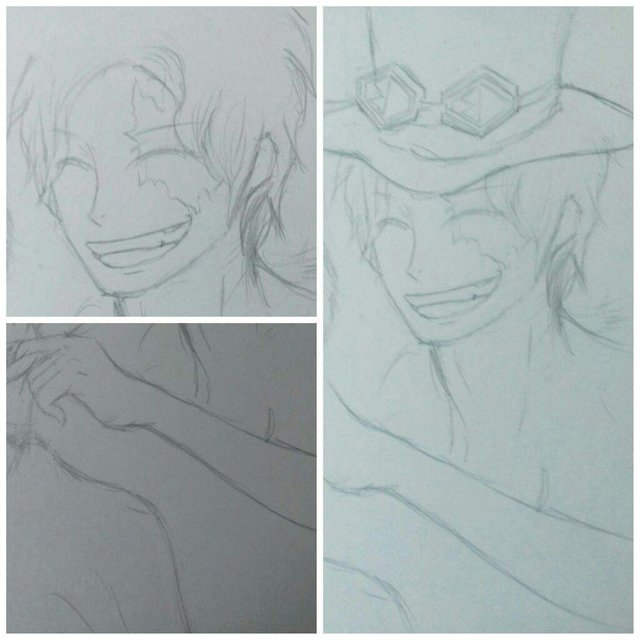
I then added in his hair, making it somewhat wavy and shaggy but not too much that it would turn out too long and look odd. Again I cut his hair off at the top as I added in his hat, starting with peak and working up as I drew in his goggles. I also quickly sketched in his left hand and arm so I could get an idea of how his body would be positioned.
Moving downwards, I began to draw in his clothes, starting with his coat, adding in his shoulders and working down as I add his shirt underneath. I began to add details as I moved down and sketched in his trousers, adding creases and extra lines around his gloves and sleeves to make them look a little more realistic.
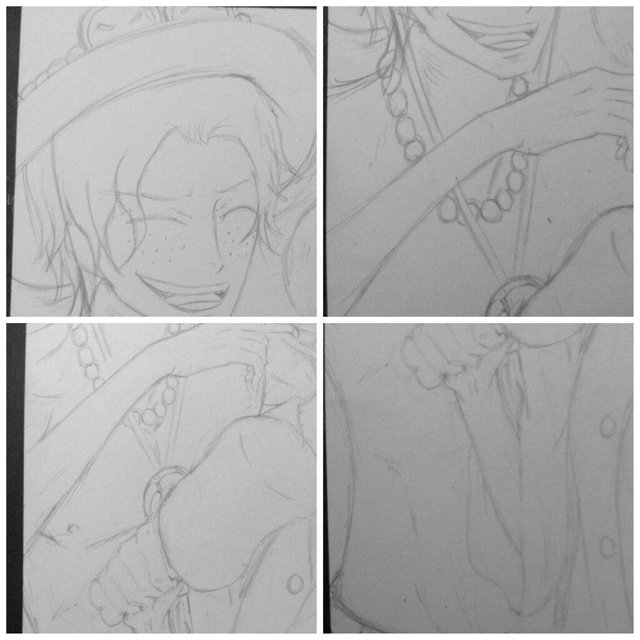
I now start sketchig ace in the same manner as I did with Sabo, starting with his head and shaping his chin and neck until suited. I also added in his right hand for body reference later on. Afterwards I started to add in his eyebrows and nose, which makes him look angry until I add in his squinting eyes and open smile, drawn similarly to Luffy with the teeth and tongue placement. And then once that was done, I quickly added in his freckles and started to draw in his hair which I did similar to Sabo's though drawing the strands more parted and longer.
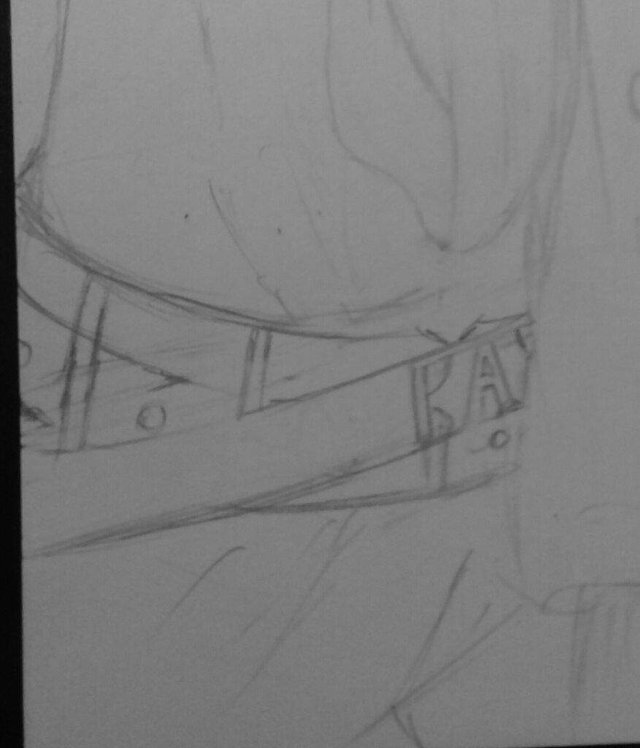
I drew his hat in, starting with a rough oval shape around his head, adding the beads and such above, there really isn't much to explain here as it was pretty straightforward. I then moved down, as I began to add in his shoulders along with his beaded necklace and the decoration that hangs from his hat. I started to add details to his chest area and around his side as I work my way down to his shorts, adding in his belt and buckle. Ace was the quickest and most straightforward for me to draw due to his lack of clothing.
With everything sketched out, I began to go over it all using a dip pen and ink. I made very little changes, apart from cleaning up some lines and adding in some extra details such as creases.
Time for colouring!
Note: For colouring I use Prismacolor pencils, so any odd names I list may not be exact to what you own, though there are alternatives as names just differ.
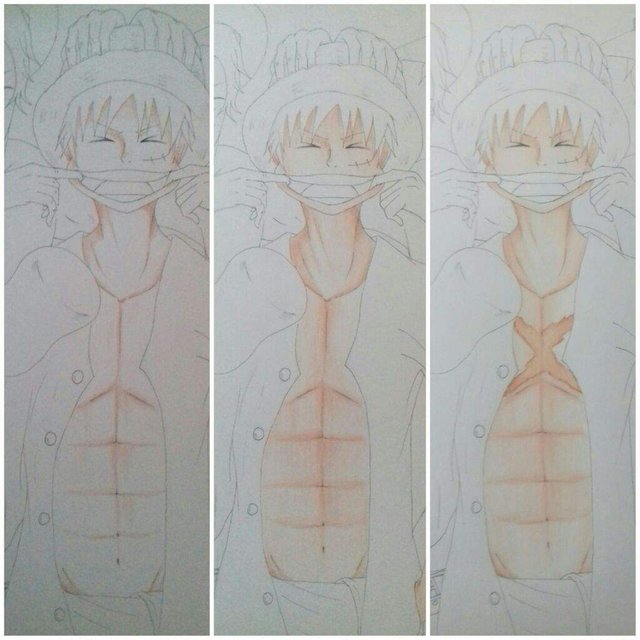
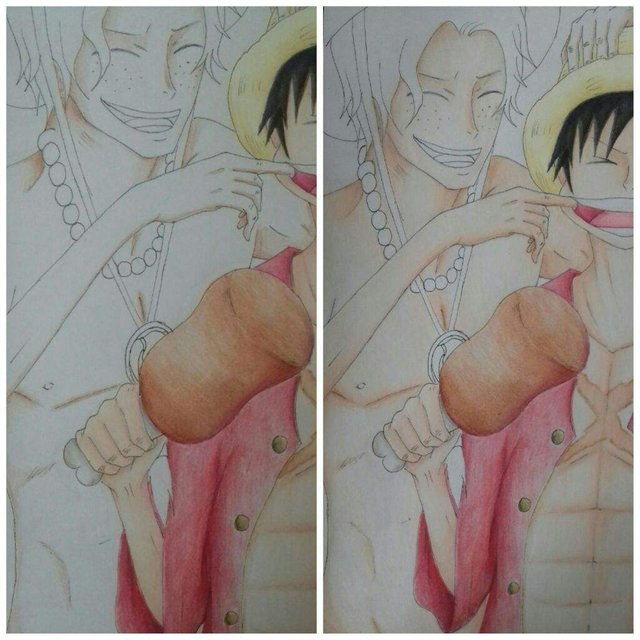
Colouring LuffySkin
Colours used:-Burnt Ochre
-Peach
-Light Peach
I started by applying the Burnt Ochre to any areas that would be shaded the most, notably around the neck, hair line as well as the chest and abs. Afterwards I used Peach to blend out to a certain extent, leaving some areas blank to show light reflection. I then lightly coloured over both layers, using Light Peach and once satisfied with the consistency, I used a blending pencil to make the tones stand out more along with a white pencil to make the colouring appearance lighter and smoother. I also added his scar over the top using Burnt Ochre to outline the scar and peach to fill it in. (I totally didn't forget about it )
Clothing
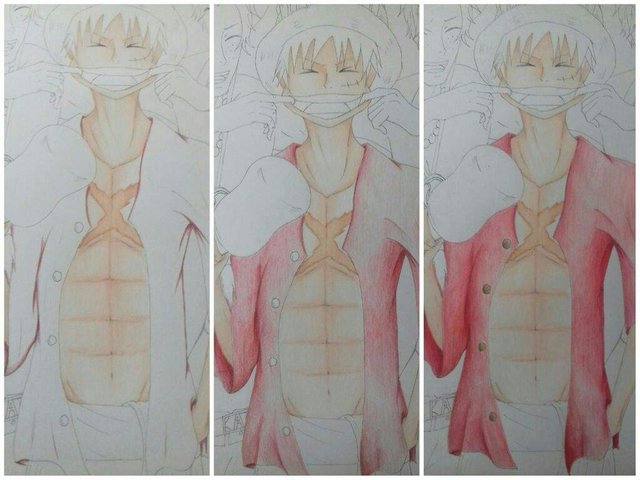
Shirt:Colours used:
-Crimson Lake
-Crimson Red
-Poppy Red
I started by lining any areas that would be most shaded using Crimson lake, going along the creases slightly. Afterwards I began to blend out using the Crimson Red until I felt was consistent enough for me to move on. I then used Poppy Red to colour over the remaining areas of the shirt as I proceeded to use the blending pencil the make the three colours blend and stand out more.
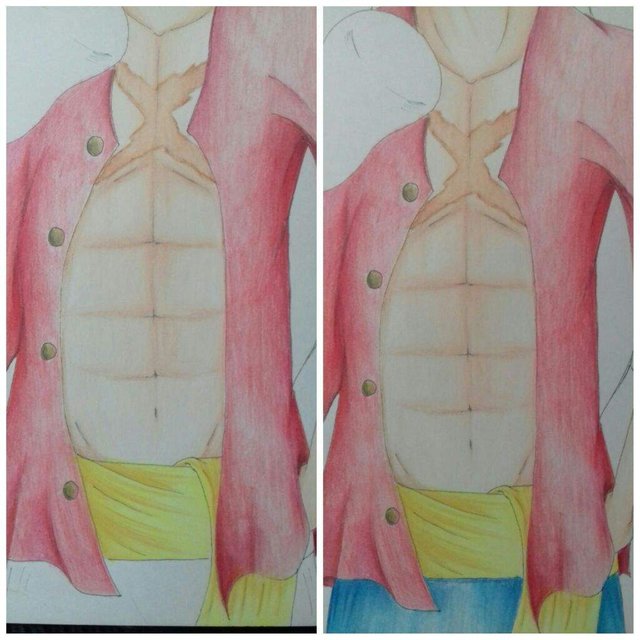
Sash and Shorts:
Colours used:
-Peacock Blue
-Copenhagen Blue
-Yellow Ochre
-Lemon Yellow
I used Yellow Ochre to line the creases of the sash and shaded out using Lemon Yellow. I then moved on to his shorts, using Peacock Blue to shade and line any dark areas and then used Copenhagen Blue to once again blend out. I used a white pencil to make the colouring appearance more smooth.
I then coloured the inside of his mouth using Crimson lake for the darker areas and Pink to blend out with. I lightly went over the corners of his teeth using Cool Grey. I then began from left to right filling in his hair using Black. I wanted to give the hair more detail but it turned out solid and so I used a blending pencil to make it more smooth in appearance. Afterwards I used Sand to shade in his hat and blended out using Cream. Finishing up I coloured the meat he is holding using Burnt Ochre and Dark umber.
Colouring SaboSkin
Colours used:
-Burnt Ochre
-Peach
-Light Peach
I started by applying the Burnt Ochre to any areas that would be shaded the most, notably around the neck and hair line. Afterwards I used Peach to blend out to a certain extent, leaving some areas blank to show light reflection. I then lightly coloured over both layers, using Light Peach and once satisfied with the consistency, I used a blending pencil to make the tones stand out more along with a white pencil to make the colouring appearance lighter and smoother.
Coat and shirt:
Colours used:
-Black-Indigo Blue
-Copenhagen Blue
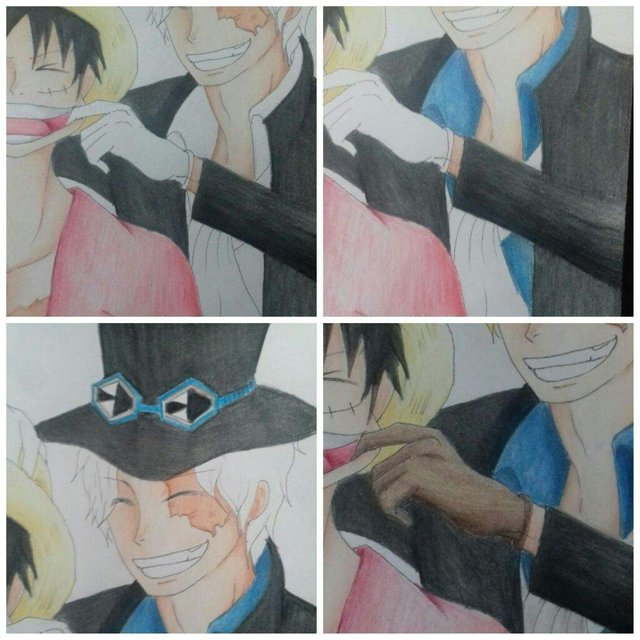
I coloured in his coat using Black, in the same method as I did for Luffy's hair though outlining the areas around the coat that would be more shaded. I used a blending pencil to drag the colour out and make it more solid. I then used Indigo blue to shade the shirt underneath, this time shading more of the area and then began to apply Copenhagen Blue over the top. Lastly I used the same set of colours and method in order to colour in his hat and goggles. I also used Dark Umber and Dark Brown to colour in his gloves.
Hair
Colours used:
-Yellow Ochre
-Sand
-Cream
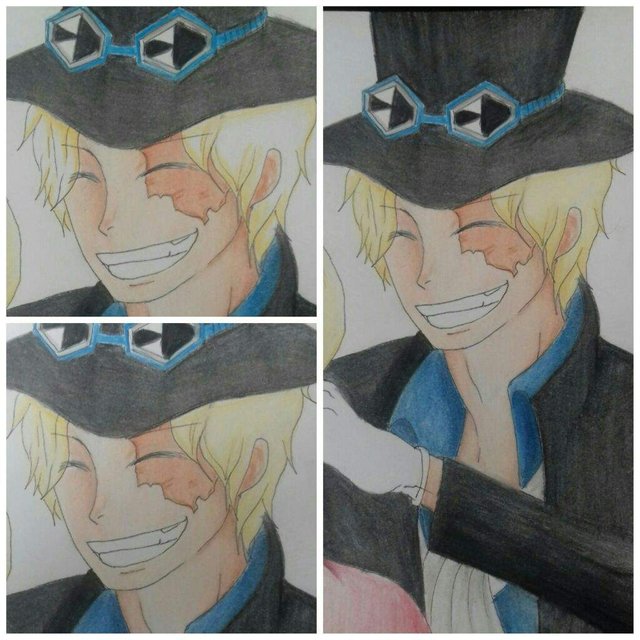
I shaded in areas of his hair, mostly around the tips and strand lines using Sand. I then used cream to fill in the rest, acting as the main visual colour. Lastly I went over some areas using Yellow Ochre to give the hair more tone. I then used a blending pencil to make he colours stand out more.
Colouring AceSkin
Colours used:
-Burnt Ochre
-Peach
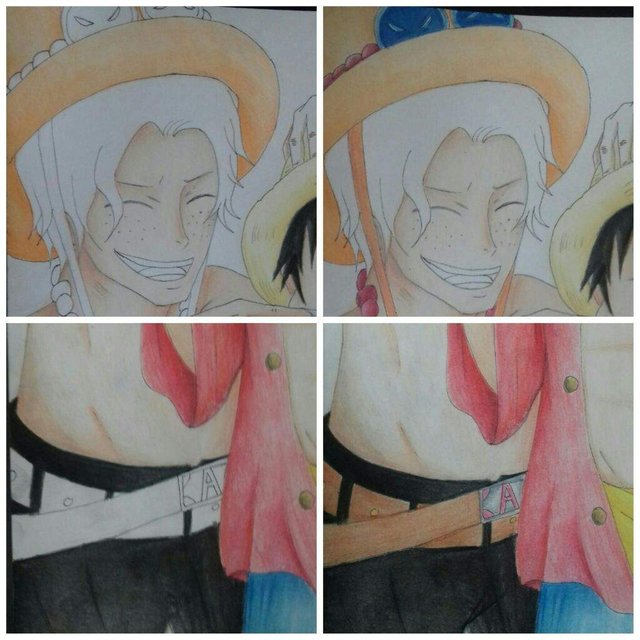
I started by applying the Burnt Ochre to any areas that would be shaded the most, notably around the neck, hair line as well as the chest and abs. Afterwards I used Peach to blend out to a certain extent, leaving some areas lighter. I then used a blending pencil to make the tones stand out more along with a white pencil to make the colouring appearance lighter and smoother.
Hat and accessories
-Orange
-Crimson Lake
I used Orange as a solid colour to shade in the hat, Much like I had done for Sabo's coat, that once I filled in the whole area I added some darker shading and began to use a blending pencil to make it stand out more. I also used a white pencil to make it more smooth in appearance. For his beaded necklace and the beads on his hat I used Crimson Lake to shade them in, leaving lighter areas to show a reflection of light. I also used ginger root to colour in the object hanging from his hat.I then moved on to colour in his shorts, using Black in the same method as previously mentioned, I applied it to the shorts until I felt it was consistent enough that it would look smooth when I go over it using the blending pencil. I then used Burnt Ochre as a Base for his belt and added shading using Dark Umber. For his buckle I used Cool Grey and Pink for the letter A and such.
Hair
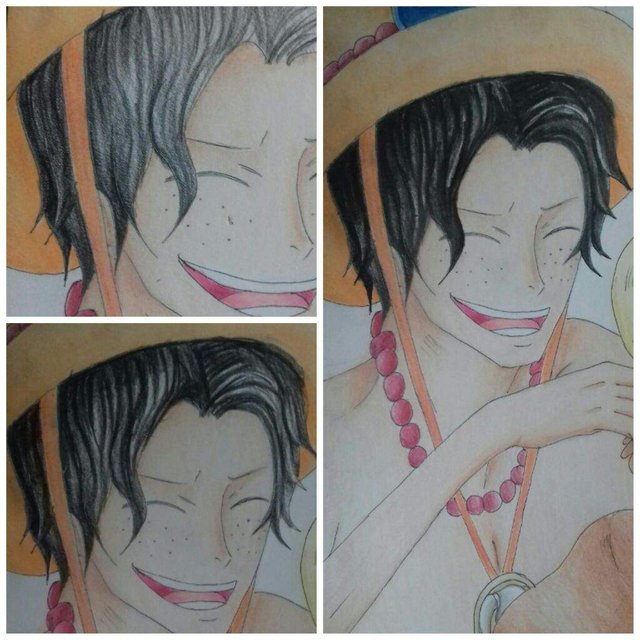
From left to right, using Black alone, I began colouring his hair starting from the tips and working my way back, I coloured until I was satisfied with it's consistency and the began to add in details to the hair, creating notable strands. I also coloured the inside of his mouth using Crimson lake for the shaded areas and Pink to blend out.
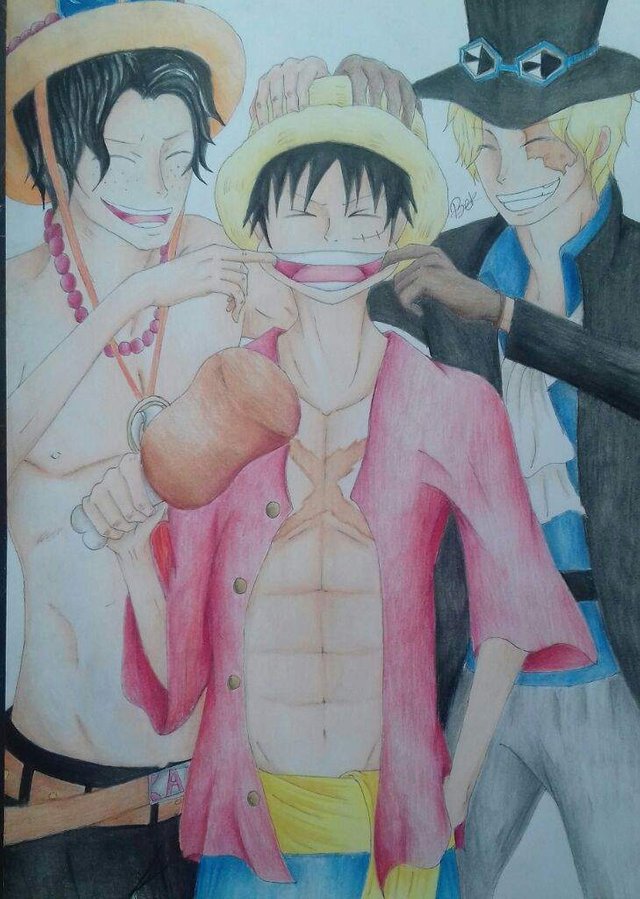
And here is the end result:
Thanks for stopping by to take a look,See you next time :)


