Art: The Joker: Prince Clown of Crime / Realization step by step!
.png)

Hello friends of Steemit, Who does not know the Joker ?, This character is so mythical that his only face or smile is the legacy of one of the most emblematic characters in the history of popular culture, such as the breath of Darth Vader or the roar of the T-Rex of Jurassic Park, simply emblematic.
The Joker or also called Joker or Joker in Spanish-speaking countries, was created by Jerry Robinson, Bill Finger and Bob Kane; it had its first appearance in the comic of The Batman # 1 and in Detective Comic # 168 (Like Red Hood or Red Hood, where Bill Finger tried to give an "origin" to the personage). The original concept was a colorful criminal that was the perfect contrast to Batman, whose long relationship is often parallel to the concept of Ying and Yang: Batman is a serious character, with a suit of dark colors and the Joker is colorful and crazy.
The Clown of the Crime was in its beginnings a homicidal maniac, but then, as the silver age of the comics in the United States advanced, the Joker was turned into a simple inoffensive buffoon that liked to bother the people. However, in later years the sadistic and manic personality returned, has even been increasing over time, since the Joker has reached the point of even killing defenseless women and children, and that according to the film The Dark Knight by Christopher Nolan (Where thanks to his interpretation of the Joker, the actor Heath Ledger won an Oscar). This is a recurring character in the comics of Batman and the Universe of Dc Comics and has appeared in various movies in live action, animated films, animated series and live action series.
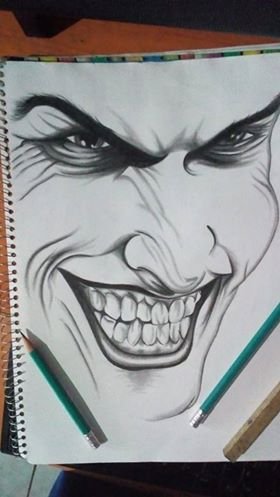
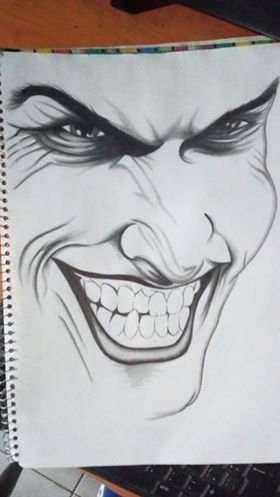
Drawing of the finished Joker:
Process of Realization:
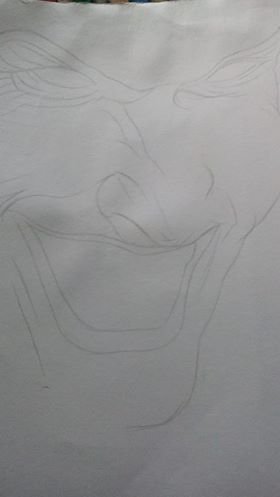
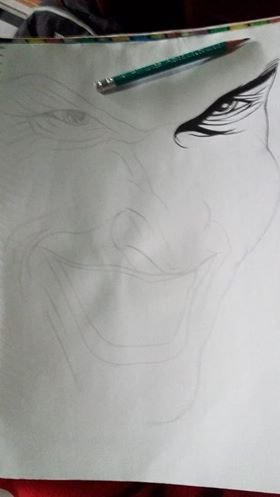
1. Initial sketch:
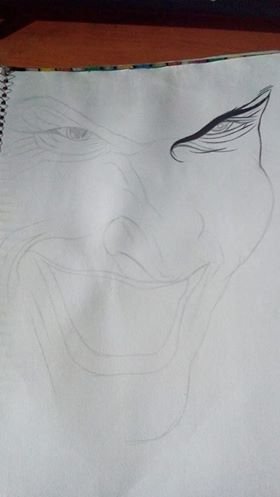
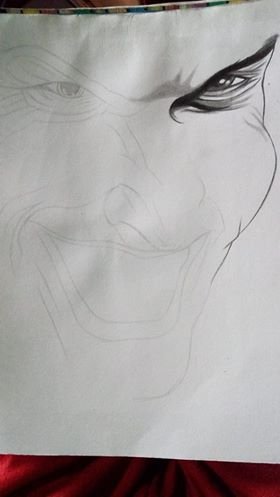
2. Start of the eye:
3. Darkening of the eye:
4. Eye shading:
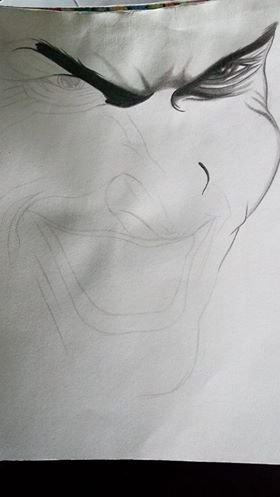
5. Darkening of the right eyebrow:
6. Both eyes shaded:
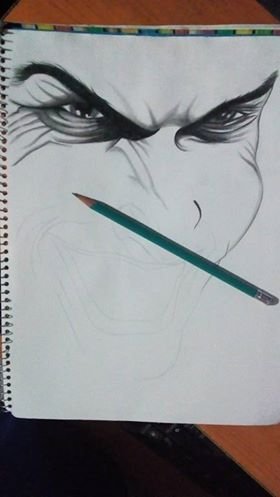
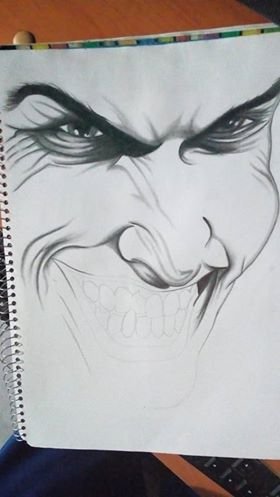
7. Wrinkles around the nose and mouth delineated:

8. The nose and wrinkles completed:
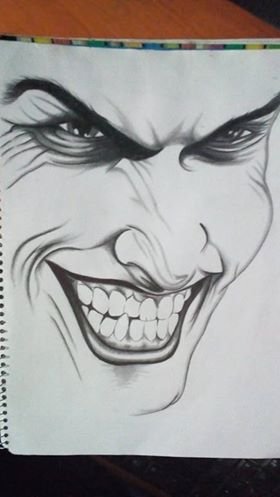
9. The lips are delimited better than the teeth:
10. Lips darkened and with their respective brightness:
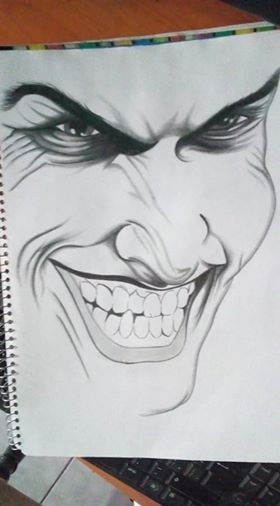
11. The gums in the smile get their respective shadow:
12. The teeth are also shaded and the drawing is considered finished:

Used materials:
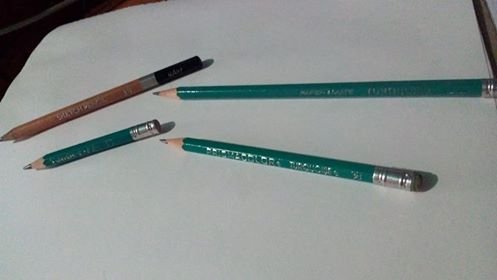
Drawing pencils:
In the drawing they will always be used, they are fundamental pieces because with good use of them we can make from simple shadows to more difficult paths and details that give realism and volume to the drawings. I used pencils H, 3B, 6B and 8B for this work.
Erasers and Clean-types:
What makes a drawing different from the rest or that is at least delightful to the eye when working in chiaroscuro, is nothing more and nothing less than the details, especially brightness or light parts, as these are what give the Realistic touch to the drawings next to the volume and depth. And in this the Erasers and the Clean-types are the most ideal, with these will be achieved by children more pleasant for drawing.
Diffusers:
Good shading is essential when working with chiaroscuro techniques. And so that the fingers do not burn, blurring or we have dirty hands, because pencils B are prone to cause disasters if they are not handled well. For all this, the Dumpers are the solution, the shadows will be more neat and aligned with each other, you can also make the scale of degradation with shadows and join several pencils more easily. It's not just using the Dummies with fierceness, it's being careful and knowing how to handle the density of the shadows. I'm still learning how to use them, but I'm glad it gets better and better.
Thank you very much for staying up to this point, if you wish, you can leave in the comments that you thought the drawing and their advice to improve, always help me a lot. And if you still want more, then a few Links of my most recent post, also will be that of a photographer friend who is very good, I recommend checking it! (Even along with other post, it tells a very dark and intriguing story)
-Drawing: https://steemit.com/spanish/@erick.esquivel/arte-darth-vader-realizacion-paso-a-paso
-Photography: https://steemit.com/spanish/@thedarkforest/7ppsyf
All photographs have been taken by a telephone BLU ADVANCE 0.5 HD:

Congratulations! This post has been upvoted from the communal account, @minnowsupport, by erick.esquivel from the Minnow Support Project. It's a witness project run by aggroed, ausbitbank, teamsteem, theprophet0, someguy123, neoxian, followbtcnews, and netuoso. The goal is to help Steemit grow by supporting Minnows. Please find us at the Peace, Abundance, and Liberty Network (PALnet) Discord Channel. It's a completely public and open space to all members of the Steemit community who voluntarily choose to be there.
If you would like to delegate to the Minnow Support Project you can do so by clicking on the following links: 50SP, 100SP, 250SP, 500SP, 1000SP, 5000SP.
Be sure to leave at least 50SP undelegated on your account.