DIY kokedama: the Japanese plant art of flying plants
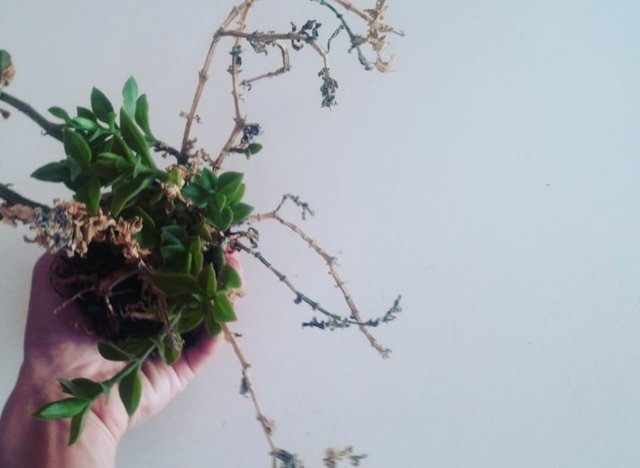
photo credit Carmela Kia Giambrone
The #Kokedama or "air #bonsai" have long since been abandoned and have become part of our #gardens as a natural evolution of bonsai.
These "balls of moss" or flying bonsai, a literal translation of their name, now hold a place of honor in every #green place that respects and thanks only to their presence, they are able to make a sterile place immediately immediately zen-minimal and green-chic.
Do not be fooled by their posture and their apparent refinement, if you think that kokedama are difficult to create and you believe that to be able to enjoy it you must necessarily buy one, forget it!
Making a kokedama garden with your own hands is really a breeze and if you do not believe it, know that the best kokedama artist is not more than 10 years old!
There are only a few ingredients that will serve you, a little bit of manaquality and the game will be done!
The success of your #homemade kokedama will be due to the substrate mix you will use and the #plant you choose.
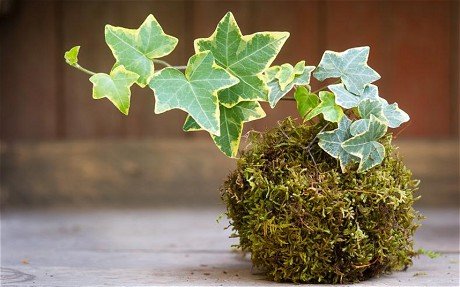
photo credit google.com
But here are the ingredients you will need:
•soil for bonsai
•clay (of that used for seed bombs)
•homemade compost
•dry moss
•fresh moss
•natural cotton thread or hemp
•plant choice
•a container
•gardening gloves
•scissors
Method
step 1 - the ball
Put on the gloves and add the bonsai soil, #compost and the clay in equal parts in the container.
Reach a consistency such that it allows you to form with the substrate, a ball the size of an orange that can compact and does not open. Add water if necessary.
Now take this ball and set it aside.
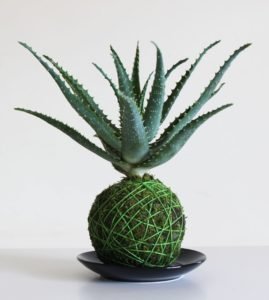
photo credit google.com
step 2 - the plant
Take a simple plant such as periwinkle, a perennial plant with abundant flowering or ivy, very resistant or even the varieties of succulent plants like the rosary or one of the many varieties of clematis, mint or ferns. …to you the choice.
The first thing you need to do is to free the root system from the soil that surrounds it, be very careful because this fundamental step is also a strong shock to the plant quidi try to do it quickly and gently.
step 3 - the moss
Now take good dry moss and create layers that will cover the roots of the plant to protect them.
step 4 - insertion
Take your ball of soil, half open it carefully and place the roots of the plant you have chosen in the middle of the substrate. Add the two halves, close the whole as if it were a Sicilian arancine, compressing slightly and adding another substrate if necessary.
step 5- the coating
When the ball is solid again, add some fresh musk but this time all around the ball containing the roots. Do it very carefully, using a large piece of moss and press it lightly to make it stick well to the ball.
step 6- fixing
At this point, to make your homemade kokedama you just have to fix it: use a natural rope, do not be greedy, cut a nice piece at least 3 meters long and, slowly, tied as in the art of shibari all around your ball of green moss.
step 7- here it is ready
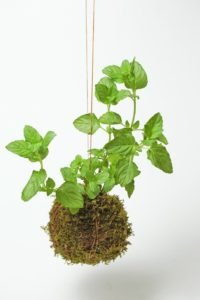
photo credit google.com
Et voilà ... your handmade kokedama is ready!
The moss that you have placed around will grow and make the wire completely disappear in the green, making your #green creation super compact.
Once made, you can hang it anywhere you want, on your patio, your gazebo or why not at home; you can give it as a good omen for a new home or for a birth but whatever you do, you will surely be fascinated.
Do not forget, however, that your kokedama is an element of living #biodiversity so do not forget to hydrate it and expose it to light (not in direct sunlight though).
To keep it #healthy and #beautiful you will have to wet it: just evaporate the water dechlorated using a common spray a couple of times a week.
Good experimentation!
Read my #Wordpress blog http://www.equoecoevegan.it/