Step by Step Tutorial In Adobe Photoshop - Creating Collage With Spider-Man

For begin you need to download those pictures and textures:


- Add New York city
Step 1
Create a new document in Photoshop with the dimensions of Height 1200 px and Width 1366 px.

Step 2
Place the image of the city in the main document through the menu File> Place Embedded (File> Place Embedded). You can also use the Transform Tool (Ctrl + T) to rotate it or combine it with the main document. But try to arrange the largest building on the stage, as I did below:

Step 3
Convert the image of the city into Smart Objects (Smart Object). Go to the menu Filter> Blur> Gaussian Blur (Filter> Blur> Gaussian Blur) and set the Radius (Radius) to 1 px. This will add more visibility to our topic, and if you want to blur the city more, just increase the radius value.

Below is the result:

Step 4
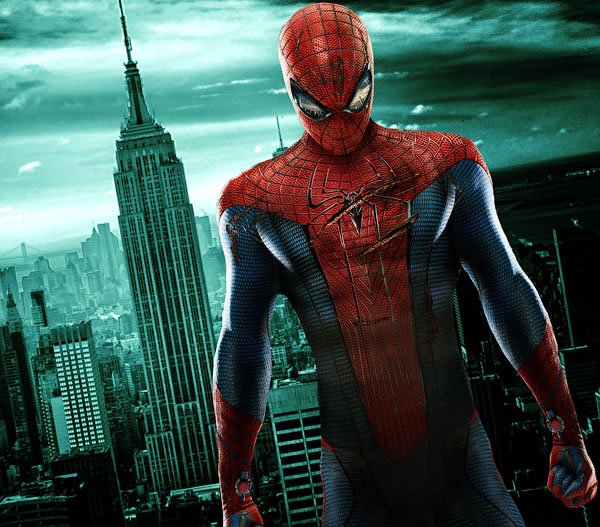
Now we will paint the city with the help of corrective layers. Create a Hue / Saturation adjustment layer by clicking on the third icon at the bottom of the layers panel.
Check the Colorize box to color the city image with the following settings:

Result:

Step 5
Continue painting the city image using the Curves adjustment layer. So, create a Curves adjustment layer and use Red and Blue to add blue and yellow tones. Here you can see the values used:
Result:

Step 6
Add a Levels adjustment layer and increase the contrast of the entire image. Below you can see the settings:

Result:

- Adding our hero
Step 1
Download the spiderman file psd and open it in Photoshop. Move the Spider-Man to the main document with the Move Tool (V)  . Now adjust the position of the spider, as shown below.

Step 2
Create a Color Balance adjustment layer for the Spider-Man layer and change the Midtones values to add yellow tones to the Spiderman. You can see the image below for reference. Do not forget to specify this layer as a clipping mask.

Result:
Step 3
Create a new layer and name it Dodge & Burn. Fill this layer with 50% gray and set the blend mode to Overlay, Opacity to 100%. Do not forget to specify it as a clipping mask.

Activate the Burn Tool  (O). Set the Range to Midtones and Exposure about 9-10%. Now, clarify the shadow on the Spiderman with the Burn Tool. Just go to the places where you think that they will be less illuminated by the light source (I'm trying to create a light from the upper left corner), most importantly - do not overdo it.
If you want, you can also use the Dodge Tool (O)  to clarify the light, but the Spiderman already has enough light, so I only used the Burn Tool (dimmer).
- Final correction
Step 1
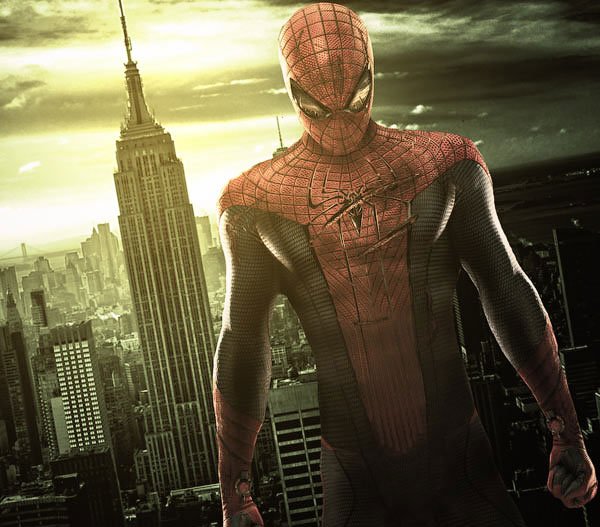
It's time for the final correction. Create a Color Lookup adjustment layer on top of all layers. Use the Candlelight.CUBE filter to change the color of the entire scene.

Result:

Step 2
Create a new layer and name it Light. Set the foreground color to # 644C19. Take the Brush Tool (B)  . Now draw a light source, as shown below. Just draw a large spot with a brush.

Set the blending mode to Linear Dodge (Linear Dodge).
Result:
Step 3
Create a correction layer Selective Color (Selective color correction). Change the values of Yellows (Yellow) and Neutrals (Neutral) colors:


Step 4
Press CTRL + SHIFT + ALT + E to merge all the layers into one layer. Go to the Filter> Render> Lighting Effects menu and adjust the light spot as shown below:

Light effects settings:

On the layer mask of the filter Lighting Effects (Lighting Effects), I disguised the effect in the selection area, because I do not want to see much light there. Use a soft black brush to mask the effect:

Result:

Step 5
Finally, I increased the contrast a bit by using the Levels adjustment layer.

Final result:
Thank you for completing the lesson, I hope that you liked the lesson.
Really cool tutorial. how long have you used photoshop?
3 years Photoshop and 2 years Corel Draw and Adobe Ilustrator