How To Guide On Making steemit Stencil
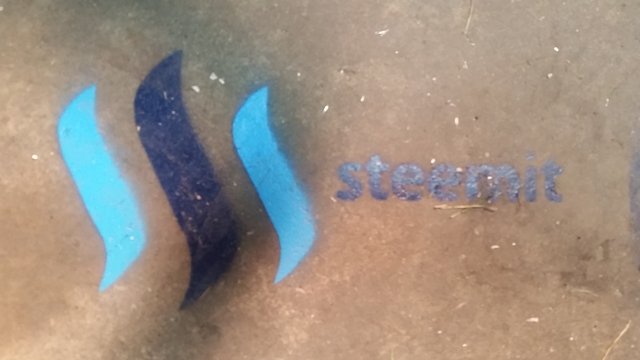
Here is some photos of the steps I used to create a steemit stencil last night. Including some of the materials and tools I use to make it. You only need pretty basic tools to make a steemit stencil. Of coarse its nice to have a good tool library to steem up the project. Follow some of these steps and you will be able to steemit all over your neighborhood too! Post your results in the comment section below. Planing and Drawing If you don't have a computer or printer, you will want to start hand drawing the steemit logo on a solid paper, cardboard, or Transparency Film. Time To Print, Gather Supplies and Tools What Do We Have Here A Close Up of Some of the Tools Time To Start Cutting Out The steemit Stencil Making Sure to Cut The Blanks In The "e's" on the steemit Logo Cutting In Action Done Cutting Cutting Boards Up To Be Stenciled On Here Is How They Turned Out Here Is What The Stencils Look Like After a Few Uses Please Copy and Make a steemit Stencil of Your Own I'm Pretty New To steemit and Could Use Your Support! I am really exited about the steemit platform and what it can bring to the world. I'm into open source, blockchain technology and metal art. And hope one day to bring my art to life. Thanks for reading and sharing. I will update when I get some steemit tags out in my city. Untell then- Much Love,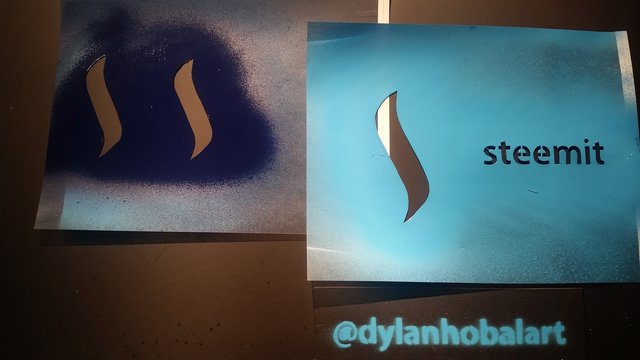

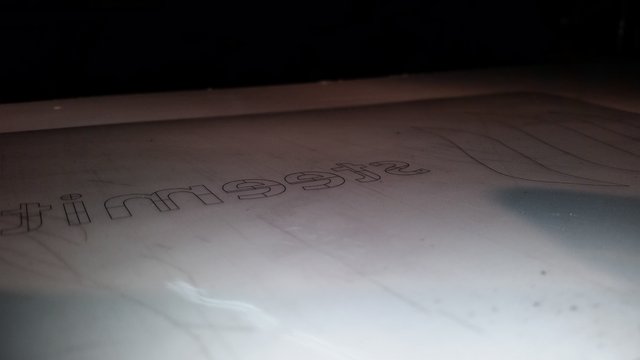
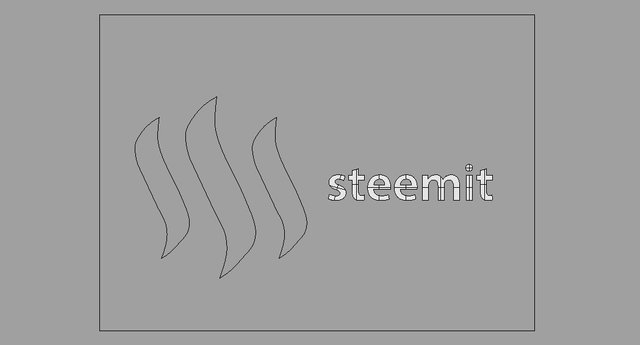
How big do I want to make the steemit logo? I decide to work with in my Rhinoceros drawing program on my laptop. I choose to go small enough so I could print to letter size. Would have liked to have gone bigger, but wanted to keep the project a size that I could manage to start. I would challenge anyone who can make a larger steemit stencil. Would like to see what you come up with.
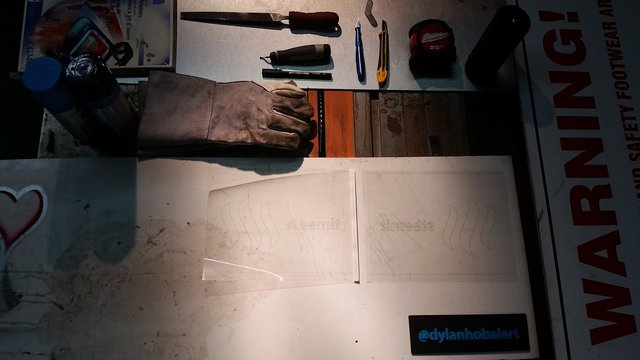
I successfully printed the image and rounded up some tools I'm going to need. Most importantly I found a good knife to cut thought the plastic paper and a hard surface to cut against.
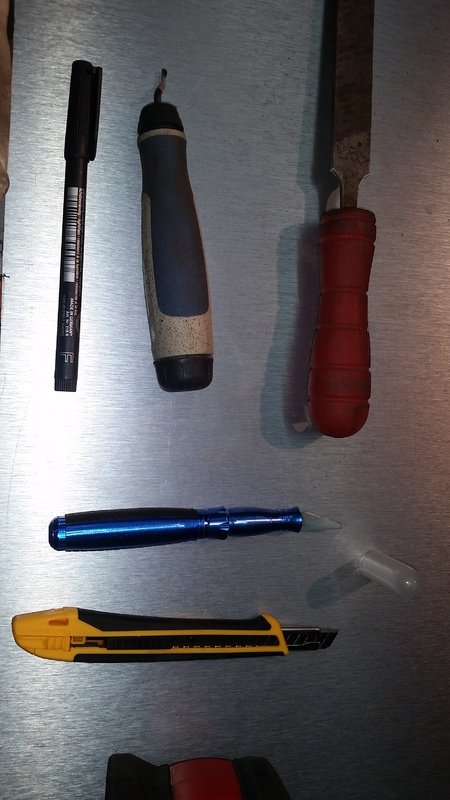
Here is some of what we have here.
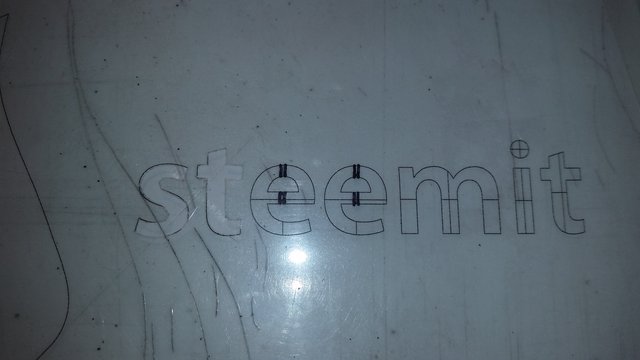
Making sure the blank is left in letters that have blanks in stencils can be a challenge, I made a couple lines so I can remember where to cut.
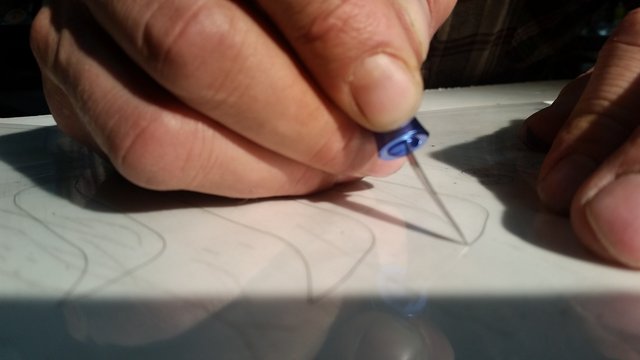
Takes a little bit of hand-eye, but with a little patience and tried fingers. You too can have a steemit stencil.
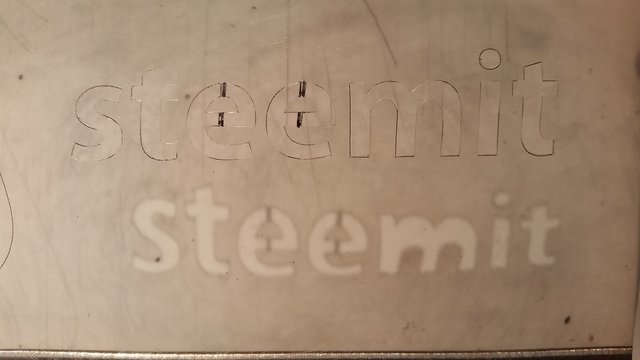
Glad to be done cutting, those little letters are hard
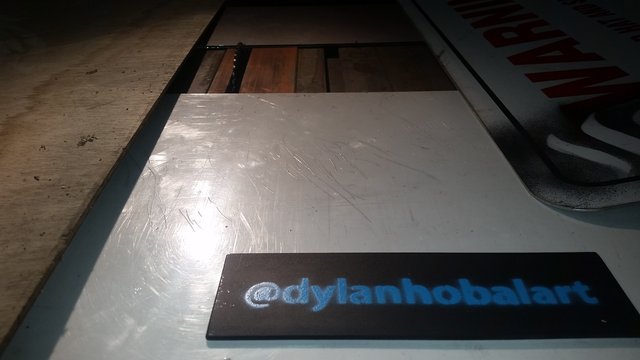
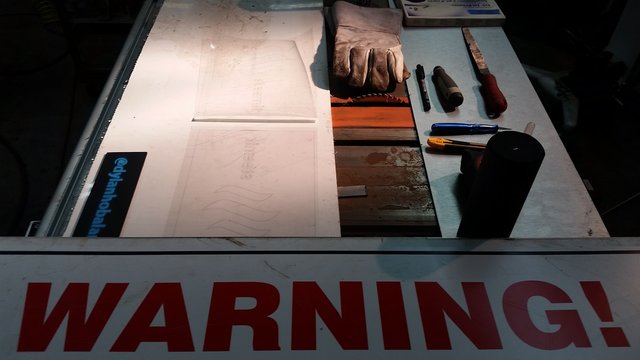
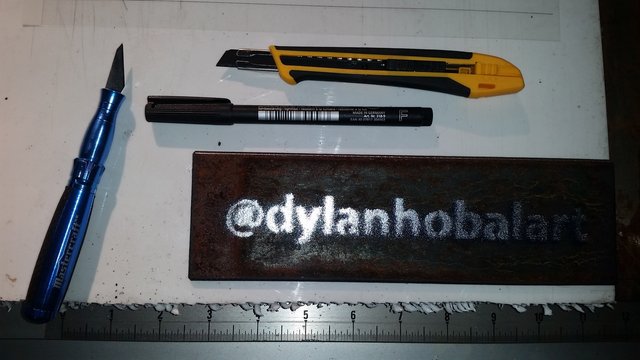
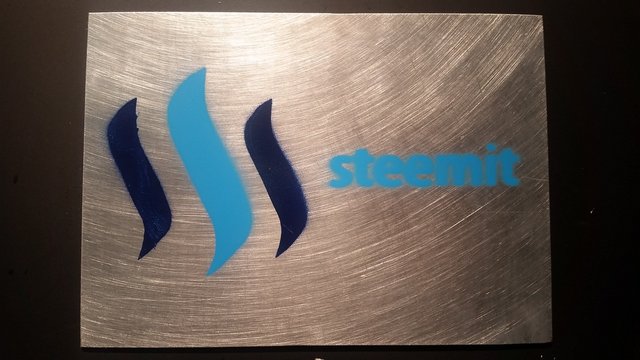
I thought I would try some different materials to stencil on. I found some wood board, Aluminum sheets and warning sign to rip down to size on my table saw. Also if you like what you see here, stop by my profile for a follow @dylanhobalart
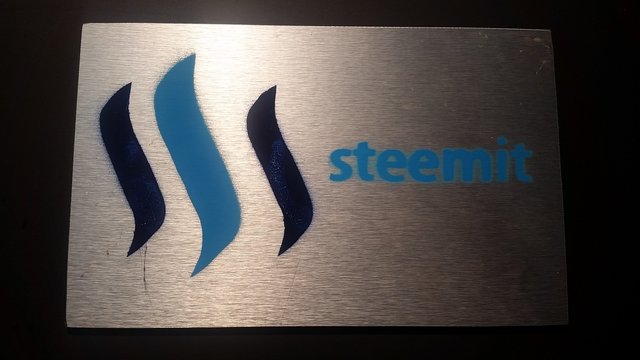
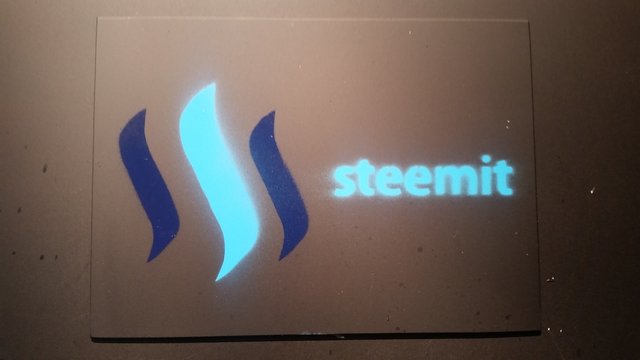
On finished aluminum
I choose to use a two part stencil. You could do it in one, but I used two for better quality.
Feel free to use any of this art work in your own creations and get the steemit up in your neck of the woods. Just tag me in your creations. @dylanhobalart

Live it
Dream it
Steemit
Dylan Hobal

That was well cool seeing all the steps!