Using Unity and assets to make really cool images for Steemit.com
If you follow me you no doubt will have noticed I've started putting up a lot of original art. I am not a brilliant artist. I am good at using tools though. I also have put my Unity skills and assets to work for me to make really great art. I am going to create a piece here and I'll show you step by step how I do it.
For those of you following any of my Unity tutorials, it doesn't have to be used just to make games. That is simply what it was designed for. Yet games tend to push computers and technology harder than just about anything else out there. This means if something can make games, it can likely make other things as well.
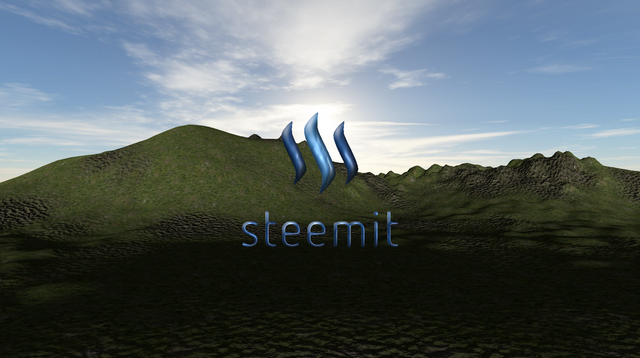
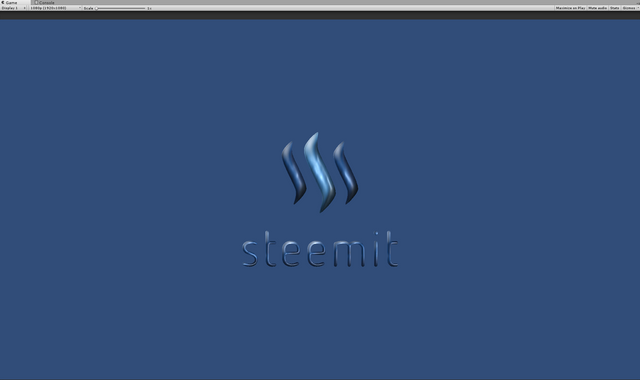
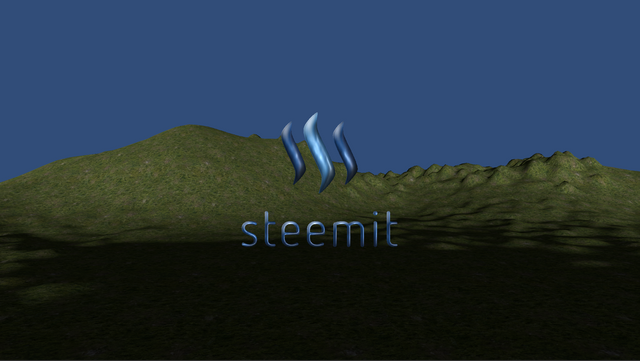
Here is the image we are going to make:
If you don't have Unity it is a Free download and you can use it for free as long as you make less than $100,000 per fiscal year or don't need some of the professional services (not at all for this tutorial or most things).

Some art assets of mine that you can use
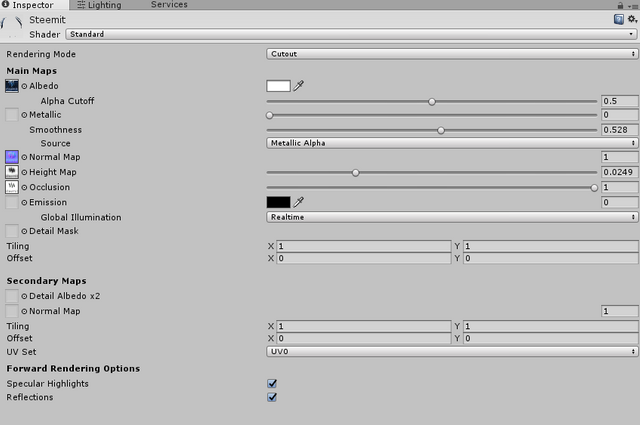
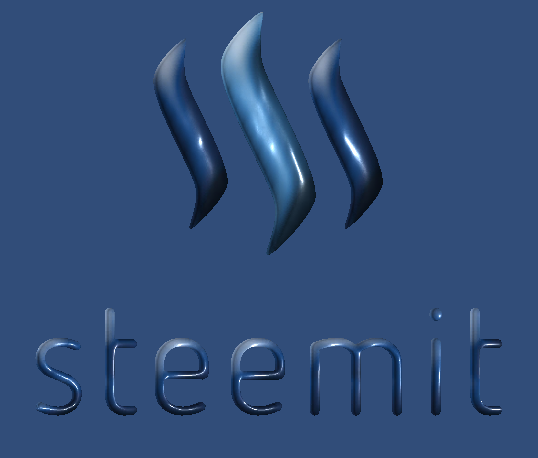
I often have some cool 3D Steemit logos in my images. In general if they are truly 3D then they are actually using a material I created inside of Unity. I will share the images and the settings for the standard shader for you here for those of you that wish to follow suit.
Here are my standard material settings. For the most part I leave them like this, but sometimes I will play around with the metallic and shiny settings for different effects.
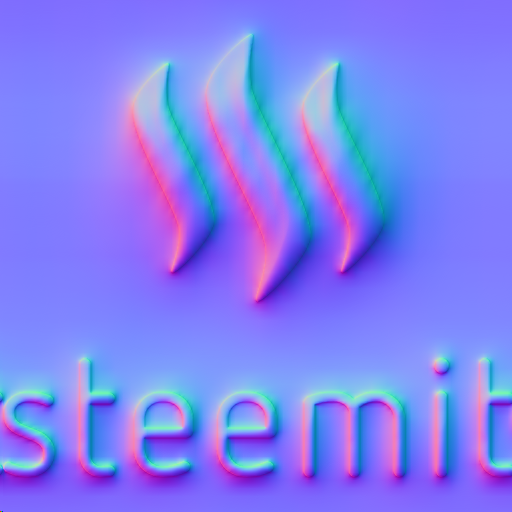
These images of mine I provide to you CC0 here. I made them from other steemit art that I just worked up. You can right click on any of these and save them.
Albedo - works well with Cutout mode

Normal Map
Height Map

Occlusion Map

I also made inverted versions of the normal, height, and occlusion. I haven't messed around with them much in my images yet, but here those are as well if you wish to use them.


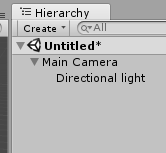
Setup the Initial Scene
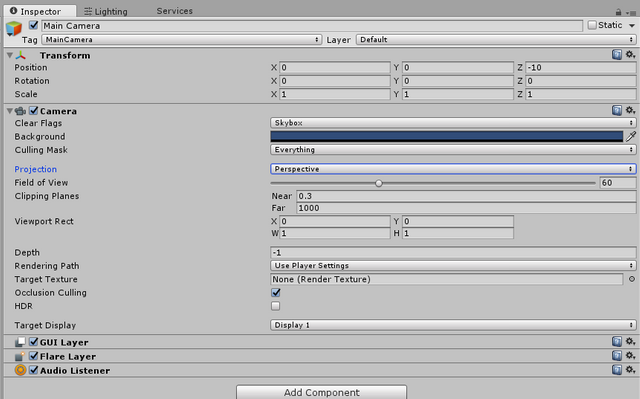
I setup the initial scene with a 3D scene with a camera and a directional light added to the camera. It looks like this:
The properties for the camera look like this:
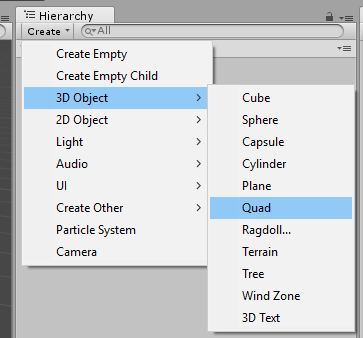
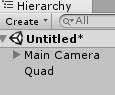
I then create a 3D Object QUAD in the scene and position it at 0,0,0. I scale it up to 5,5,1.
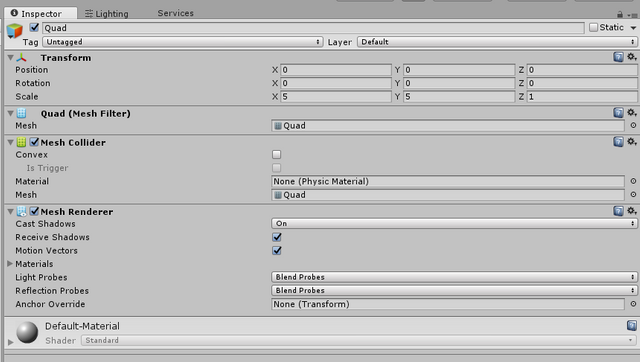
Now drag your steemit material you made using the textures I provided above onto the Quad and watch the magic happen.
You can move the directional light around, play with color of light settings and do all kinds of things and thanks to the normal maps and such it will treat that as a 3D object and lighting will properly react to it. You can have a lot of fun with the settings.
You can also play around with the metallic and smoothness type settings on the material. The above image is the default settings I showed for the material in an earlier screenshot. Here are two more tweaks just by sliding the sliders around in the material.
Moving the smoothness from around 0.5 to around 0.744 it gets a shiny look and can also look almost wet if that is your goal.
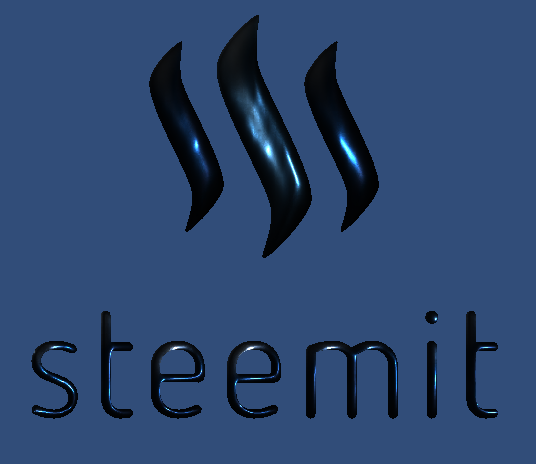
Set Metallic to 1 in addition to the 0.755 smoothness and it gets very dark and looks pretty cool.
I am going to set it back to default, I simply wanted to show you some of the things you CAN consider doing.
Adding some other interesting things
Let's import the standard environment assets that are free for unity.

I have some other assets in my project that I am working with, but this folder is the one we are most interested in.
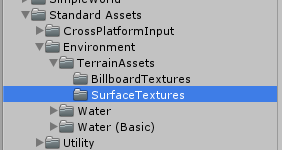
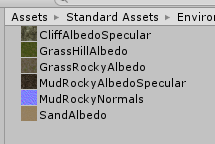
It comes with these textures which we can use to make an interesting terrain.
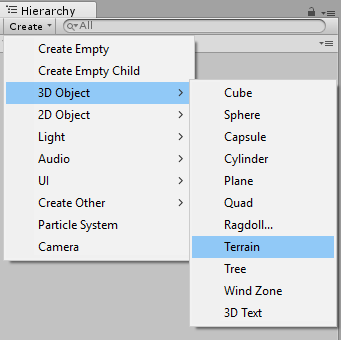
Let's add a terrain to the scene...
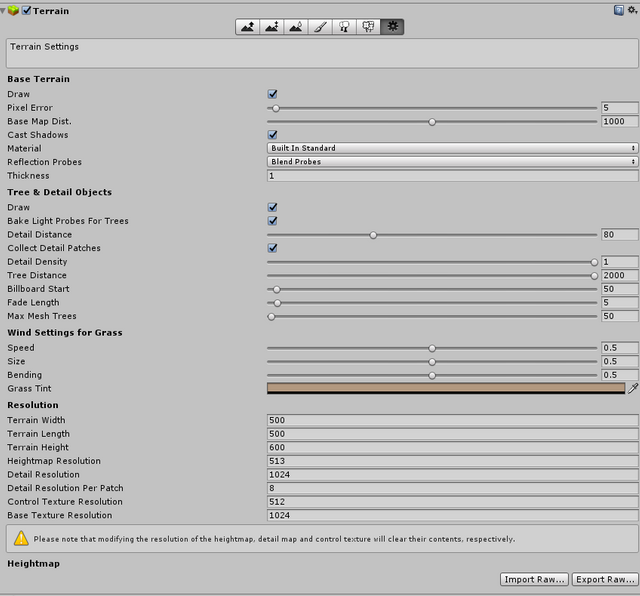
The terrain properties should initially look like this.

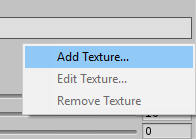
Click on the Cog Icon to see the size and height and some other settings.
Click on the Brush Icon.

Click on the Edit Textures button in the brush properties and then click Add Texture.
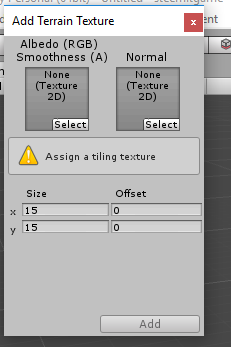
Drag the GrassHillAlbedo texture from the standard Assets SurfaceTextures and drop it into the Albedo (RGB) smoothness box on the texture adder.
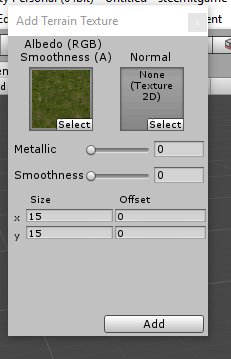
Click Add.
Your terrain should change to be completely covered in this texture since it is the only one it knows.
Go to the cog for your terrain and set its position to -250,-10,-250. The 250 is one half the size of the terrain. I had you do this so it would center the terrain below the camera.
It should look something like this:
Now go ahead and use the Raise (right click lower), Level, and Smooth functions to paint different heights on the terrain and make it more interesting.
Now go ahead and add a second texture the same way you did the grass. Then use the brush to paint some different textures and make your scene more interesting. Be careful of the brush shape, and size, but play around with it and enjoy. Ctrl+Z for undo does work if you make a mistake.
Now this is just the basics. You can add in trees and all kinds of things to make your scene interesting. I recommend you spend some time checking out the free assets that are available on the Unity assets store.
For now we are going to download one free asset to finish up this scene...
Adding something from the asset store
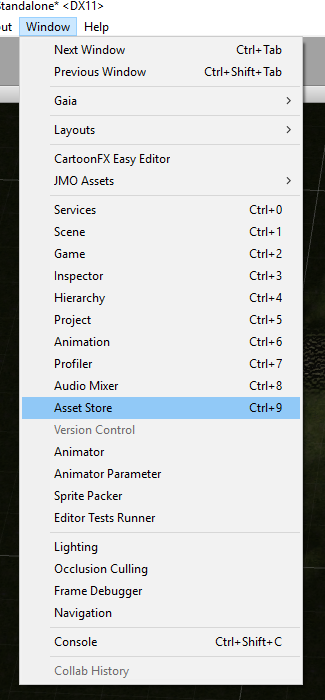
First we need to make sure you have the asset store available to your project.

Type skybox into the search box for the asset store and press enter.

It should default to something like this and it's default is RELEVANCE:
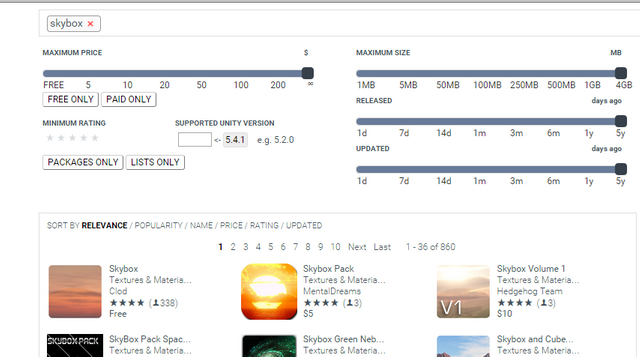
Instead of relevance let's look by price. Click on PRICE and it should change to look similar to this:
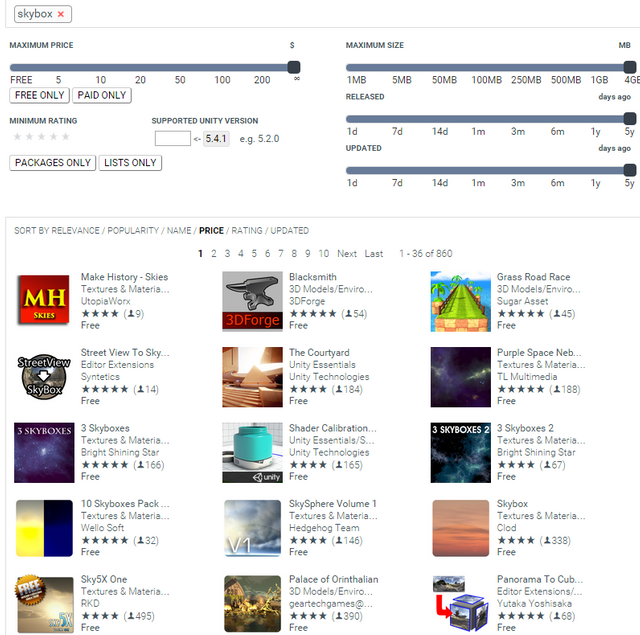
Since we are looking at FREE it is kind of like a random shuffle. You may see different free things than I do. We are going to grab this one... CLICK THIS LINK or just change your search to "Wispy Skybox".
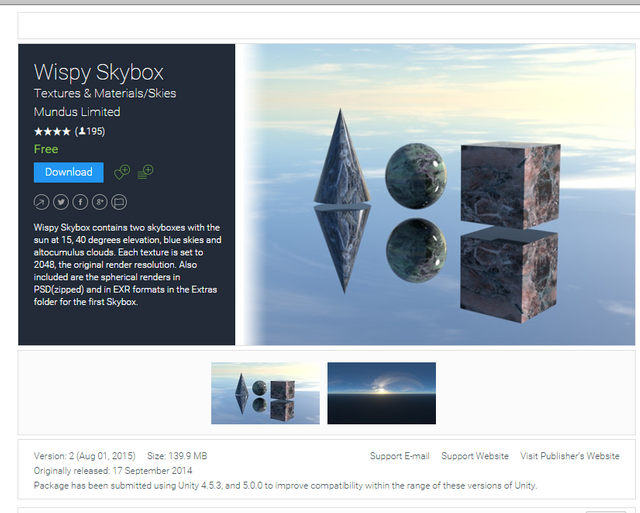
Click the download button.
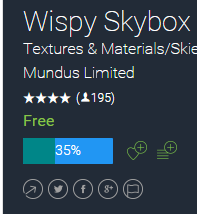
It will process the download and show you progress. Once it is downloaded it will decrypt the download.
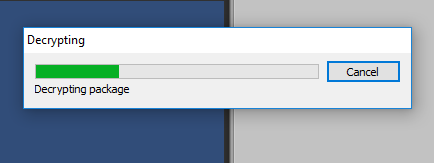
Once it is decrypted you will be offered a chance to import the asset into your project. Click IMPORT.

You will now have the Wispy Sky asset in your list of assets.
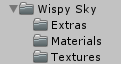
In that asset you will see a materials folder which when you click on will give you the following list of materials.

Let's add the skybox we downloaded
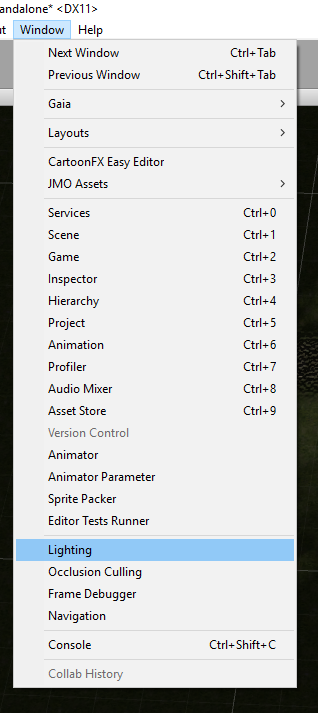
Make sure that you have lighting visible. It may already be visible, but just in case here is how you get to it.
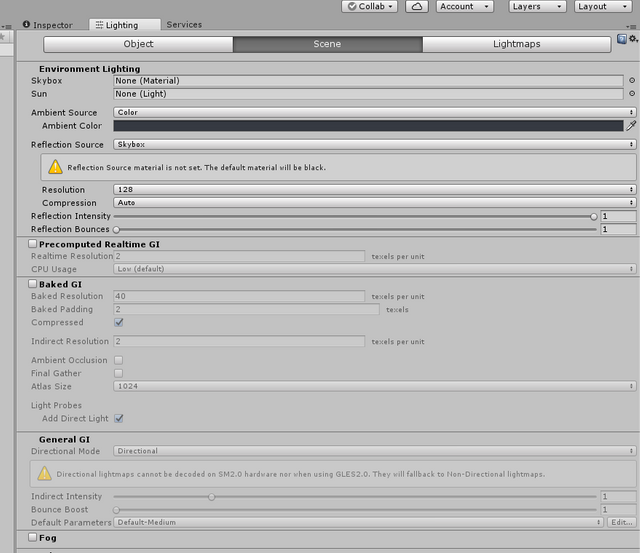
Drag the WispySkyboxMat material and drop it into the skybox slot for lighting.
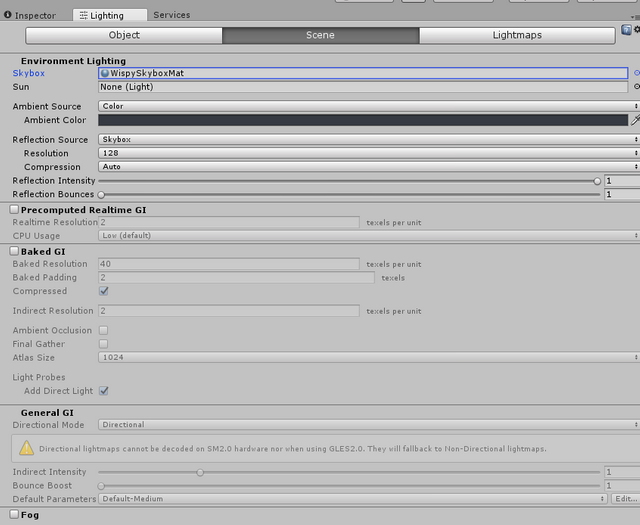
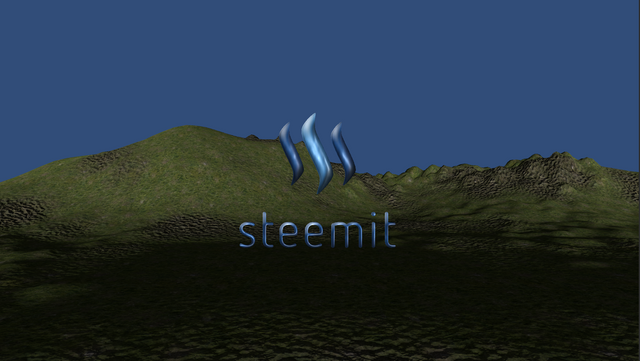
Your screen should have instantly changed to the following and complete this tutorial.
Conclusion
This is the basic technique. I use a lot of other assets and I often make my own things for my scenes. I also use a tool called Bitmap 2 Material 2 to easily create Normal Maps, Occlusion Maps, and such. If I need to make emission maps I make them myself using photoshop.
I use a lot of assets I purchased as well, and a lot of camera filters to generate the art that I usually use. If people up vote this and are interested I will consider doing a follow up post to this going into detail on some cool tricks to make your scenes really light up and touching upon some other free assets you can use, and some paid ones that I use. I don't want to do that though unless there is an interest.
As you do this, it becomes pretty quick and it is mainly positioning lights and tweaking things until it looks just the way you want. If an image says @dwinblood on it I typically add that afterwards in photoshop though it too could be added in Unity if desired.
Steem On!
EDIT: Here are a few from other posts I made using Unity:


I had no idea this is how you were doing all of that custom Steemit art. You are using Unity like it is Photoshop. Very impressive, thanks for sharing.