Headed Home...
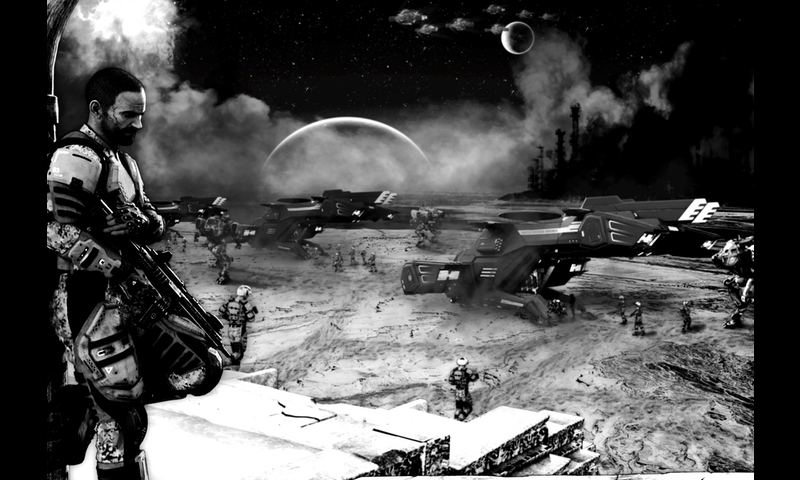
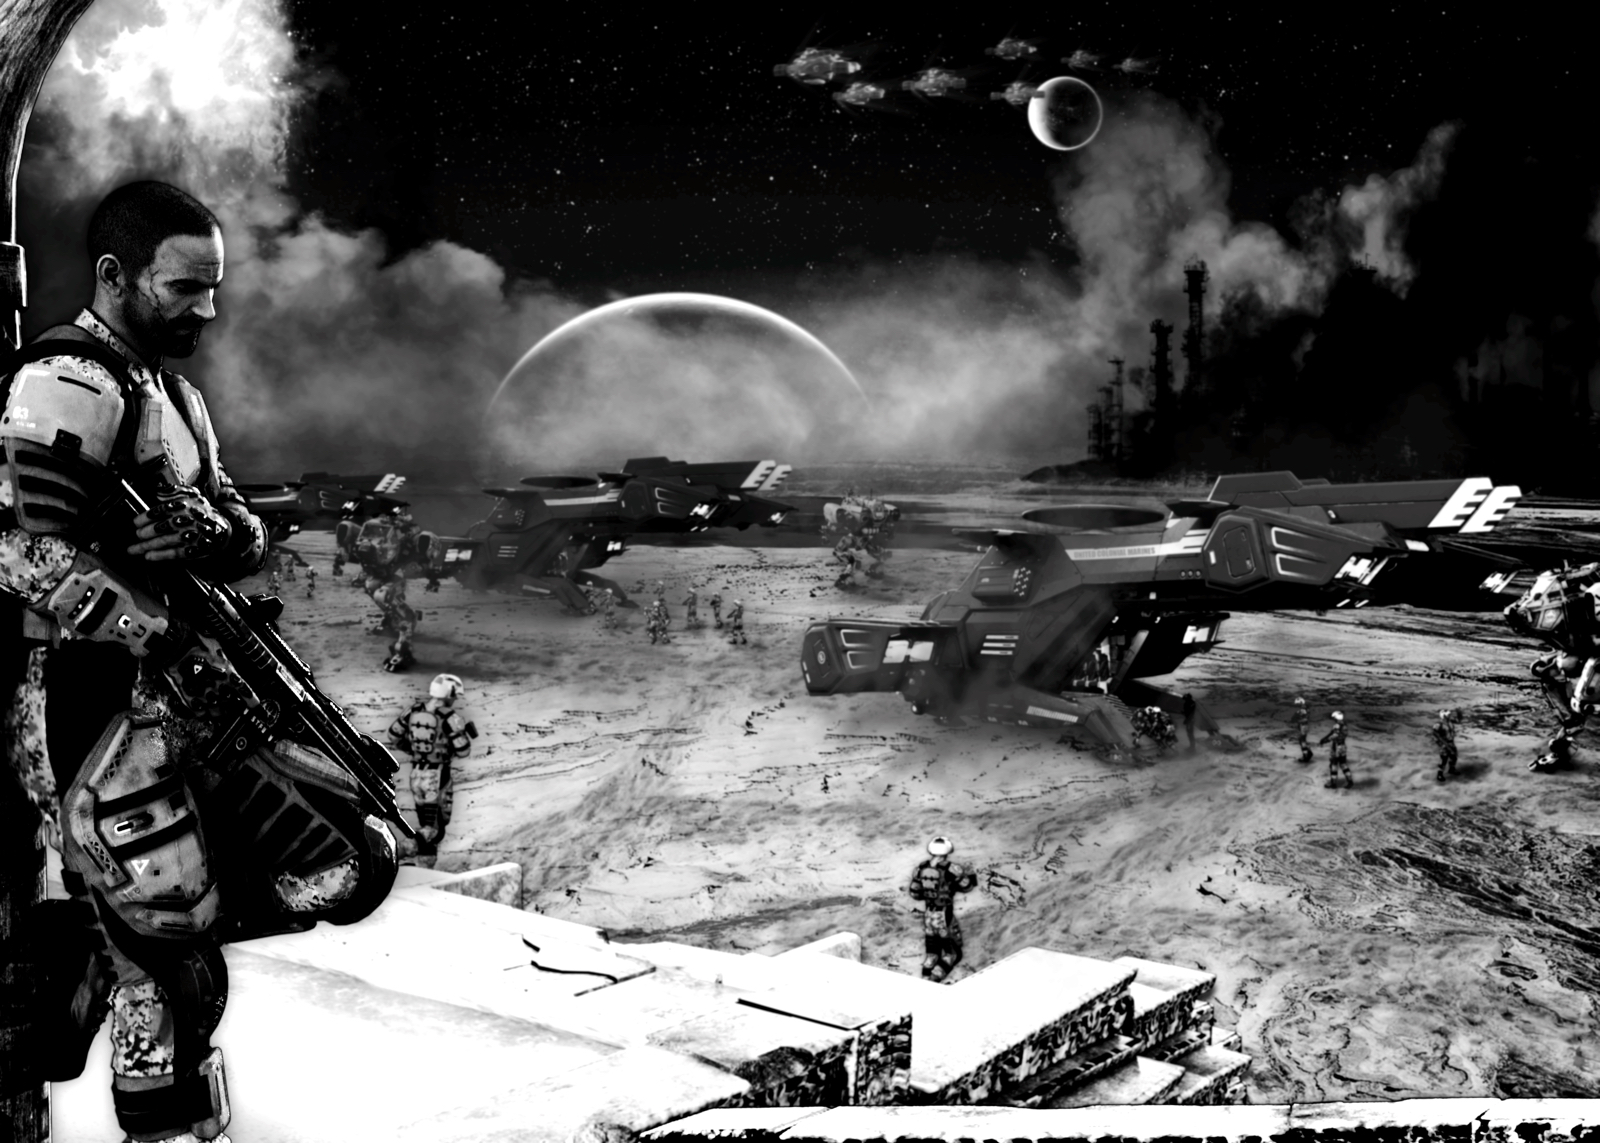
Hi everyone! I've been busy creating this work, as well as, getting set for my son's Prom. Been a busy week or two, but I finally got this piece done. I wanted to create a scene of high detail, adding a lot of pieces, and making them all fit together. The dread and exhaustion of the old soldier, mixed with the tired ending to yet another long fought battle. I'll leave it up to you if I got it right. (Full Image Below).
The breakdown of the work is similar to my others. First I create multiple renders of models that I want to add to a scene, using the same lighting to assure consistency.
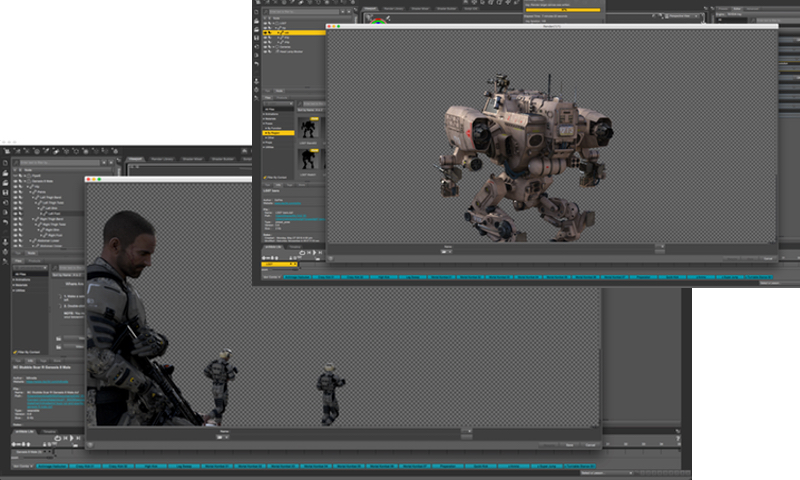
Each is set up and rendered within DAZ Studio, using DAZ Studio models I picked up recently. Great thing about these models is that the artist holds the rights to their work when used in videos or image creation.
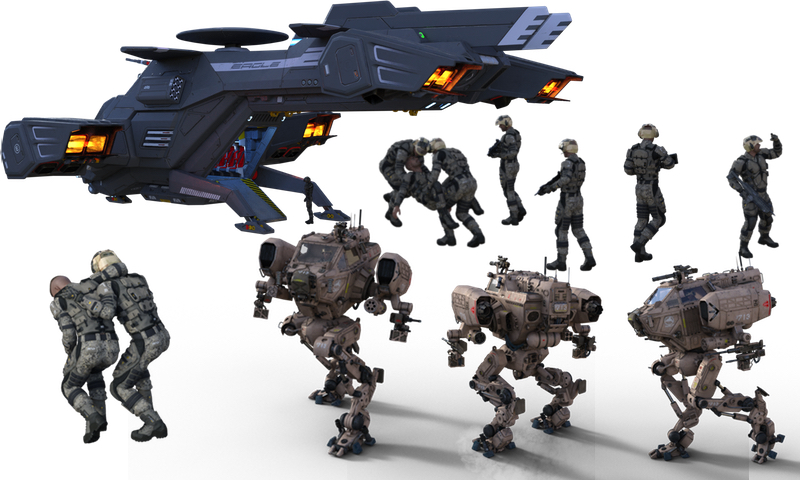
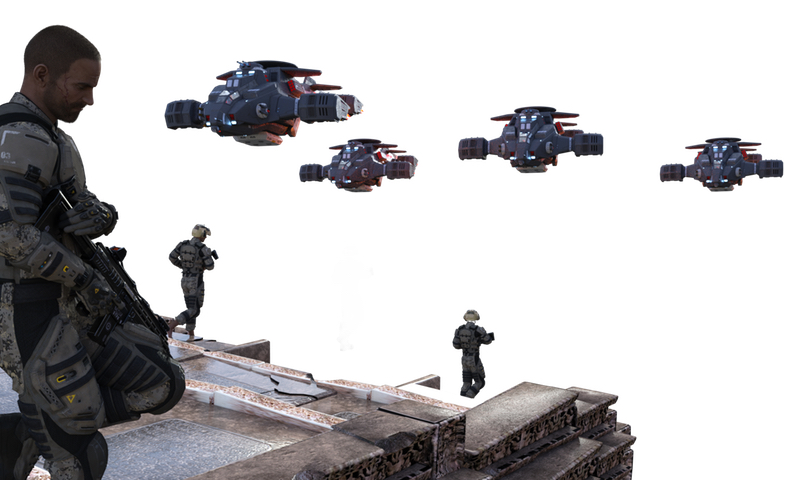
Here are a few of the models I used after rendering:
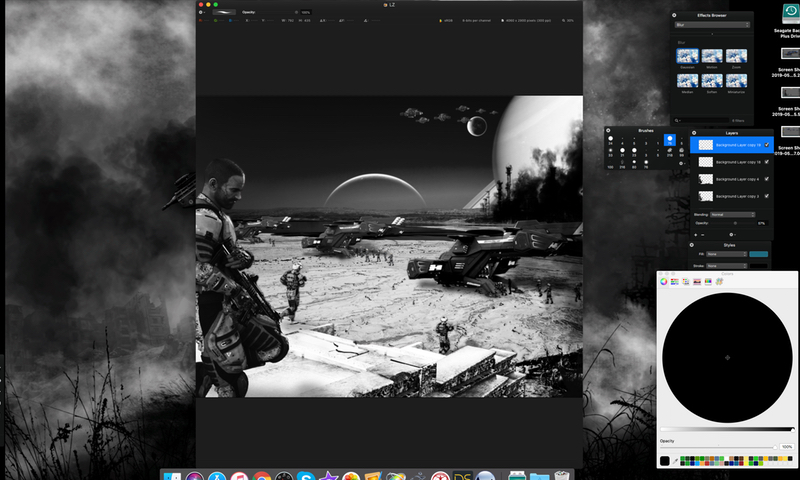
Once the models were done, I got out my trusty image editor and went to work. I use Pixelmator for MAC, but most would use Photoshop. I do use photoshop brushes for clouds, smoke, dust, buildings, moons and such, since my program is compatible. All of which shows up in the final image. The thing that is most important is to use layers for each object and brush in order to resize and manipulate within the scene as you work.
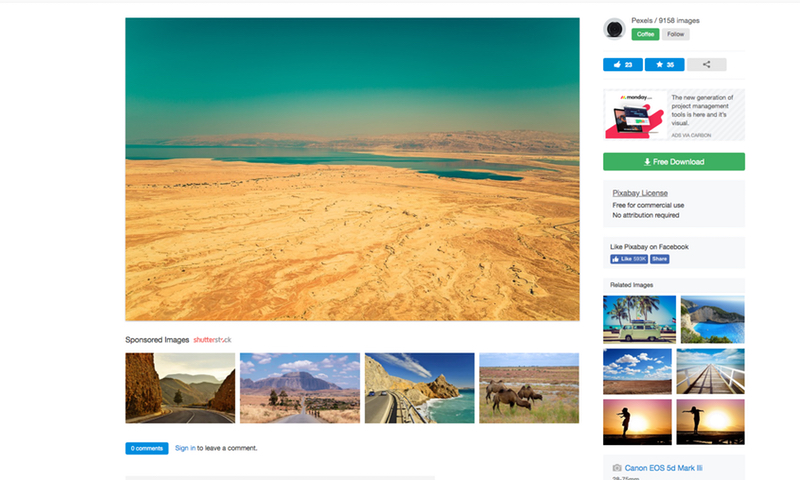
Of course I also needed a background, so before I started, I went to Pixabay and picked up an arid landscape.
Once all set, I then began putting the pieces together and started working with tones and colours. Since I wanted this in black and white, I merely changed each image piece and made them pop with a back shadow created by making a silhouette of each piece, then blurring it and placing it in back of the main piece's layer that I'm working with, then playing with the opacity.
However, I found that the objects (soldiers and such) just didn't feel like they were a part of the image, even after adding shadows.... So I went to Pixabay again...
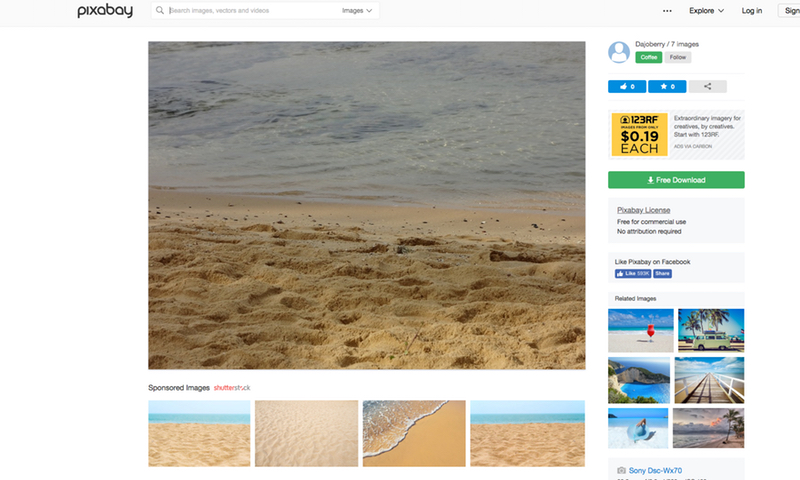
I found this image of footprints and began working with it.

From this I was able to add the trails of footprints in the main image by playing with opacity, and erasing the edges using a smoke effect brush. Finally, the image started to show more realism. A few more brush effects, some background blurring for distance, and the image came together. And, here it is:
Lots of challenge building this one, hope you like it. Thanks for looking and feel free to let me know what you think... I can take it. lol. Have a great day!
Sponsored ( Powered by dclick )

Congratulations @dutybound! You have completed the following achievement on the Steem blockchain and have been rewarded with new badge(s) :
You can view your badges on your Steem Board and compare to others on the Steem Ranking
If you no longer want to receive notifications, reply to this comment with the word
STOPTo support your work, I also upvoted your post!
Vote for @Steemitboard as a witness to get one more award and increased upvotes!
Yeah ☺️
Posted using Partiko Android
Nice! Great work!
Thanks!
Sup Dork?!? Enjoy the Upvote!!!