"Map as a place of belonging" ▪️ | MAKING OF | ▪️ | STEP BY STEP | ▪️ #1 ▪️ By Andrey Lebed ✅
Today I will share with you my experience in engraving on linoleum(Linocut).
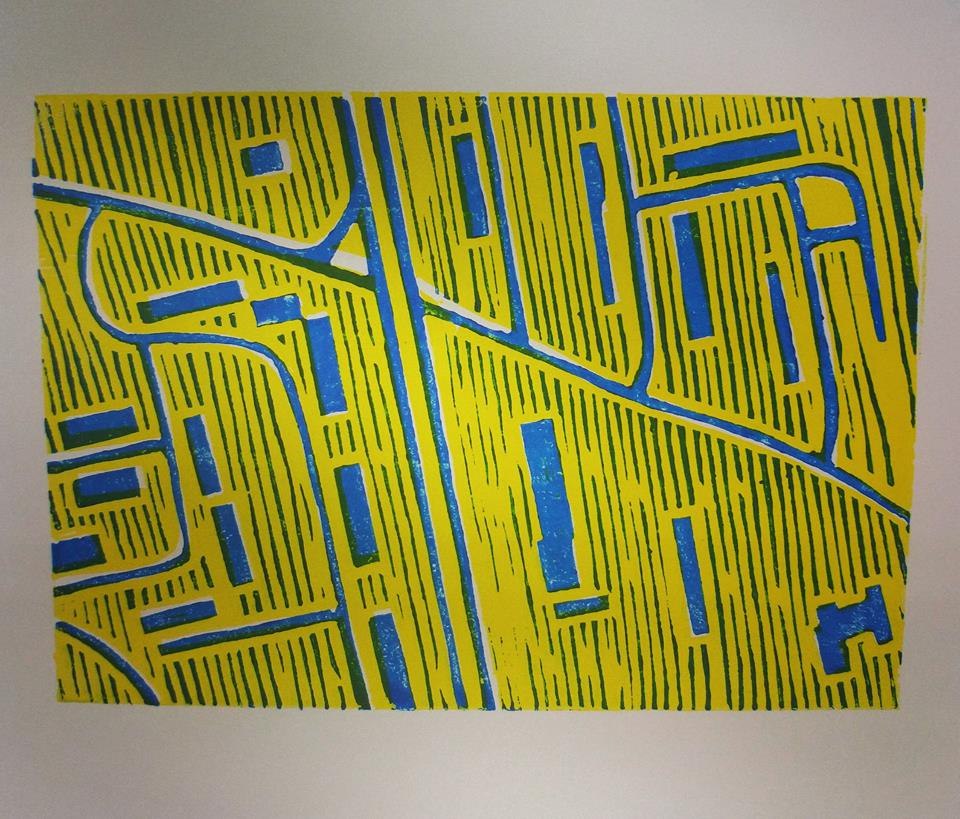
According to this, those who have never tried or do not know what it is, and from where it came from, made a brief introduction.
Contents
- Linocut
- Materials
- Descriptive Memory
- Final result
- Final synthesis
Linocut
Linocut (from "linoleum" and "printing") - the type of engraving, to create an image that is cut into linoleum or other polymer-based and then printed on a sheet of paper. Invented in the early twentieth century.
The simplest printing techniques. For the first time the linoleum was used instead of a wooden board in 1905 (for linoleum flooring was invented in the 1860s). The group of German artists "The Bridge" when they needed to print large poster sheets and cut a tree that is not allowed.
Materials
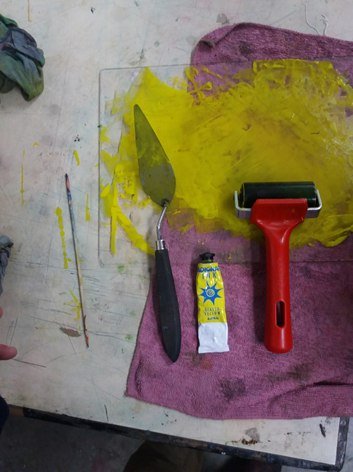
• Scenery paper, watercolor paper
• Linoleum plates
• Spatula
• Cotton cloths
• Linocuts
• Rubber roller
• Water paints
• Newsprint (not printed)
• Pressed board
• Pencils 2B, 4B
• Eraser
Descriptive Memory
At the beginning of this work, I have been revised and thought out options to find what I want to show. From everything I found, I decided to stop at the image, which was not too difficult to perform, and not too easy. After finding the golden mean in this work, between quality and speed, I started the process.
The first two color studies were selected from those of basic colors (blue and yellow) which best display the work. Since the image that used to be associated with my home and my country, the color selected is perfectly suitable for interpretation and as a reference for the flag of Ukraine.
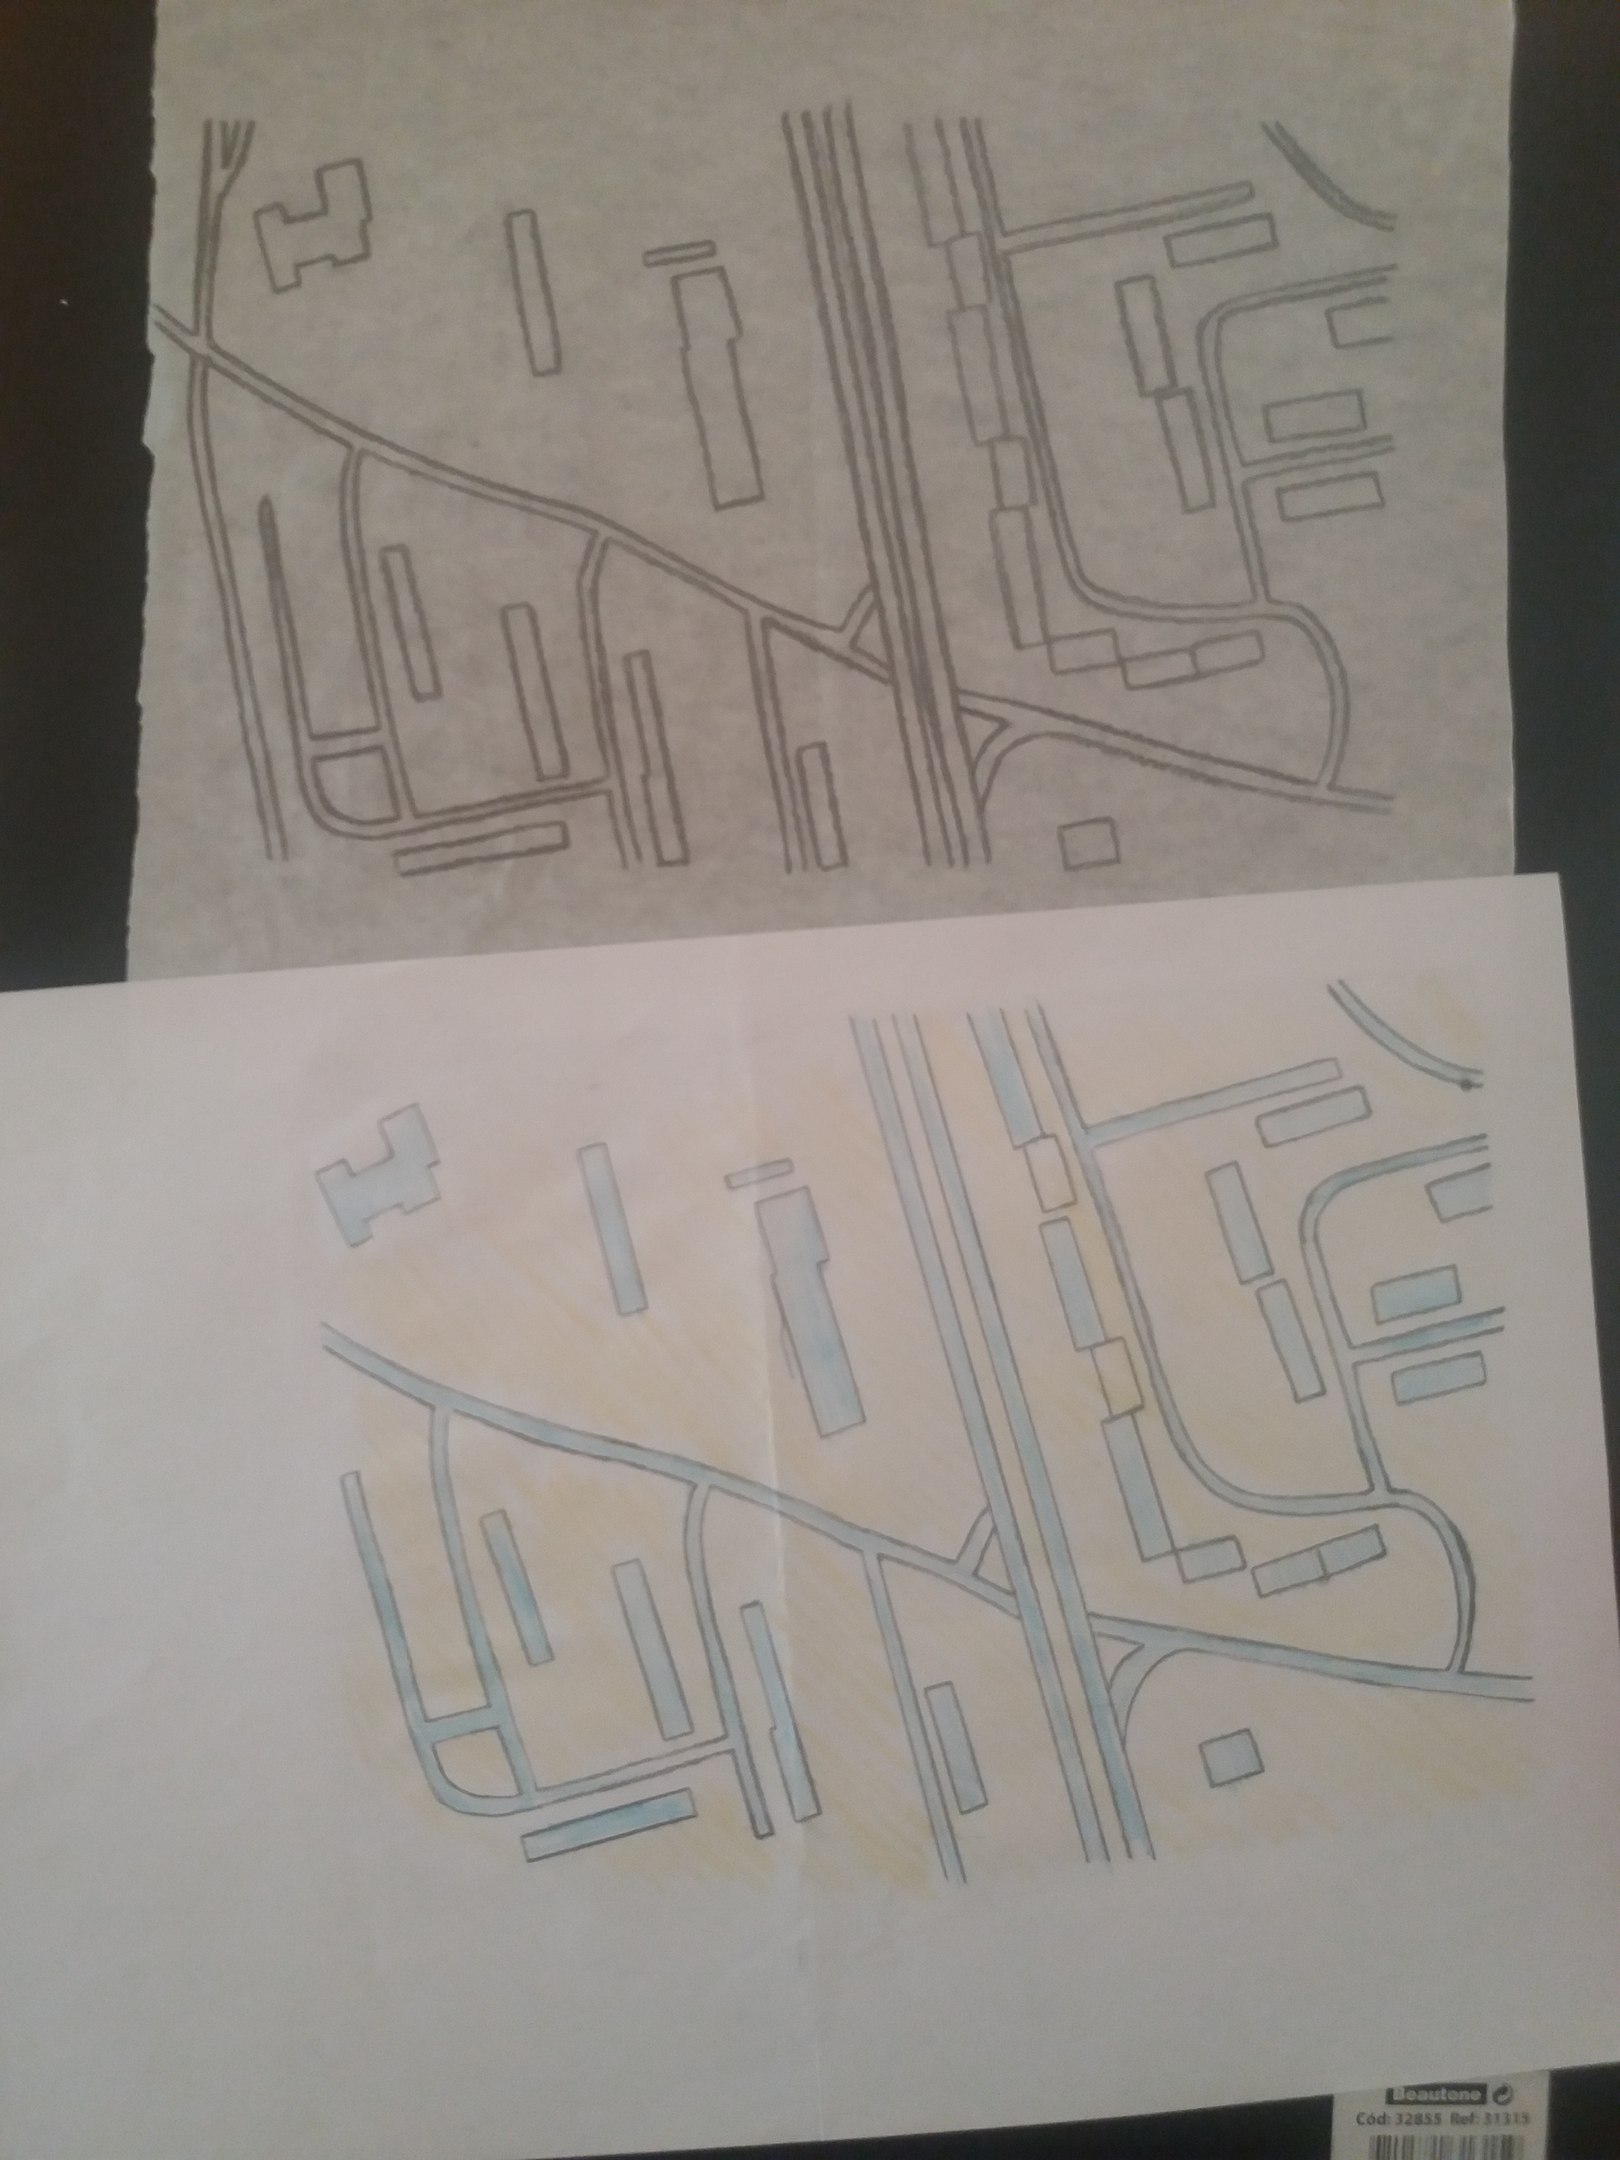
After selecting a color, the type of linoleum was selected and prepared to begin image transfer to linoleum. Two types of linoleum for linography were used in this work.
The advantage of the first linoleum is that it is a more flexible material, and is specially designed to excavate. This allows you to cut the pattern carefully and accurately. In the second linoleum, a more flexible and pliable rubber material was used, a cheaper option was chosen as an experiment and more experience in dealing with different types of materials.
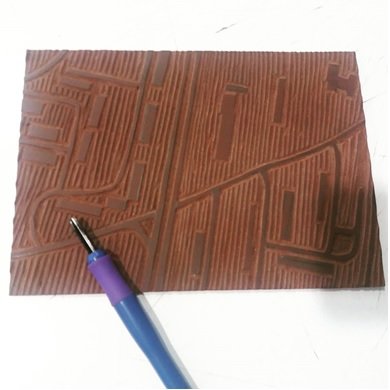
After selecting materials for these 2 pieces of linoleum were carefully cut to the same size. The same fingerprint pattern was then applied to both linoleum using tracing paper and pencil B2 and B4. When the pattern became clearly visible on linoleum, these lines were carefully cut through a different shapes engrave. Mainly used in box shape and at an angle. When the linoleum was completely cut to the shape of the figure, for the additional work needed piece of cardboard in the center of which a hole was cut in the sizes used linoleum.
Ready to board , linoleum was placed in the engraving machine, where the materials were fixed and installed to prevent slippage. When everything was ready for the creation of the first operation, the A3 watercolor sheet was taken, which was placed on top of the cardboard linoleum, leveled ready to receive the ink, and then covered with two cloths, the linoleum passed through the roller and the pressure pushing the project with linoleum sheet.
Then, the small glass has been squeezed out a little ink, using a spatula and a few drops of aqueous ink are brought to a cream state, and classical printing roller was rolled uniformly across its surface. In linoleum ready to apply paint with a roller, leaving ink on the surface carefully smoothing and removal of unnecessary spots on linoleum, if necessary, a pencil or recorder to help remove ink where it is not needed. When the linoleum is already covered in ink and ready for printing, it was inserted into the center of the pressed paperboard and pressed into the machine, and then a second punching procedure was performed through the press. After the first attempts to understand the approach of work, it assumed the imposition of another color.
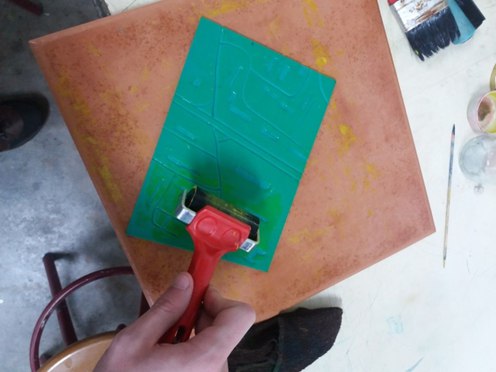

Final result
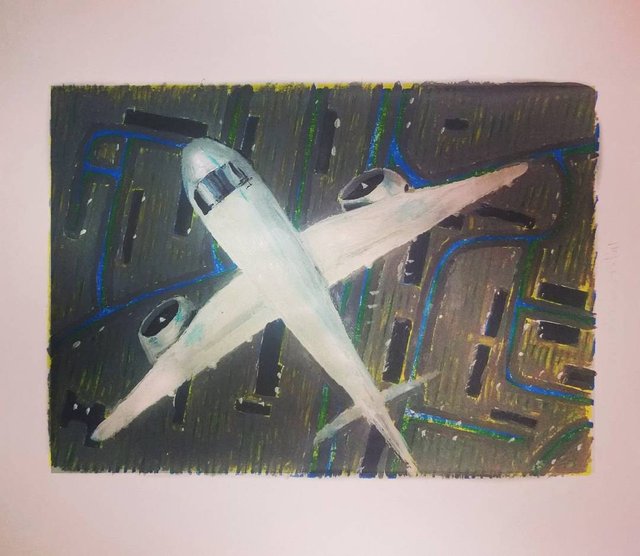
After all the above actions, we get here such a final result.

Those prints that in my opinion did not work out very well, I decided to finish using acrylic. It was decided to portray a plane flying over the city
Final synthesis
This theme allows to use the creativity and originality of each one, offering a wide selection of styles and variations for the final result.
At the beginning of the work, I was confronted with different types of linoleum, namely (rubber), can show an unexpected result with printing, thus problems in creating the desired shape. There were also problems with the linoleum excavation and the pressure of the machine which sometimes became irregular, and for that reason the paper became more wrinkled and the rubber linoleum became a bit deformed. But despite all the difficulties, I am very pleased with the result.
I hope you enjoyed my making of Map as a place of belonging ! :)
Thank you for watching! I wish you creative success :)


?i like it
Thanks :)