The art of Mr Milo Thatch, Step to step.
Hi Steemit world!!!
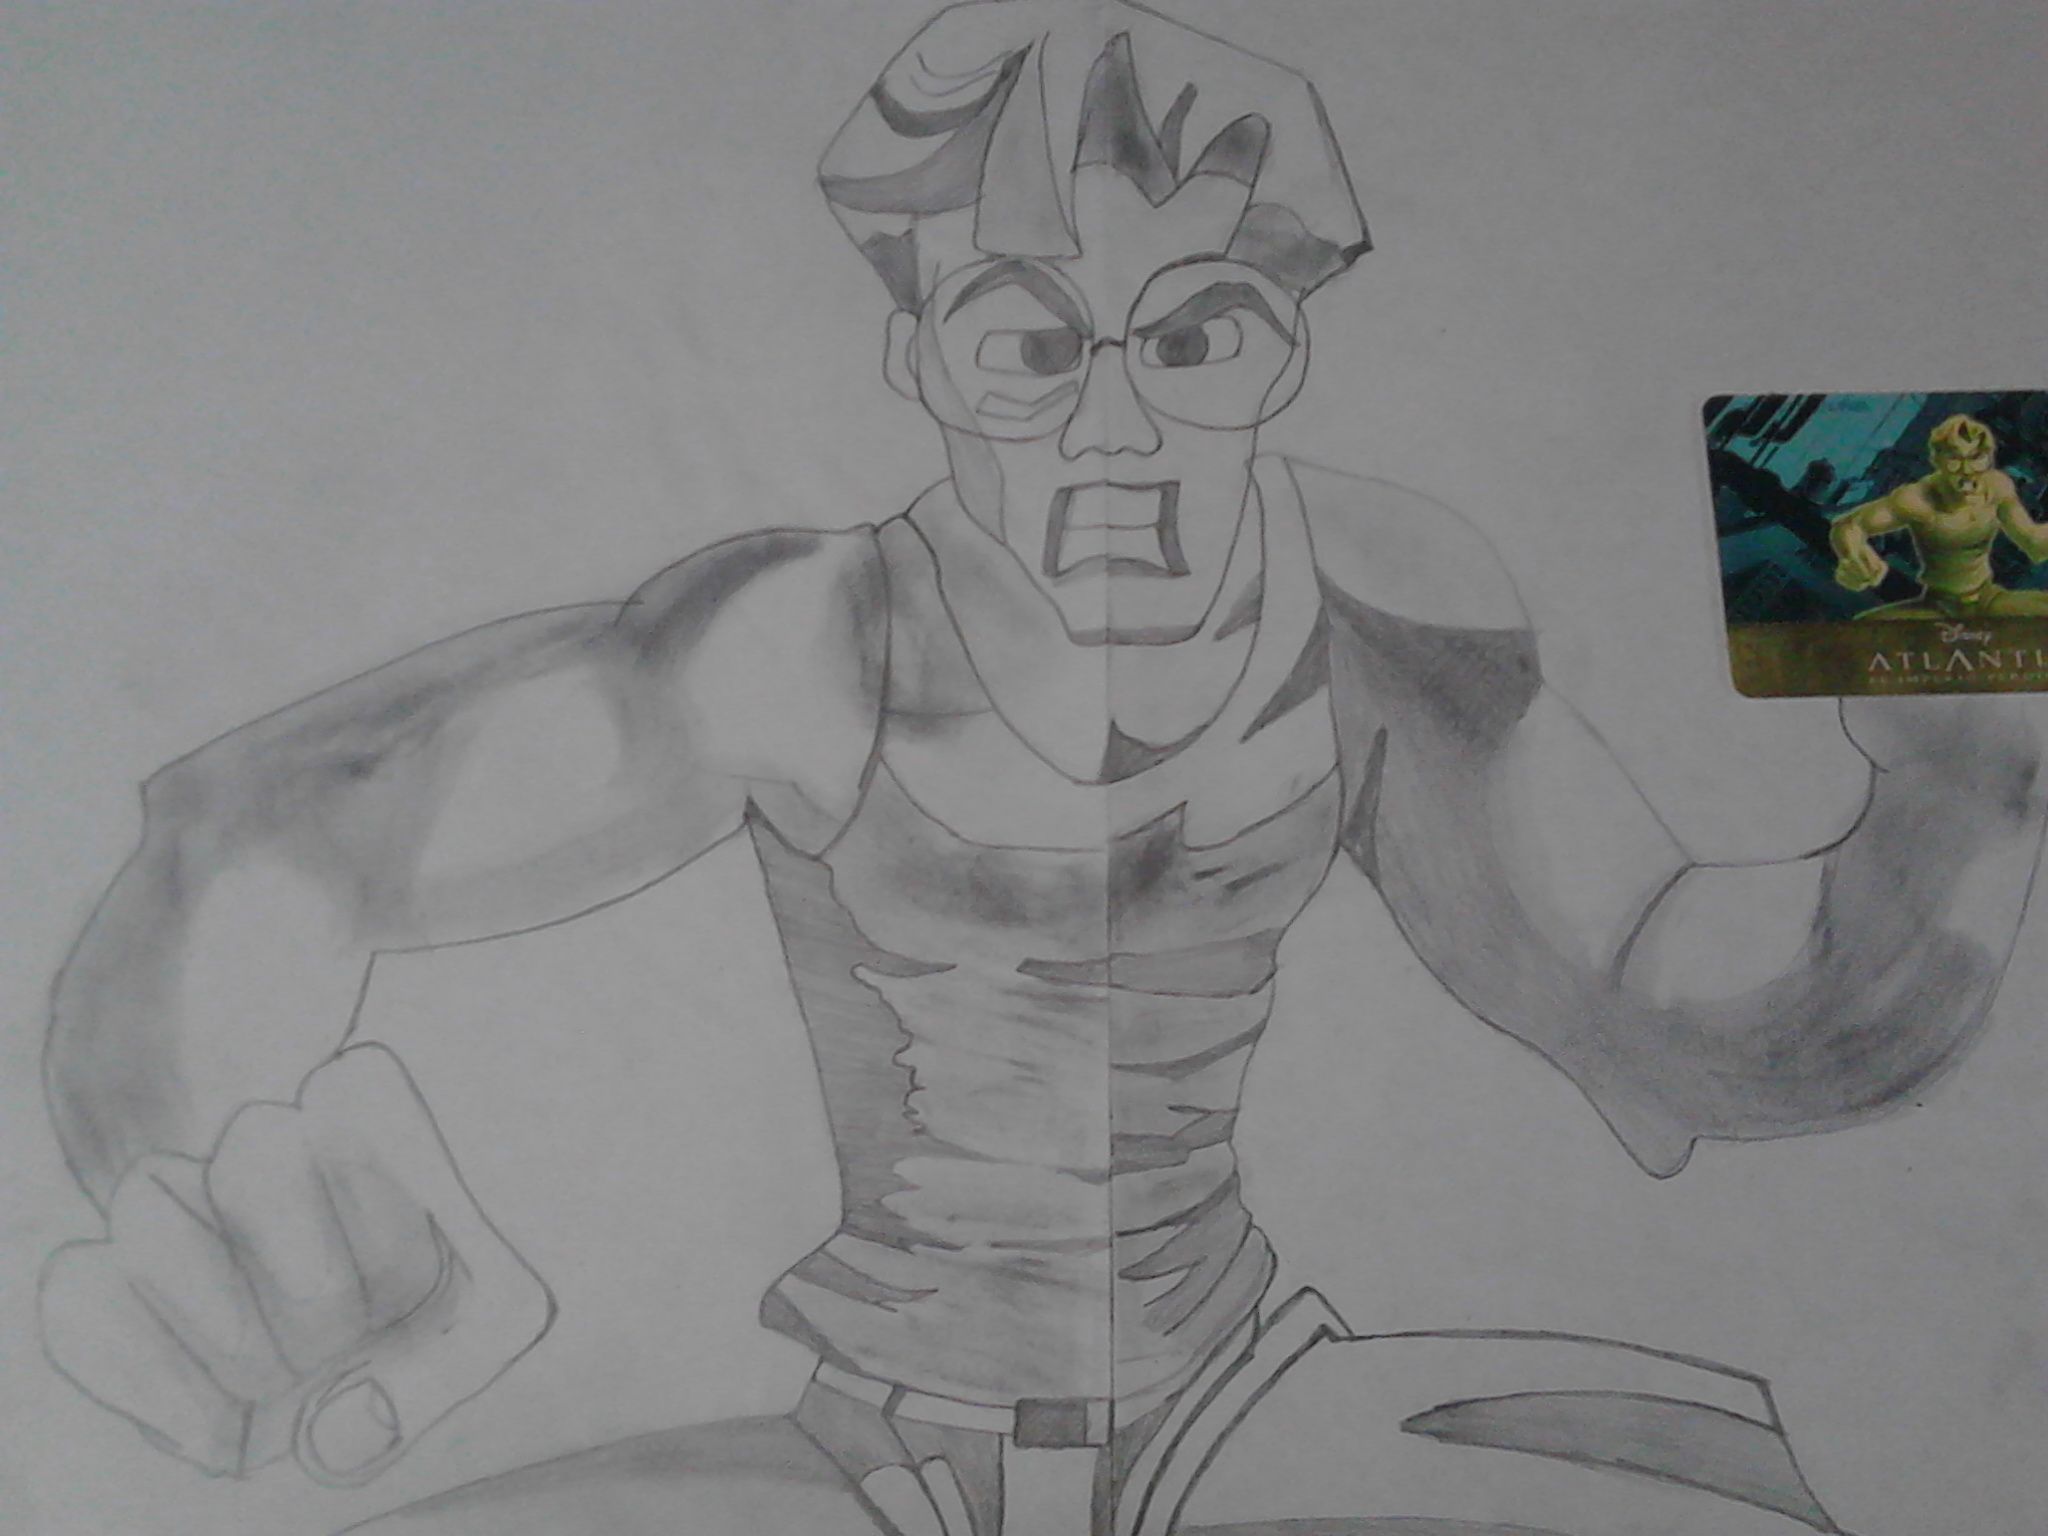
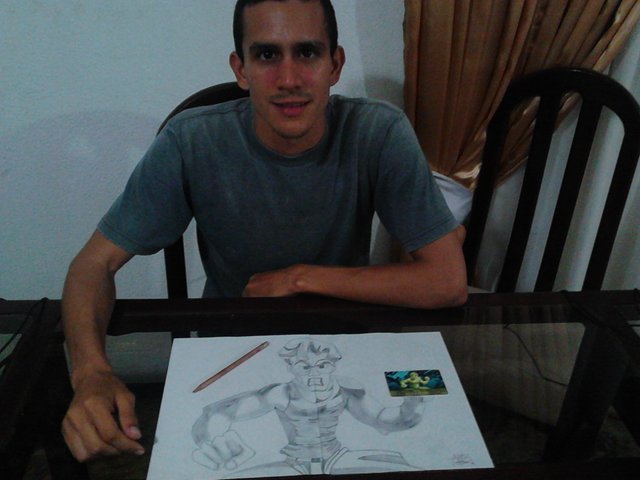
Starting at the end. As a first photo, I put the finished art, the reason is simple, so that it is the photo that is seen in the post

I want to share with you the result of one of my hobbies, as it is to draw. I start commenting that I am not an artist, I have not studied, nor done courses at any time, it is only what I see of the great artists, I try to copy it, always putting the touch of originality on my part. I decided to draw Milo Thatch (my favorite character, the one from the Disney movie called Atlantis), because it is a film that I really enjoy in my childhood, so I lost count the times I saw it, leaving an excellent metaphor about the importance of respecting our environment and above all our roots, a way to show how love manages to reach beyond what we think. Returning to the theme, for the realization of this drawing, I used a Mongolian type 2 pencil (which is not to draw), two white sheets, and a Nata eraser. I will try to explain in the best way how I did the drawing, step by step, the technique and procedure (according to my person). I hope you like it and support it.
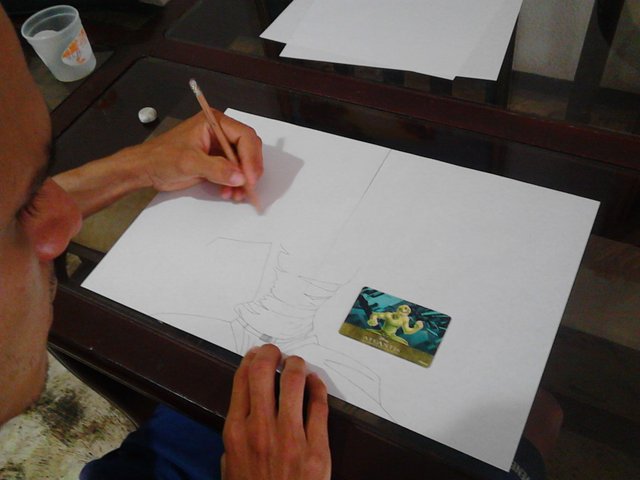
First Step
Second step

Once I have the references of the drawing, whatever it is that I'm drawing, I usually start with the body, and leave my face to the end, besides, I usually start from the bottom up, which by the way, I've heard there It is a mistake because you tend to stain your drawing, this may be true, but as I said before, I am not an artist and my main objective in doing this type of activities is to enjoy them to the fullest, feeling as comfortable as possible.
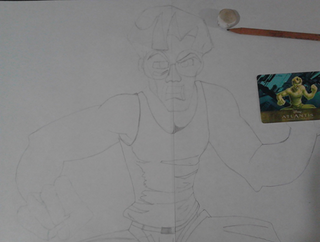
Third step
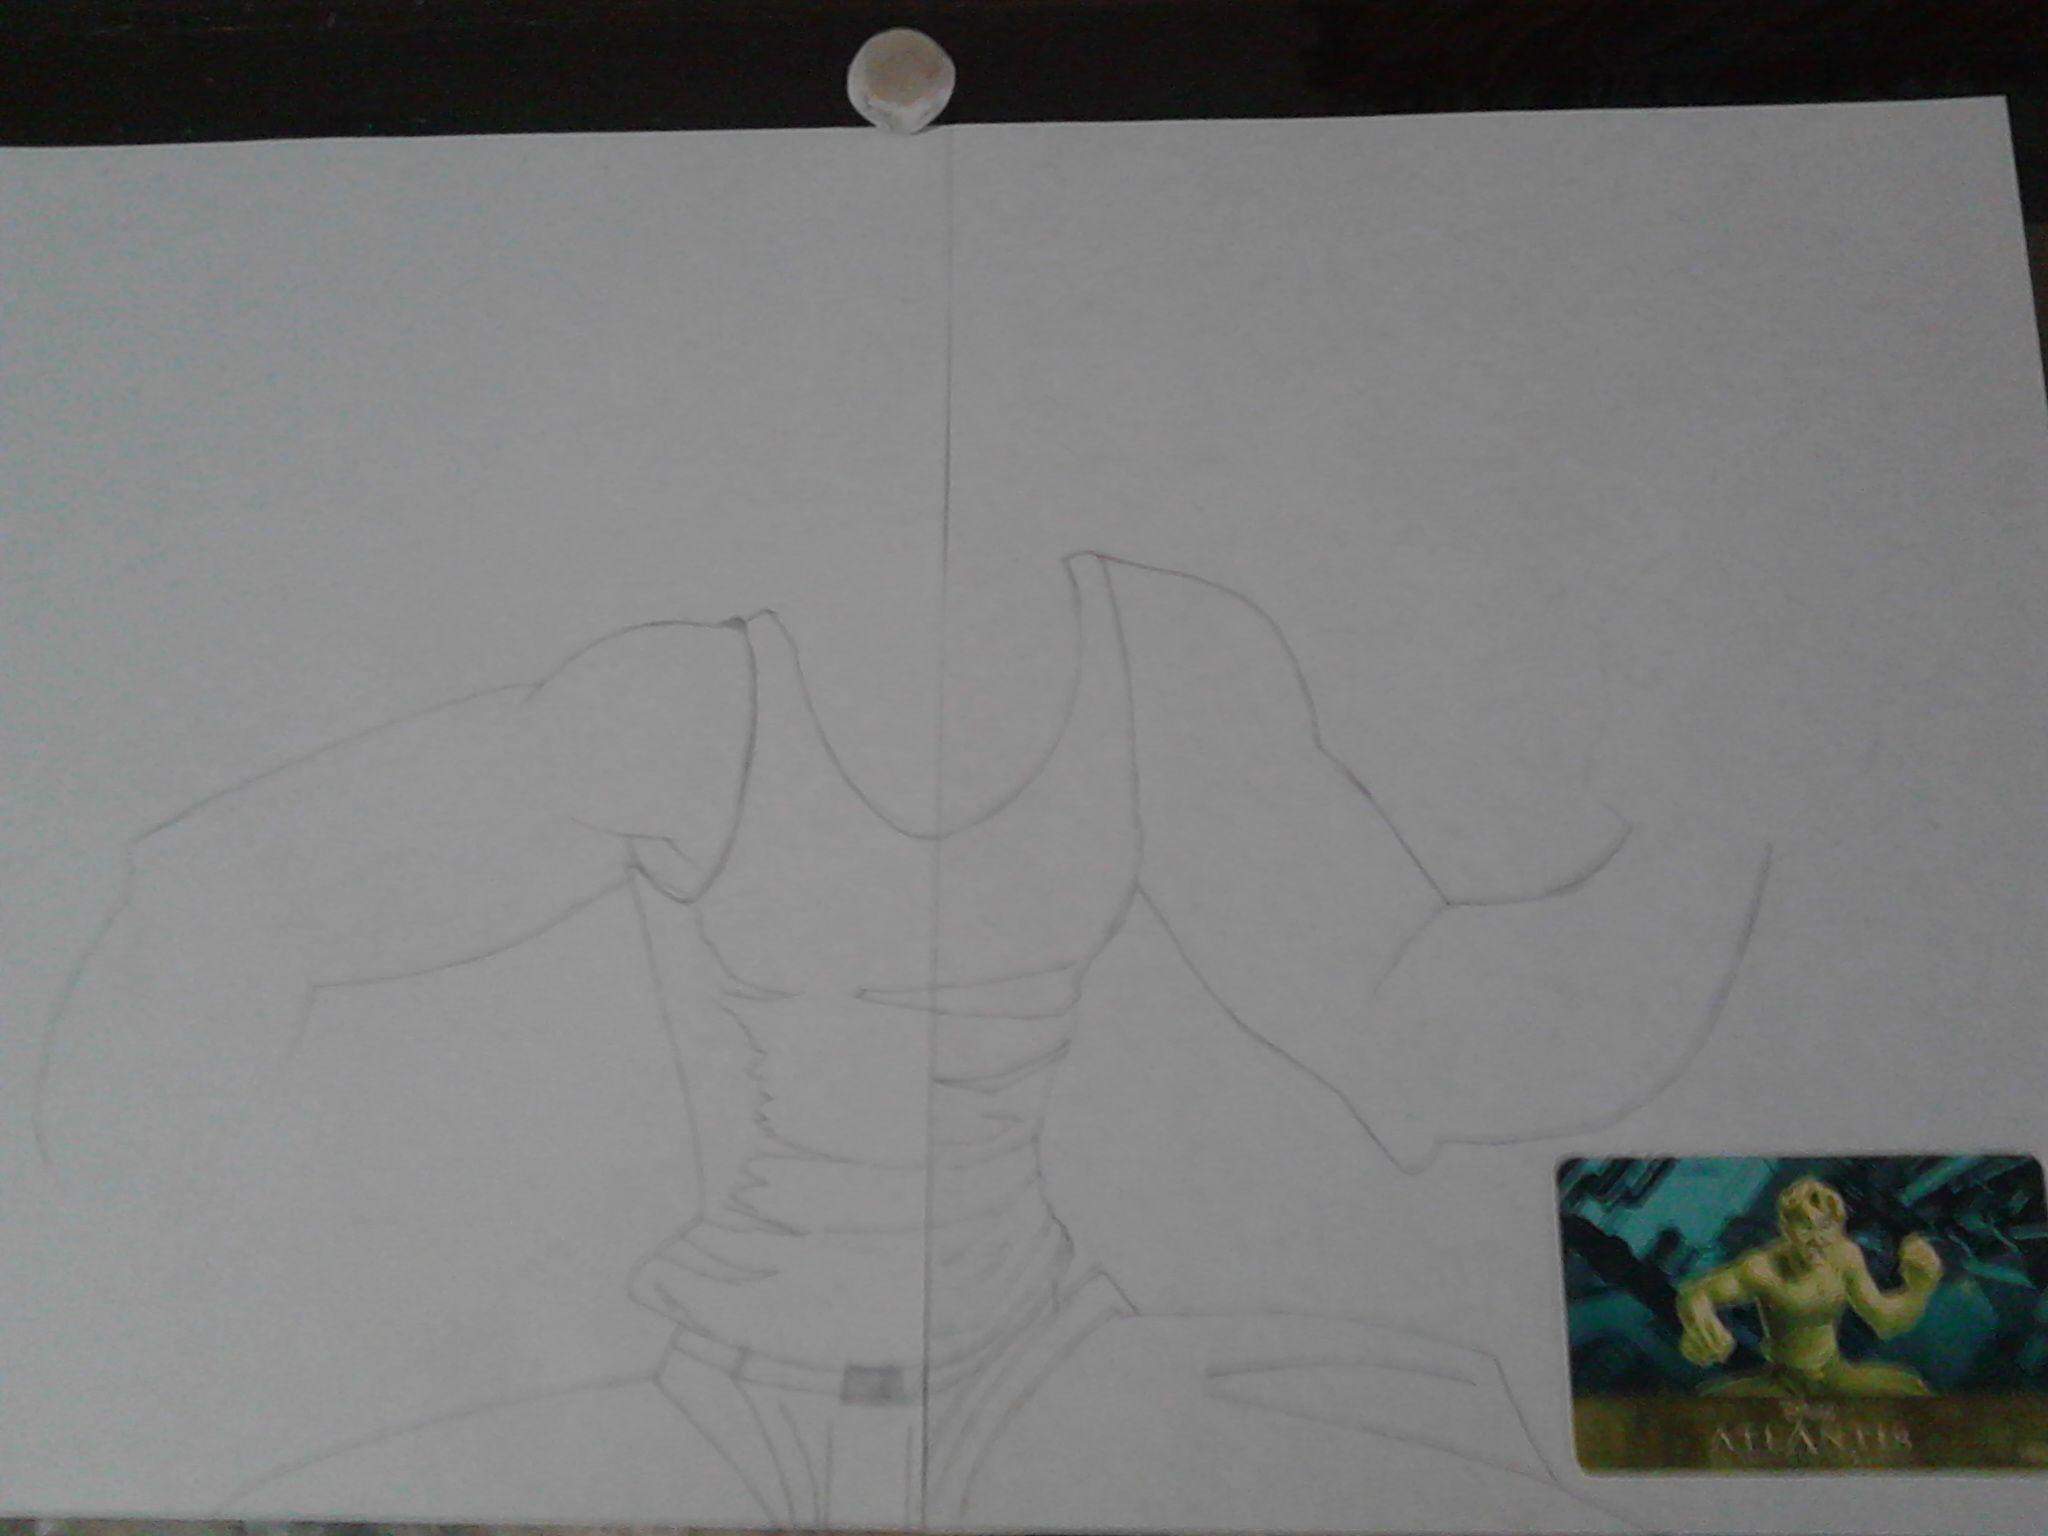
Once completing the area of the torso and legs, I start with the arms, and hands. I confess that hands are one of the things that I find it hard to draw, I do not know if any other artist shares this difficulty, but I lose more time in my hands and fingers than in any other part of the body (when they are people). So I always leave them for the end, dedicating myself exclusively to them. Usually I end up invented the fingers of people hahaha (this was not the case).
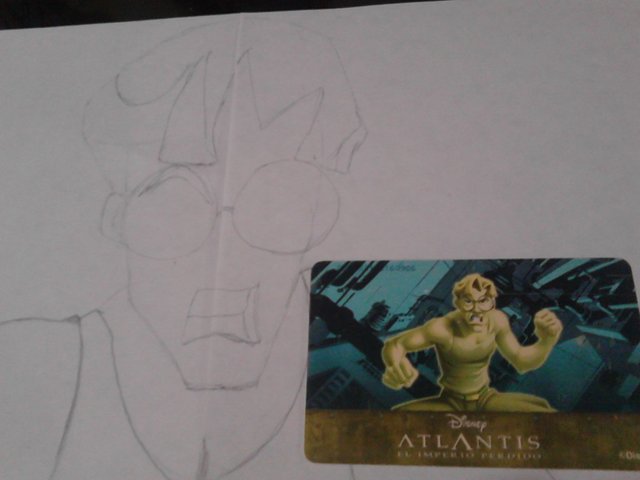
Fourth step
As a fourth step, I usually draw the part of the head, hair, and its features (eyes, eyebrows, nose, ears, mouth), always taking into account the respective details, to make the greatest possible similarity with the drawing.
Fifth step
At this stage, what I do is simply review the outer lines with the same pencil, so that they stand out a little more and shade the inside part of the drawing as a technique, to add a bit of good taste.

Conclusion
Drawing made with what I said at the beginning, a pencil, eraser and two white sheets. It took me about 3 hours in total full tranquility to finish it. As a message, I want to say: never forget or leave on a secondary level to do the things you really love or like, life is too short to devote time to the vanities of this world.
To say goodbye, I would like to thank the entire Steemit community for taking a moment to read this post and the support. Thank you.
Welcome to Steem Community @chandy18! As a gentle reminder, please keep your master password safe. The best practise is to use your private posting key to login to Steemit when posting; and the private active key for wallet related transactions.
In the New Steemians project, we help new members of steem by education and resteeeming their articles. Get your articles resteemed too for maximum exposure. You can learn more about it here: https://steemit.com/introduceyourself/@gaman/new-steemians-project-launch
@a-a-a 👍
Hey! Welcome to Steemit! This community is amazing but does take some getting use to since it’s a bit different than the other social media platforms.
I joined Steemit December 30th, 2017 and have had a blast networking, learning and earning (actually made some pretty good money so far)!
I'd suggest signing up for these free applications for Steemit that gets you upvotes and followers. The first thing you need to do as a new user is to increase your STEEM POWER (SP), which increases your visibility and voting power. These were a huge help for me.
Feel free to follow me @entrepreneur916, as I continue to post content to help make the Steemit community better and to help new members!
Respectfully yours,
Jacob A. Billett, M.B.A
CEO Billett Enterprises, Inc.
awww lovely sketch : ) chandy
With love
harj : ) xoxo
Abstract artist
Thanks @harj . I'seen your posts, they are good! Regards ;)
Awww thank you I really don't like to do that, I prefer to support others posts but thank you . Look forward to your interpretation of my last art post would love to know Chandy : )
@StephenNevets , @yoganarchista , @trumpman