Design Process for the @Isteemithard # 12 Avatar Contest
Design Process for the @Isteemithard # 12 Avatar Contest
Hello Steemit brothers, in this post I bring you the conceptualization that I used for the design and modeling process for the Avatar of @isteemithard to which I participated and which remains as '' Honorable Mention ''. I hope you like it.
The first thing I wanted to keep in mind for the design of the Avatar, was to understand the name '' Hard'' and ''Steemit'' should gave me a good design guide to start working. For that same reason a doodle arose from my mind a kind of demolition ball impacting with what appeared to be a wall and it broke into several pieces.
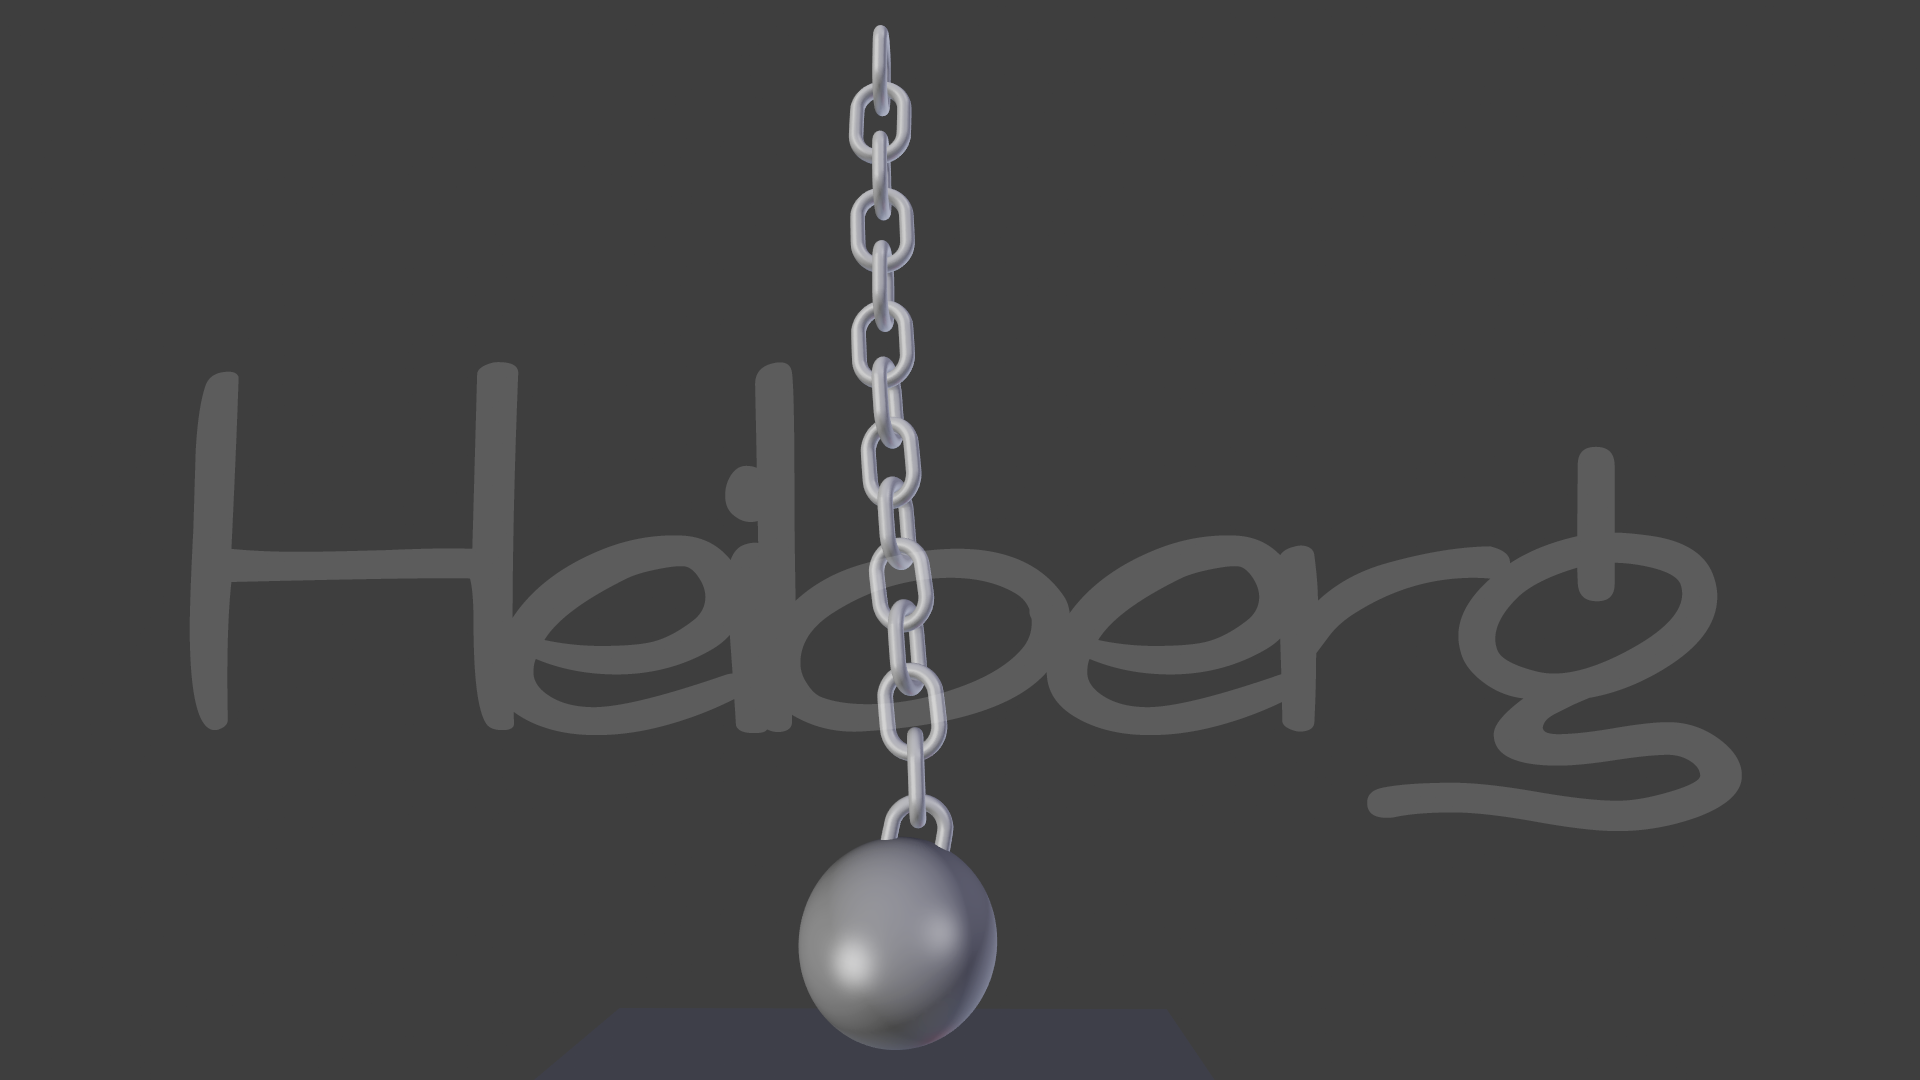
For 3D modeling, then create a chain tied with a sphere that will simulate the demolition ball and use the physics simulation to hang from a link in the air. the model was as follows:
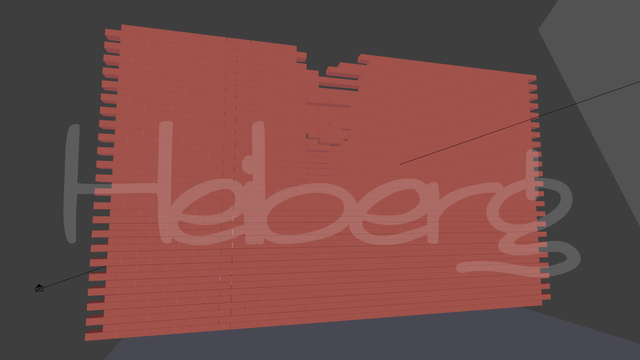
I Created a brick wall from a rectangle and with a modifier I repeated the object until I got the desired shape. at the beginning the design the wall did not miss any brick, however for the final scene those bricks need to be hindered from the view of the design because they did not let see the chain or the demolition ball. So I decided to remove them, in the same way the design of the wall of Bricks stayed like this:
Then I used the physics simulation to tilt the demolition ball and it will hit the wall. For this process let the gravity do the rest (if you can talk about gravity, or simulated gravity). The first model and scene was like this:
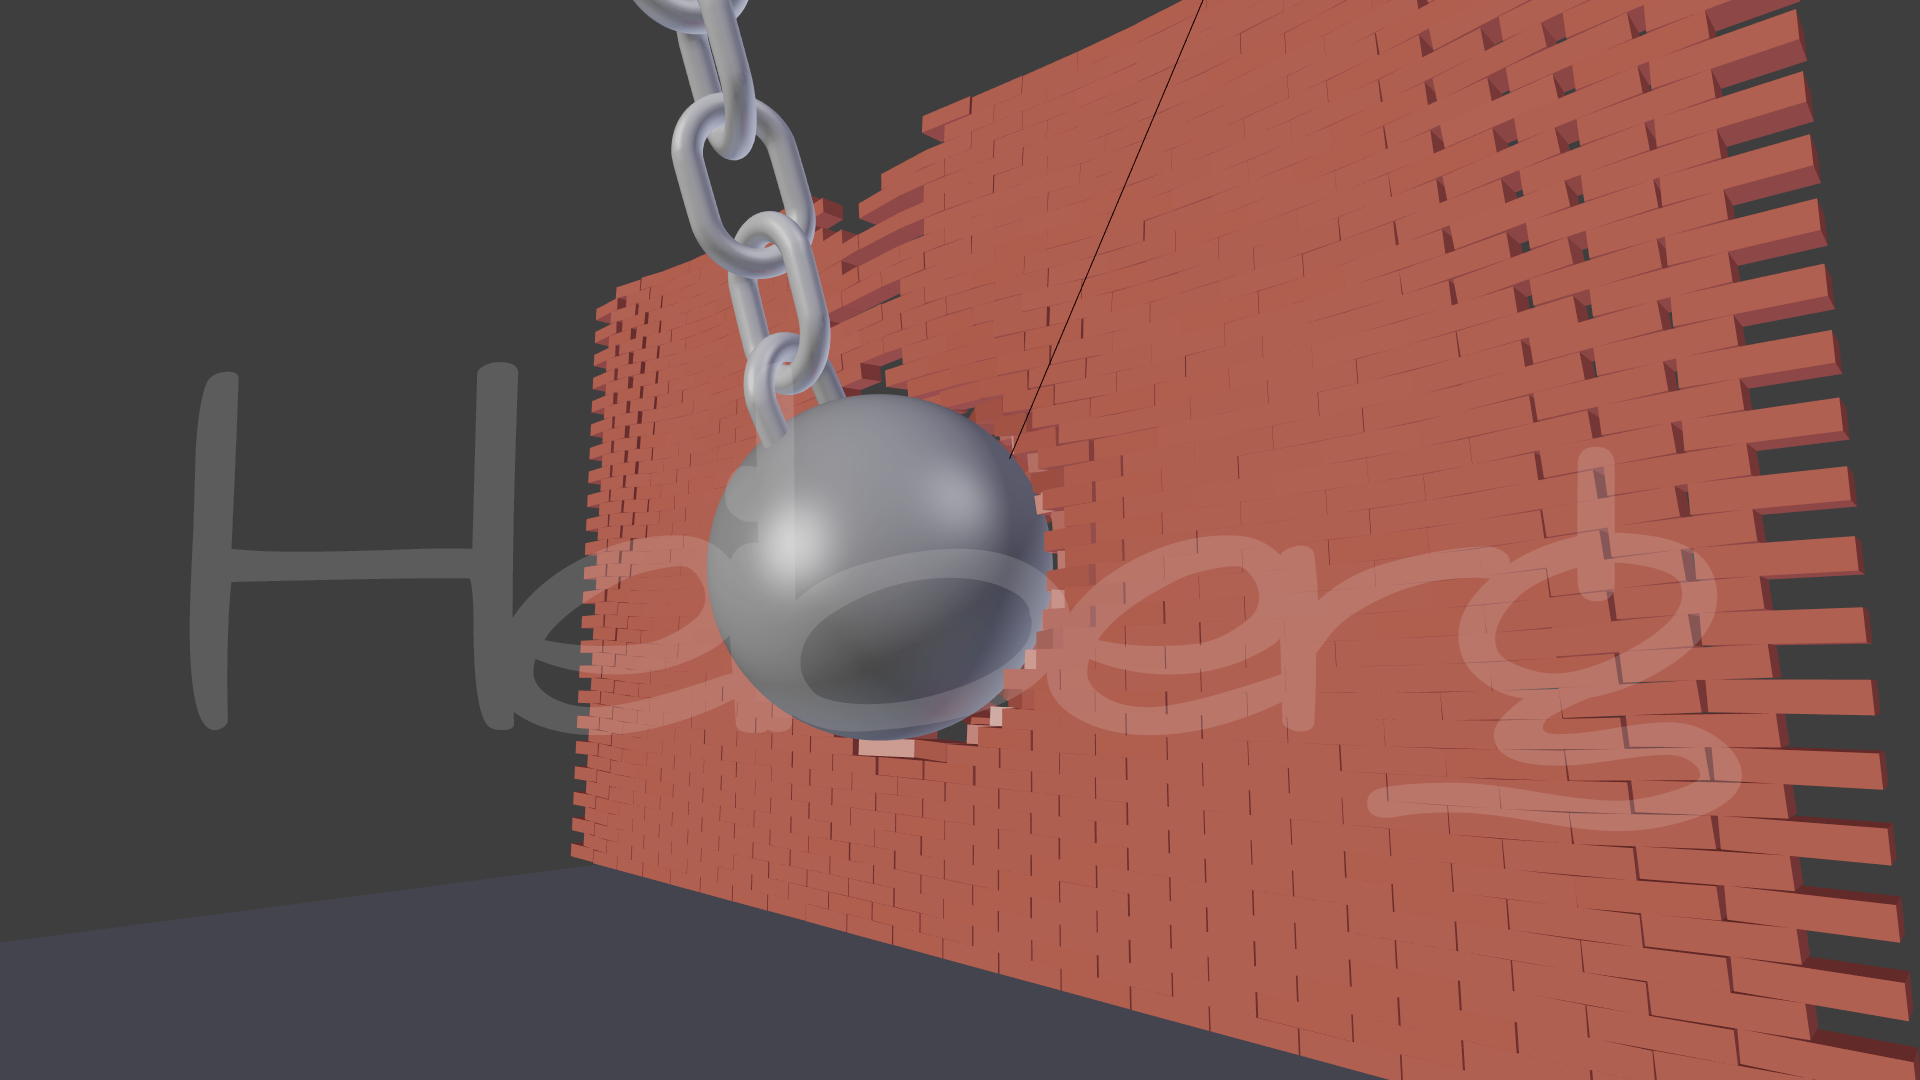
Then I realized that the design was more interesting on the other side of the wall, where there were so many elements moving and the perspective was much rougher, that I decided to invert the camera to the other side:
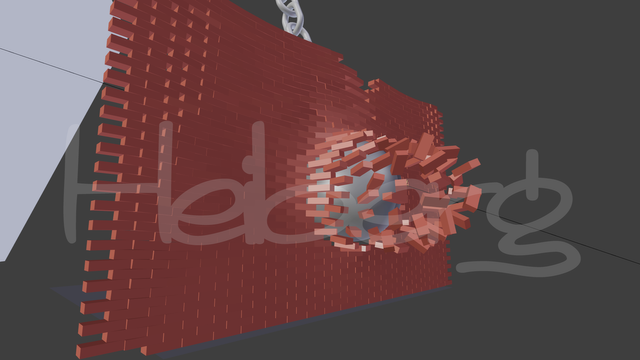
Once I found which side of the wall to use, I used another seconds of the animation where the bricks moved much more by the impact of the ball, and I started adding the first limits of the design where I wanted to add the textures of each element, besides I started adding the typography inside the design, I added the letter '' I '', the letter 'H' 'and the user of the page.
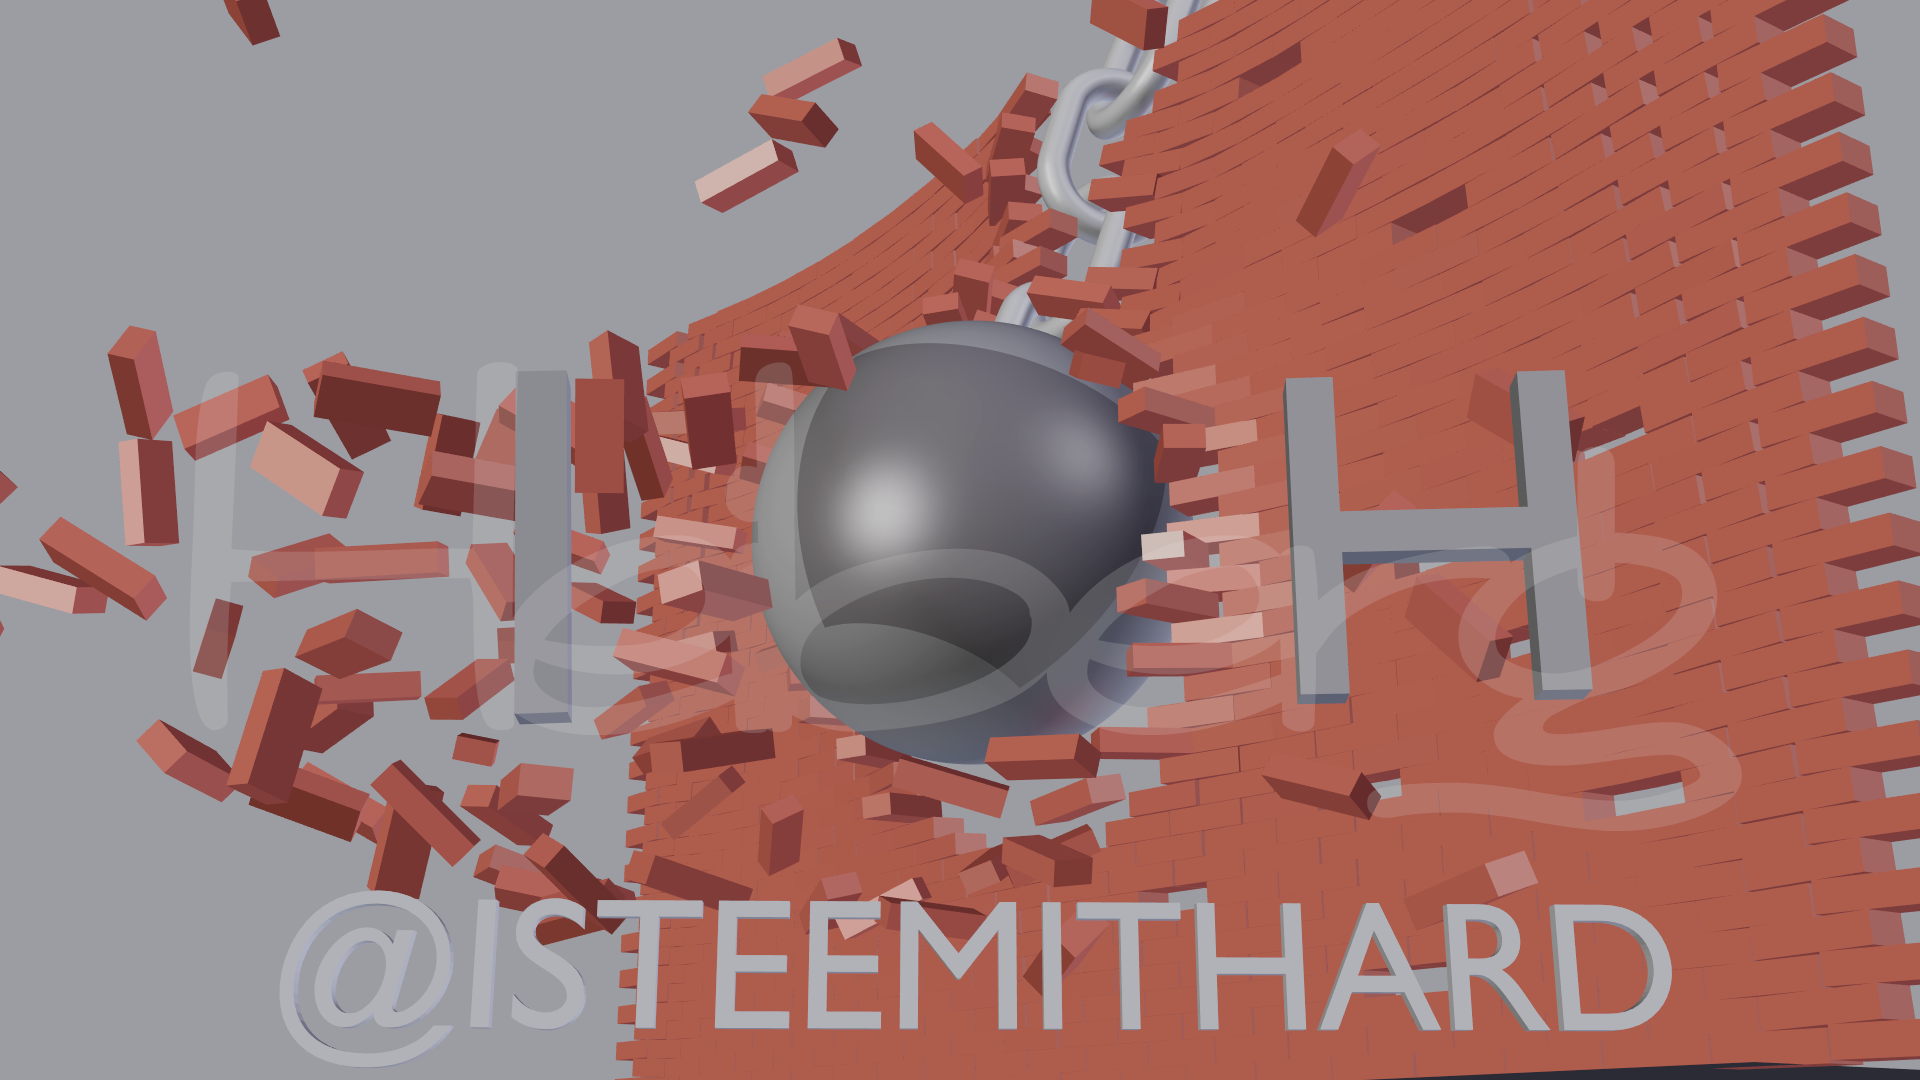
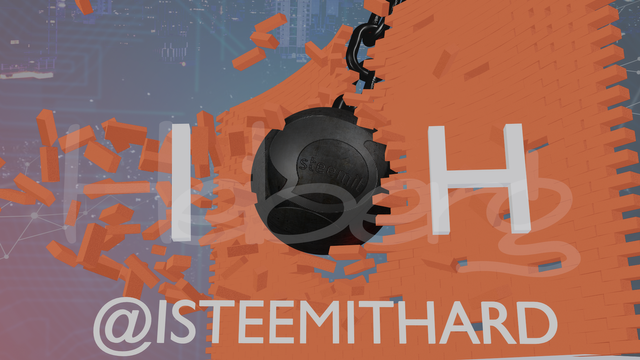
To finish I added the first textures to the objects, the metallic textures, the background that I wanted the scene to have, in this case something more digital, making the illusion that the ball represents' 'Steemit' 'is breaking digital barriers as we thought. The first textured was like this:
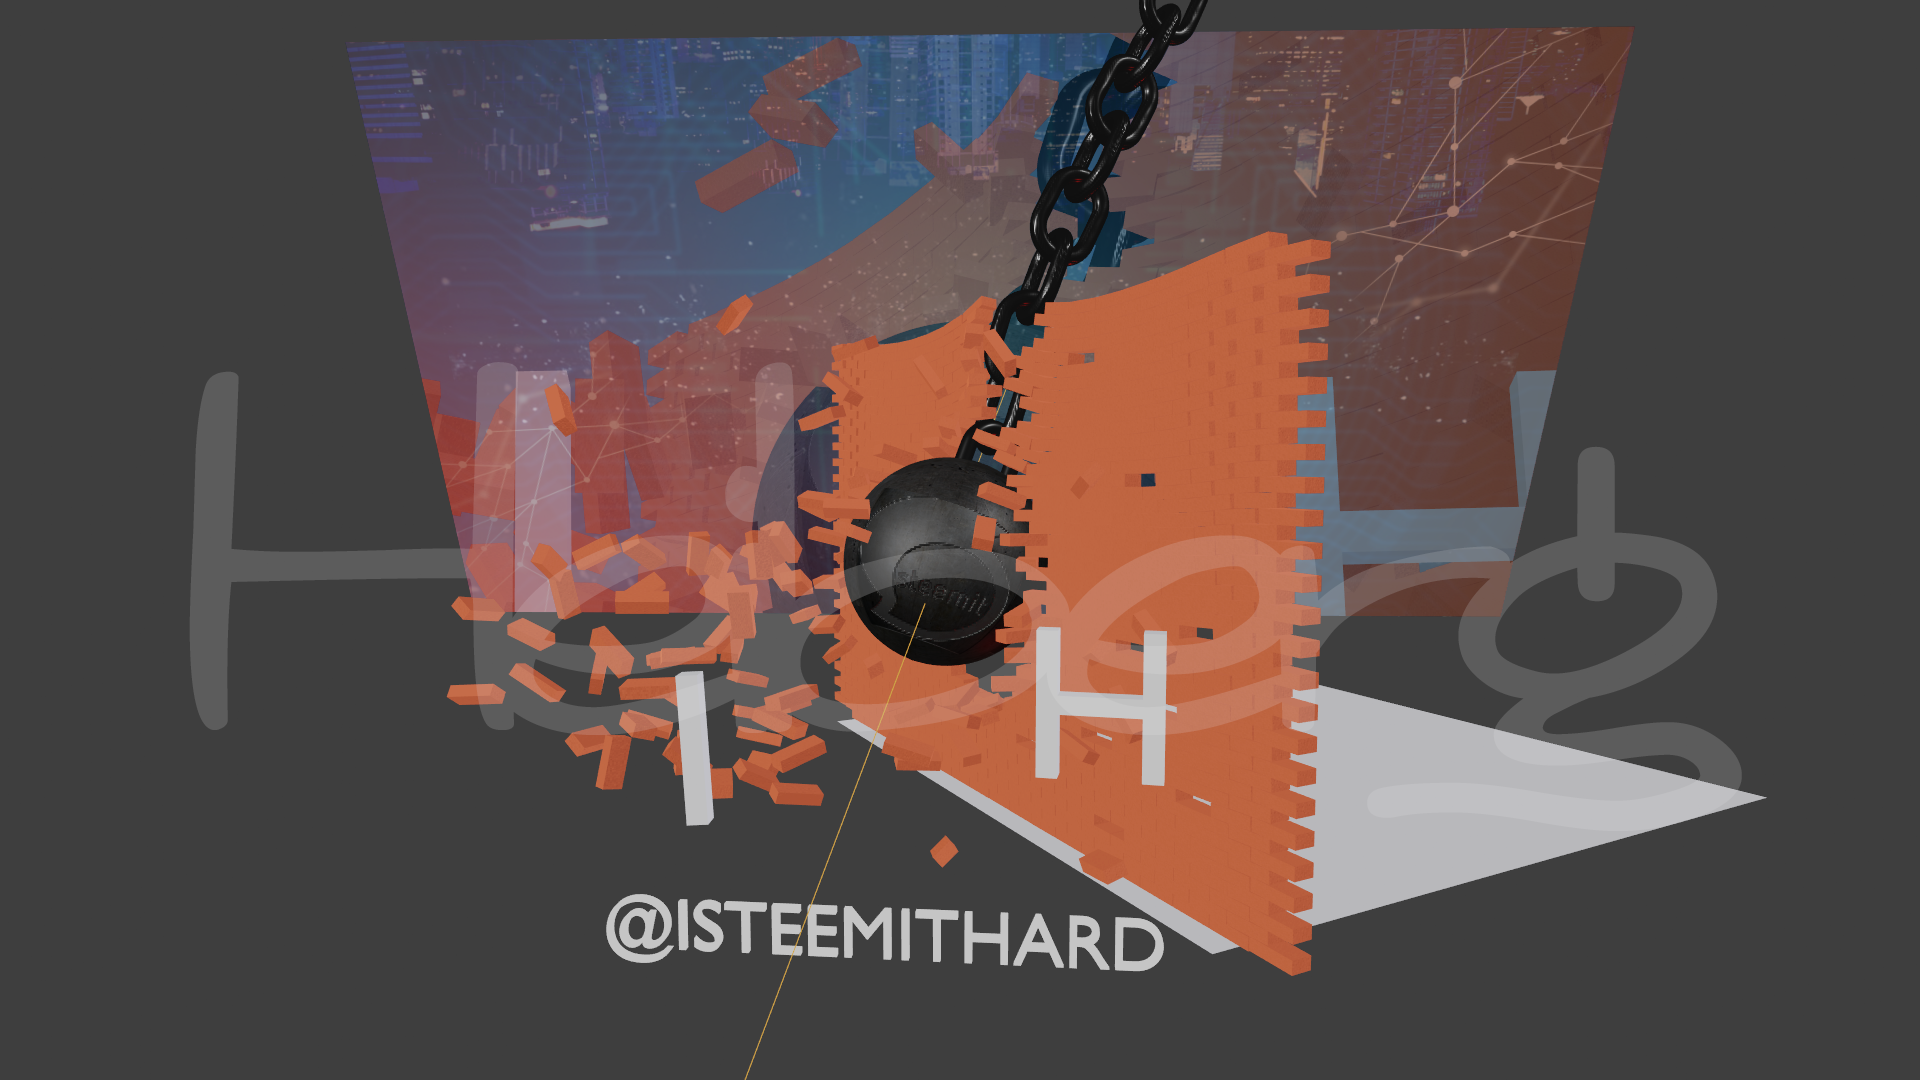
To understand the scene from another perspective I leave this image that is the result of the elements that make up this project: the demolition ball, the floor, the chain, the brick wall, the background, the camera and lighting:
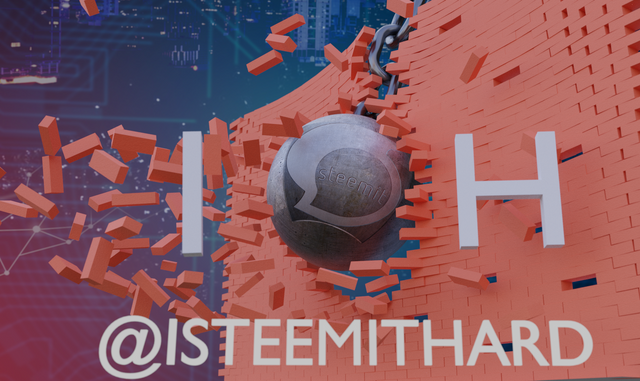
Once I added everything, I just render the image to see the final result:
I hope you have enjoyed this walk through on the design process of this avatar, I really love the final results every time I model, but I like the process of how everything slowly goes placing itself in its place to have results so incredible!. For this work I spent approximately 10 hours of continuous work, including modeling, texturing, animation and rendering. The program I used for this project was Blender.