Hello! See how I have made this cool and personalized Guitar PickGuard

Hello, my name is Bruno. I'm a Portuguese Designer born and raise in the capital, Lisbon!
First of all, I would like to say that I consider myself more like a "Creative Problem Solver" because it's essentially what a #designer does - he solves problems and delivers the best solutions for every task.
Since young that I remember that I loved working with my hands and the years go by and that same feeling is even more precious. So when I have some spare time I love to play percussion, #guitar and #bass.
Some time ago, and without any previous experience I decided to buy and build a #carving station where I could start doing real ostrich egg carving. Unfortunately, I haven't had as much time as I would like and so far I'm almost ending my first egg and I have done two personalized guitar pickguard.
This is the first #pickguard I've made and before, I never had done anything like it or had carved in plastic... But, with the right tools and my "hands" I felt I could to make it! Next step, I had to create a name for the project and that was quick - #MyPickGuard - sounded just right and in a few minutes already had the project logo.
I already had an idea of what I would like to see on the pickguard so it was quite easy to make the layout.
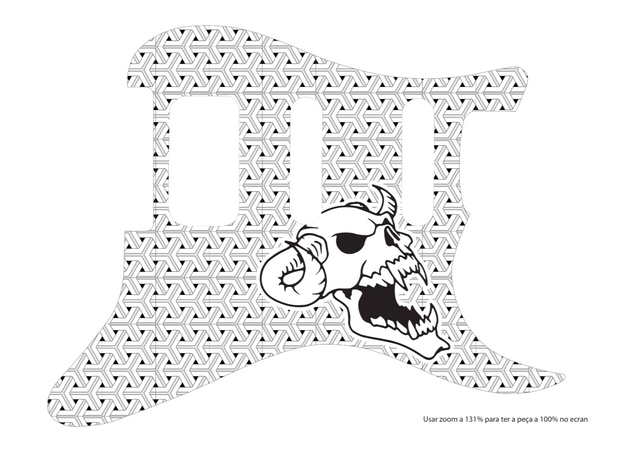
next, print and stick it to the pickguard...
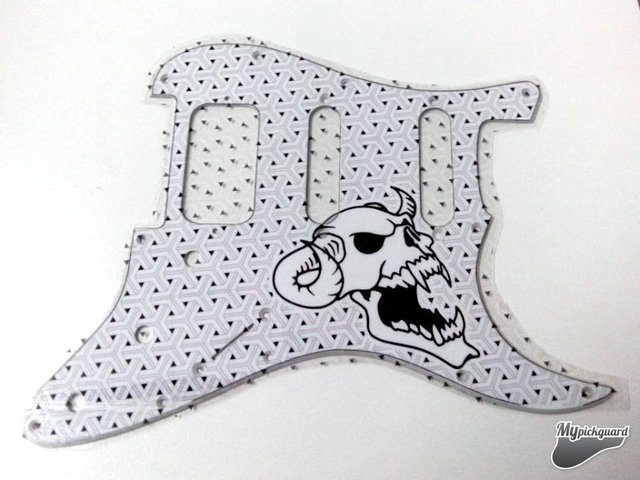
Carved all the back pattern (black lines/dots)
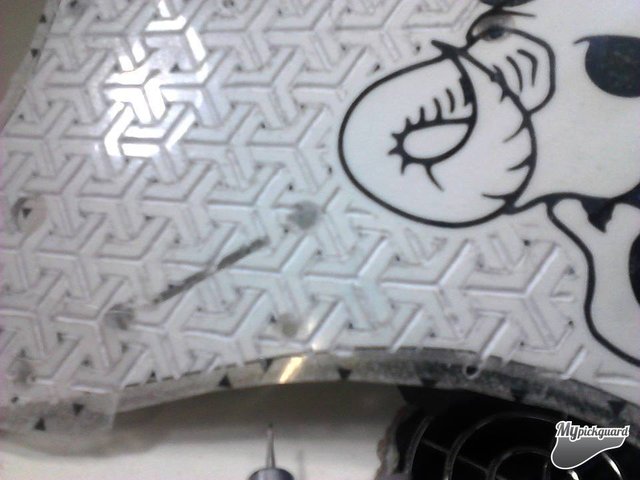
Detail of the carving in plastic, it's important to have attention to the detail because all of this carving at the end will be covered with black paint and that paint needs to go deep in the plastic to have the desired effect...
Here I did the outline of the skull with a very light hand, I need to remove that plastic I used to print the design
Started to work on the details of the skull
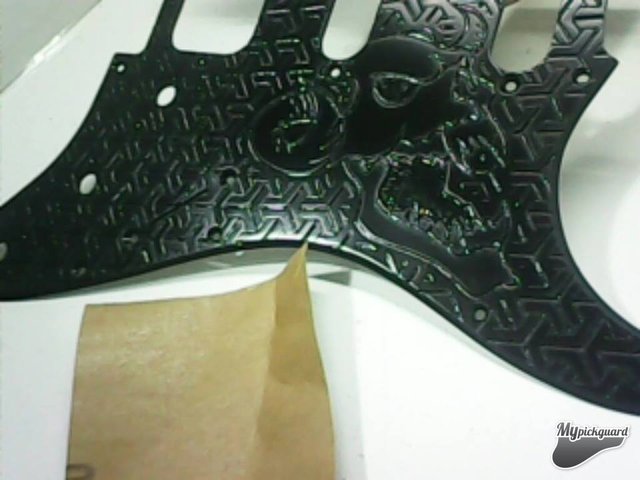
Once I was satisfied with all the carving and details I used a lot of black spray paint. I left it to dry for a day giving time to the paint to reach all the carved areas...

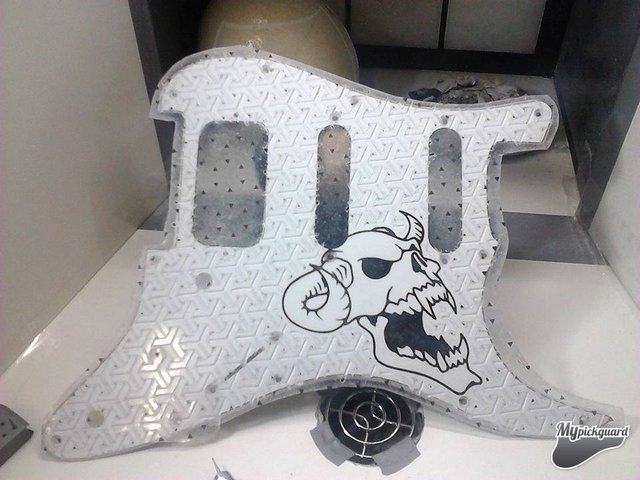
Paint day and ready to sand it of.. time to bring out the white again
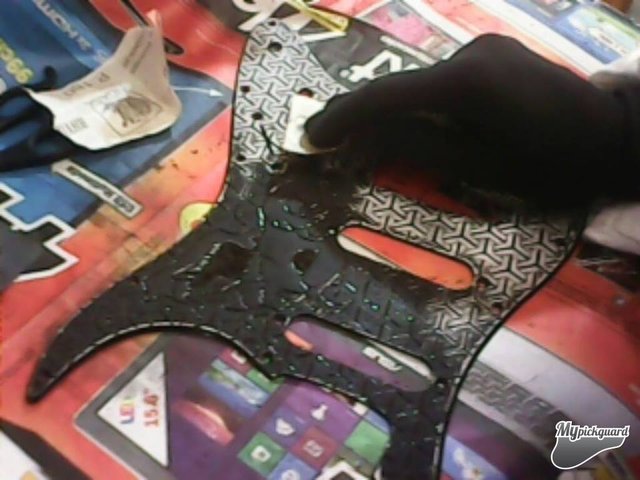
Sanding and sanding and more sanding...
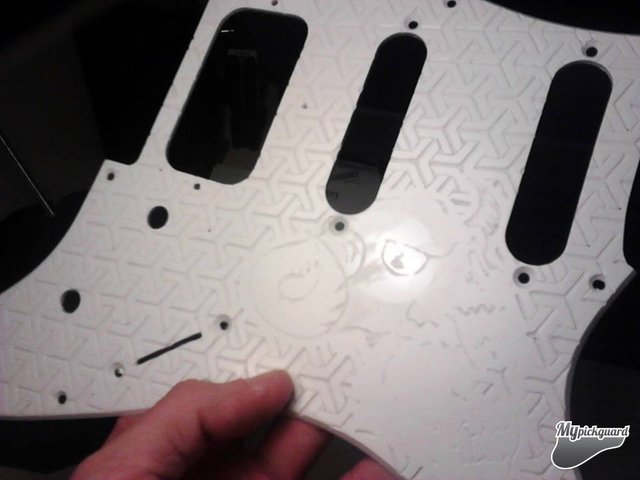
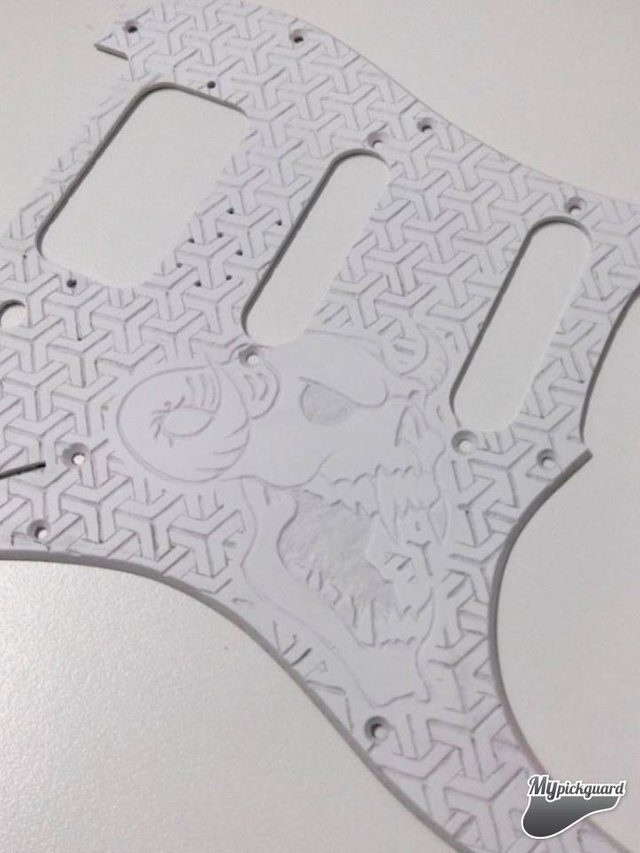
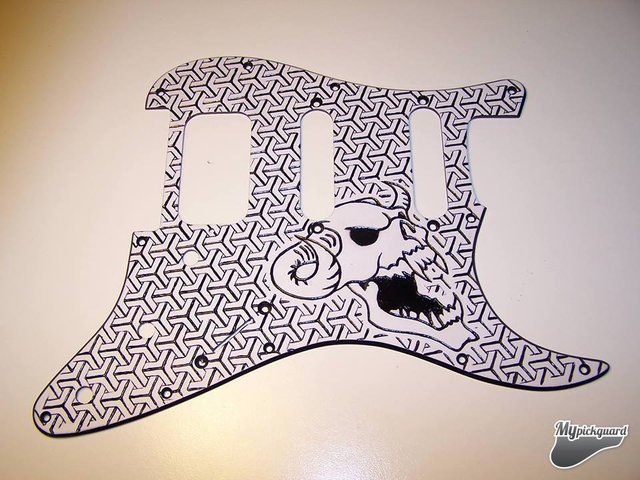
The final PickGuard after all the fine sanding and ready to go to the guitar
I also did the backplate for the guitar but I don't have any photos but I have a video that it's also very important to show how it was made (sorry for the head in front of camera from time to time)
Video of Backplate Carving
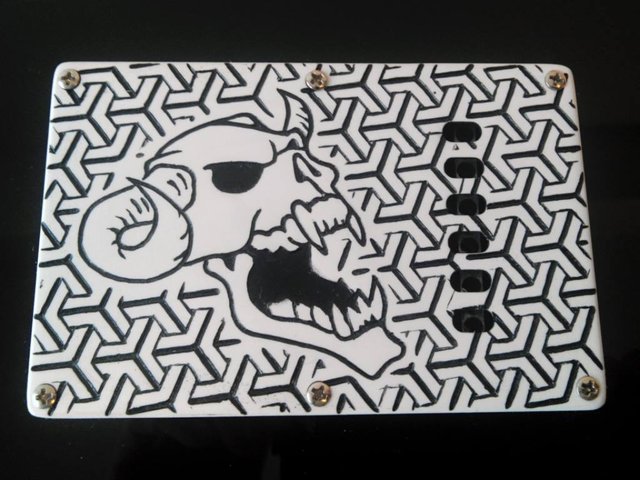
The backplate result
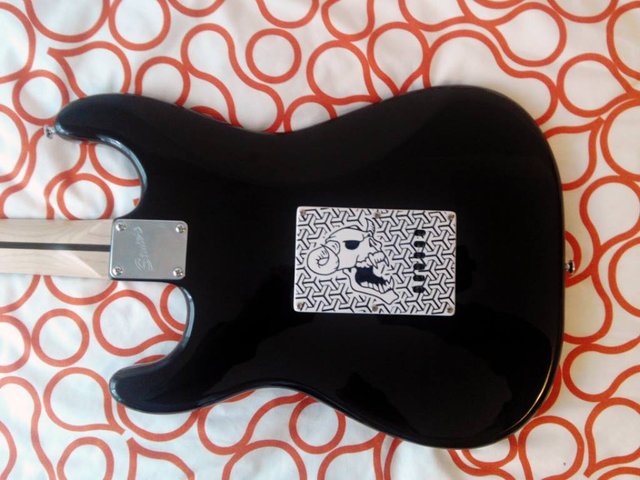
And a wider shot
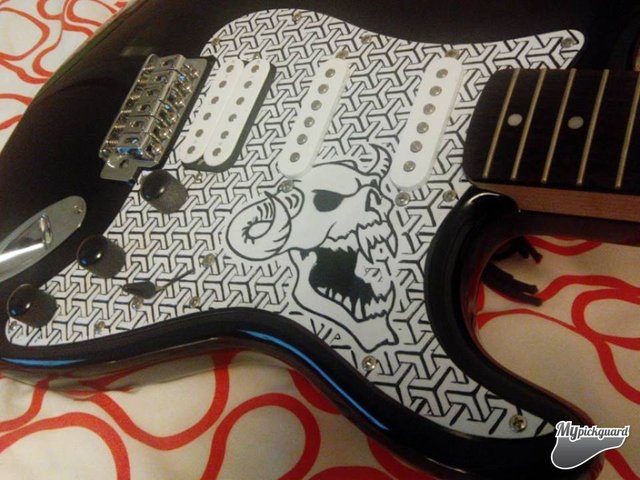
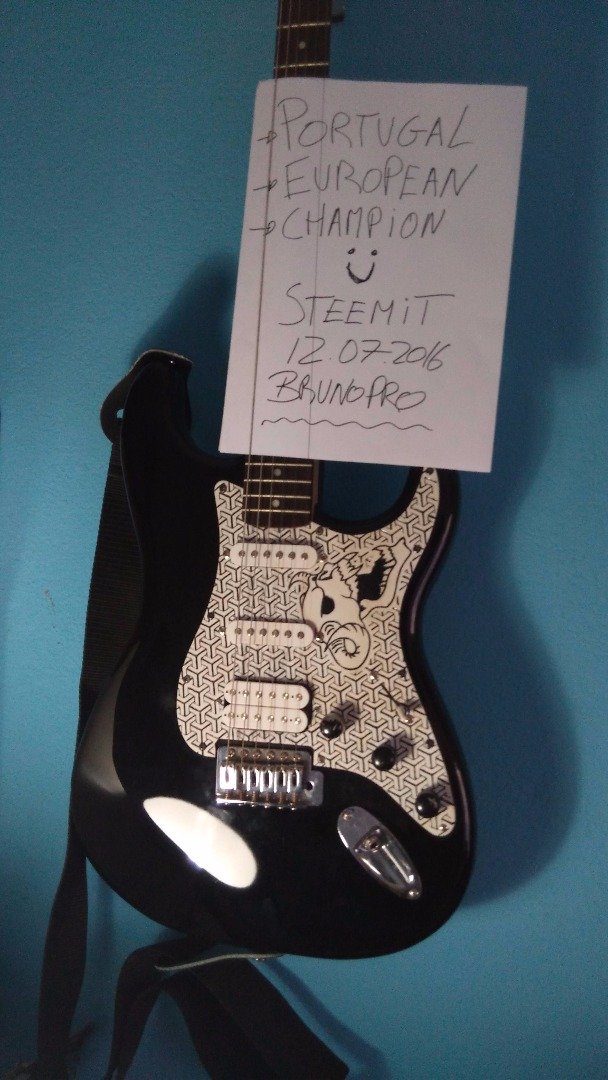
Oh and here is the image proof that It's me, my work and my guitar ;)
Did you like my project? If you did, remember to give a UpVote, thanks
or retweet this: https://twitter.com/BrunoPro79/status/752935395088801792
Follow me and Don't Miss in a few days I'll share my 2nd PickGuard I personalized!
Twitter: @BrunoPro79
I've added a better image for the opening :)
Found 2 photos of the backplate! // added to post //
( had issues with imgur with broken images and I updated the post with new links to https://imgsafe.org/ - sorry)
looks great, man :-)