Pocket Wolf | Drawing Tutorial Steps

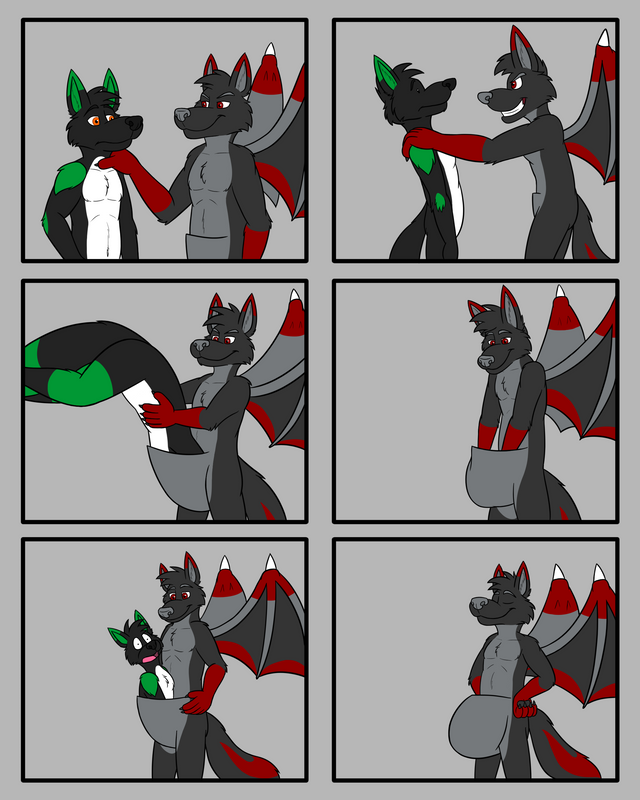
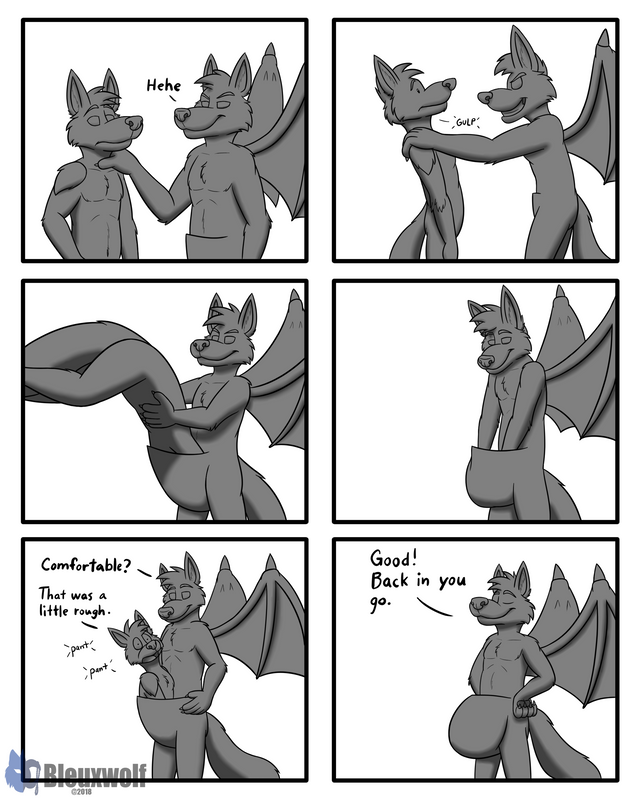
Let's go! We're going for a ride.
This is semi-realistic full detail comic commission for Kanzadawuff on Twitter. This post is a little different since as you can see, it's a comic page. lol But as you're going to see, the process is still mostly like the other drawings.
⚜ ⚜ ⚜ ⚜ ⚜ ⚜ ⚜ ⚜ ⚜ ⚜ ⚜ ⚜ ⚜ ⚜ ⚜ ⚜ ⚜ ⚜ ⚜ ⚜ ⚜ ⚜ ⚜ ⚜ ⚜ ⚜ ⚜ ⚜ ⚜ ⚜
Drawing Details
| ART CATEGORY | DETAIL |
|---|---|
| Art Medium | Digital: Krita |
| Art Tool | Wacom Cintiq 13 HD |
| Art Style | Semi-Realistic |
| Level of Detail | Full Detail - Smooth Shaded |
| Background Detail | N/A |
| Size | Comic: Full Page |
| Dimensions | Portrait: 2560 x 2048 |
| Date Completed | 2018-11-13 |
My Layer Layout
- Panel Borders
- Foreground
- Text layer
- Lineart layer
- Shading layer
- Folder for "Colors"
- Folder for 1st Character Colors (Folder will be masked to Base Color.)
- Folder for 2nd Character Colors (Folder will be masked to Base Color.)
- Base Color layer
- Sketches
- Extra Sketch layer
- Fine Sketch layer
- Rough Sketch layer
- Canvas Background layer (neutral color like grey)
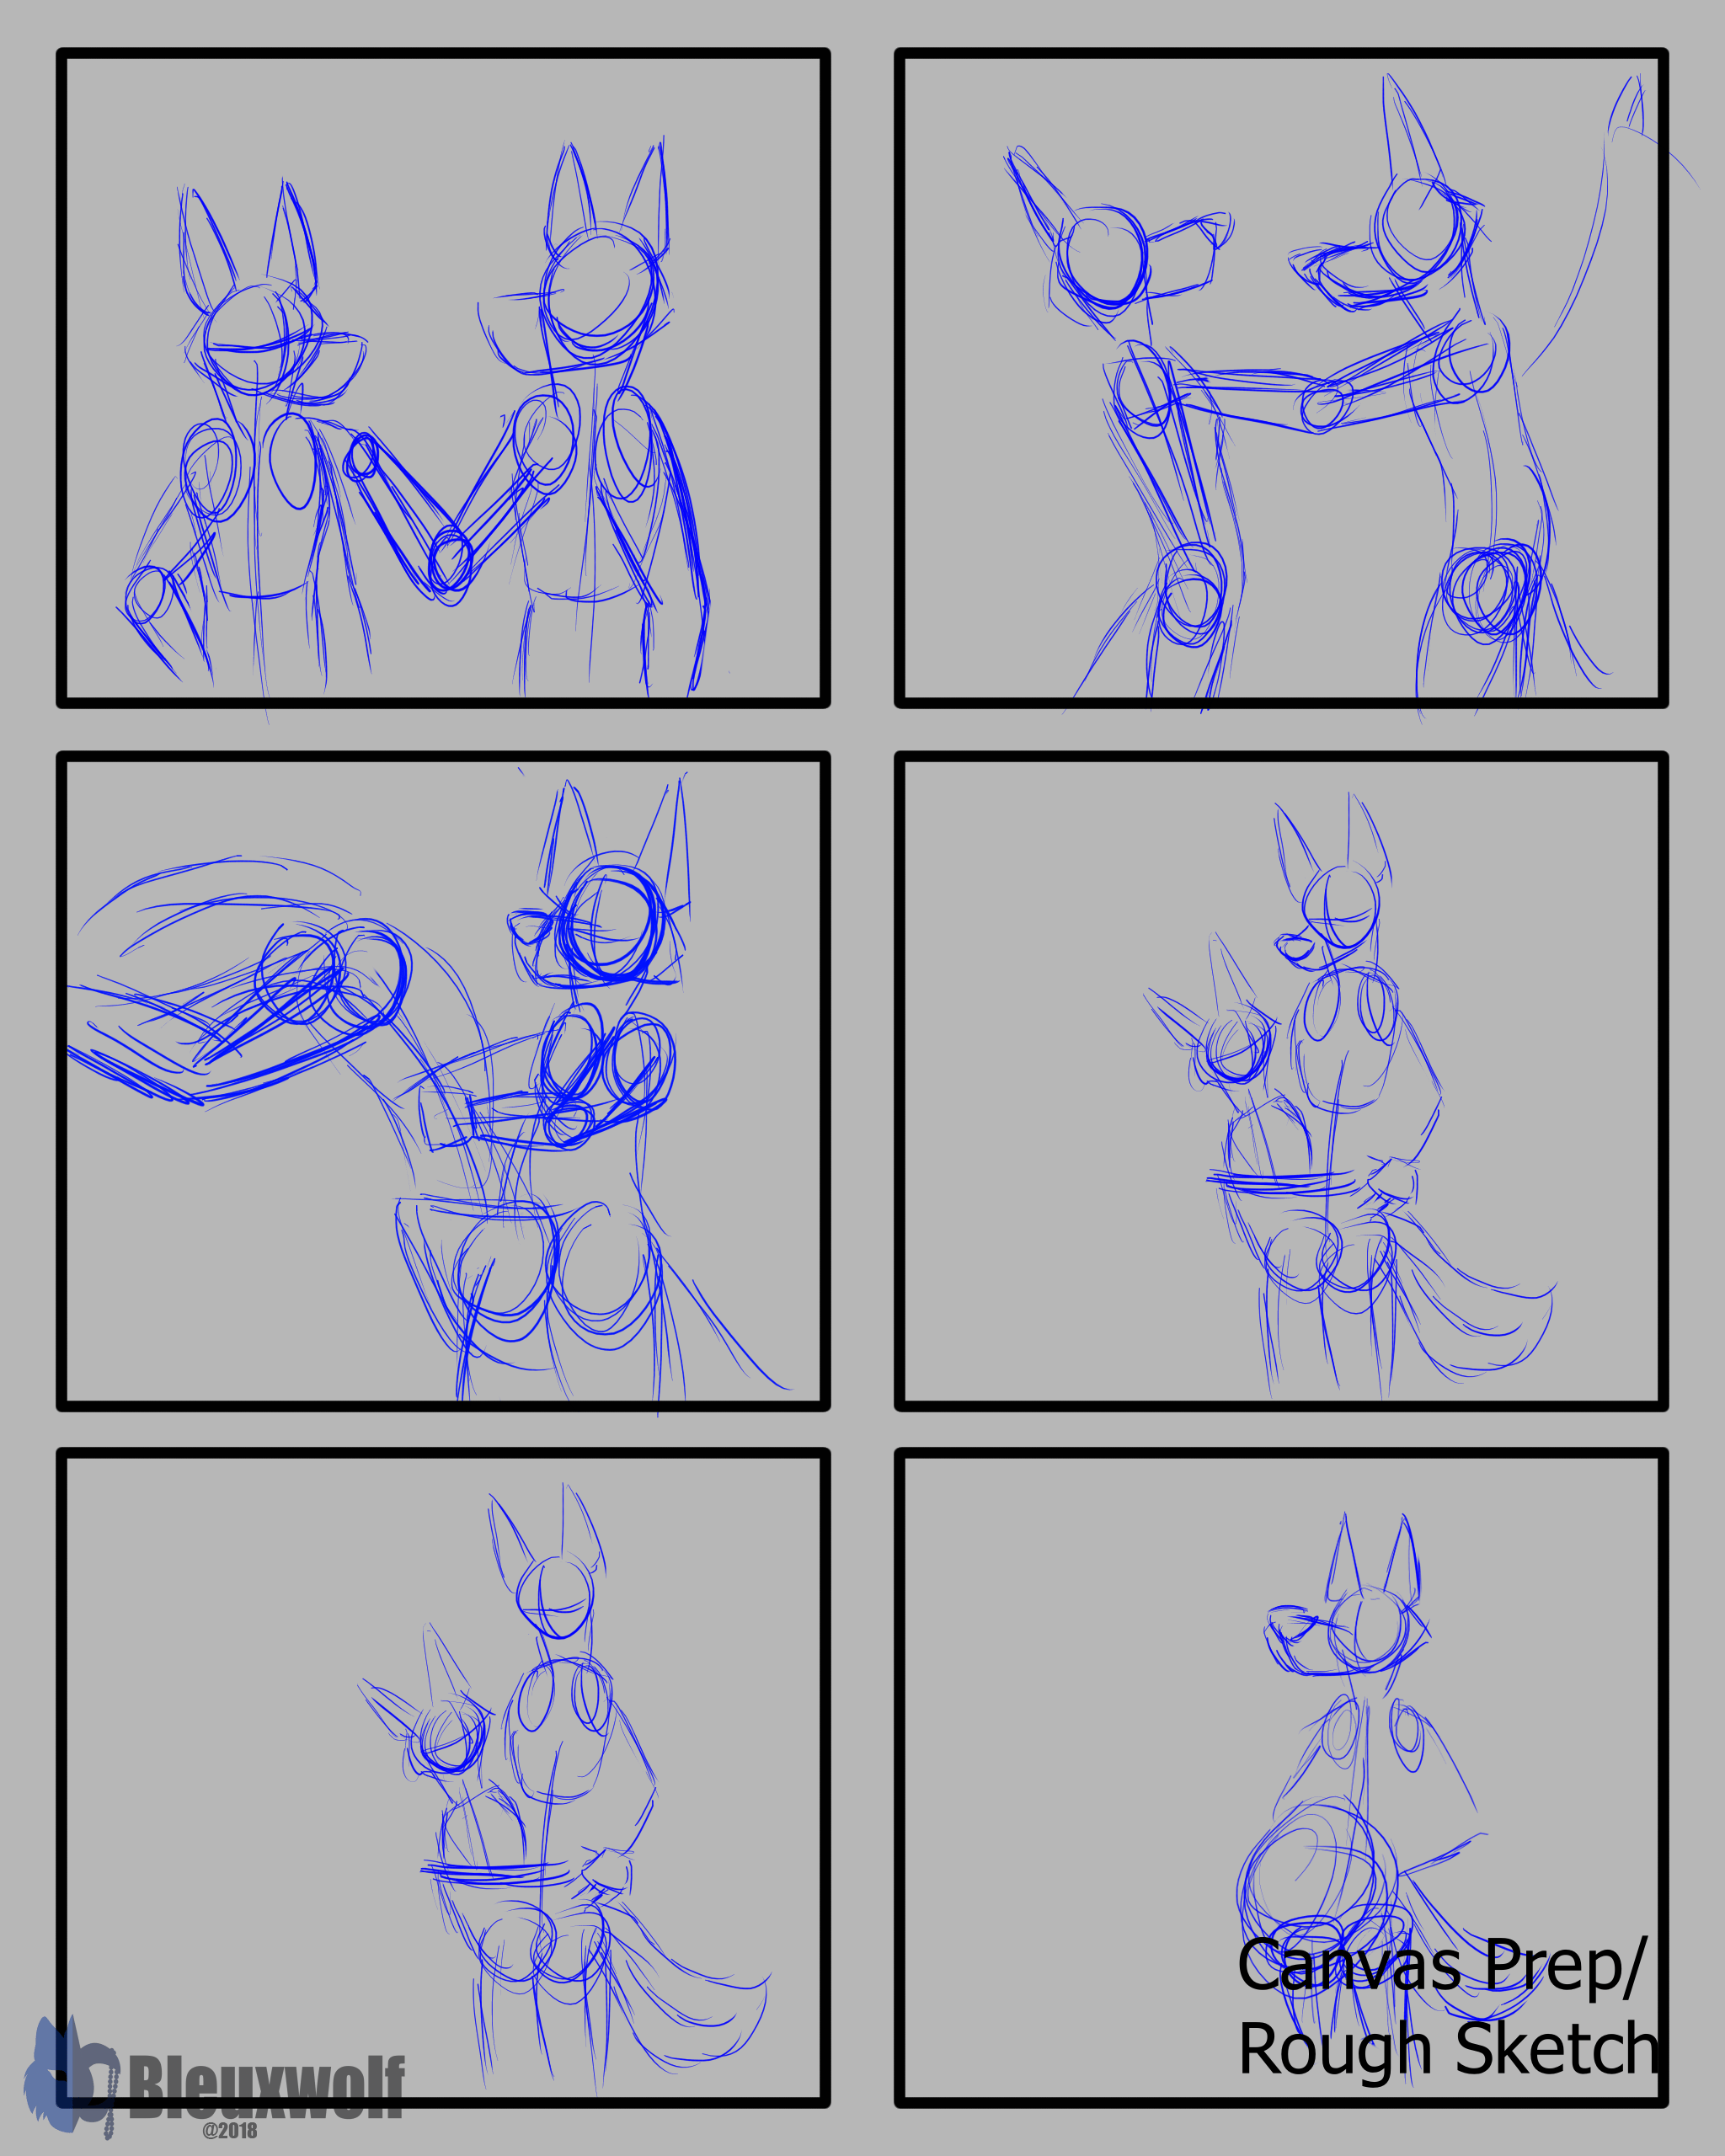
Canvas Prep/Rough Sketch
I start off as usual in the canvas background layer with a neutral background like grey as seen below. Then in the panel borders layer, draw in the panel borders. Use the rectangle tool to make this easier. Afterwards, I sketch up rough basic shapes and poses.
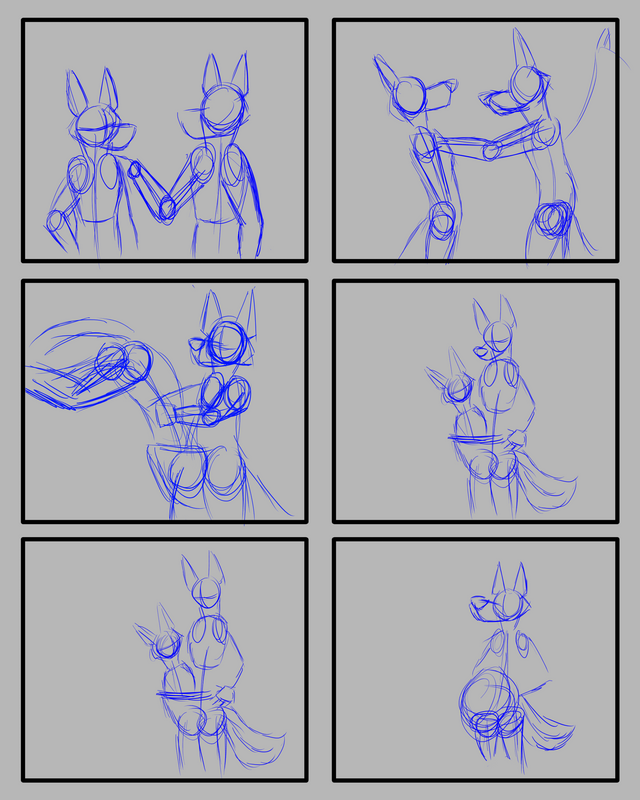
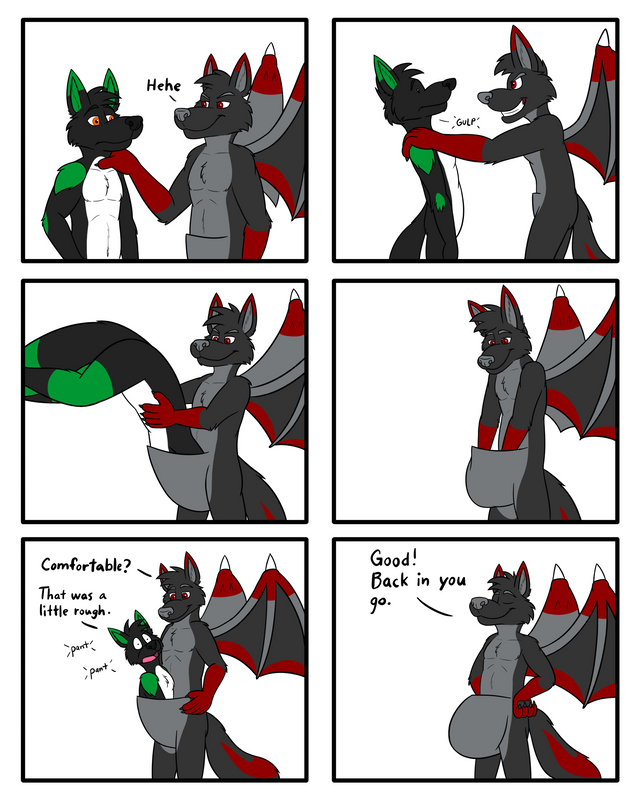
Fine Sketch
After the roughs, I simply just sketch a more detail sketch over the rough sketch in the fine sketch layer.
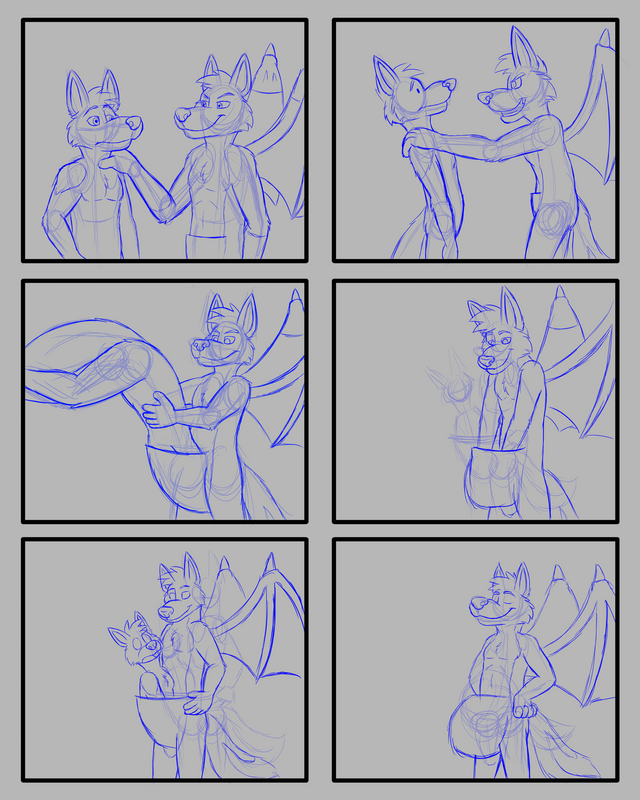
Lineart
Once I got client approval on the sketch, I drew in linearts over the sketch in the lineart layer.
Base Color
With the contiguous (wizard) tool, select areas outside the characters' perimeters and invert the selection then fill the selection with a neutral color like grey. (A different grey than your canvas background.)
Tip: You'll have your "grow/shrink selection" in the tools panel set on "2" and at least for me, I have the "fuzziness" set on "20". Either before or after selecting your areas, turn off your lineart layer temporarily to select your panel borders by themselves then turn back on the linearts. When you select the borders, adjust your "grow/shrink selection" to "0" to select only enough of the line as needed and not overlap the selection into the perimeters of the characters.
Primary Color
Add in the characters' primary colors in their respective folders.

Then mask the colors down to the base color.

Detail Colors
In their detail color layers, add in the rest of the colors for the characters in their respective folders.
Text
Here, I just add the text for this in the text layer.
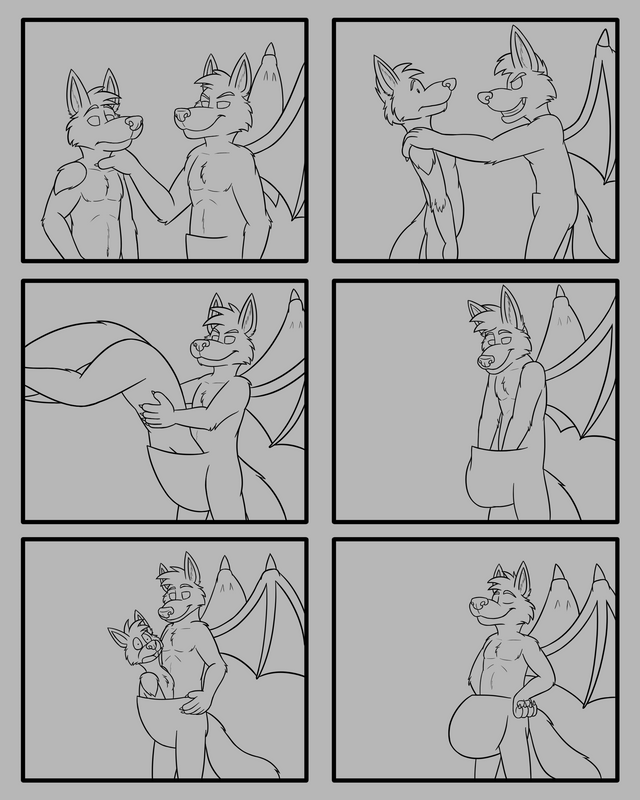
Shading
Turn off the character color folders temporary (that way you can see your shadows easier to work with) and draw in shadows in the shadow layer. Turn the opacity for the layer down to 50% (make the layer "grain merge" if you want better blend of the shadow with the colors). And this time, I smooth the shadows instead of having a hard edge.
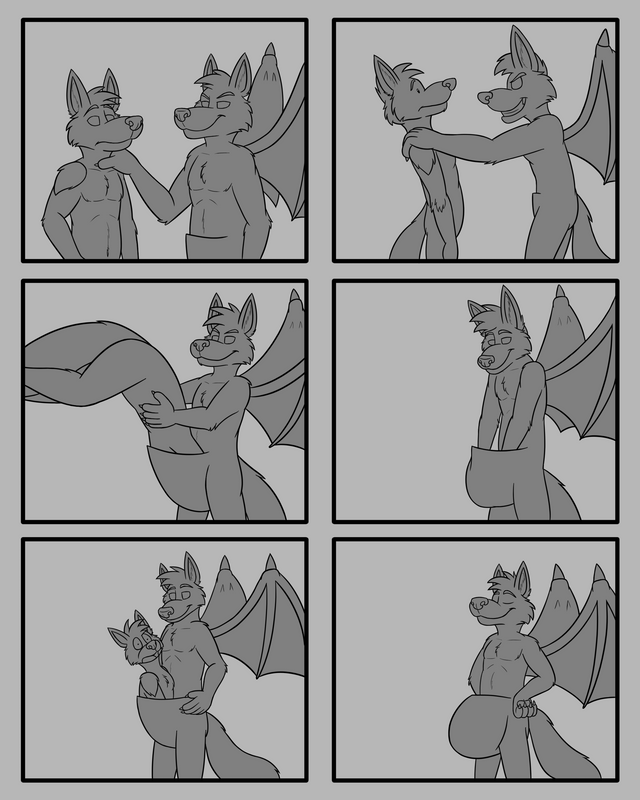
Misc. Details/Final Check/Final Result
Then turn back on the color folders and check over the details of the comic for errors or missing details...
...and then you're done!
Animation of Step-by-Step Progress
Thank you and I hope you enjoy the little comic and tutorial!
Kanza © Tw: kanzadawolf
Tiberius © FA: tiberius7
Artwork by @bleuxwolf
⚜ ⚜ ⚜ ⚜ ⚜ ⚜ ⚜ ⚜ ⚜ ⚜ ⚜ ⚜ ⚜ ⚜ ⚜ ⚜ ⚜ ⚜ ⚜ ⚜ ⚜ ⚜ ⚜ ⚜ ⚜ ⚜ ⚜ ⚜ ⚜ ⚜

⚜ ⚜ ⚜ ⚜ ⚜ ⚜ ⚜ ⚜ ⚜ ⚜ ⚜ ⚜ ⚜ ⚜ ⚜ ⚜ ⚜ ⚜ ⚜ ⚜ ⚜ ⚜ ⚜ ⚜ ⚜ ⚜ ⚜ ⚜ ⚜ ⚜
Hi @bleuxwolf!
Your post was upvoted by @steem-ua, new Steem dApp, using UserAuthority for algorithmic post curation!
Your UA account score is currently 1.045 which ranks you at #51104 across all Steem accounts.
Your rank has improved 140 places in the last three days (old rank 51244).
In our last Algorithmic Curation Round, consisting of 257 contributions, your post is ranked at #255.
Evaluation of your UA score:
Feel free to join our @steem-ua Discord server