Bourbon St. Buzzed | And Drawing Tutorial Steps!
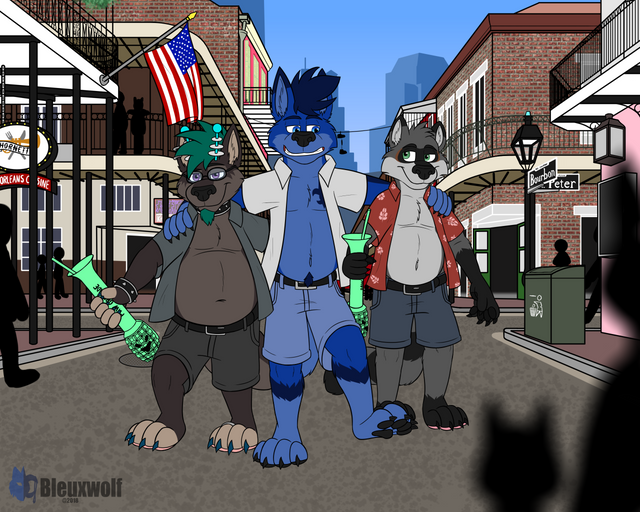
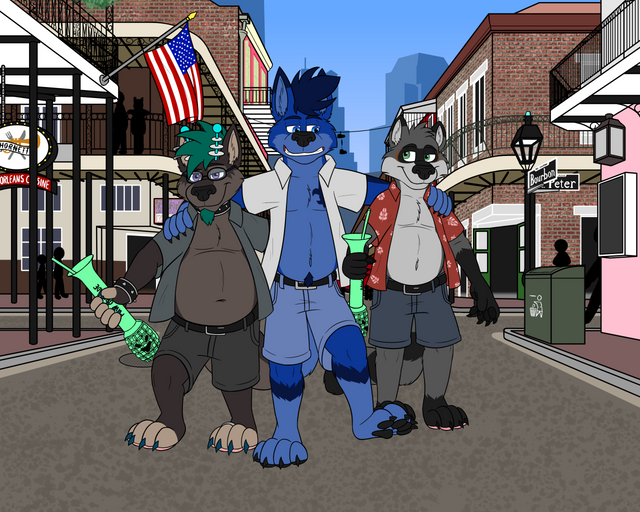
"Looks like I have to be the designated walker." - Bleuxwolf
A fun but really challenging semi-realistic flat color with a detail background commissioned art piece for Mixracc on Twitter that really showed off some of the best my skills. For this post, I am going to do another show of my process using this drawing. I was quite surprise how well received the last one I've posted recently was so I figured you would like to see more. Well, you're in luck since this is probably one, if not, my most detailed pic I've done and you get to see how this one was done.
⚜ ⚜ ⚜ ⚜ ⚜ ⚜ ⚜ ⚜ ⚜ ⚜ ⚜ ⚜ ⚜ ⚜ ⚜ ⚜ ⚜ ⚜ ⚜ ⚜ ⚜ ⚜ ⚜ ⚜ ⚜ ⚜ ⚜ ⚜ ⚜ ⚜
Note: This is a digital drawing that was done in Krita, an open source art program that functions like a combination of Photoshop, Gimp and maybe some PaintTool Sai. You can download and or simply show support for them in the link in the previous sentence.
Also Note: When doing your layers, a handy tip is to group your layers in folders based on parts in the drawing such as your foreground layers, background layers, sketch layers, or any type of part you feel that needs to be grouped. Be sure to LABEL your folders and layers or you will spend extra time searching for the right layer to draw on or you may wound up accidentally draw in the wrong layer.
Fun Fact: This drawing file was so large that I had to make a copy of this file where in the copy, some of the layers had to be merged together in order to continue to finish the drawing because was overloaded my RAM.
Foreground
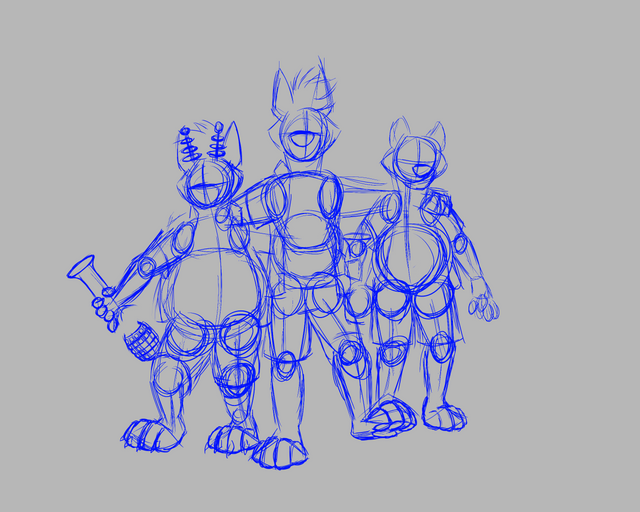
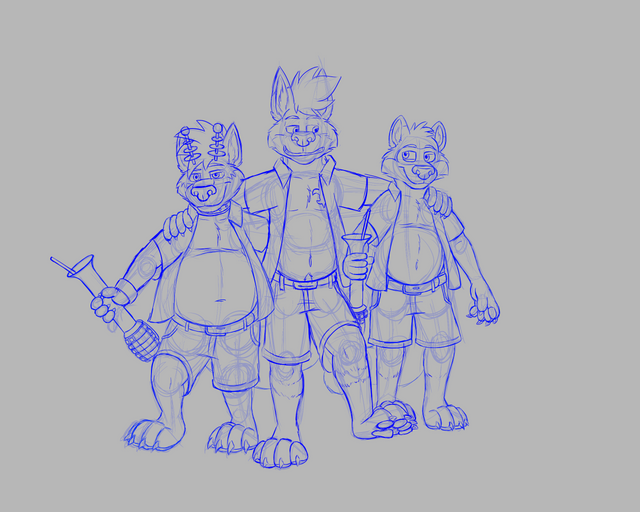
Canvas Prep/Rough Sketch
First, I start off with my first 4 layers: background color layer, two sketch layers, and an extra layer for extra sketching if needed. I draw the basic shapes and forms of the characters that will be in the pic in the first sketch layer.
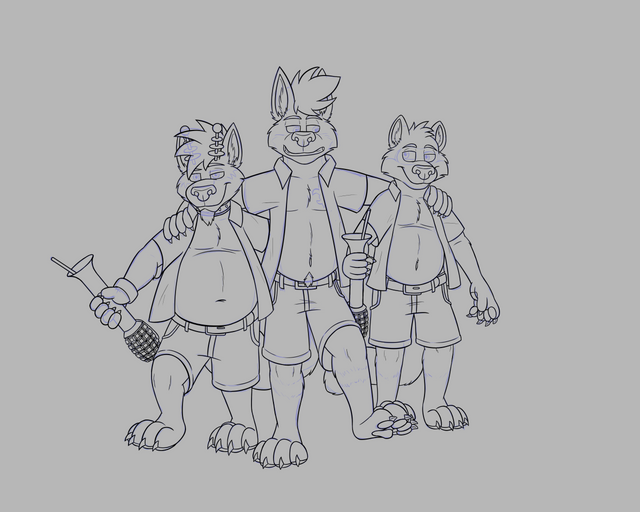
Fine Sketch
After I have the basic rough sketch, I simply sketch over the rough sketch with a finer sketch in the second sketch layer. You may use the extra sketch layer if needed. This step is usually one of my longer, if not, longest processes sometimes because I rather get the sketch right for linearting than worry about many edits in lineart phase. For this pic, it is not even close to the longest. X3
Lineart
Once I got my fine sketches looking the way I'm satisfied with and show the clients to confirm that it meets their approval, I go ahead and lineart over the sketches in another layer.
Base Color
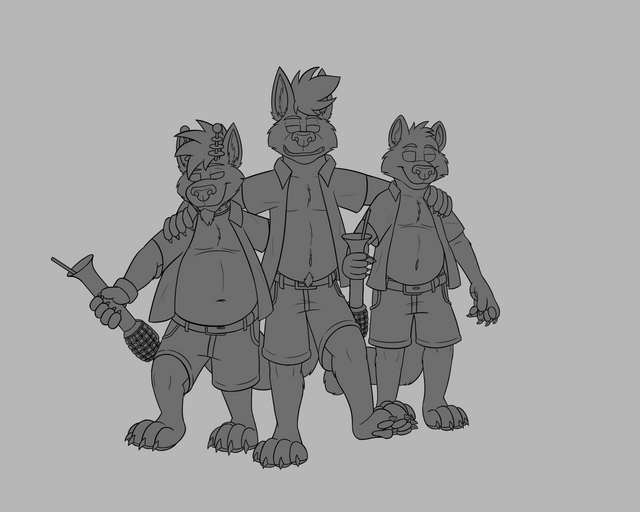
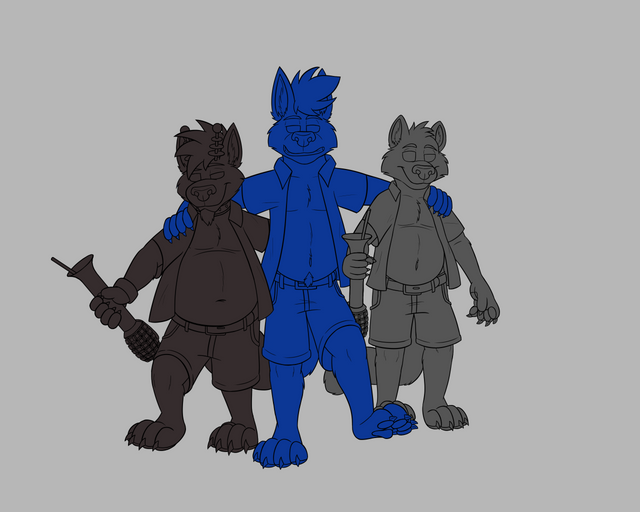
After the linearts, I use the wizard tool to select areas outside the areas of all the characters and invert the selection. I do this that way there will be way less tiny gaps inside the characters compare to just selecting areas inside the character with the wizard tool in which you may have gaps in the base color at where your linearts are. After selection, just use a neutral color to fill out the whole selection in its own layer (my preference is grey or if it's just a single character on the page, you can just use their primary color).
Primary Colors/Masking Colors
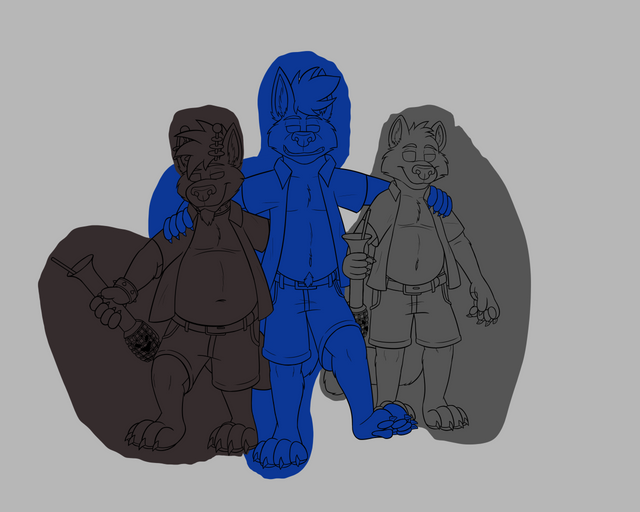
Add the primary colors of the characters and do your best to make sure they don't overlap on colors that supposed to represent another character. You can color the items they are holding with the same primary color in respect to the character who's holding the item. They will be masked over with detail colors anyways.
Then just simply mask the primary colors to the base color. To do this, I would have each color in its own folder then mask the folders to the base color.
Detail Color
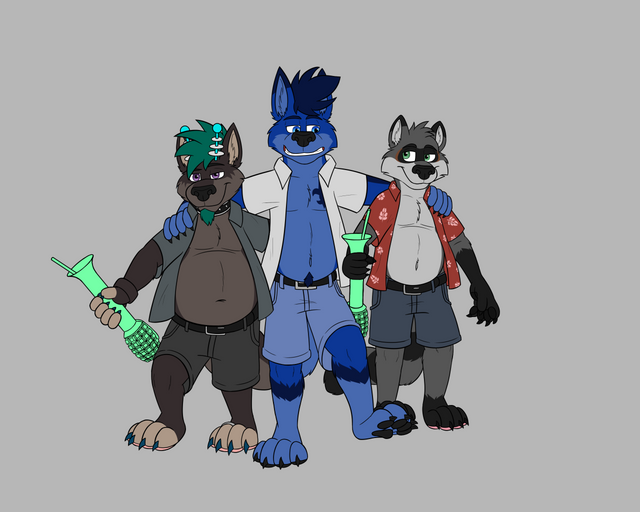
Now that you got your primary colors in, for each primary color's folder just add all the character's and item's color details to them. I would do however many layers I need in each folder for colors for easy editing if needed like a Secondary Color Layer, Tertiary Color Layer, Quaternary Color Layer, Miscellaneous Colors Layer, etc., and then mask each layer to the "base color" in each folder which is the primary color in that folder.
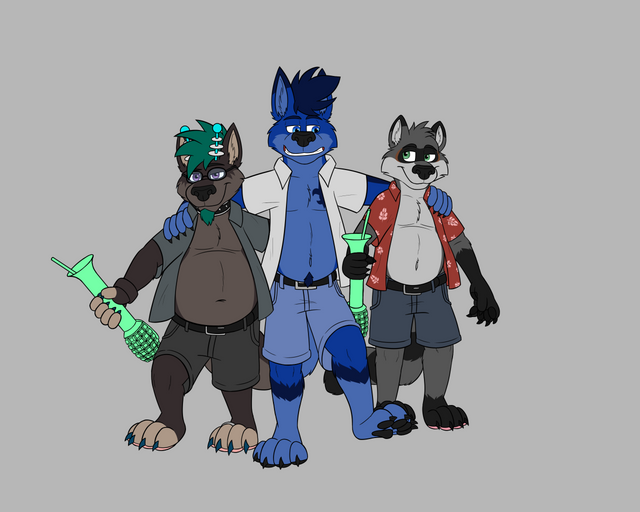
I had made separate layers to draw in the glasses for the character on the left since it felt easier for me to work with this way.
Now that the foreground is done, now on to the background.
Background
Sketch
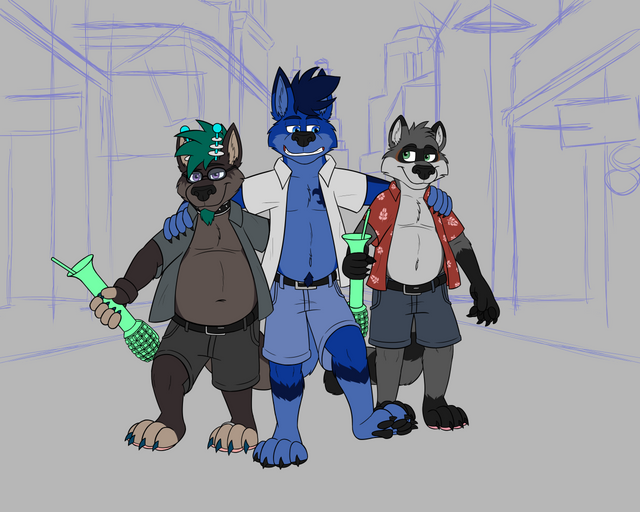
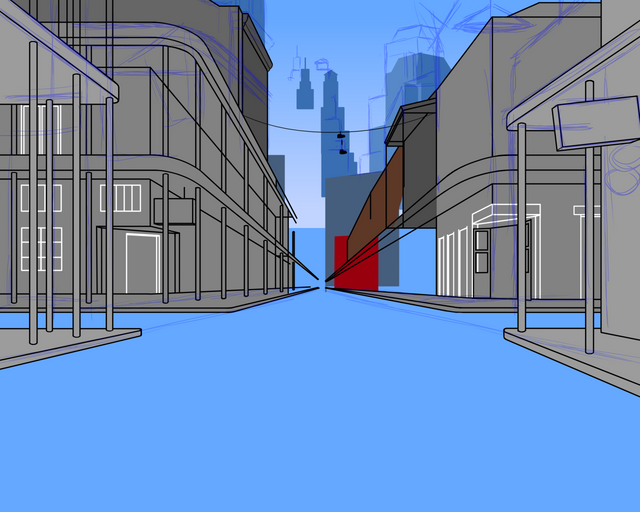
I then begin to sketch out the basic shapes of the background. Now I probably should've did another layer to do a fine sketch after this step but I guess I felt like I can draw up the buildings without the need for them and just wing it. You can do a fine sketch if you feel the need to plan your details even more before committing to linearts or coloring work on it. You can fade the foreground layer at this point, or especially preferable whenever you begin work on the fine background details, turn the foregound off.
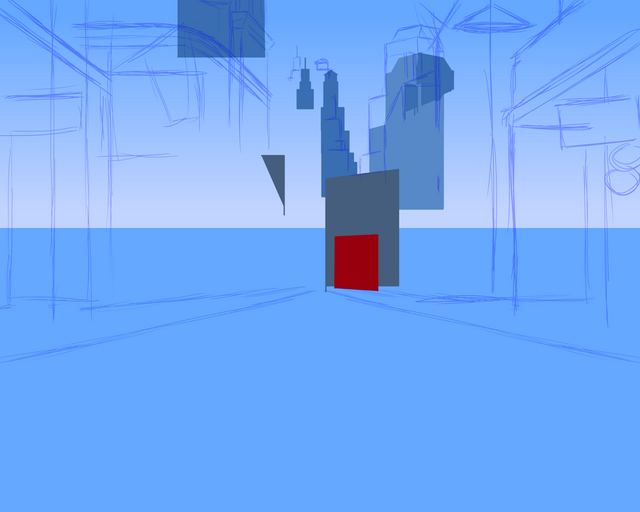
Base Colors #1 - First Level
For the sky, a simple gradient tool, or if you don't have such a tool, a simple mix of blues for a sky a blending them will work. Since this part of the background is either far away from the scene that it doesn't necessarily need much detail or for the case of the lower part of the background won't be seen much, you can just make the buildings in the background simple colors and shapes. To save space on your drawing file and computer, you only need to draw a little more than the amount you plan to see. It also saves time as well. As you can see below, you can adjust the position of the figures regardless of where the sketch is if you feel like there's better position for them.
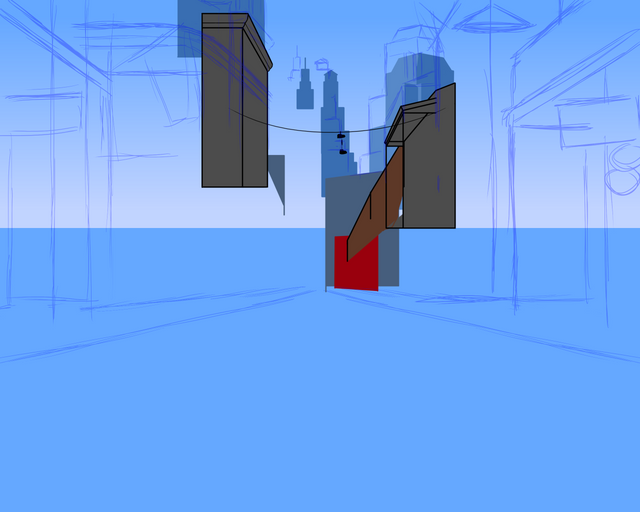
Lineart #1/Base Color #2 - Second Level
You'll add the next layer of building that's slightly more detailed and defined than the buildings in the far back, so you can lineart these and base color. You can do 2 layers. Again, only draw what you need. Because when you add so many details to the pic and your program or computer slows down significantly, you'll wish you'd saved some space ahead of time!
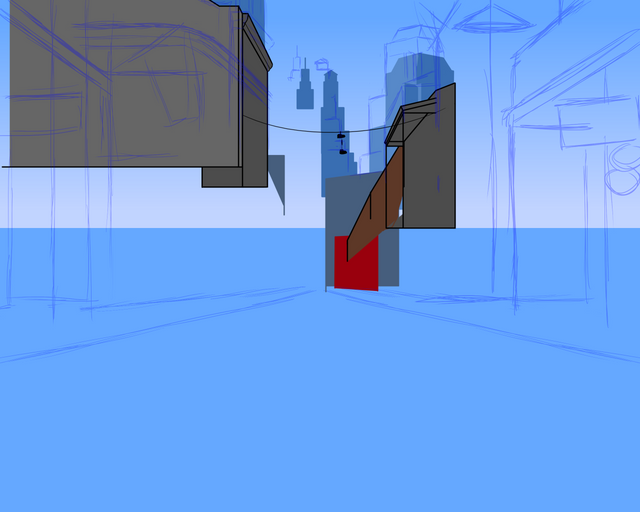
Lineart #2/Base Color #3 - Second Level?
I could've drawn this in with the previous building layer but I separated this part of building to be able to draw in and mask in a brick texture later easier.
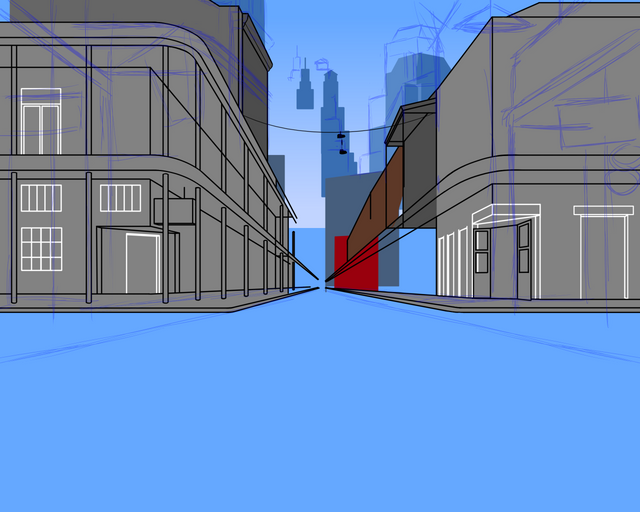
Lineart #3/Base Color #4 - Third Level
The next layer of buildings. Here is where details are starting to be really more defined like your doors, windows, railings, etc. Also, you can take note how the pic is starting to have more depth.
Lineart #4/Base Color #5 - Fourth Level
The final layer of buildings. Now the depth of the pic really pops!
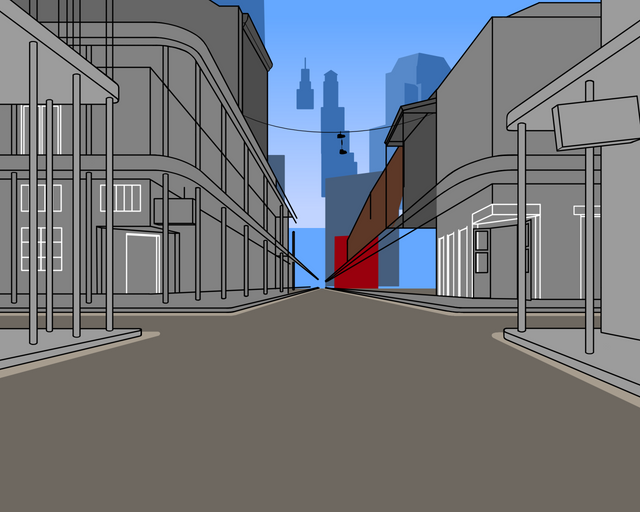
The ground is added here. Doesn't really matter when exactly it's added though.
Background Details!!!
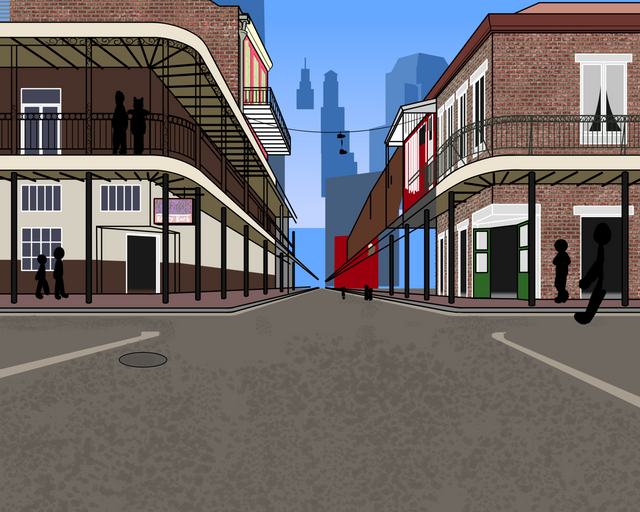
This is where for these type of pics, be prepare for a journey because this is where the real fun begins. lol Not much to explain here except color in the background and add any details needed, using real life pics as reference if needed (which was need here). But I think this is the best case example of letting the pic talk because a picture is worth a thousand words...
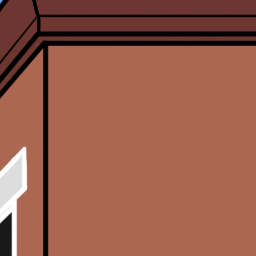
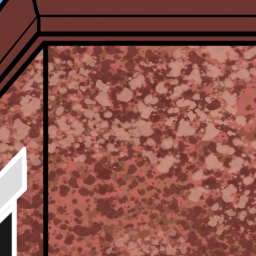
Yeah...It's all hand drawn all down to the smallest details. No texture pre-mades were used. (This is also the phase where my RAM was getting overloaded.) Below is an example of how I did the bricks. Each step is essentially its own layer. It's basically the use of a base color, using various brick colors, line tool, masking, and duplicating the line tool layer and darking it.
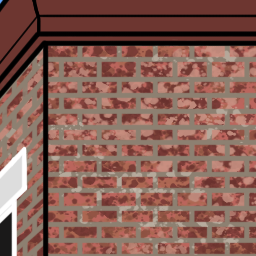
Use line tool with mortar color. Start with horizontal lines. Then use the wizard tool to select every other space among the lines. Draw vertical lines through all those rows to represent those rows of bricks. Repeat selections and line draw for the other set of rows. Merge layers together. Turn on alpha lock and add splotches of random mortar color(s). Mask layer.
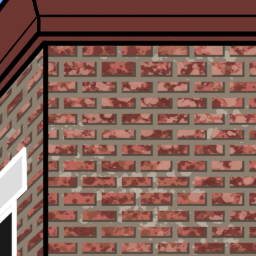
Duplicate the line tool layer. Darken the line tool layer that's underneath by turning down brightness or alpha channel it, select a darker color, and fill the lines. Move slightly TOWARDS light source to "shadow" the bricks. Erase unwanted line edges.
Background Completed....?
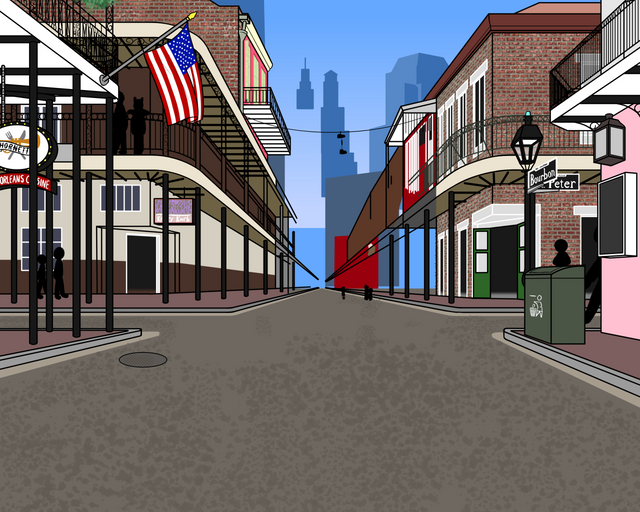
As you can see, I added the details to the fourth level of buildings now, thus the background is complete! Now, I know what you're thinking. Some of y'all are probably looking at this and saying, "Um....there's a lot of incompleteness, gaps, and well...messes there. You might need to edit and filled those areas."
Well you see, the pic is just about finished already because that problem can be solved by a simple....
...turn on of the foreground layer! Now the problems are gone and it's like it never happened. Now keep that our little secret. Shhh! ;)
Final Check/Final Result
And finally I check over the details (which there are a BILLION KAZILLION of them and I still had to edit some in recently) and then I add a little more touch of details by adding some persons and figures closer to the foregound and in front to add more depth to the pic. And there you have it, a completed pic!
Hope you enjoy this pic and this long detailed journey of this challenging process!
Lane © Tw: Lanepaws
Mixley © Tw: mixracc
Bleuxwolf and Artwork by @Bleuxwolf
⚜ ⚜ ⚜ ⚜ ⚜ ⚜ ⚜ ⚜ ⚜ ⚜ ⚜ ⚜ ⚜ ⚜ ⚜ ⚜ ⚜ ⚜ ⚜ ⚜ ⚜ ⚜ ⚜ ⚜ ⚜ ⚜ ⚜ ⚜ ⚜ ⚜
Interested more in my works or interested in me drawing you a pic, feel free to also check out my personal portfolio/commission site. Arts by Bleux

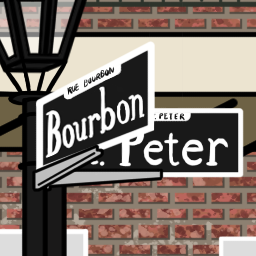
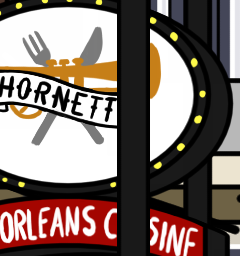

I really like how you detailed creating the background. They look beguilingly simple in the finished version, but I know that you have put a lot of consideration about perspective, texture, even all the little details that you worked hard on it, including the street names and the store logos.
Good job bleuxwolf :).
Thank you Scrawly! Oh yeah, it was a lot of work on the details. lol So many hours it took to do them.
And fun fact on the store logos, I made them little parody names of the real stores. ;)
Glad to see a furry artist posting on steemit finally!
Thanks! And yeah, there's not many on this site as it seems.
If there was a way to tie the steem coin into E621 (or other large furry artwork platform) it could be a way for artists to post artwork have it show up via the blockchain and potentially be upvoted on by their fans. Especially now that the new discounted account system is in place.
Yeah, if only that was possible. Unfortunately many of those sites are way behind in times and the type of tech behind them to work. I don't think most furries even know much about blockchain tech or if they do, at least don't know extensively enough about utilizing it in this way.
Heey :D this is a great drawing! this is a style I haven't seen too often in here, it doesn't look it's easy to make, I believe you when you say it's challenging! I really like it and your explanation was really cool and didactic :) Great post!
** This post will be proposed to be curated by the @celfmagazine project **
Thank you ailindigo! I'm glad I could make showing my process pretty interesting for ya. It certainly is a challenge but it's well worth it and satisfying when you see the result. :)
And thank you for the purposal! I hope they and many others get to see this and enjoy. Maybe even help some potential artists.
Hi @bleuxwolf!
Your post was upvoted by @steem-ua, new Steem dApp, using UserAuthority for algorithmic post curation!
Your UA account score is currently 0.000 which ranks you at #107204 across all Steem accounts.
Your rank has not changed in the last three days.
In our last Algorithmic Curation Round, consisting of 726 contributions, your post is ranked at #477.
Evaluation of your UA score:
Feel free to join our @steem-ua Discord server
Your article has been upvoted by CELF, a curation project for visual, plastic and performing arts, music, and literature, we will share it so it can receive more upvotes :). Drop by at our discord server!: https://discord.gg/fC5jcDF
Thank you for the upvote and share!
Hello @bleuxwolf, thank you for sharing this creative work! We just stopped by to say that you've been upvoted by the @creativecrypto magazine. The Creative Crypto is all about art on the blockchain and learning from creatives like you. Looking forward to crossing paths again soon. Steem on!
Thank you for the upvote!