Drawing Chibi to improve your art skill?? # chibi Challenge
as we know chibi is the character with bigger head and small body
but this argument is belong to me, you may put you argumen to describe the chibi Character on the comment. and ofcurse its look like something oddly but the oddity is the things that make them cute and catchy :).
If you interested and wanna know about how to draw chibi Character for beginers, you can read this post till the end. Because i'll give you an illustrade about how to doit step by step
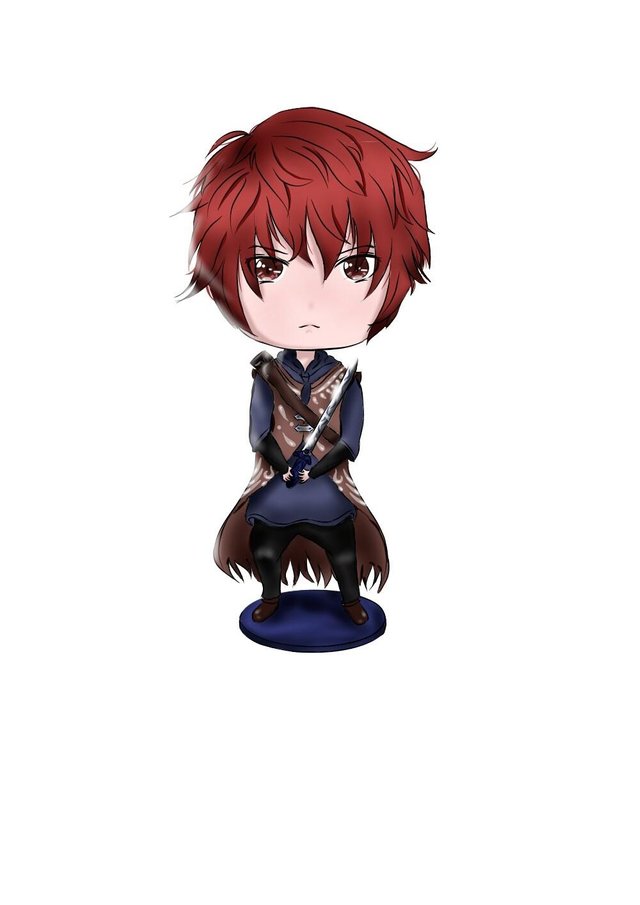
- first thing that you have to do is drawing the circle.The cyrcle is absolutely impotant thing to draw before drawing a head for beginner, but if you can draw the head without any circle, its okay to doit. drawing Circle could help the beginer to draw a perfectly head.
- after that you can draw your character body with the posture that you have been desire.
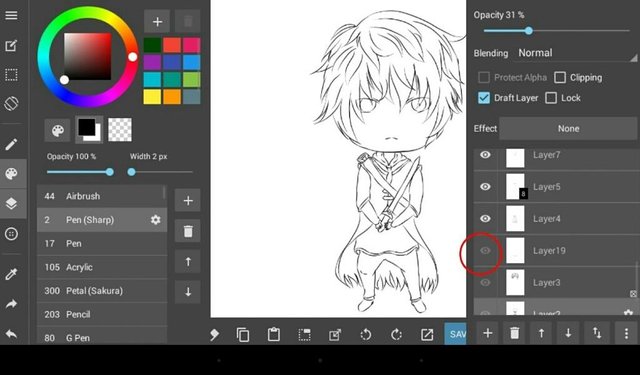
ofcurse adding a new layer is important part of digital draw. the reason is, it would help us to keep the other layer clear when we used the another one to add some details
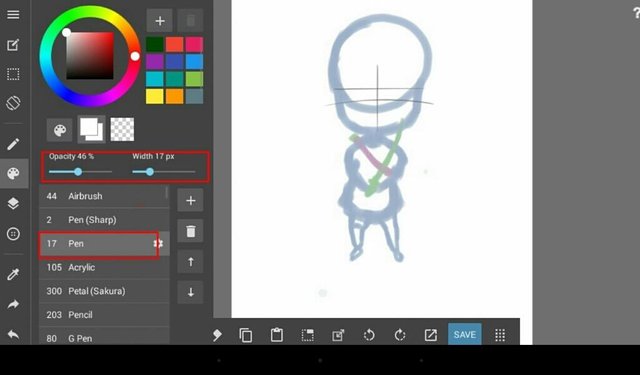
After adding a new layer you can decrease the first layer opacity, then use 2Px pen(sharp) for lineart.
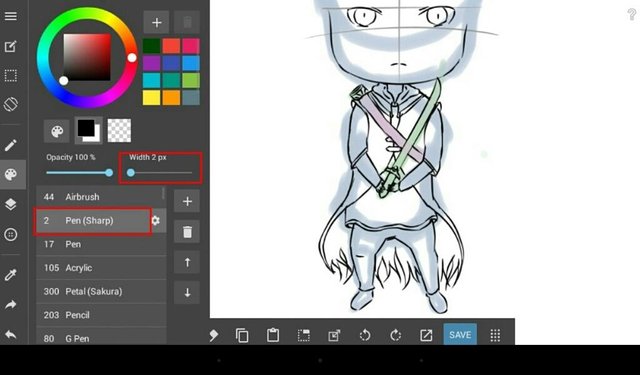
- The hair style are based on your imagination's
- after finishing your Lineart hide the first layer by touching the eye icon on layer manage and refine the lineart.
- remember! before adding some colour you have to change the blending mode from Normal to multiply in order to batter colouring
you can also use the selection tools to keep the colour in lines.
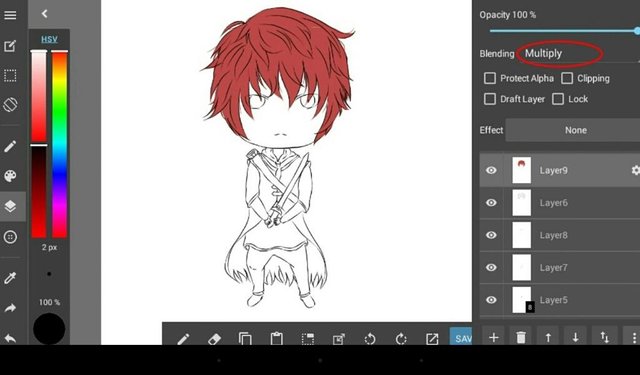
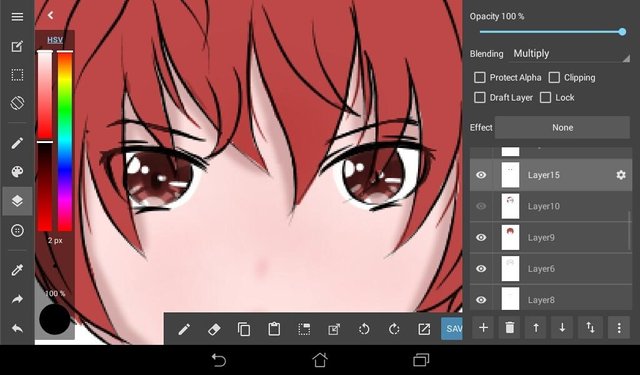
- after colouring the hair, continue with coluring the skin, eyes, jacket and also the shadows under the hair based on light direction. Note; shadows should be added on difference layer, and the layer blending must be multiply
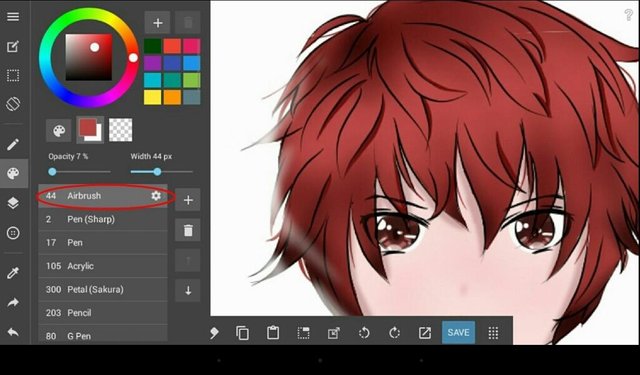
- you may also add some details as light and shadow effect.for this step i recommended to use the Airbrush with large Pixel and low Opacity .
- i love this part because by adding some details the picture would be more interest
- Don't forget about the jacket because it will look better with some pattern.
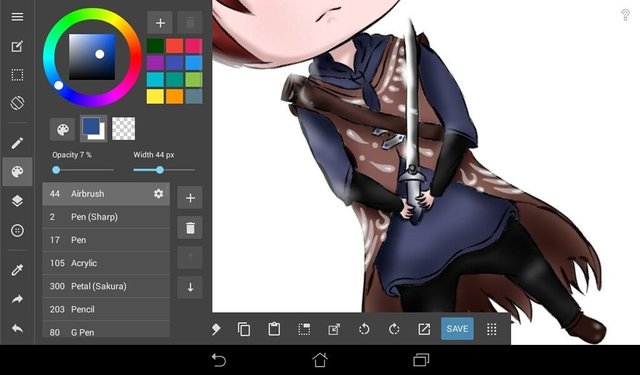
- Hey.. the sword is still colourless, why not we just make it more glamorous :)

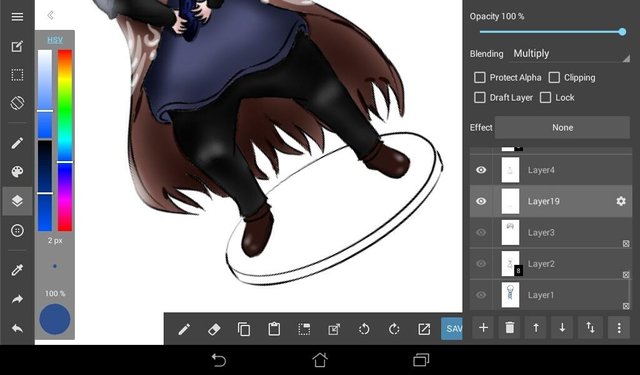
- give him the stand place, Stand place designed is acourding to you. i just made a simple one because i've got no idea at the times.
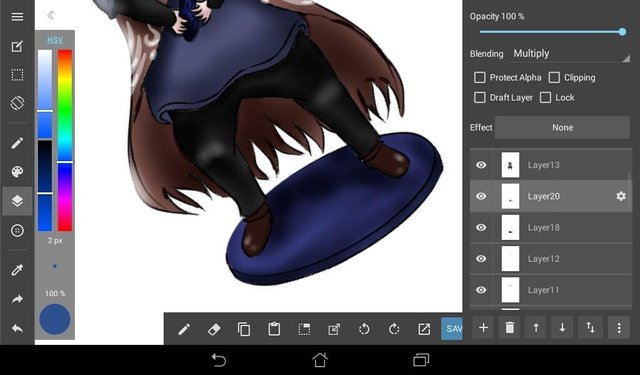
- Colour it, but don't forget about the shadows. The shadow is based on light direction
- after finishing all step, you can save it locally, export to the galerry or share it to your friend's
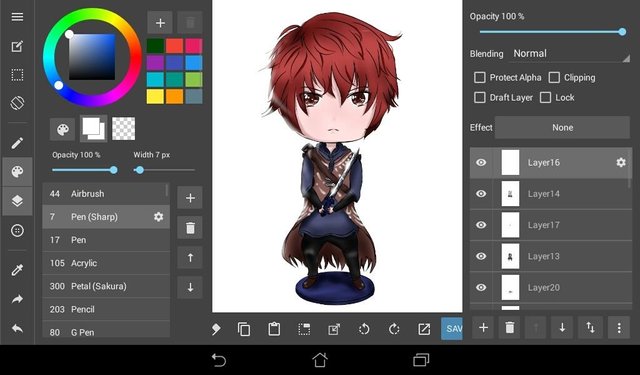
so.. its simple right??
i hope this post can make you interested, and if you want to give me some advice about this or maybe for the next tutorial you can write it on the comment.. see you at the next #tutorial
# Salam steemian Indonesia!!
My friend, a kind reminder here.
#cn tag is stand for Chinese.
However, no Chinese was detected in this article.
Please use wisely for your tag,thank you
i'm sorry for that, steem hastag are still new for me
thank you so much for the advice @abay
its help me to be better
Gambarnya keren banget. I've no idea about digital art and stuff. 👍 love it
makasih kak @hananan saya juga masih pemula :)