Fake tattoo in 3 steps, photoshop tutorial
hello friends, here I teach you how to make a fake tattoo with a picture of me in adobe photoshop.

on the right side of the program environment we see in miniature the photo and image tattoo, my program is in spanish but this step is very easy.
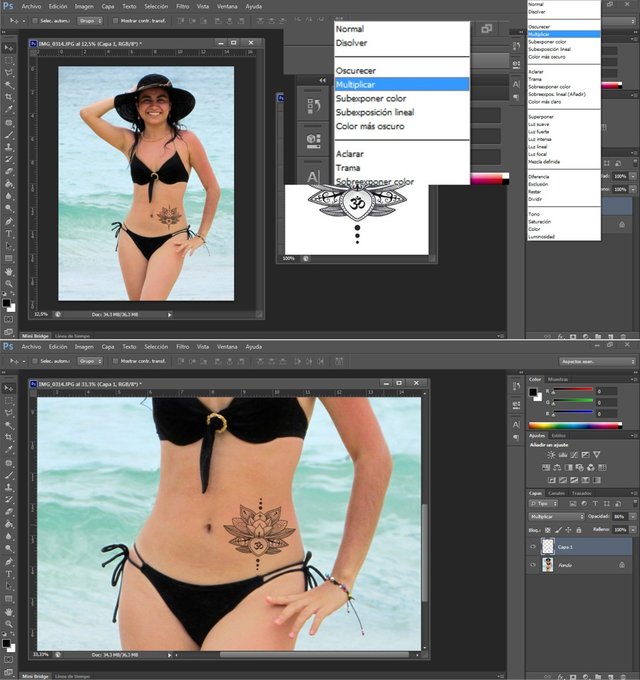
in this area of the environment there is a button that says' 'normal' ', by clicking a menu of options is displayed, you just have to pass it from ''normal''mode to ''multiply'' mode and voila, the image of the tattoo will look as if the skin
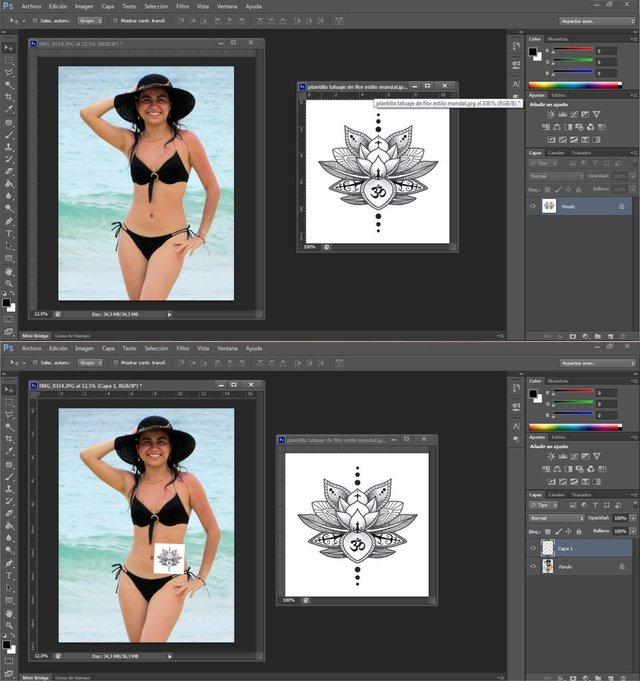
step 1: get the pictures
step 2: open in photoshop and put the tatto over the other photo
step 3: in the tatto image pass from ''normal'' mode to ''multiply'' mode
Also, one thing you can do, is make sure whatever artwork you apply to a picture the level of crispness or bluryness matches. In this case, the photo is soft, so blur the tattoo a little bit to make it look a bit more convincing. Also, making sure you drop the transparency (or opacity) 7% to 8% on the multiply setting, helps blend it into the skin.